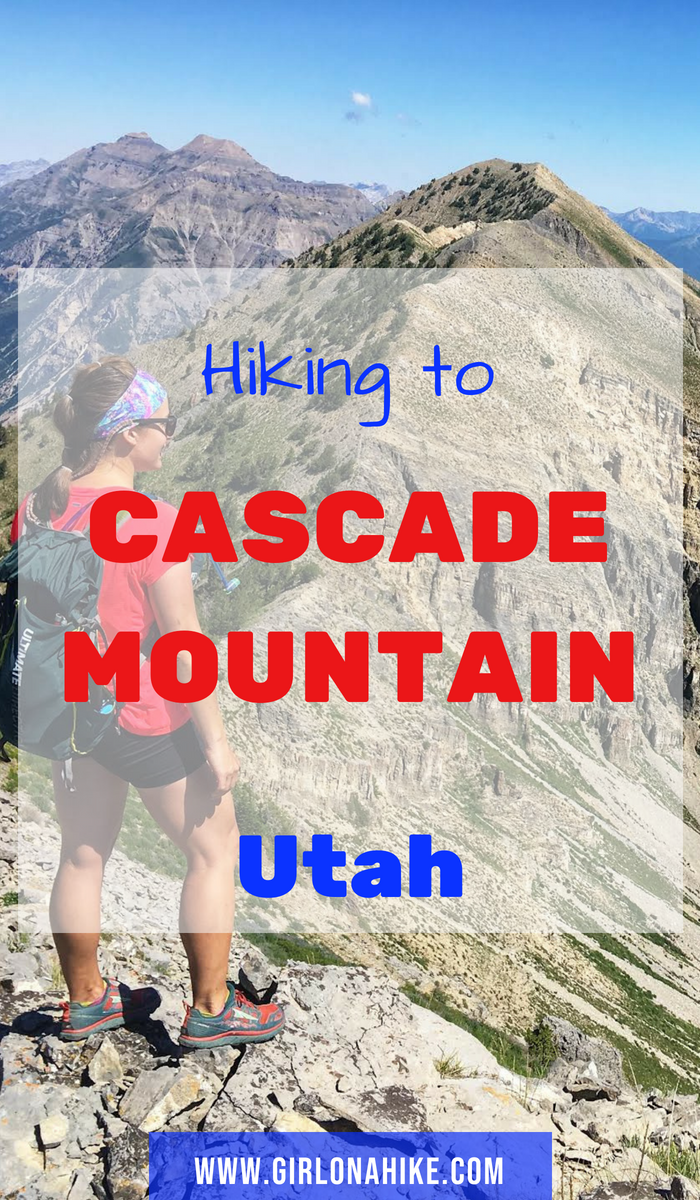


Cascade Mountain (10,908 ft) towers above Orem, Utah and is one of the iconic “Wasatch 7” Peaks. Unlike its well-known neighbor to the north, Mount Timpanogos, Cascade sees far fewer hikers due to its difficulty and rugged terrain. But for experienced hikers and peak baggers, Cascade Mountain is a rewarding summit worth the effort.
About Cascade Mountain
While Timpanogos draws crowds for its accessible trail and scenic beauty, Cascade offers a more remote and wild experience. Each of the three main routes to the summit presents a serious challenge—steep climbs, route finding, and at times, bushwhacking. If you’re looking for a full-day adventure away from the crowds, Cascade Mountain delivers.
Cascade Mountain is a rugged and prominent peak in the central Wasatch Range, just south of Provo Canyon. It’s a hidden gem for experienced hikers who enjoy off-trail exploration and steep elevation gain. Because of the difficulty of all approach routes, Cascade is one of the least summited peaks in the Wasatch 7.
The terrain on Cascade contrasts sharply with nearby peaks—expect loose rock, steep slopes, and no clear trail to the summit. However, if you’re up for the challenge, the views from the top are well worth the climb.
Route Options
Upper Pole Couloir
Distance: 2.2 miles
Elevation Gain: 3,600 ft
Trail Type: No established trail; route finding required
Difficulty: Very steep; bushwhacking required
This is the shortest and steepest route to the summit and is popular with experienced climbers and hikers due to its directness. However, the route is unmarked and requires strong navigational skills. The slope is steep and sustained, and bushwhacking is necessary in some areas. This is the route we used for our descent.
⚠️ Not recommended for beginners. Only attempt if you’re confident in your ability to route-find and ascend steep terrain.
Dry Fork Trail #060
Distance: 6.75 miles
Elevation Gain: 3,800 ft
Trail Type: Part trail, part climber’s route
Difficulty: Hard
This is the most recommended route for those who prefer to follow a trail for at least part of the journey. The trail begins in Dry Fork, skirts around Freedom Peak, and reaches a saddle before turning into a climber’s route. Expect light scrambling, uneven terrain, and several steep sections as you continue toward the summit.
This is the route we used for our ascent. It’s longer but less bushwhacky than Upper Pole Couloir.
Big Springs Route
Distance: ~6 miles
Elevation Gain: ~4,000 ft
Trail Type: Overgrown with downed trees
Difficulty: Hard, less maintained
Starting from Big Springs Park on the east side of Cascade, this is the least traveled route due to significant trail overgrowth and fallen trees. While the route offers a different perspective of Cascade, it may require additional effort to navigate the obstacles.
Best attempted in late summer when trail conditions are at their driest.
When to Hike Cascade Mountain
The ideal time to hike Cascade Mountain is between July and October, when the road is fully open and the trail is snow-free. Cascade is extremely avalanche-prone, so it is not recommended during winter or early spring.
Start your hike no later than 6:00 AM in the summer months to avoid intense heat and ensure you have enough daylight. The trail is long, exposed, and dry. Bring plenty of water, high-calorie snacks, and electrolytes—I like to pack a separate bottle with a Nuun Hydration tablet to help prevent altitude-related headaches and fatigue.
Directions to the Trailhead (Dry Fork Trail #060)
From Salt Lake City:
-
Head south on I-15 and take Exit 272 for 800 S in Orem.
-
Merge onto US-189 (Provo Canyon Road) toward Heber.
-
Drive 4.1 miles, then turn right at the brown sign for Squaw Peak Overlook.
-
Reset your odometer at the turnoff. At 4.1 miles, turn left at the “T” junction. The road becomes a well-maintained dirt road.
-
Continue driving another 6 miles (10 miles total from Provo Canyon turnoff). You’ll reach a small pullout for Trail #060 (Dry Fork Trail) on the east side of the road. The Rock Canyon Trailhead is located directly across on the west side.
🚗 Vehicle Tips: The final stretch of road is rough—small cars may struggle. An SUV or high-clearance vehicle is recommended. Even though it’s only 10 miles, the drive can take 30–45 minutes due to road conditions.
Here’s a driving map.
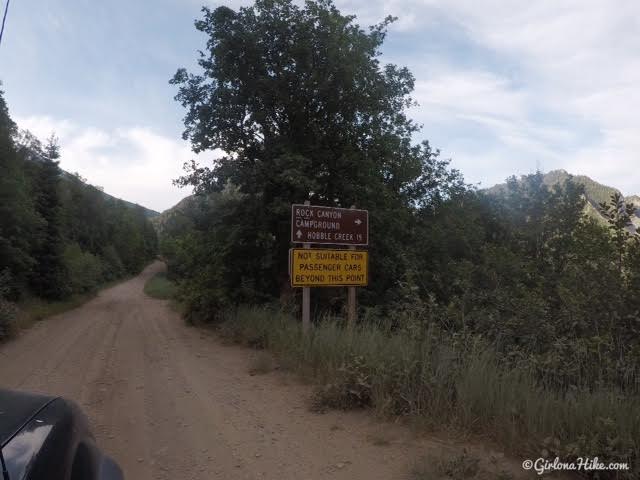
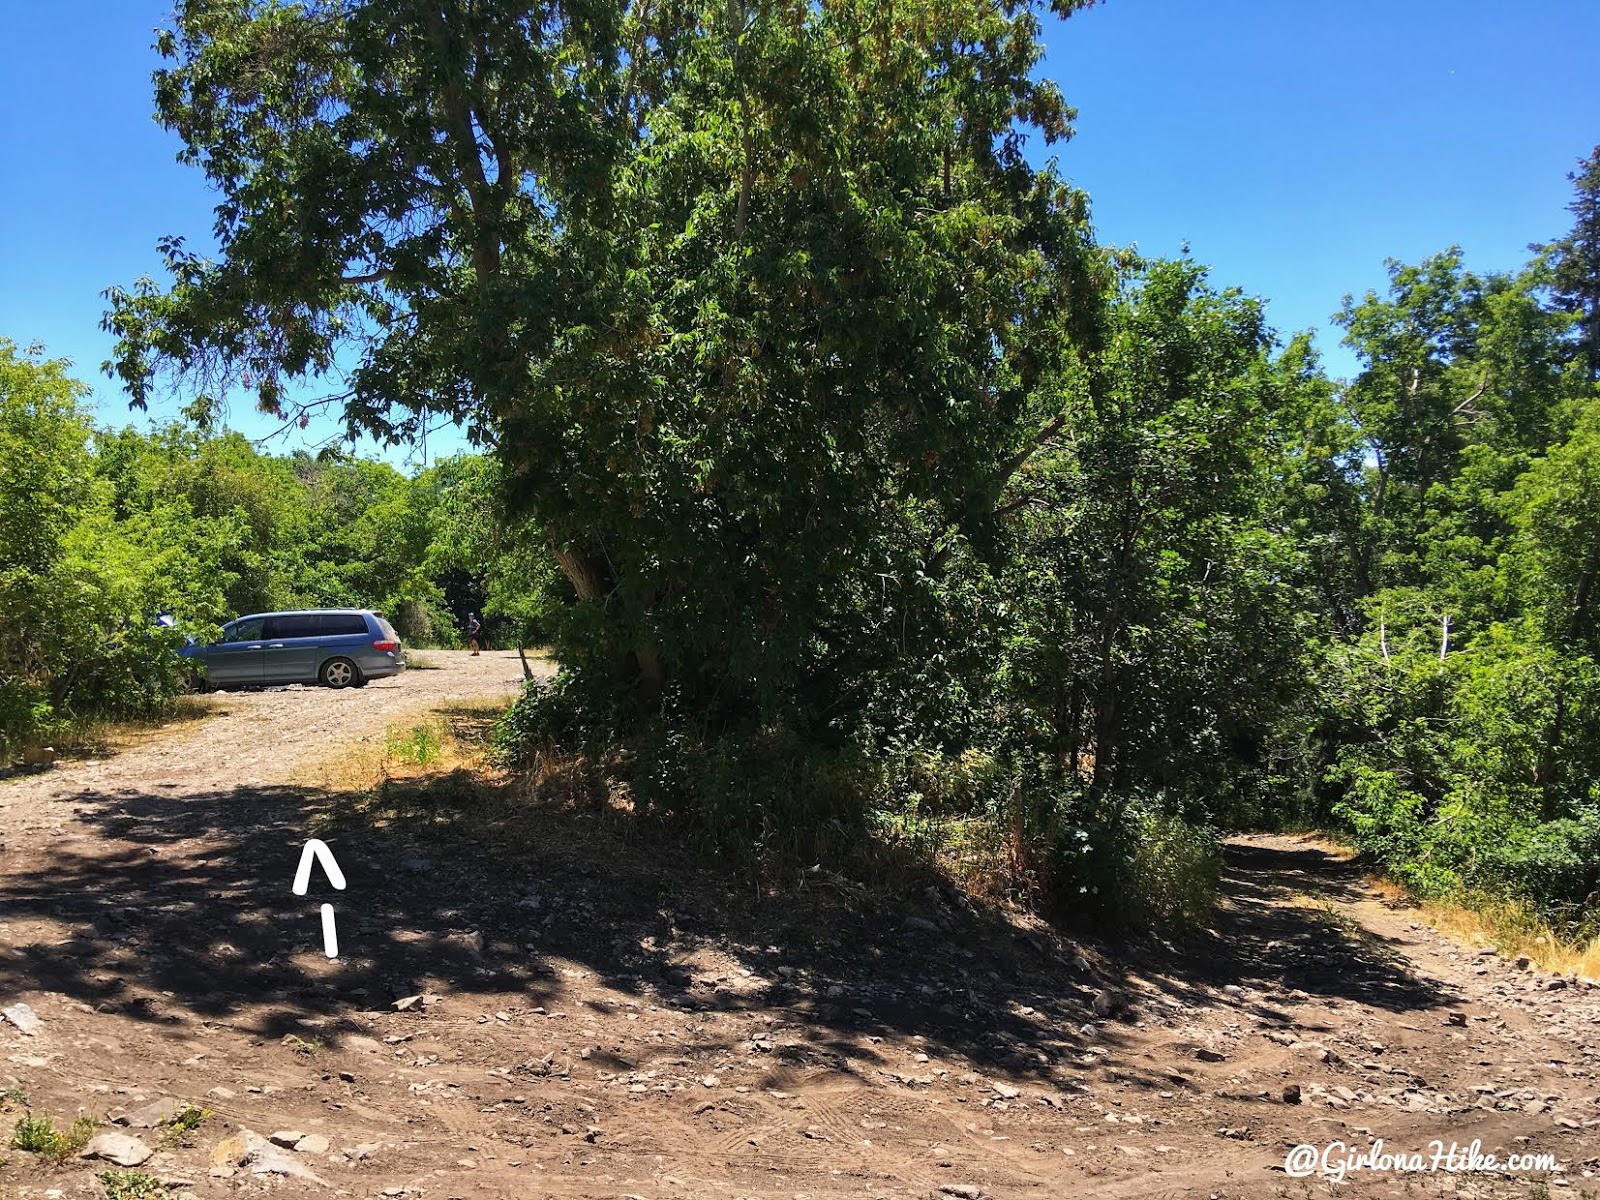
Just want to emphasize that small cars will not do well past this sign. Make sure you have an SUV or larger to reach the TH.
Trail Info
Distance:
6.75 miles up to the summit via Dry Fork
2.2 miles down via the Upper Pole Couloir
8.9 miles total
Elevation gain: 3,861 ft
Time:
It took us almost 6 hours to summit, and about 2 hours down the couloir, so roughly 8-10 hours
Dog friendly? Dogs are technically allowed, however I would highly discourage you from bringing them due to the exposure on the ridge, steepness, hot temps, and long day. If you do decide to bring a dog, carry a minimum of 3 liters of water per dog.
Kid friendly? No
Fees/Permits? None
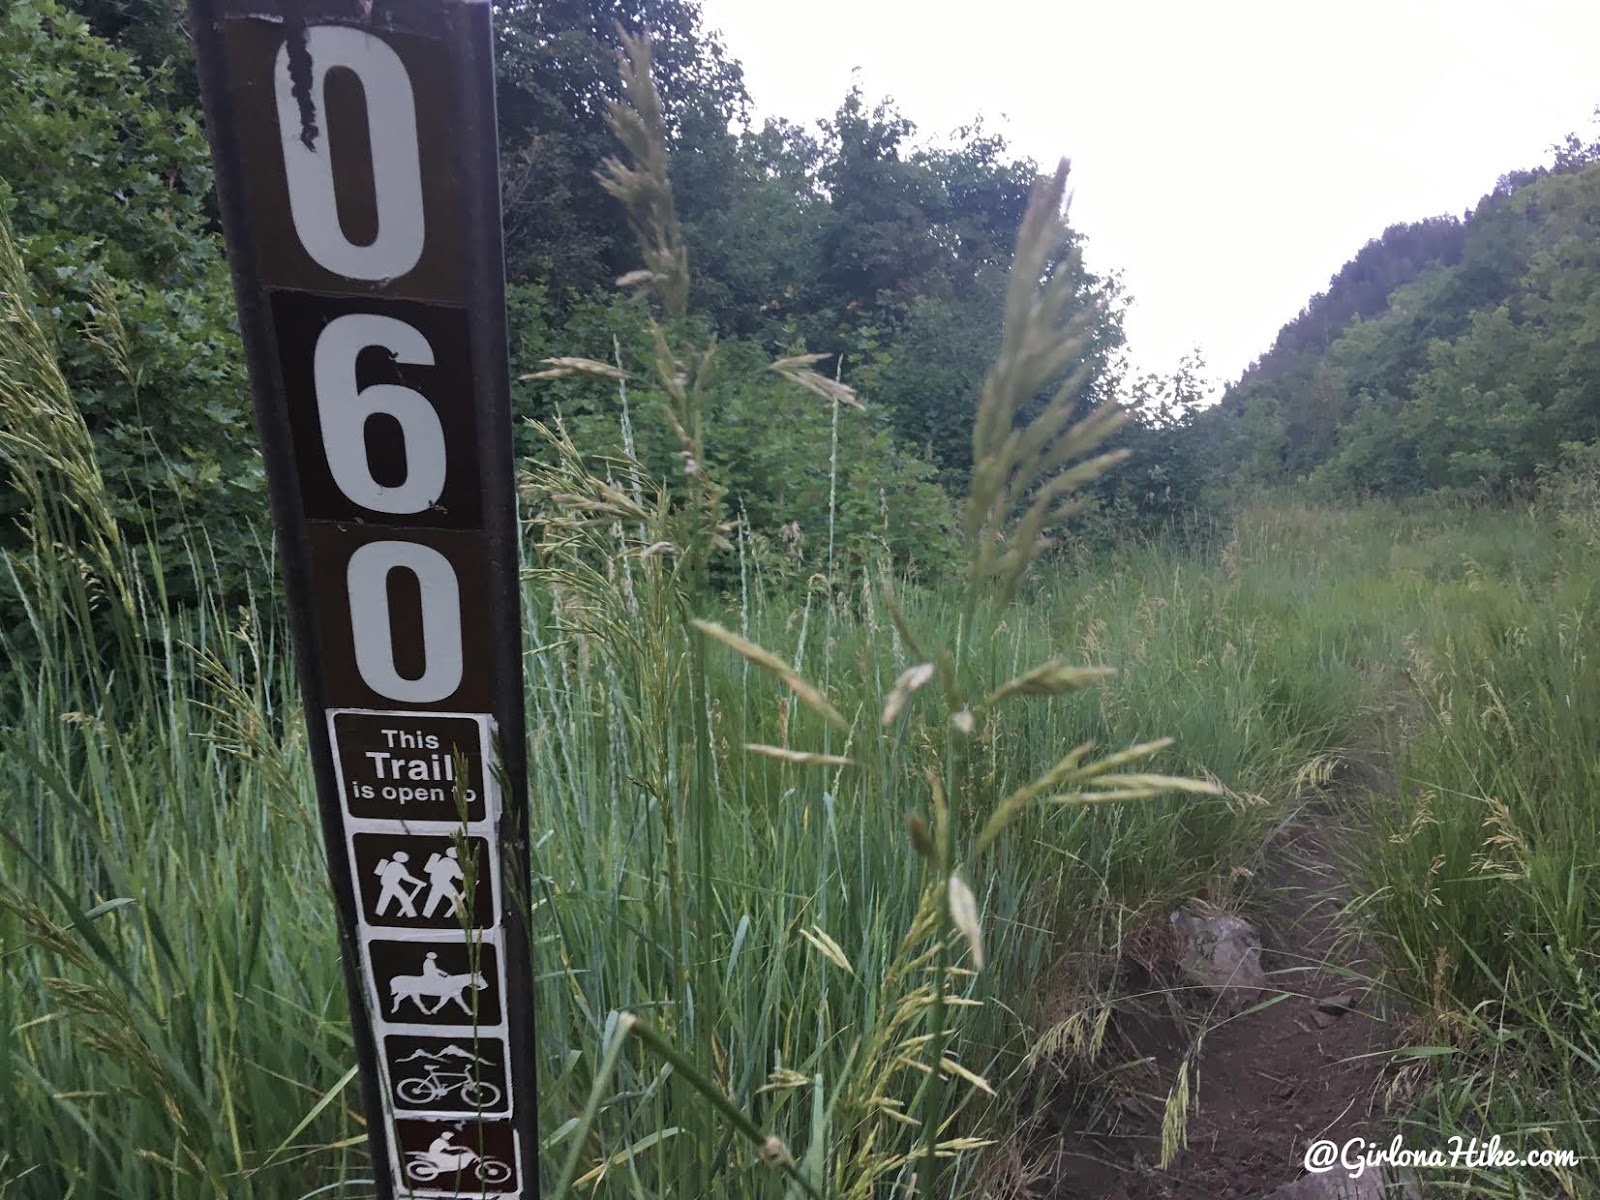
We started up the Dry Fork Trail by 6:20am. The temperatures were much cooler and there was a nice breeze.
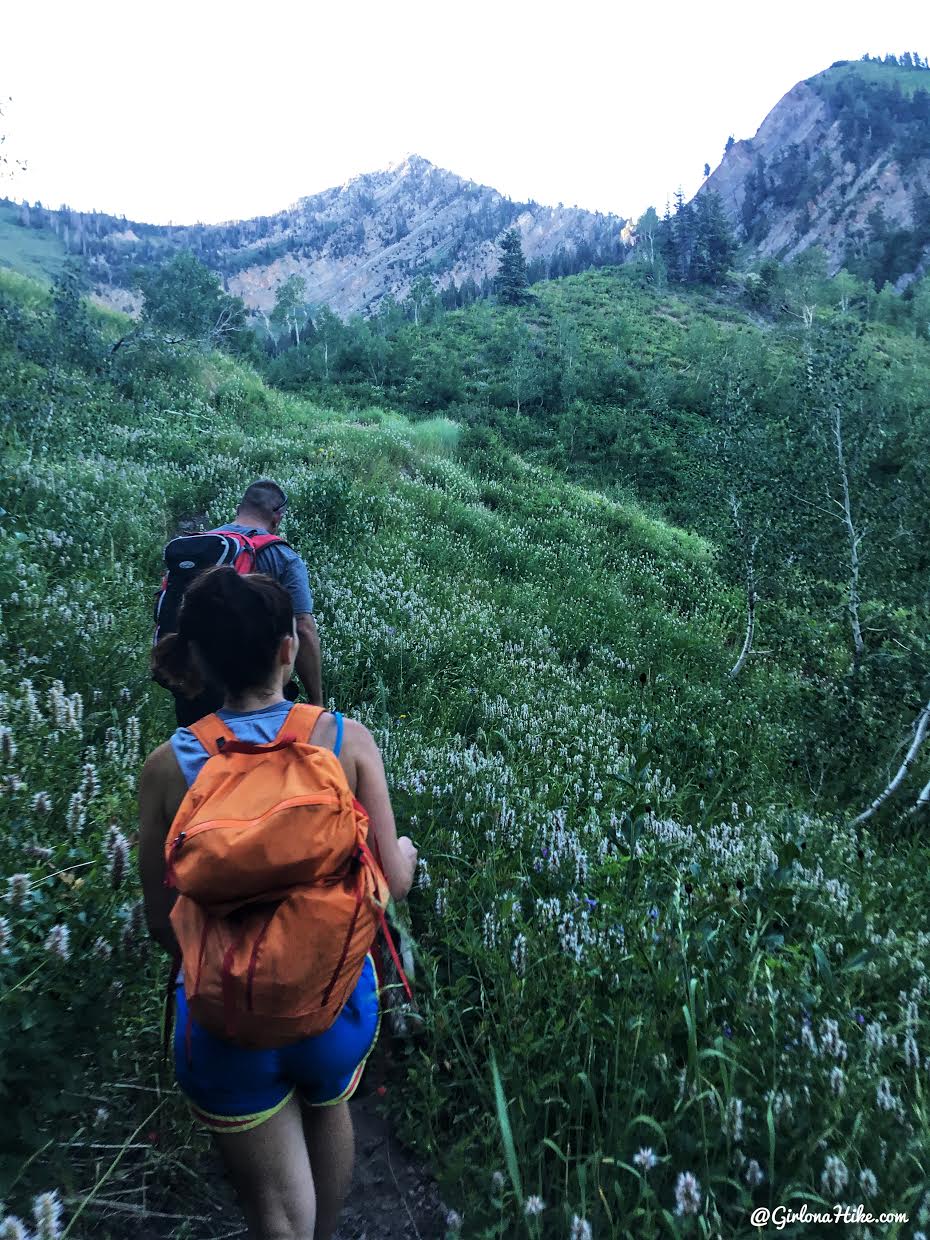
The first 3 miles are pretty uneventful. You just work your way up the basin until you reach the saddle. We started out with 4 people and 2 dogs in the group.
Below Freedom Peak the trail will curve back North.
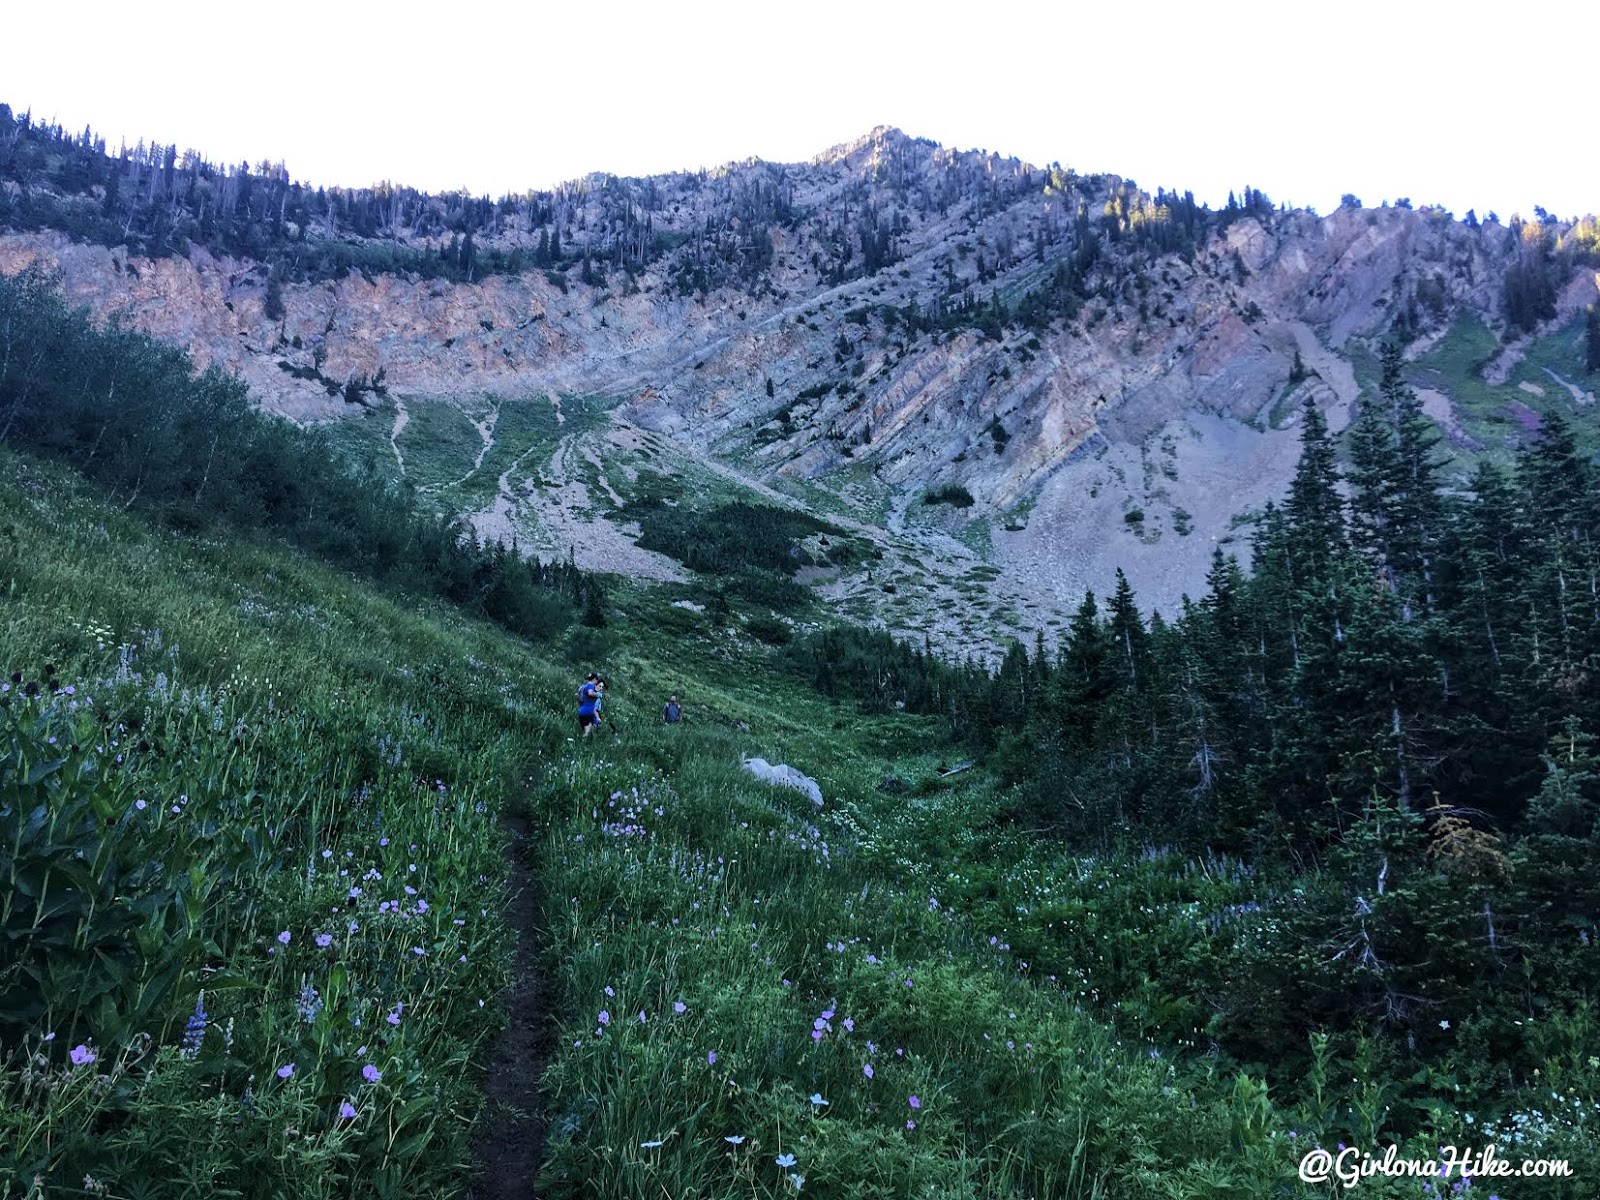
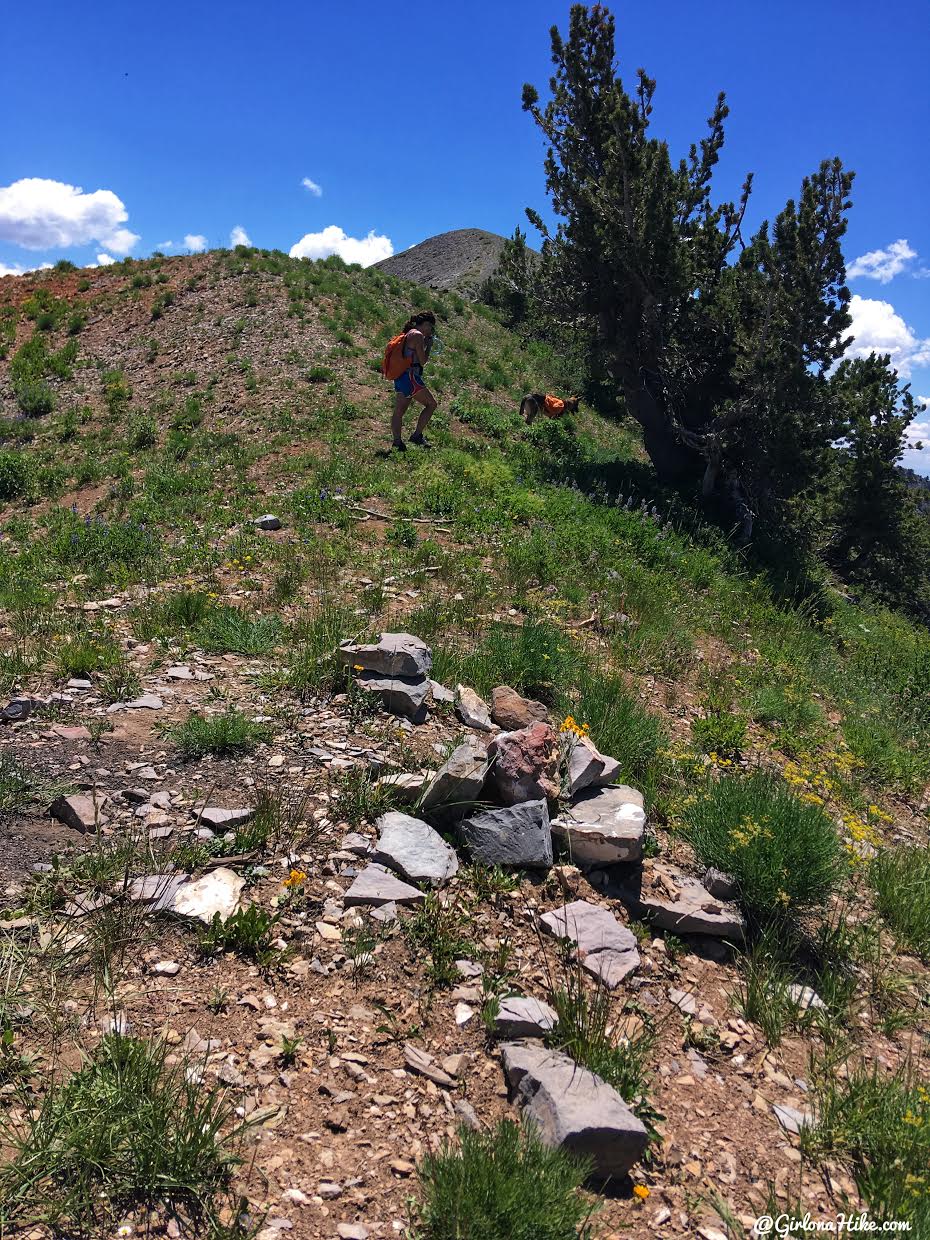
At 2.8 miles you’ll see a faint trail split, go left, and traverse along one of the old erosion flats. If you go right, you will hike uphill, and you want to reach the saddle in front of you.
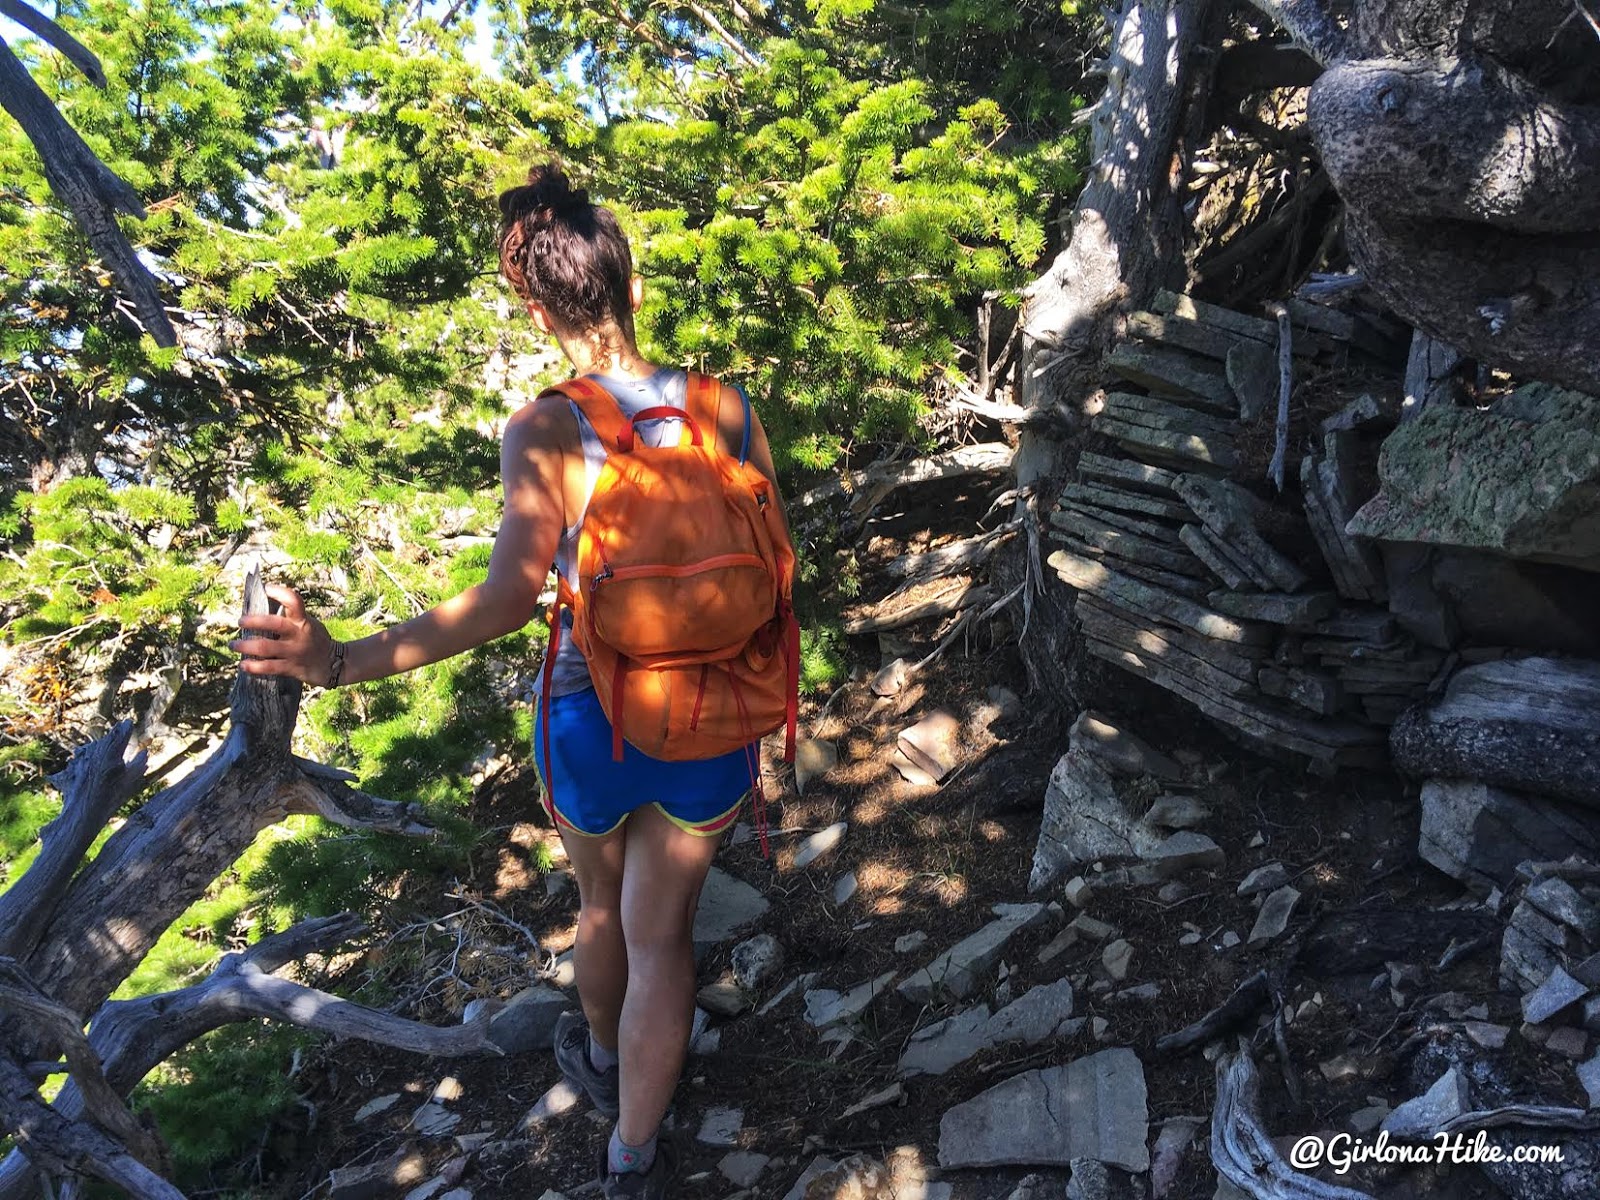
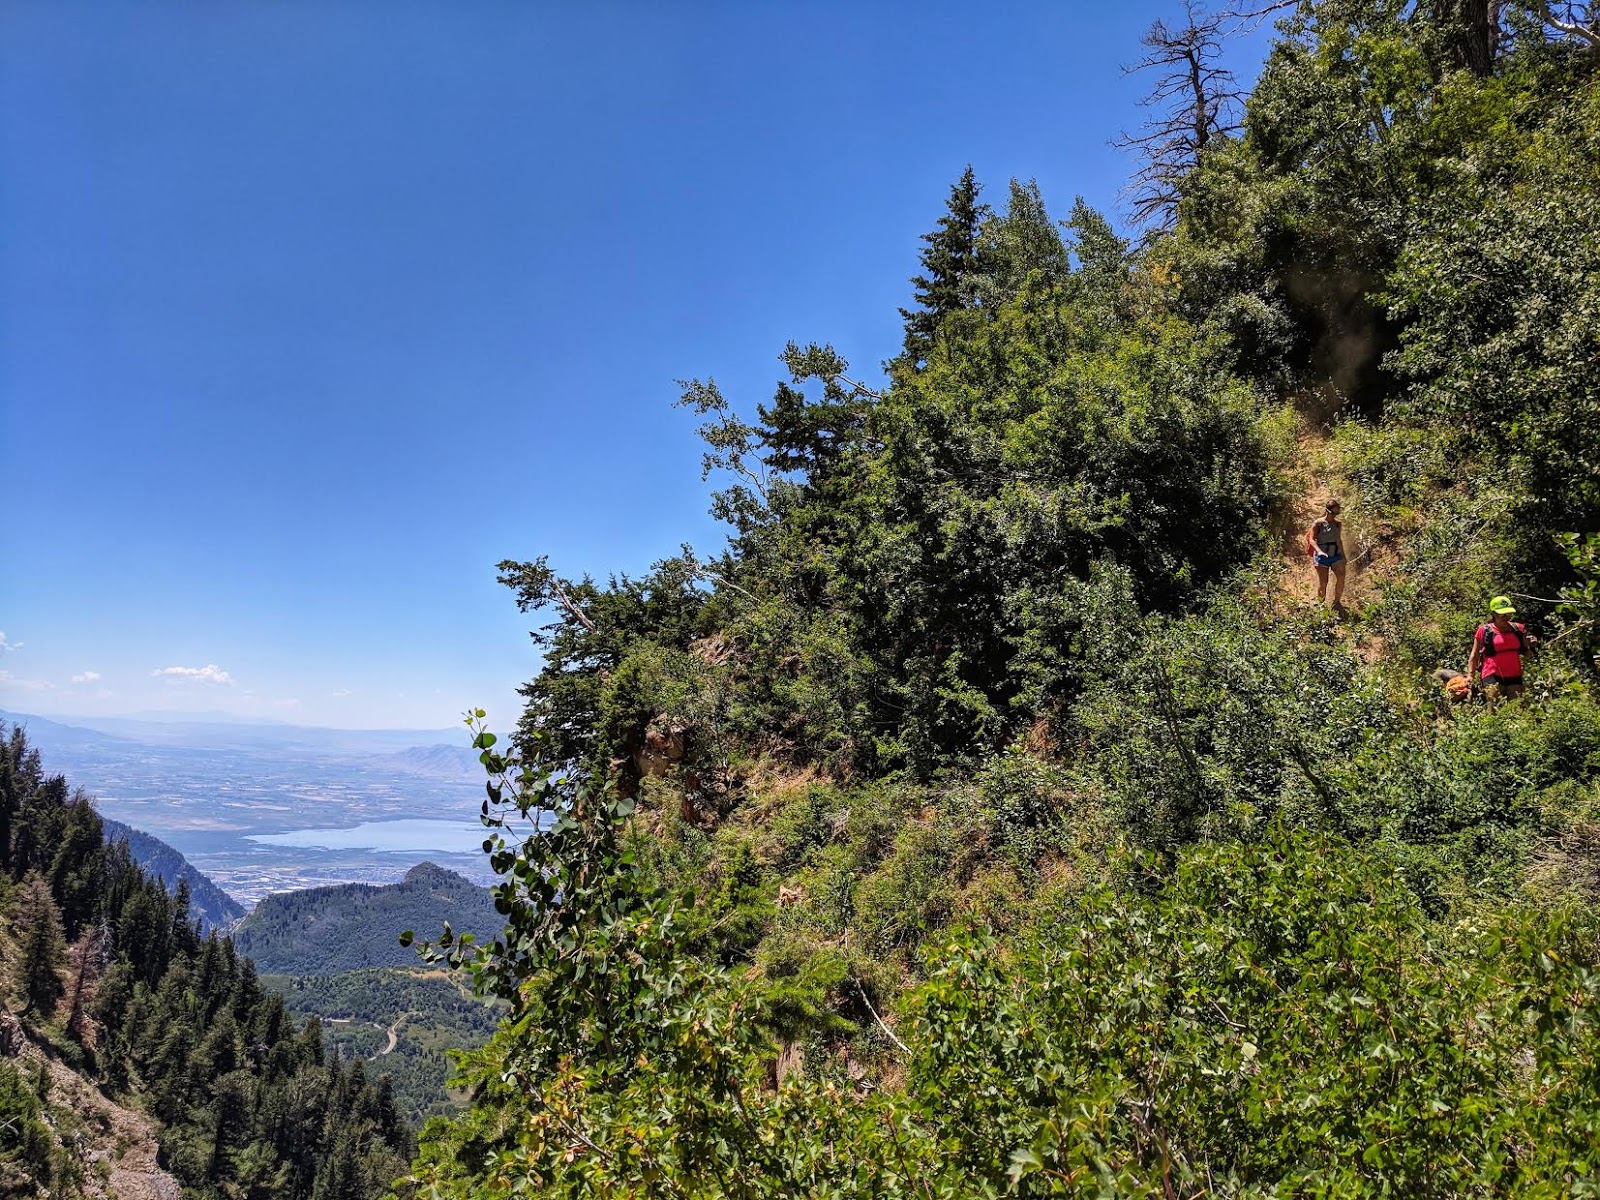
At the saddle – 3.3 miles. From here the trail turns into a “climbers route” – the trail fades in and out. Always stay close to the ridge from here on out – if you drop down you’ll have to hike that much more uphill. And trust me – it gets tiring just following the ridge.
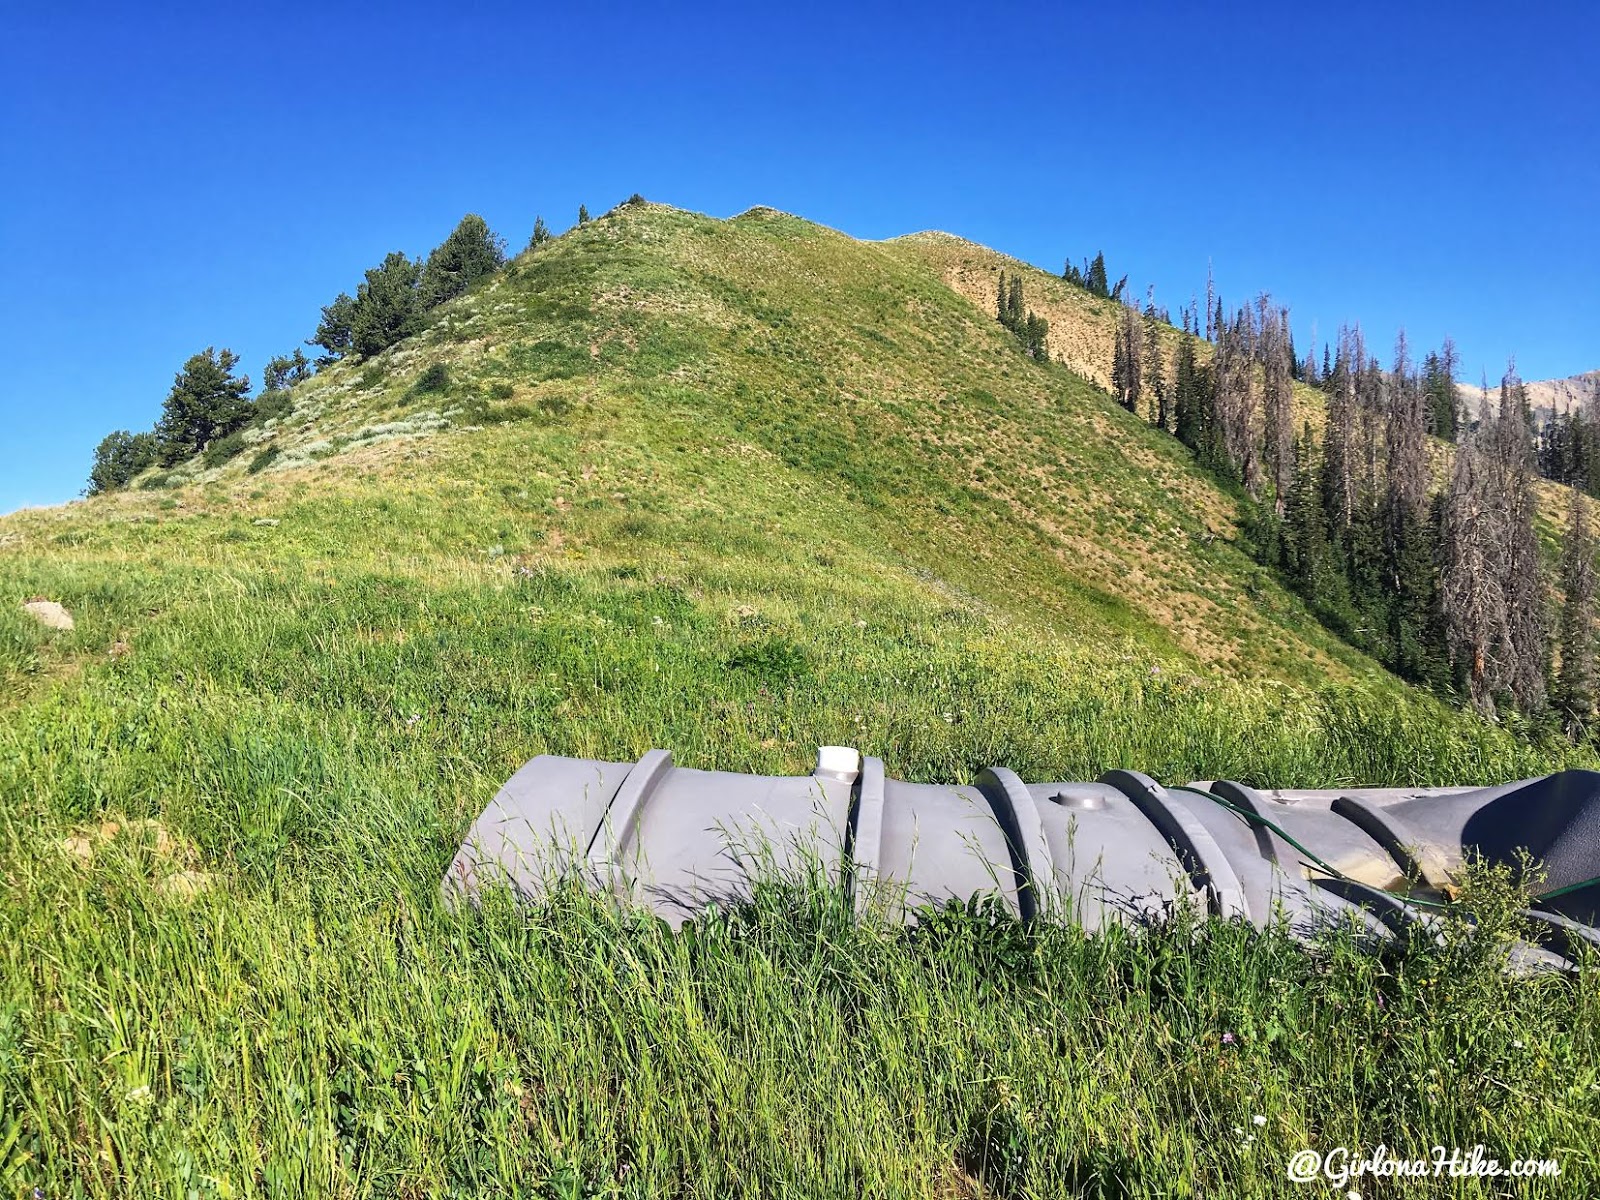
Pass this structure on your right – it looked like some kind of trough with a hose in it. Remember – stay on the ridge! We though it might be easier to go around this hill and we were wrong! We had to hike straight uphill to get back on the ridge.
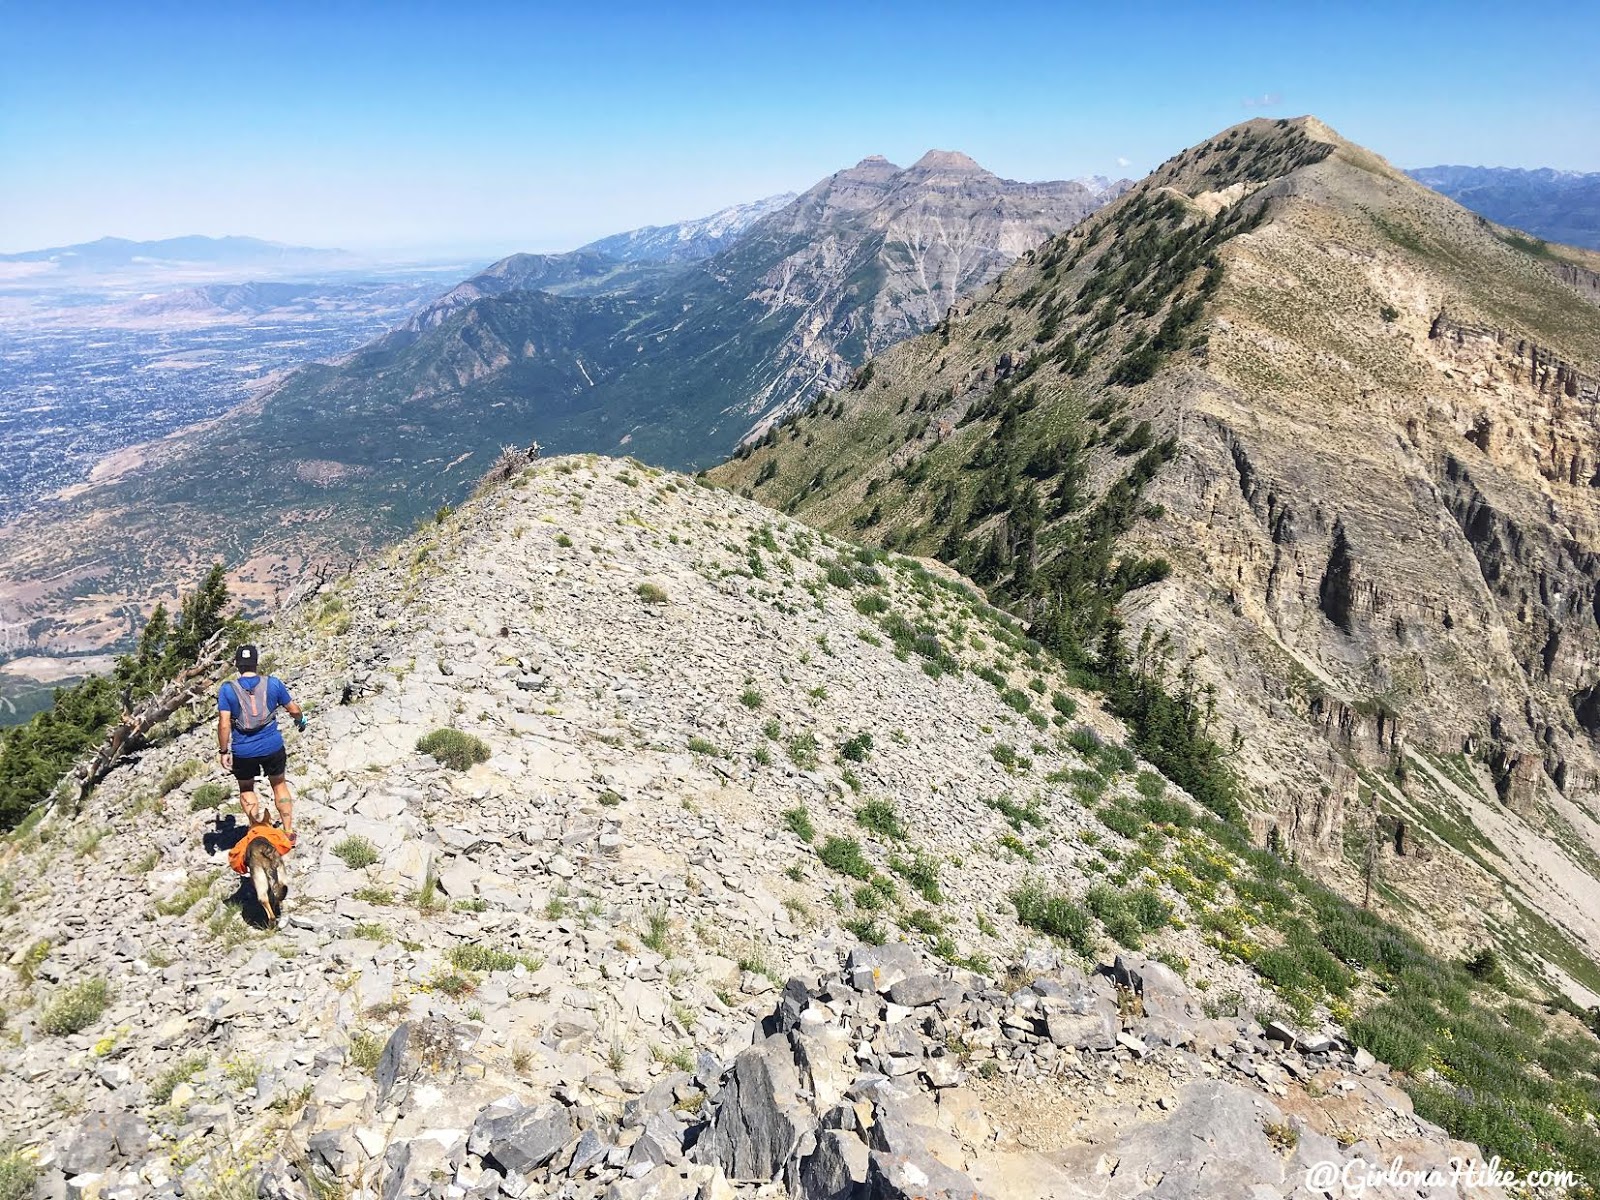
There are A LOT of ups and downs on this route.
Chris leads the way – he is a beast!
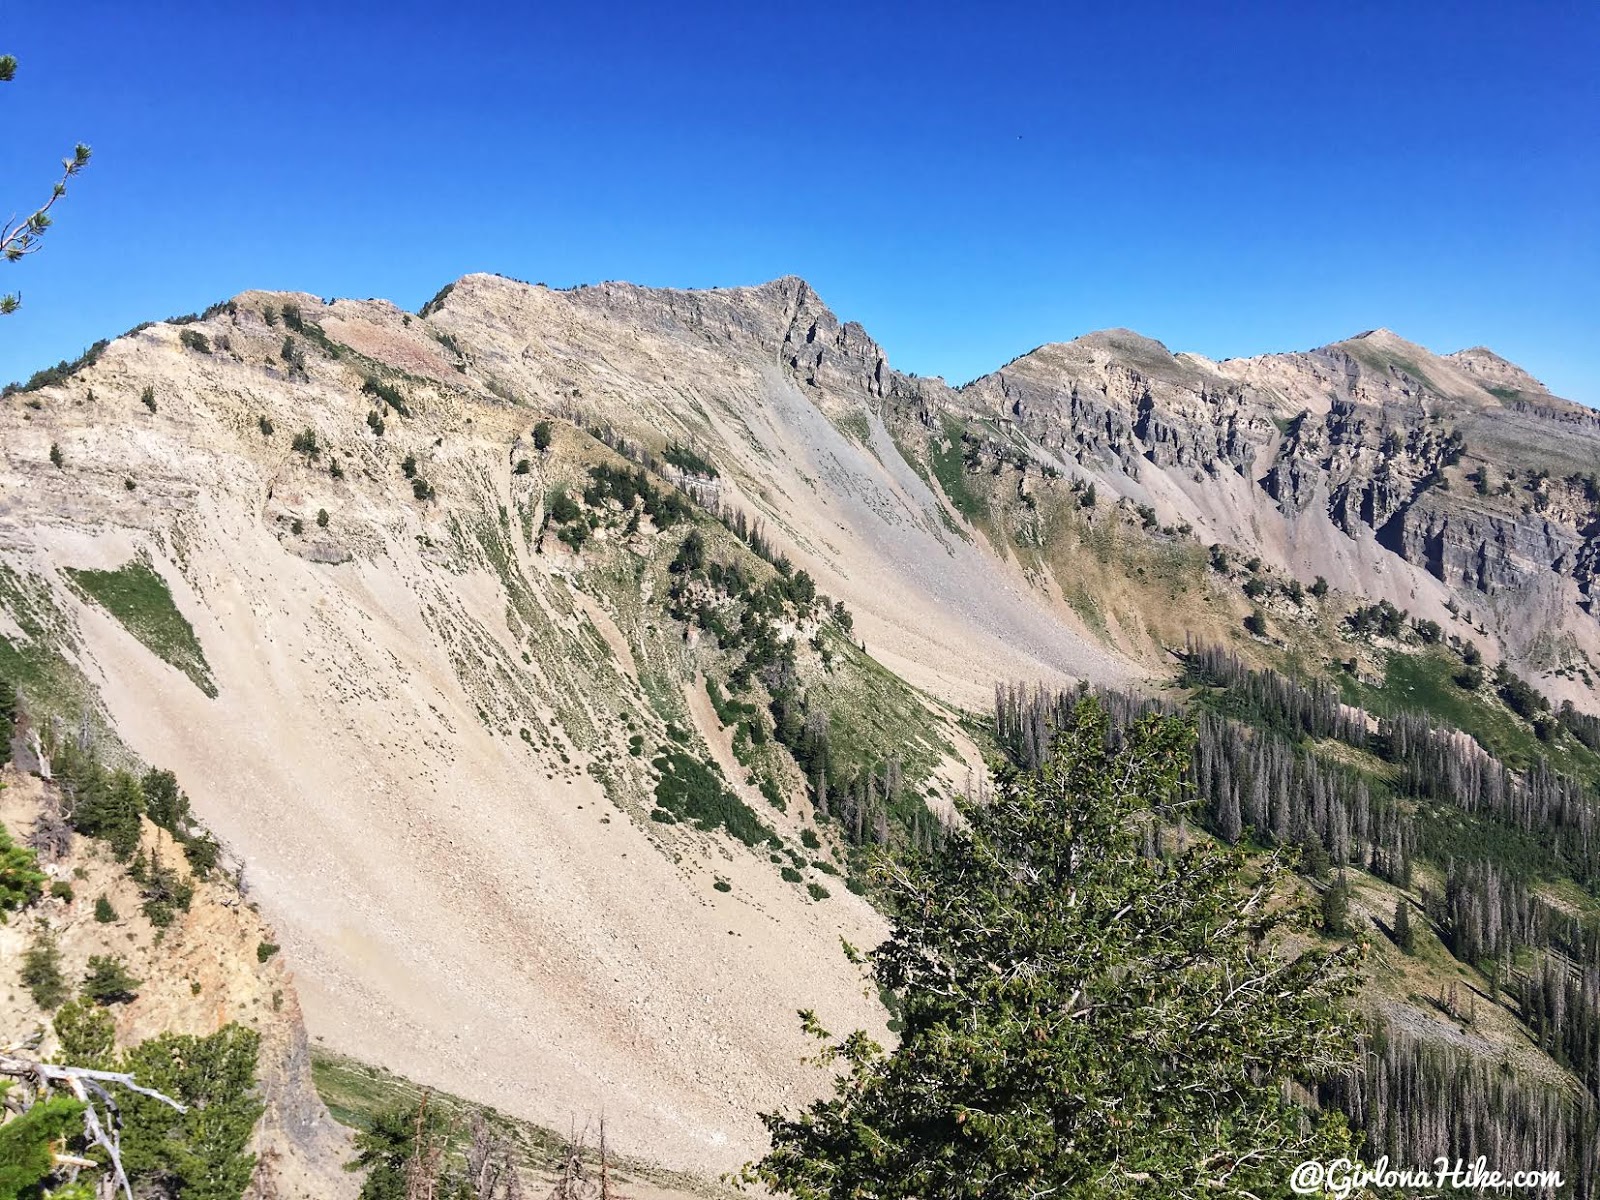
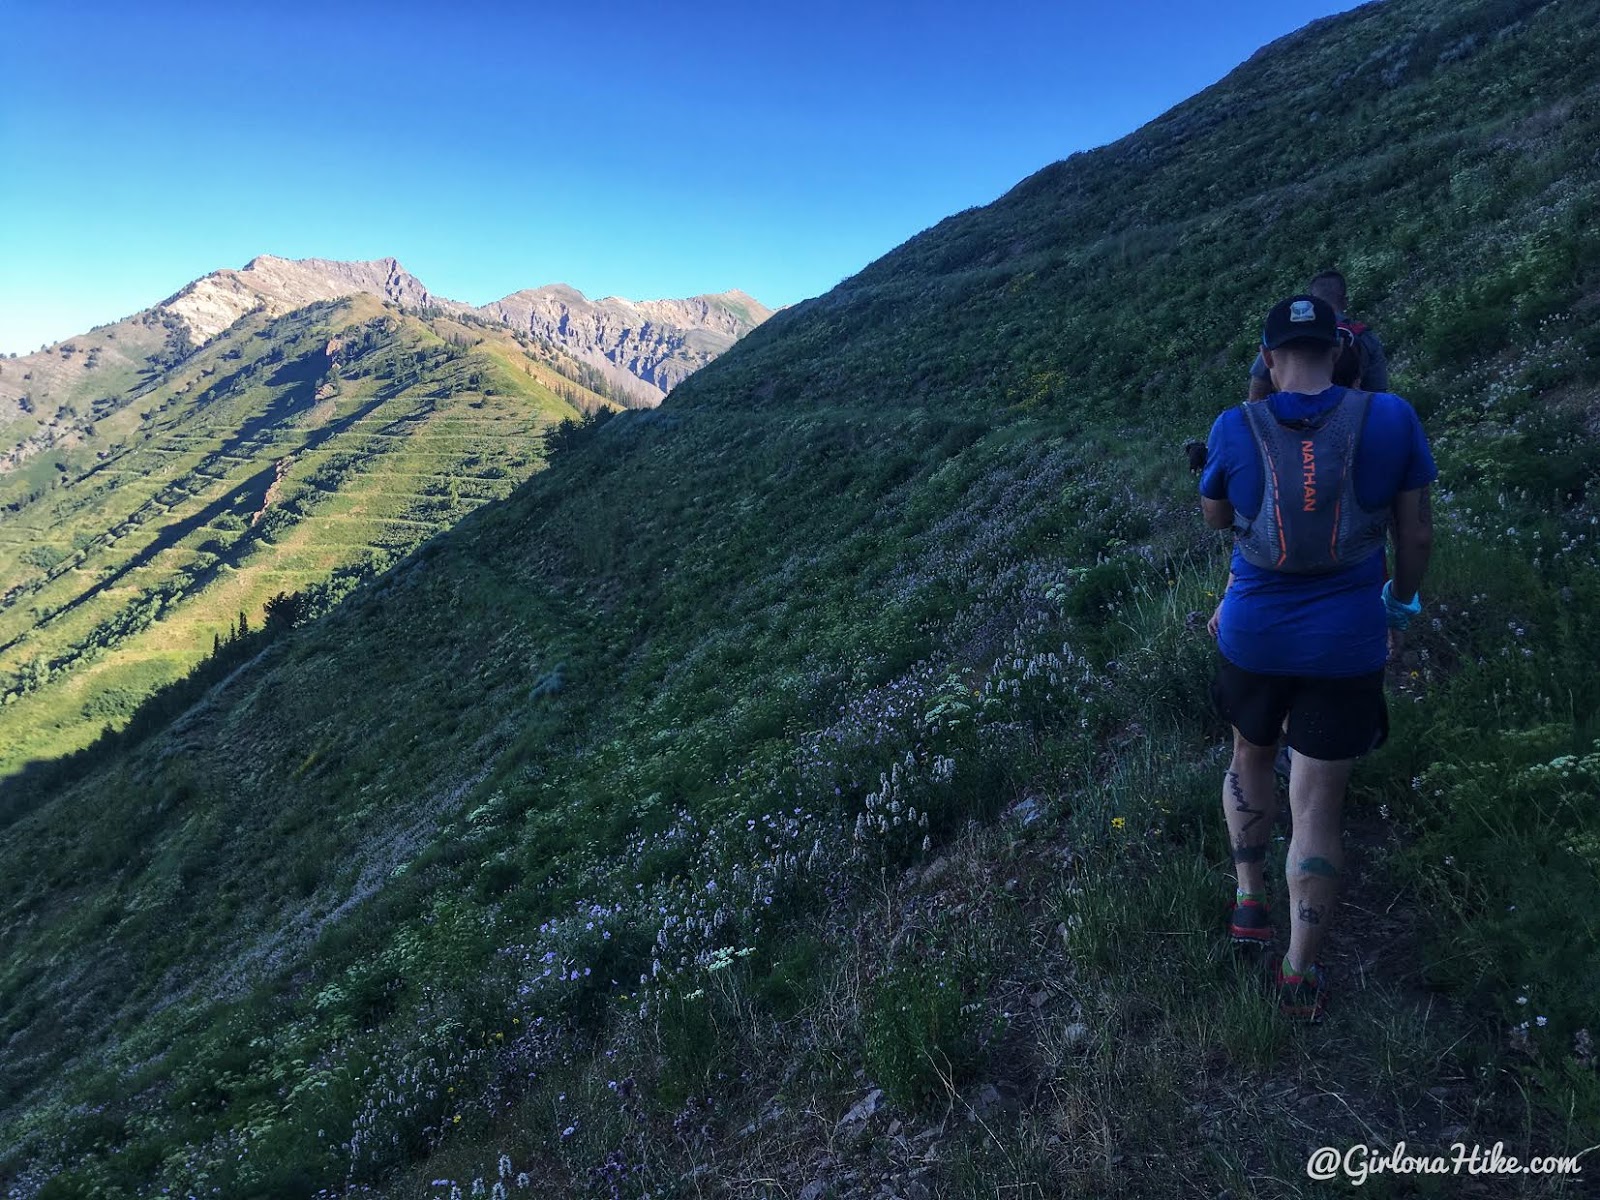
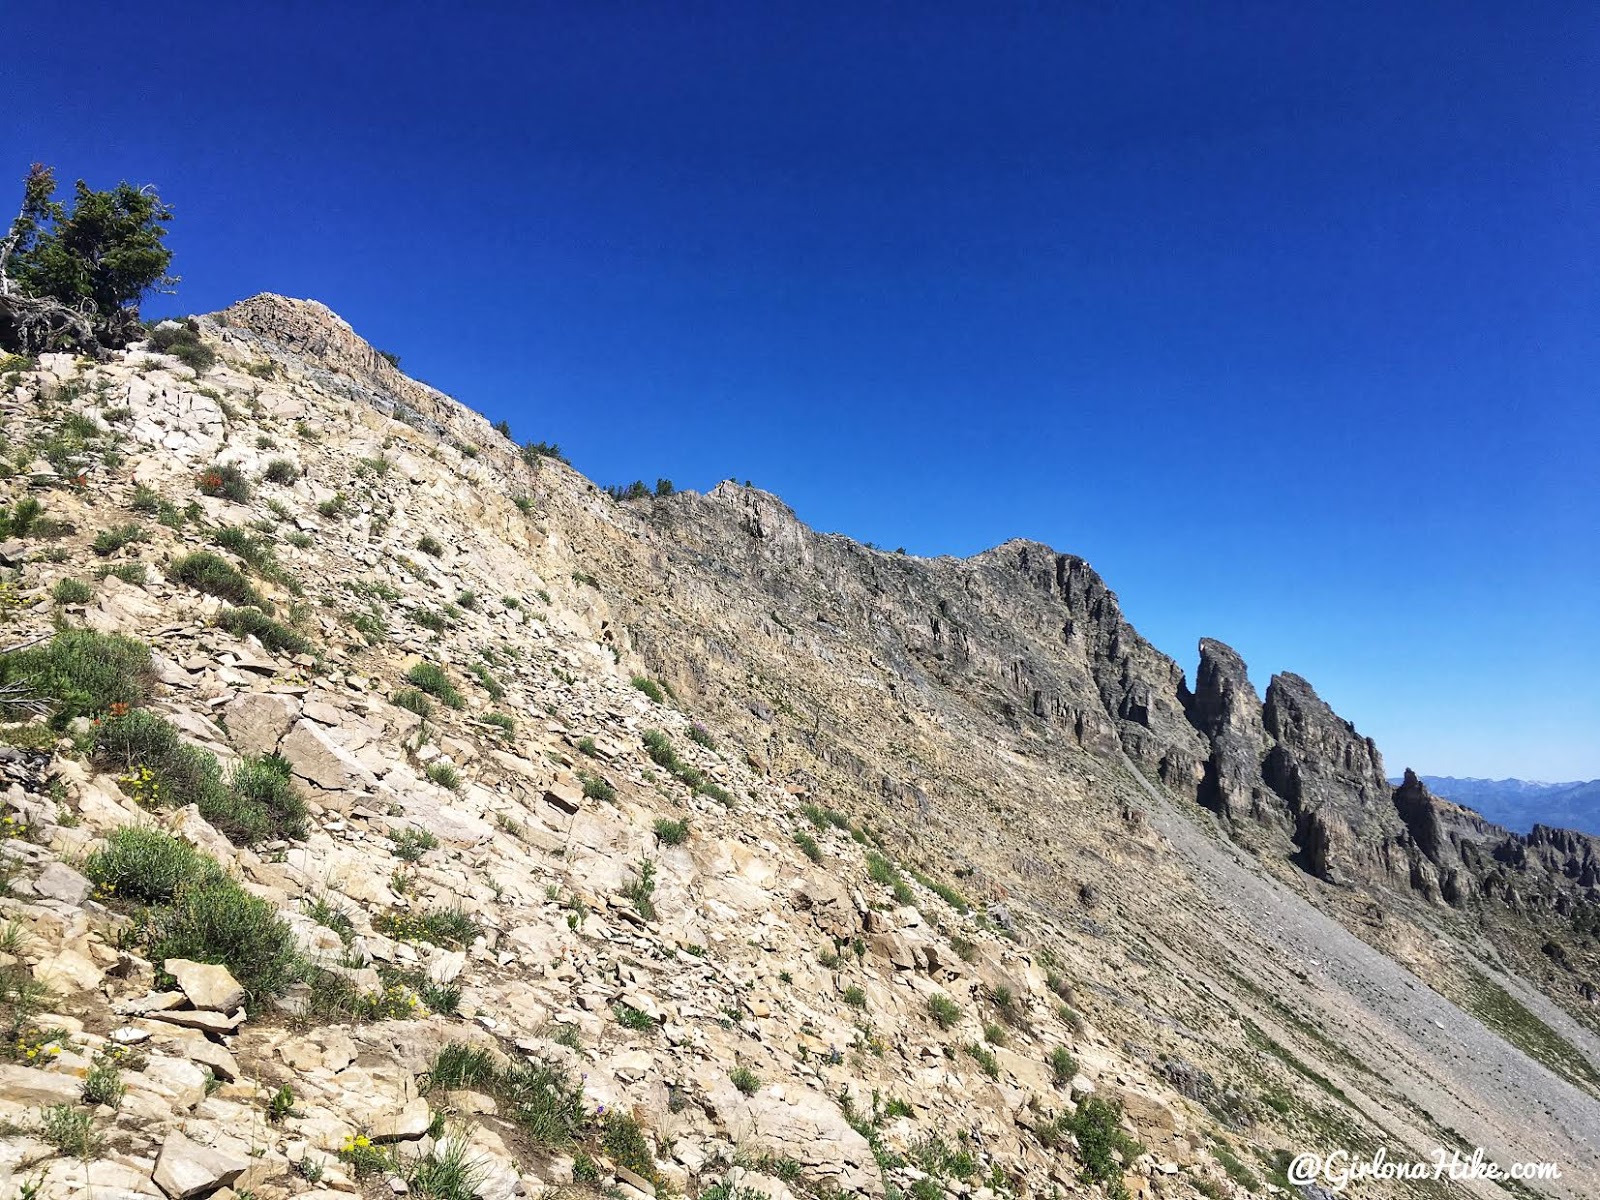
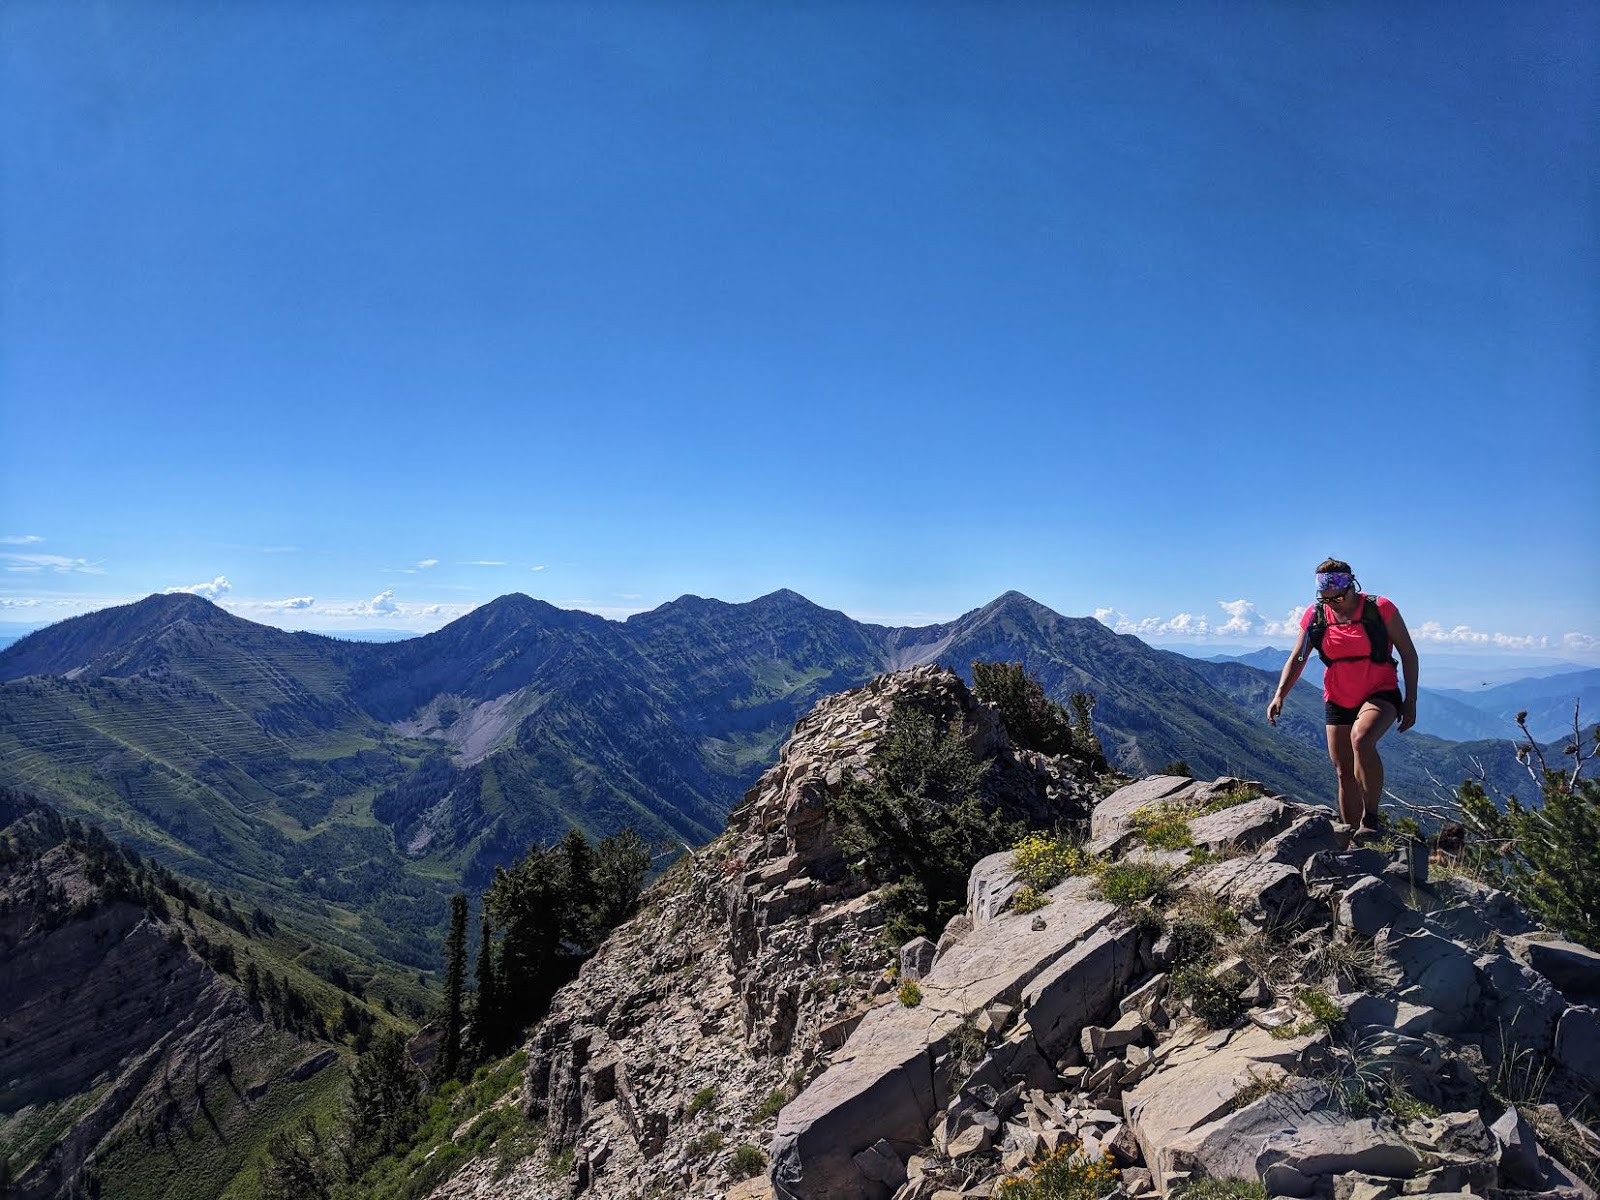
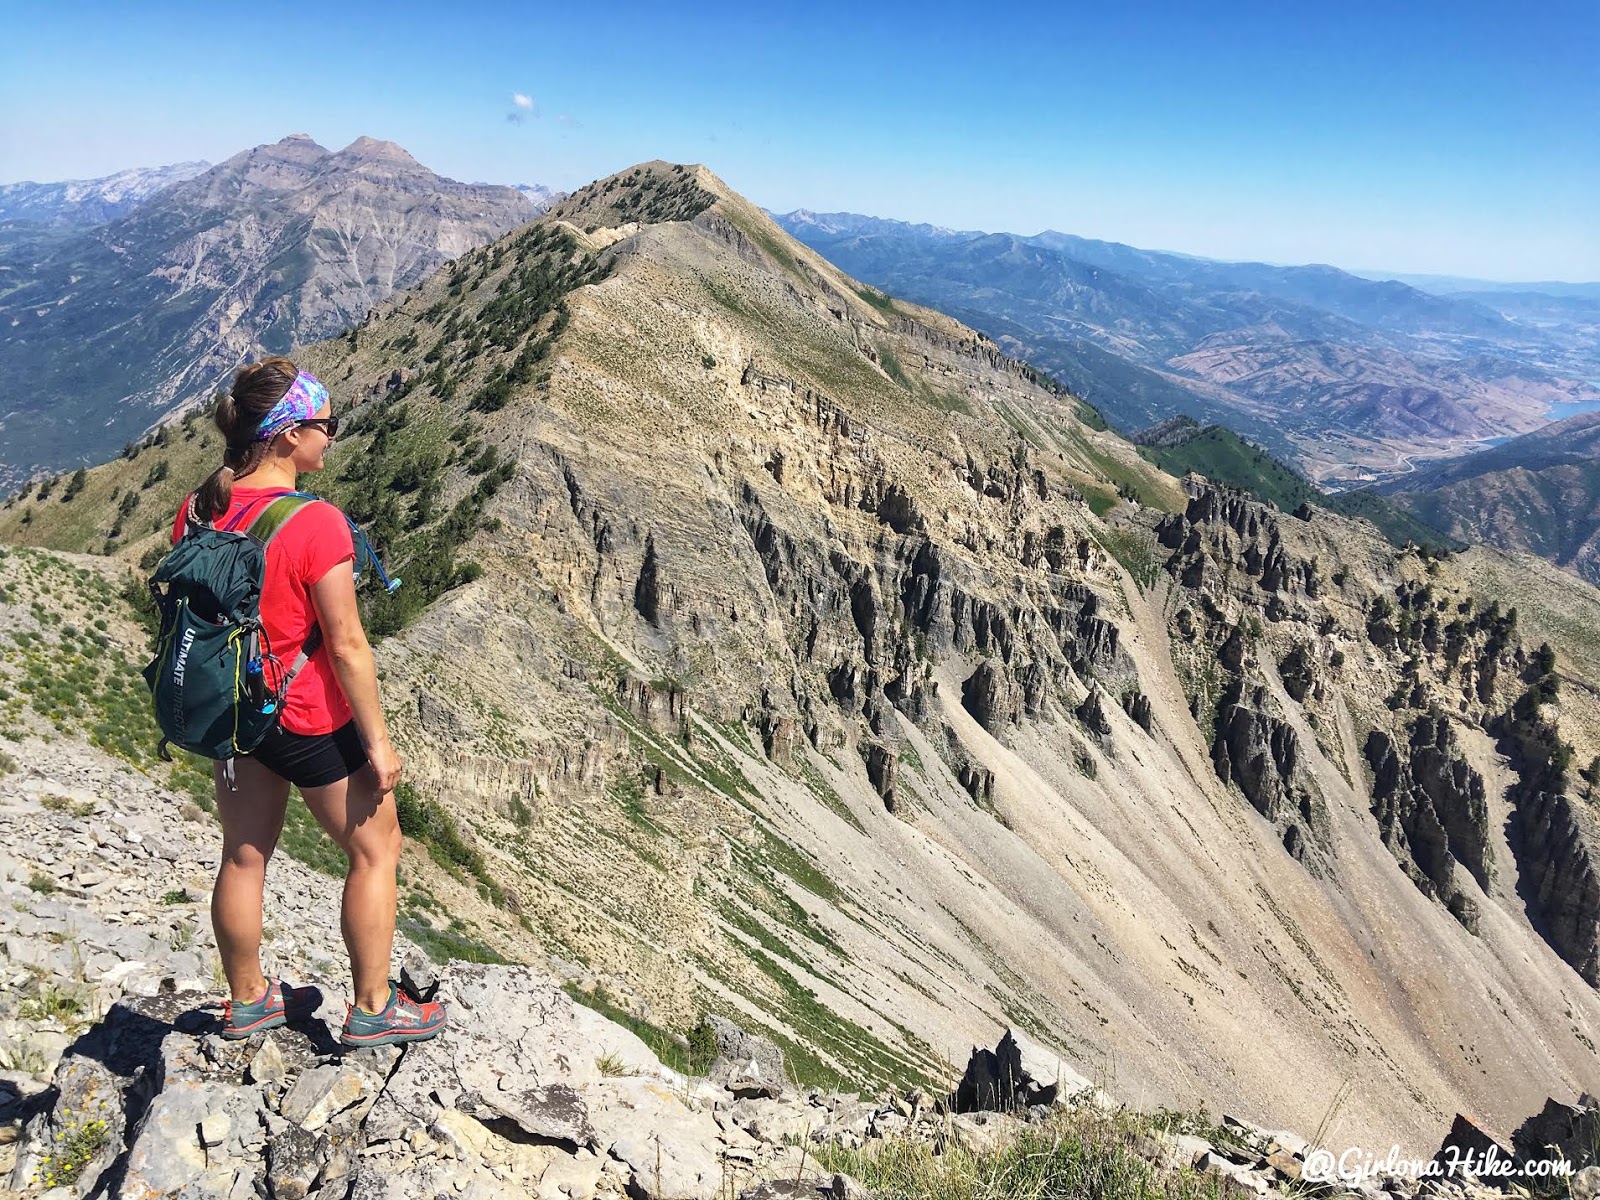
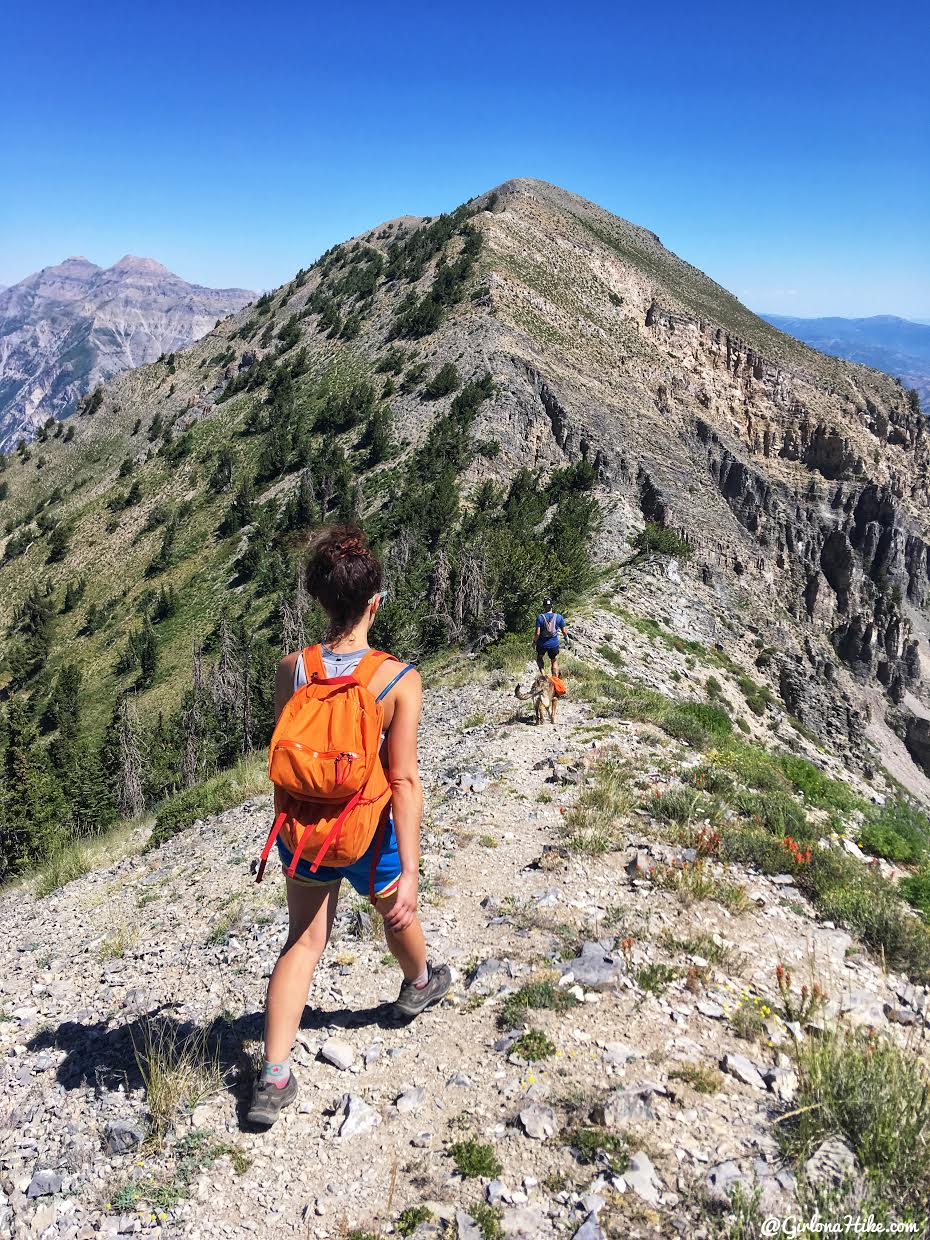
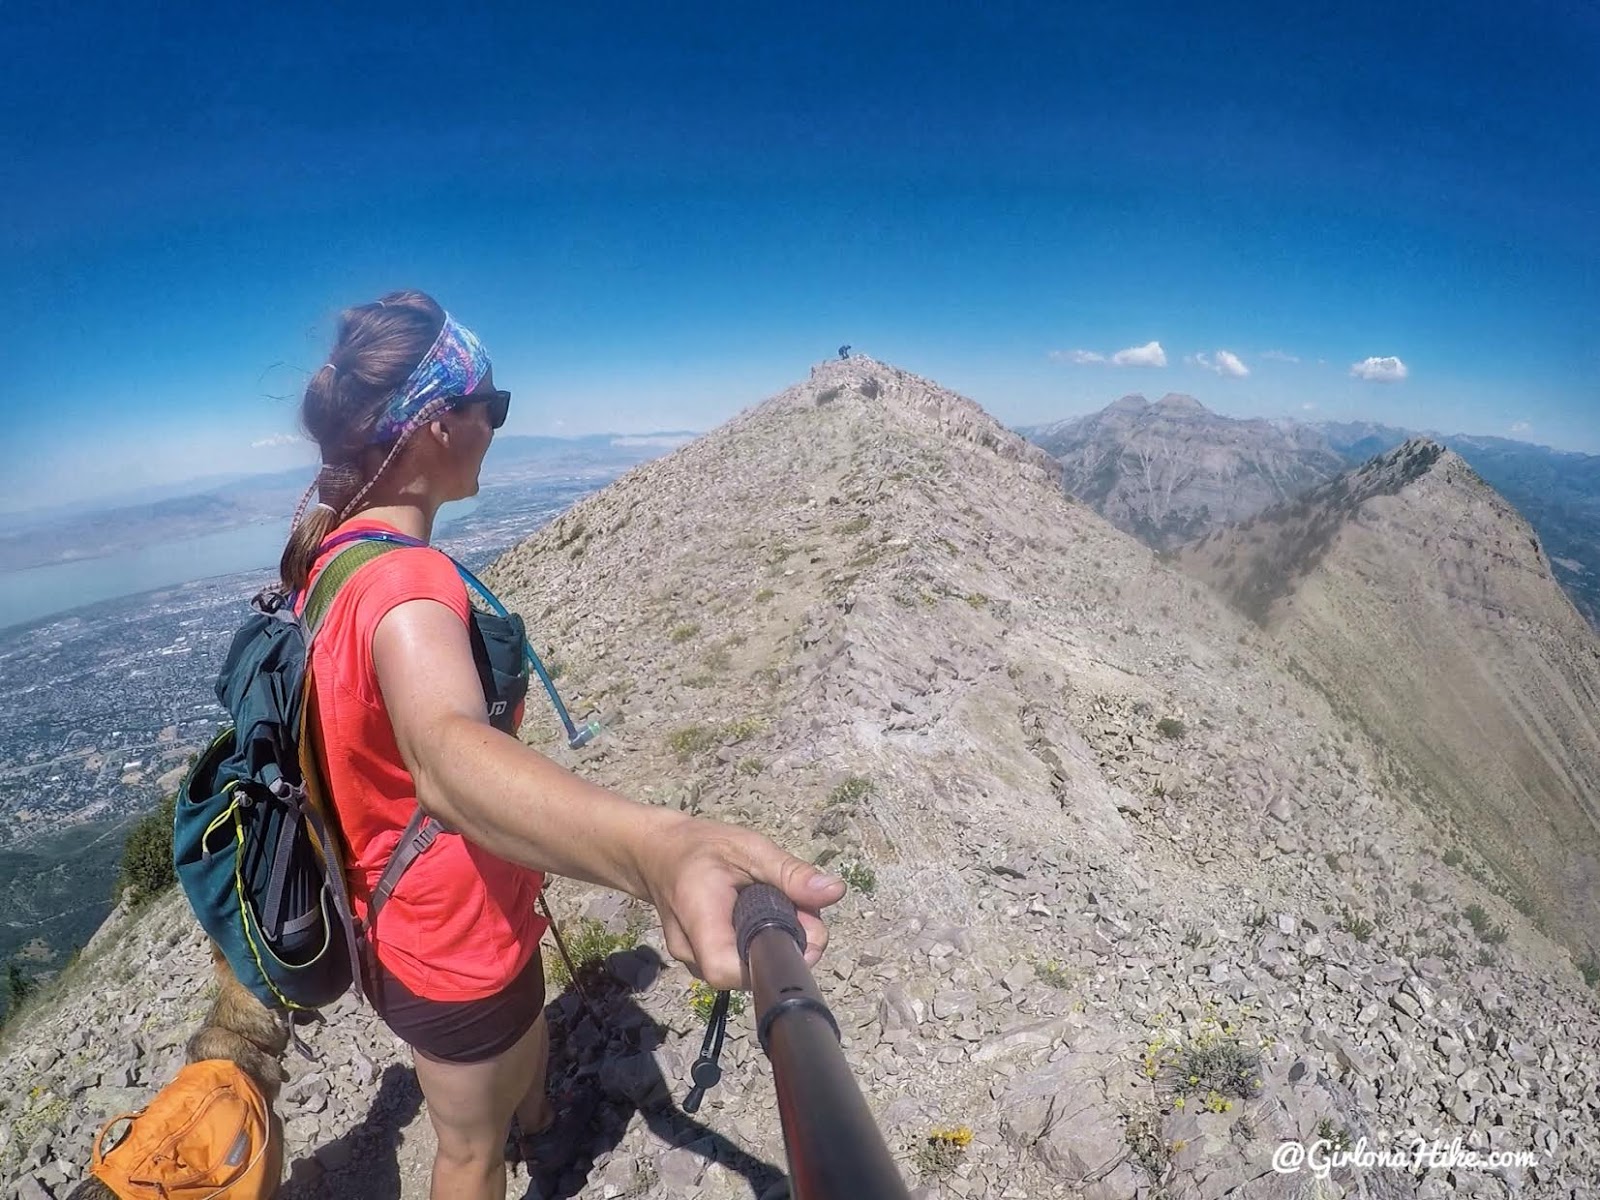
Wow…that ridge, though!

Ummm…we’re going all the way over there?! Yikes. Not even joking, this ridge was pretty intimidating for me and I’ve done a lot of ridges! It just seemed soooo far! Gotta be on top of your mental game for this summit. By this point we already lost one of our friends and his dog to getting spooked out along the ridge. It would later be a blessing that he turned around….keep reading.
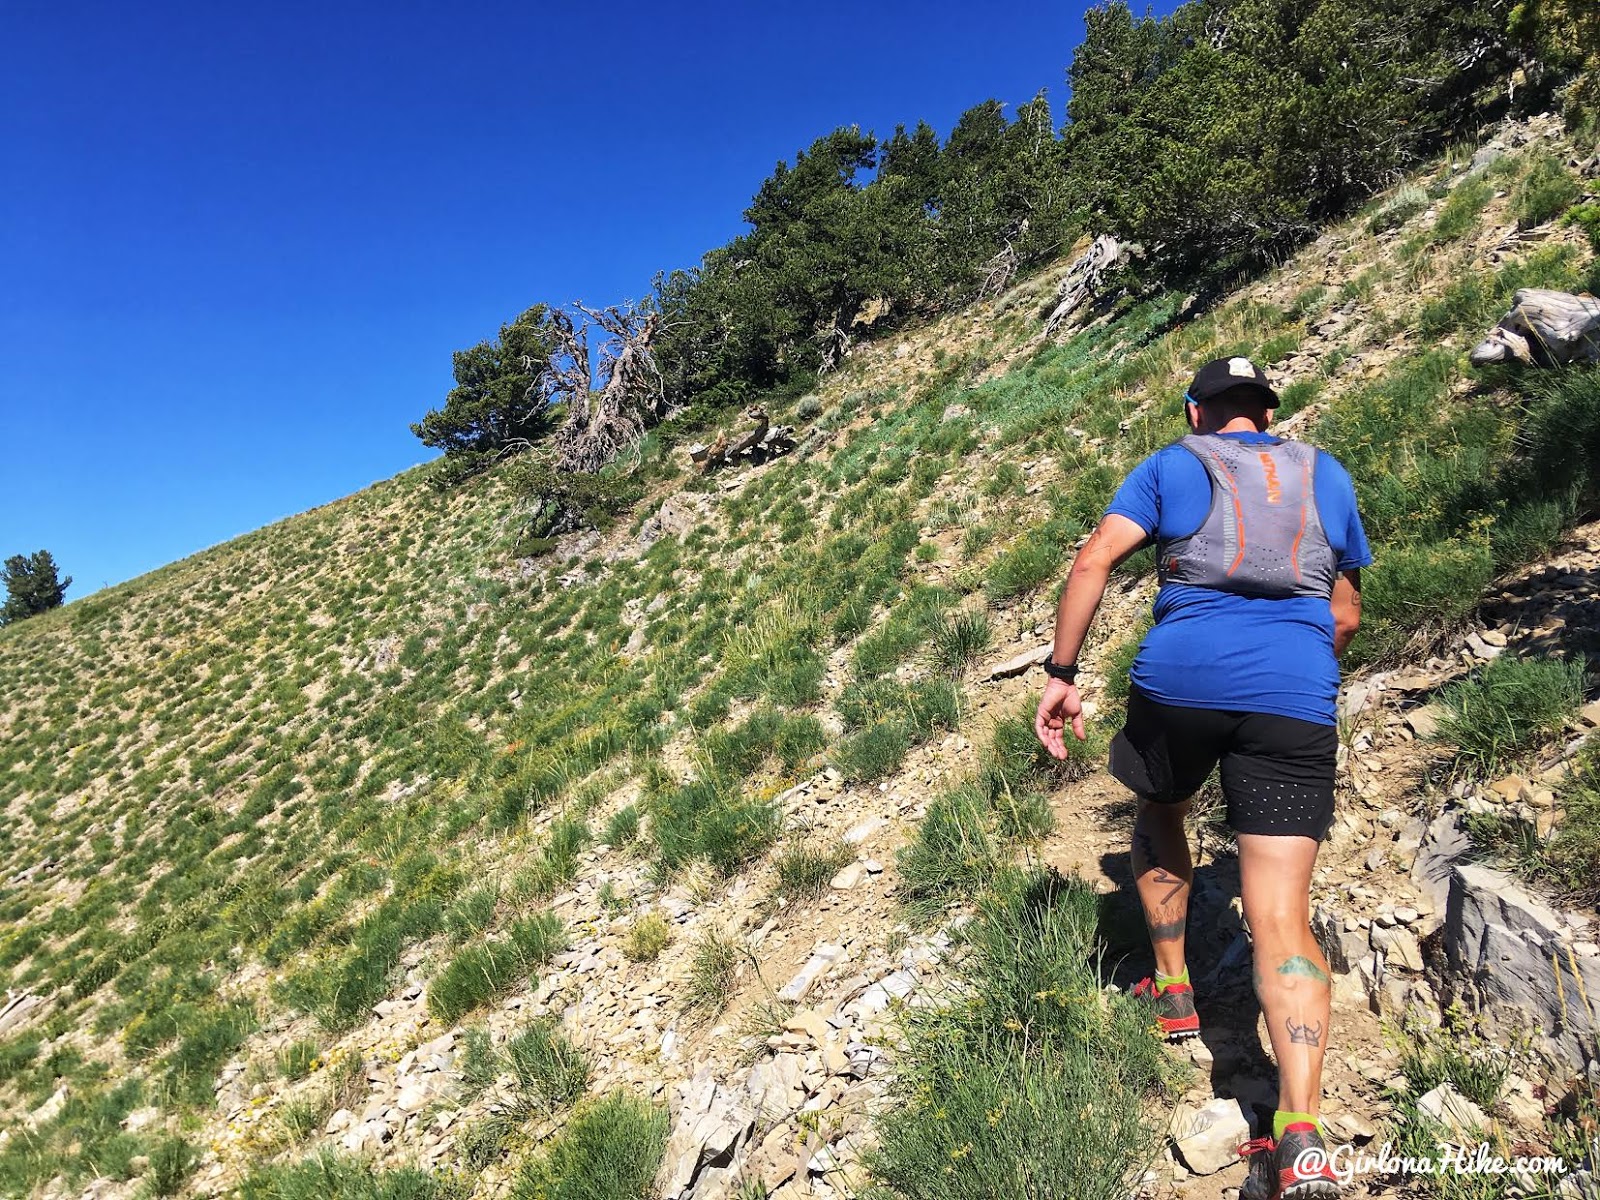
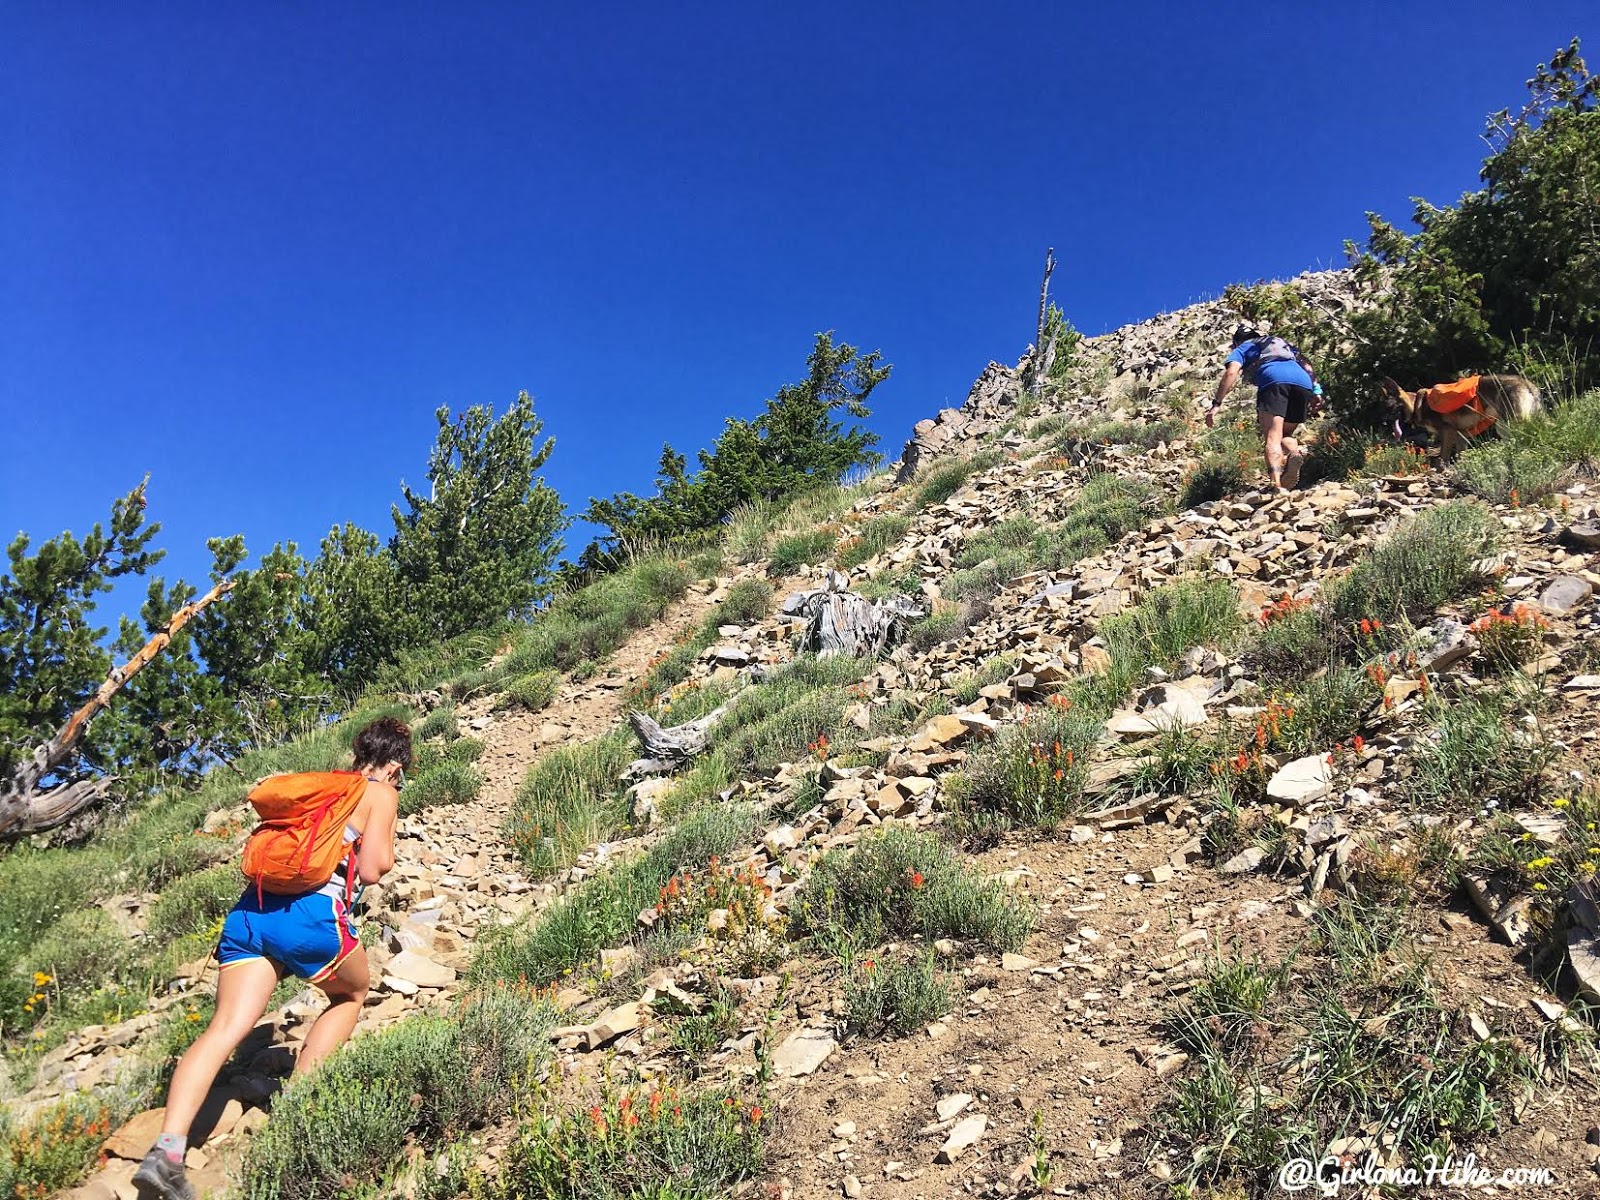
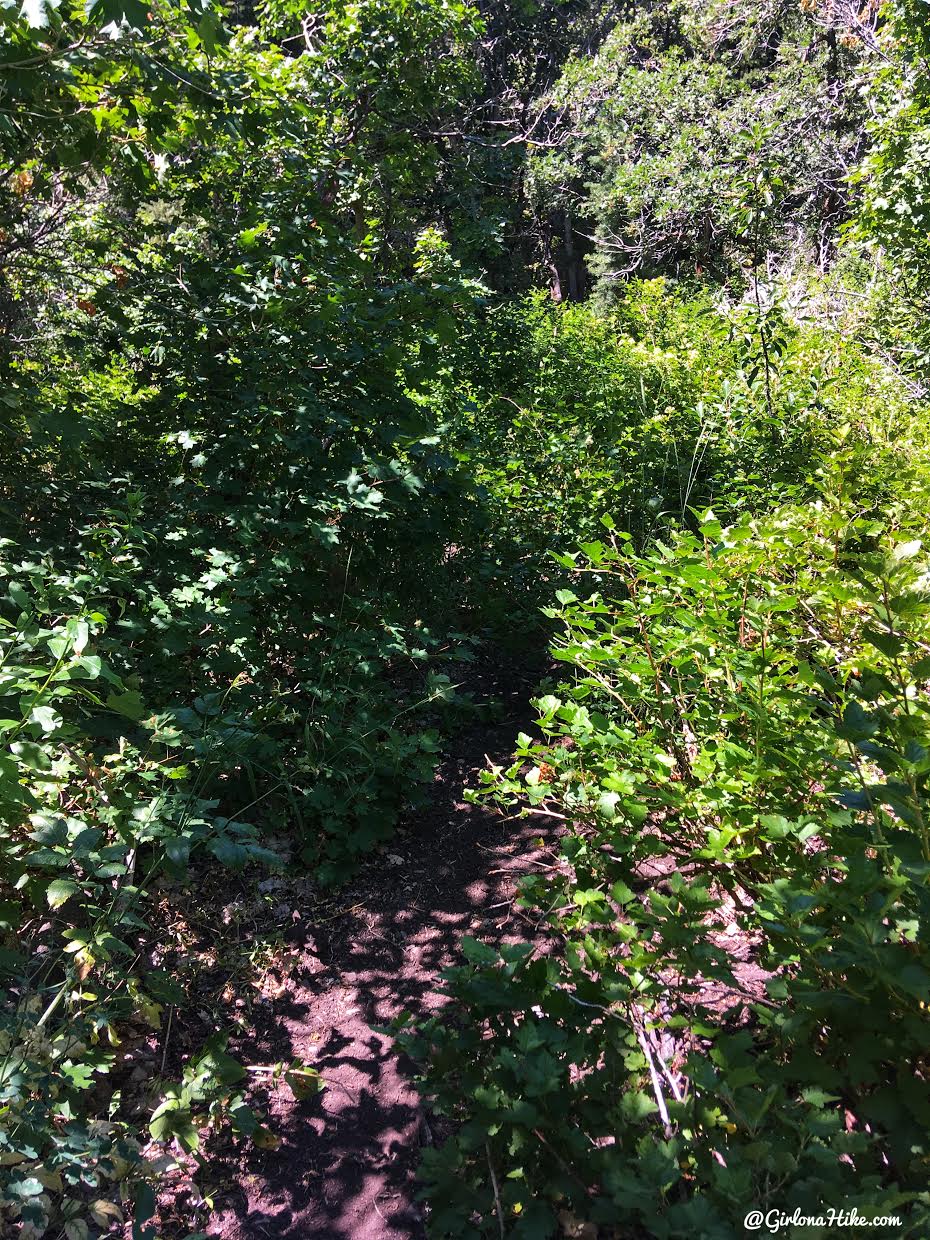
You can tell that there is barely a trail in some spots. Once you are on it it’s fairly easy to follow, it just fades in/out a lot.
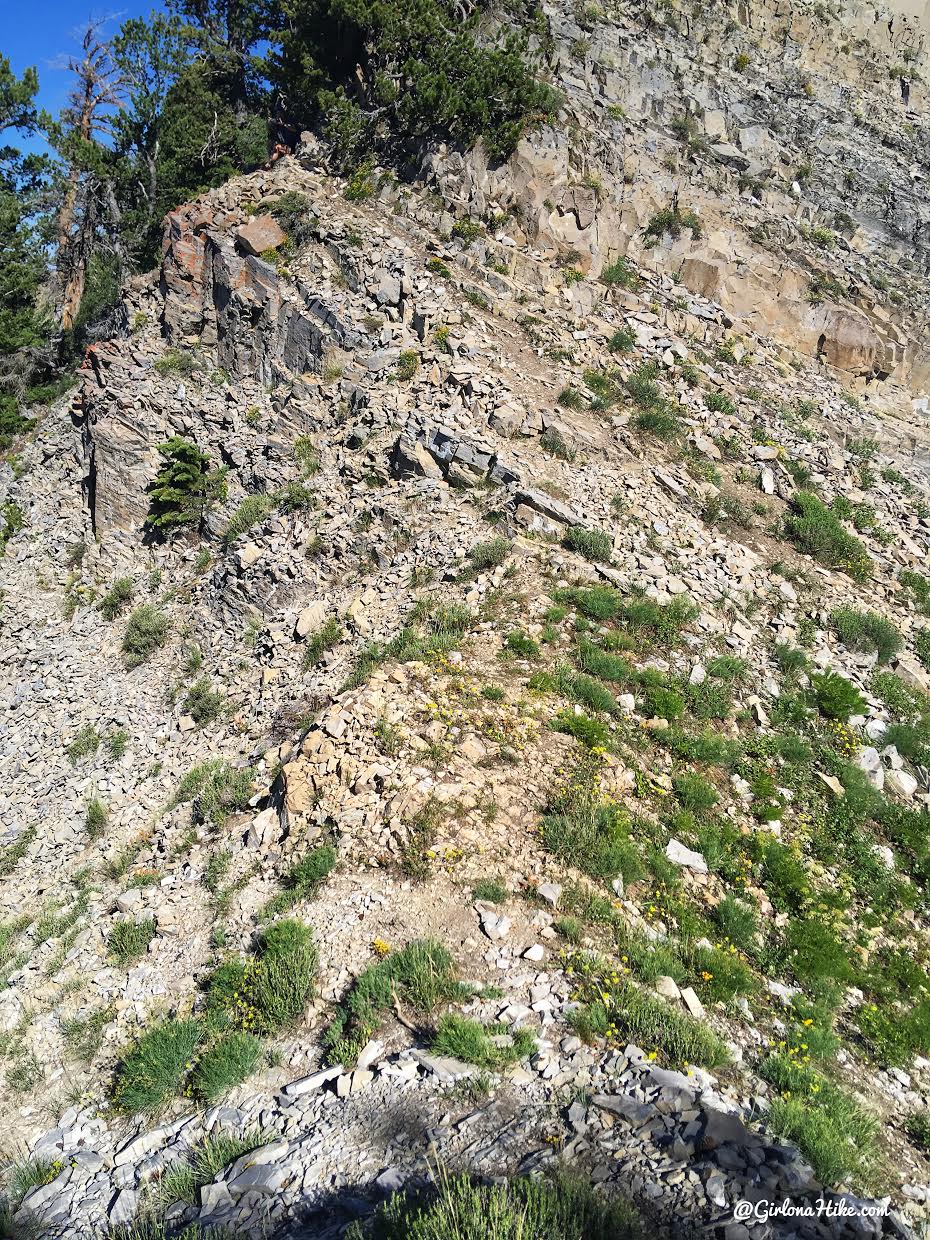
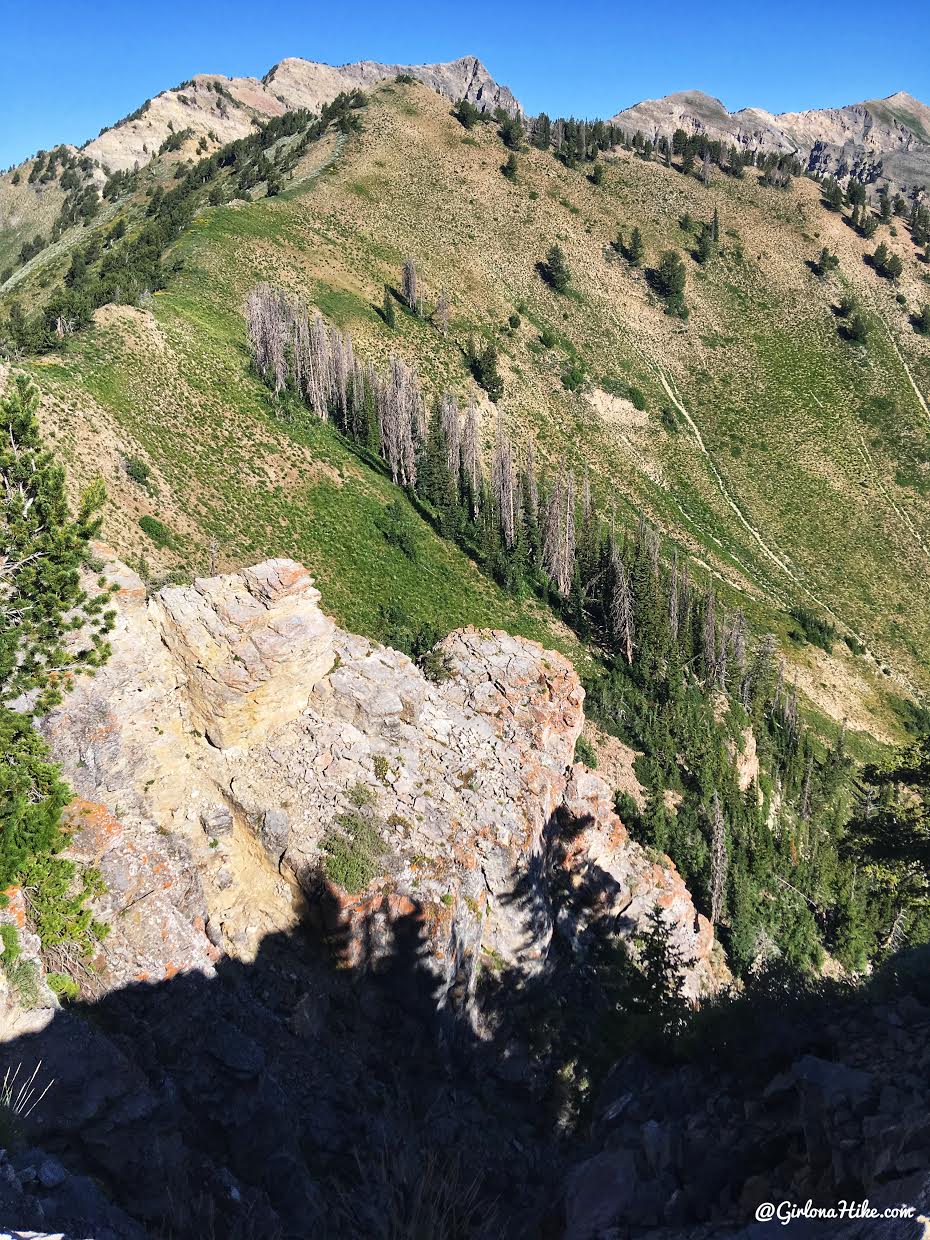
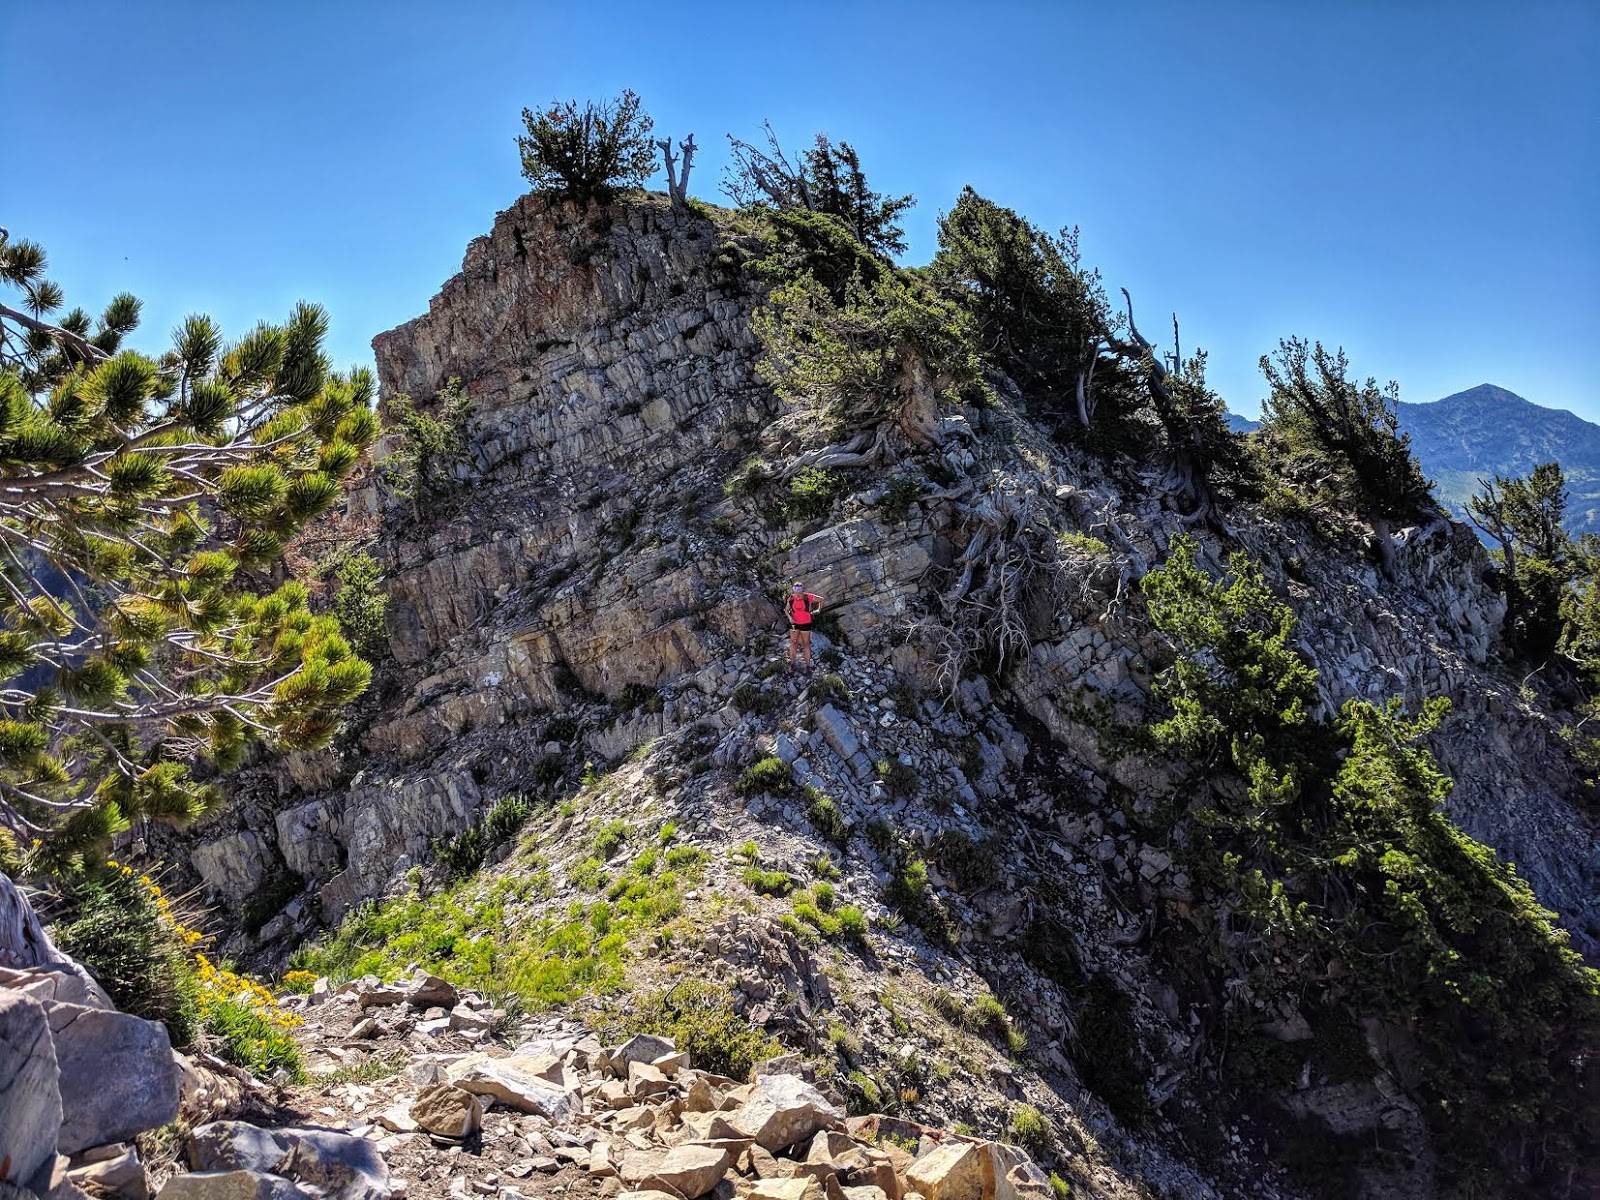
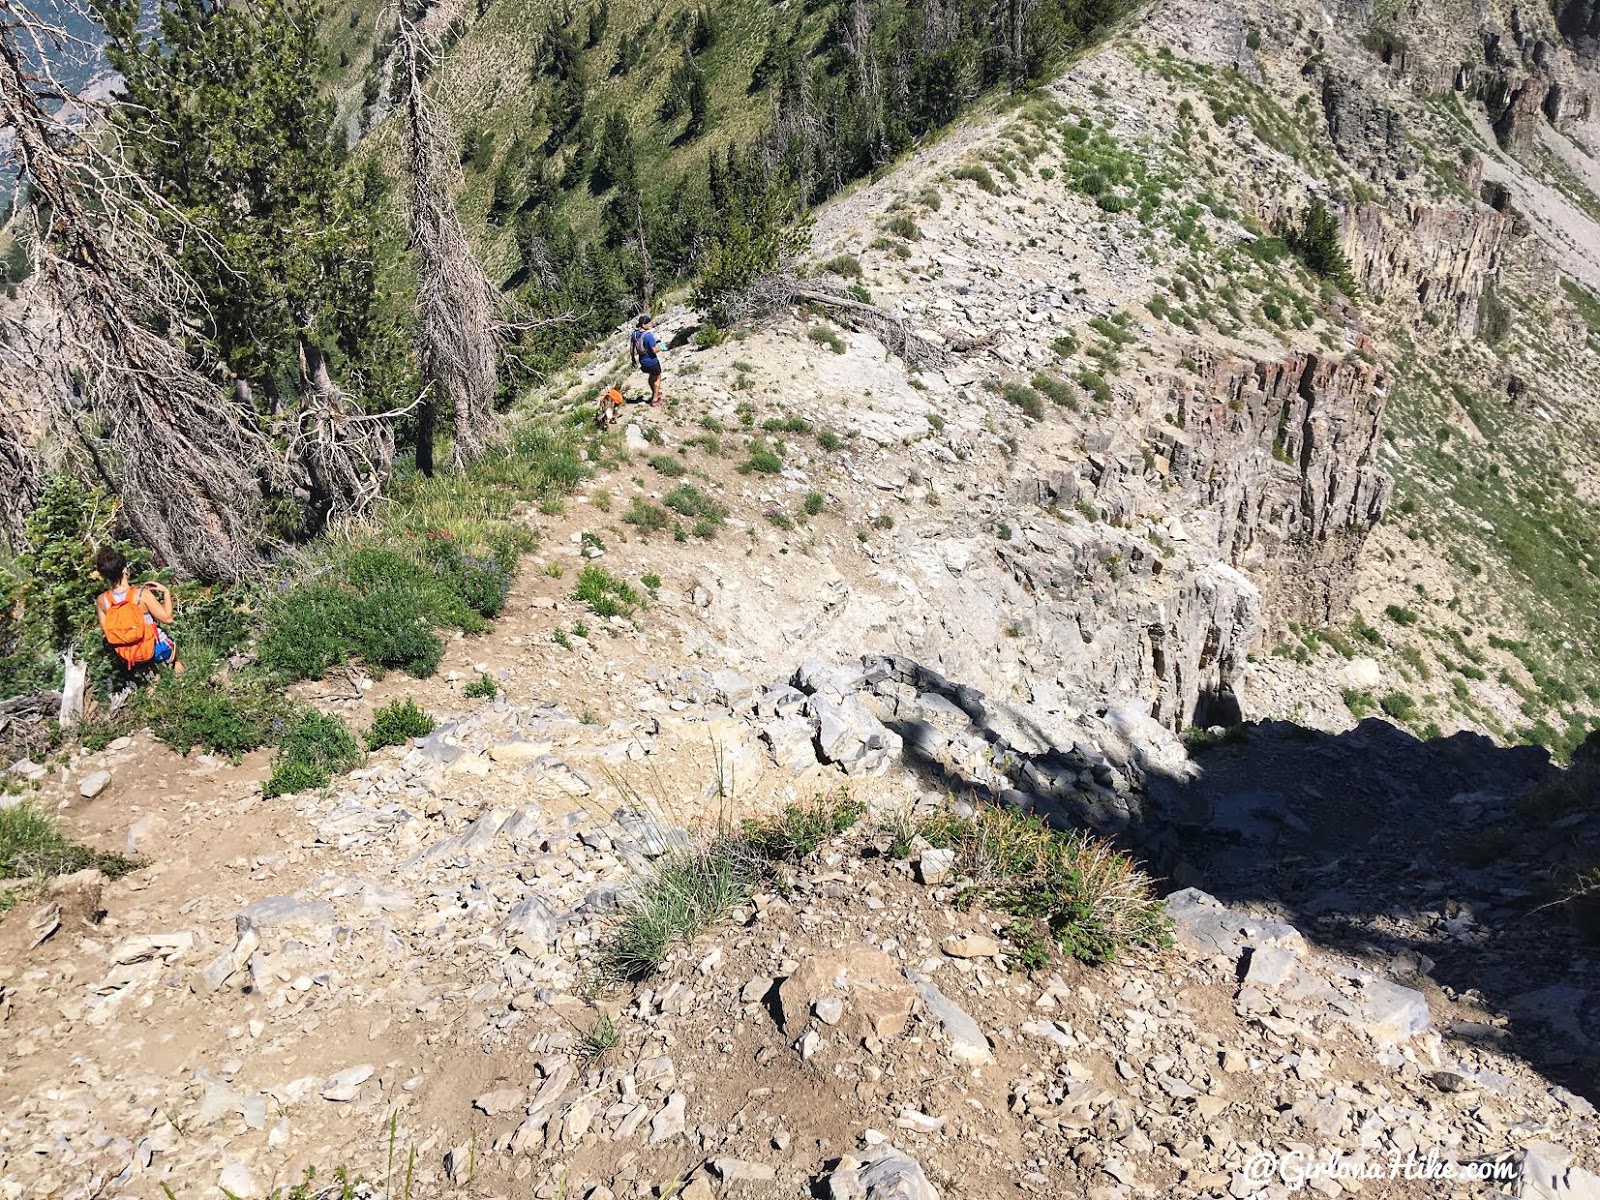
This is the first section I almost bailed out. Hiking around the edge to this section was super loose talus and pretty steep. I had Chris get ahead to scope it out for us, and he called it good so we continued on. You can barely see him in this photo.
You’ll also have to duck or hop over lots of fallen trees. We thought these stacked rocks were pretty cool.
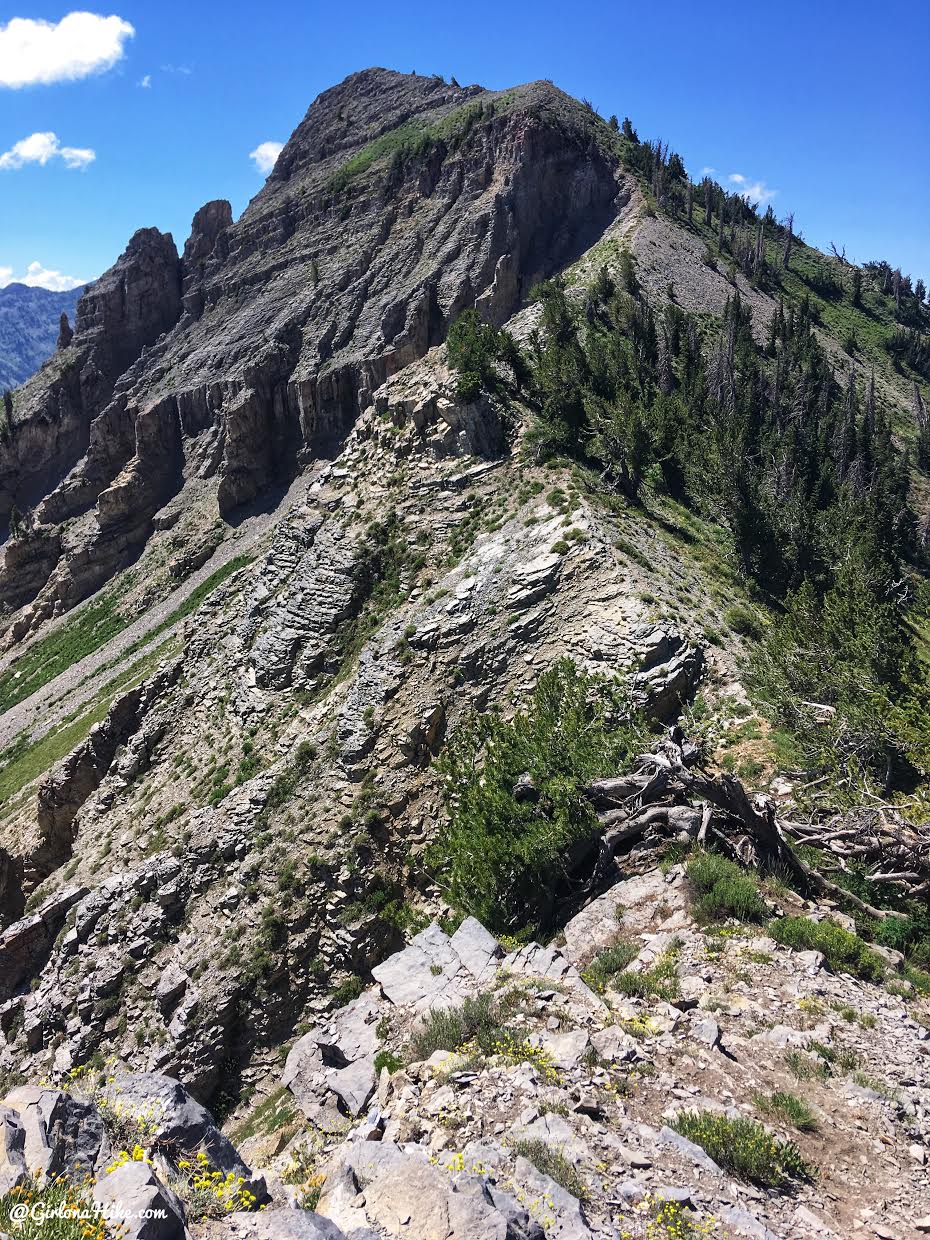
Only one more super steep loose section, right?
5 minute break to enjoy the views.
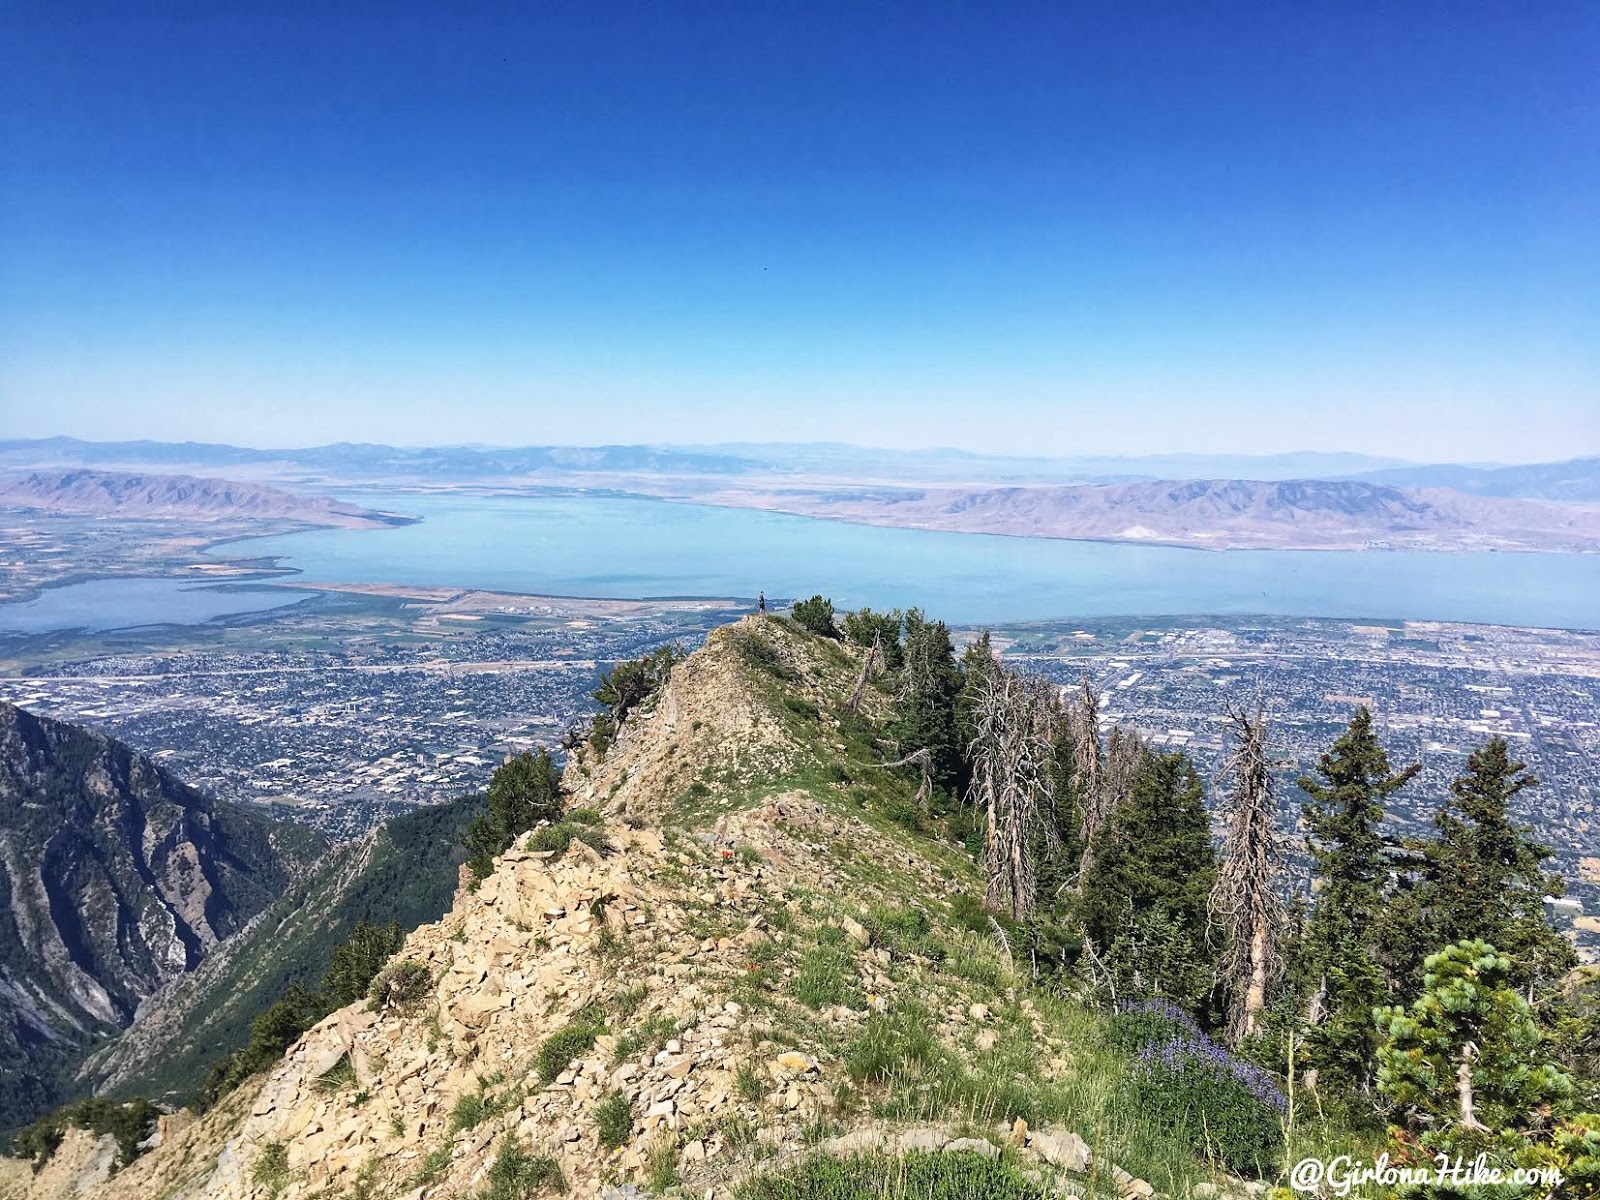
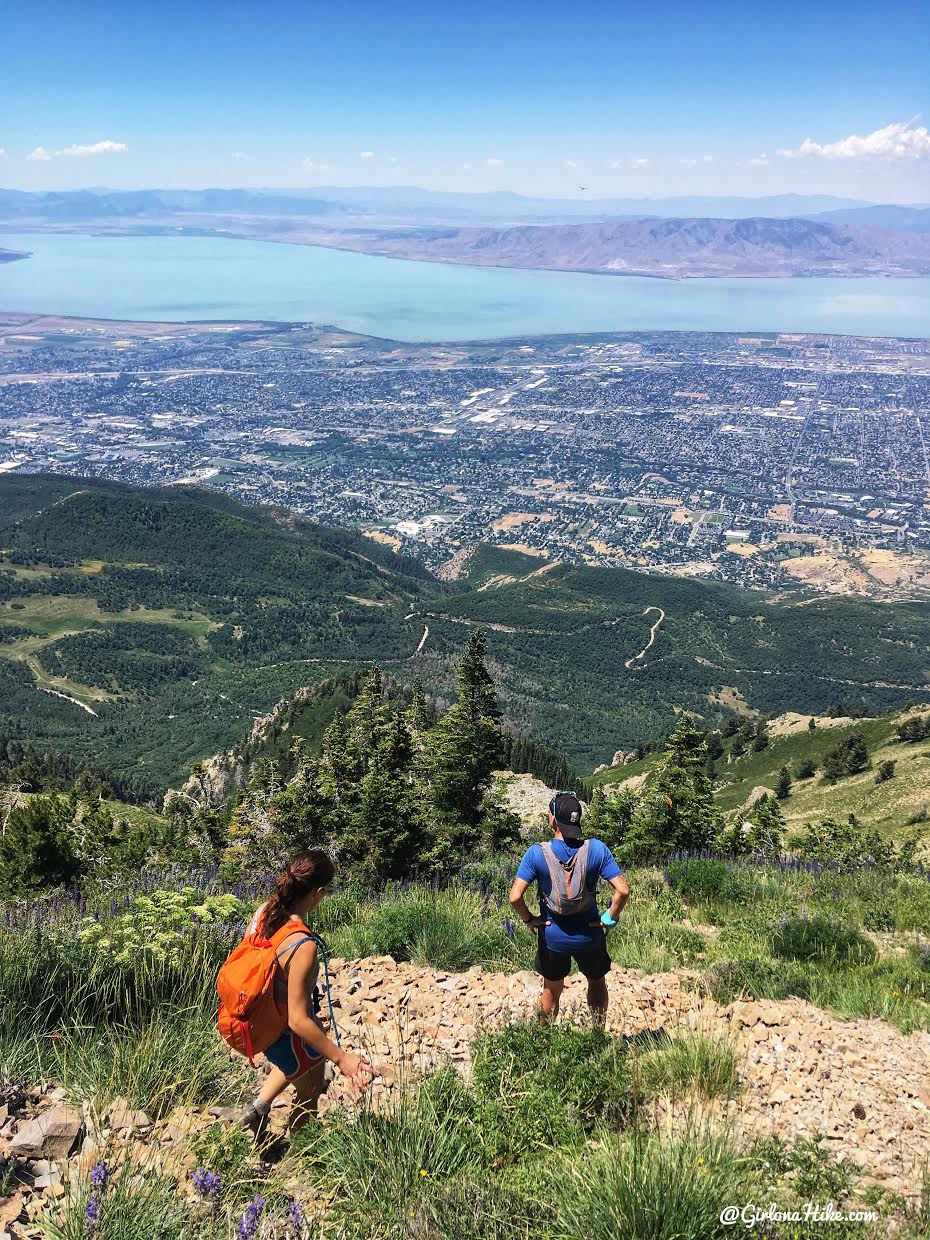
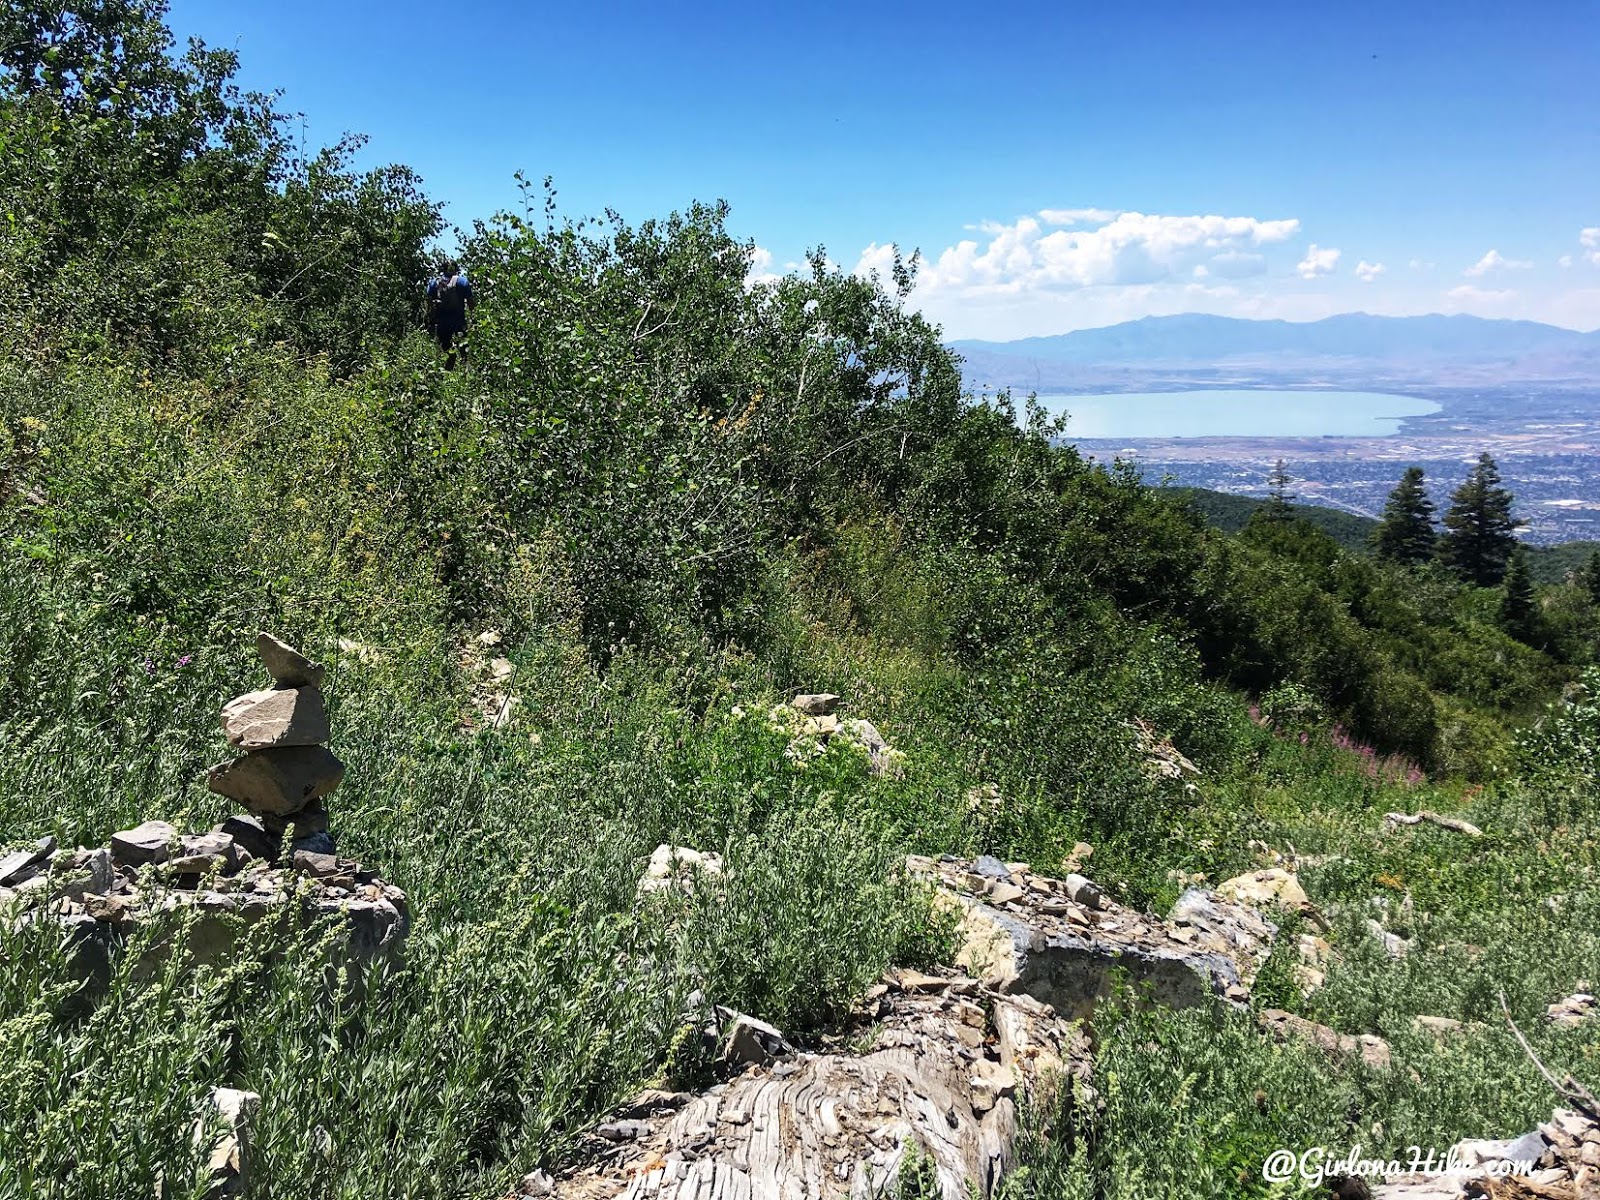
Miles 4-5 are definitely the worst. If you can make it past that section and reach this amazing view of Utah Lake, then you can make it the rest of the way. I feel like those last 2 miles are where most people, like me, probably want to bail, but it gets easier from there. Us girls took another quick break while Chris wanted some extra mileage and went out to the point.
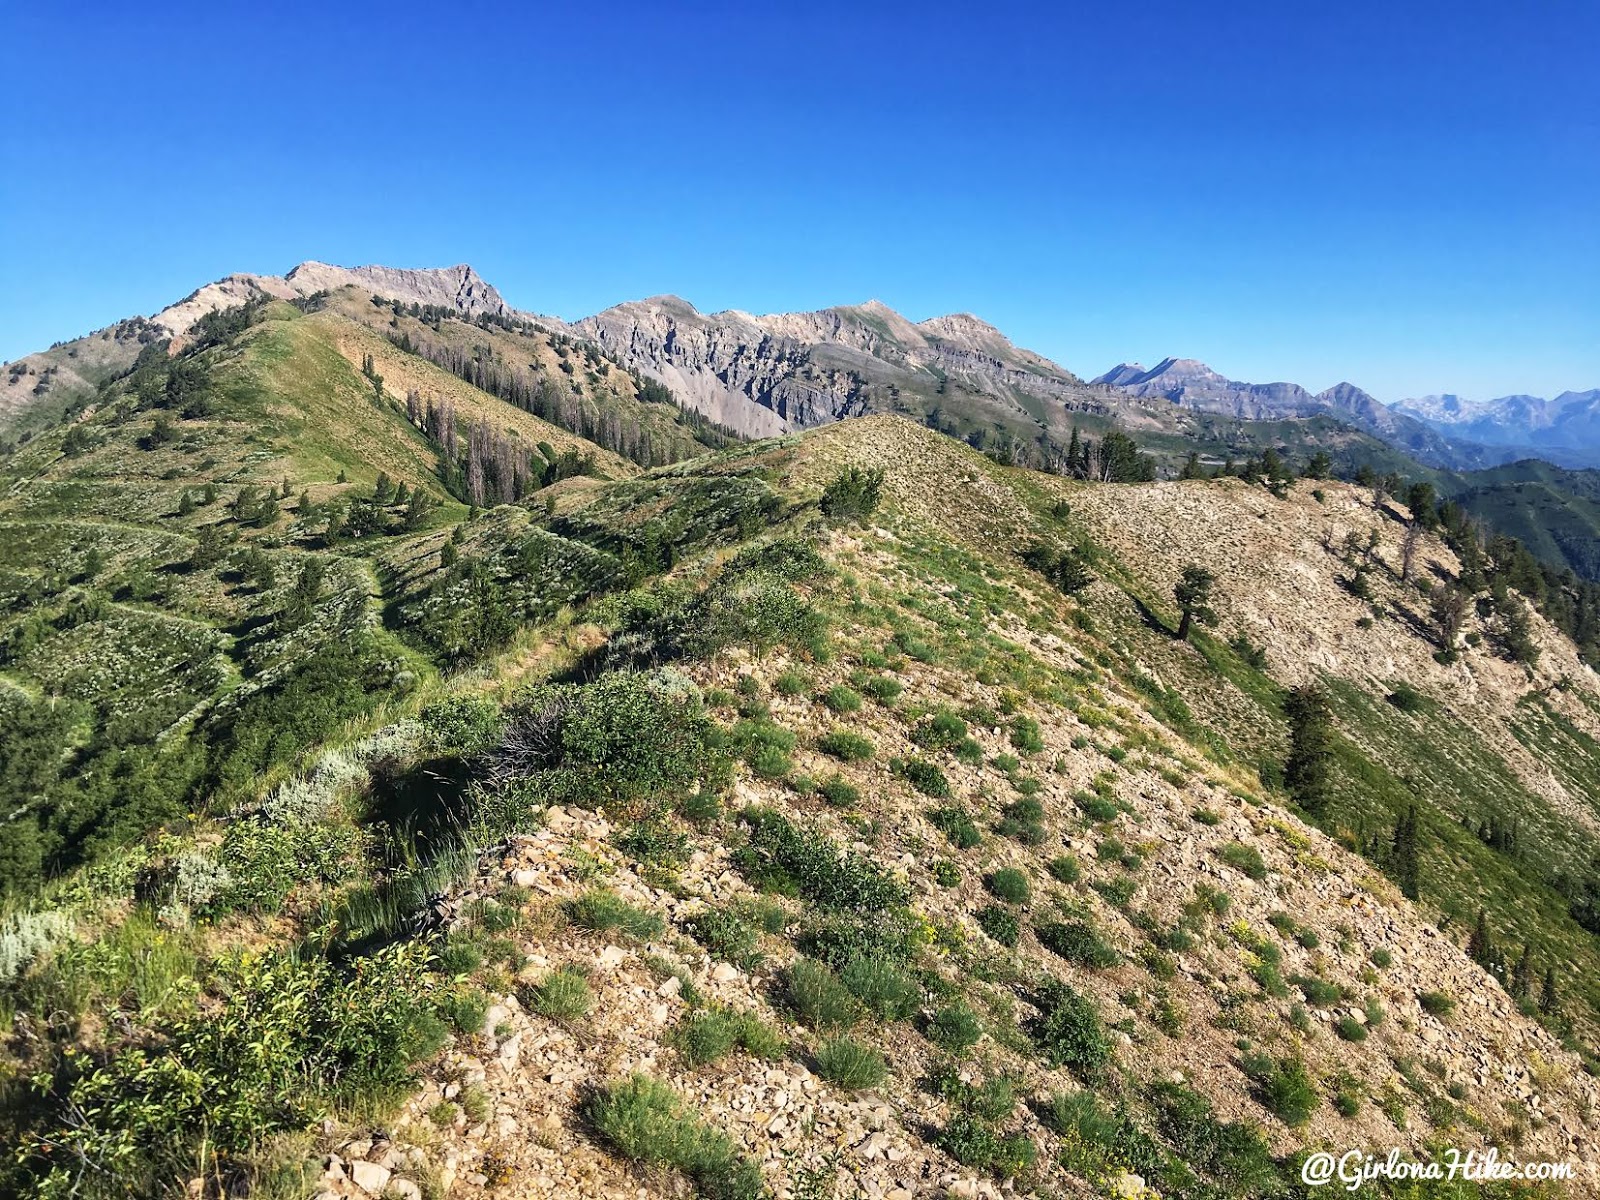
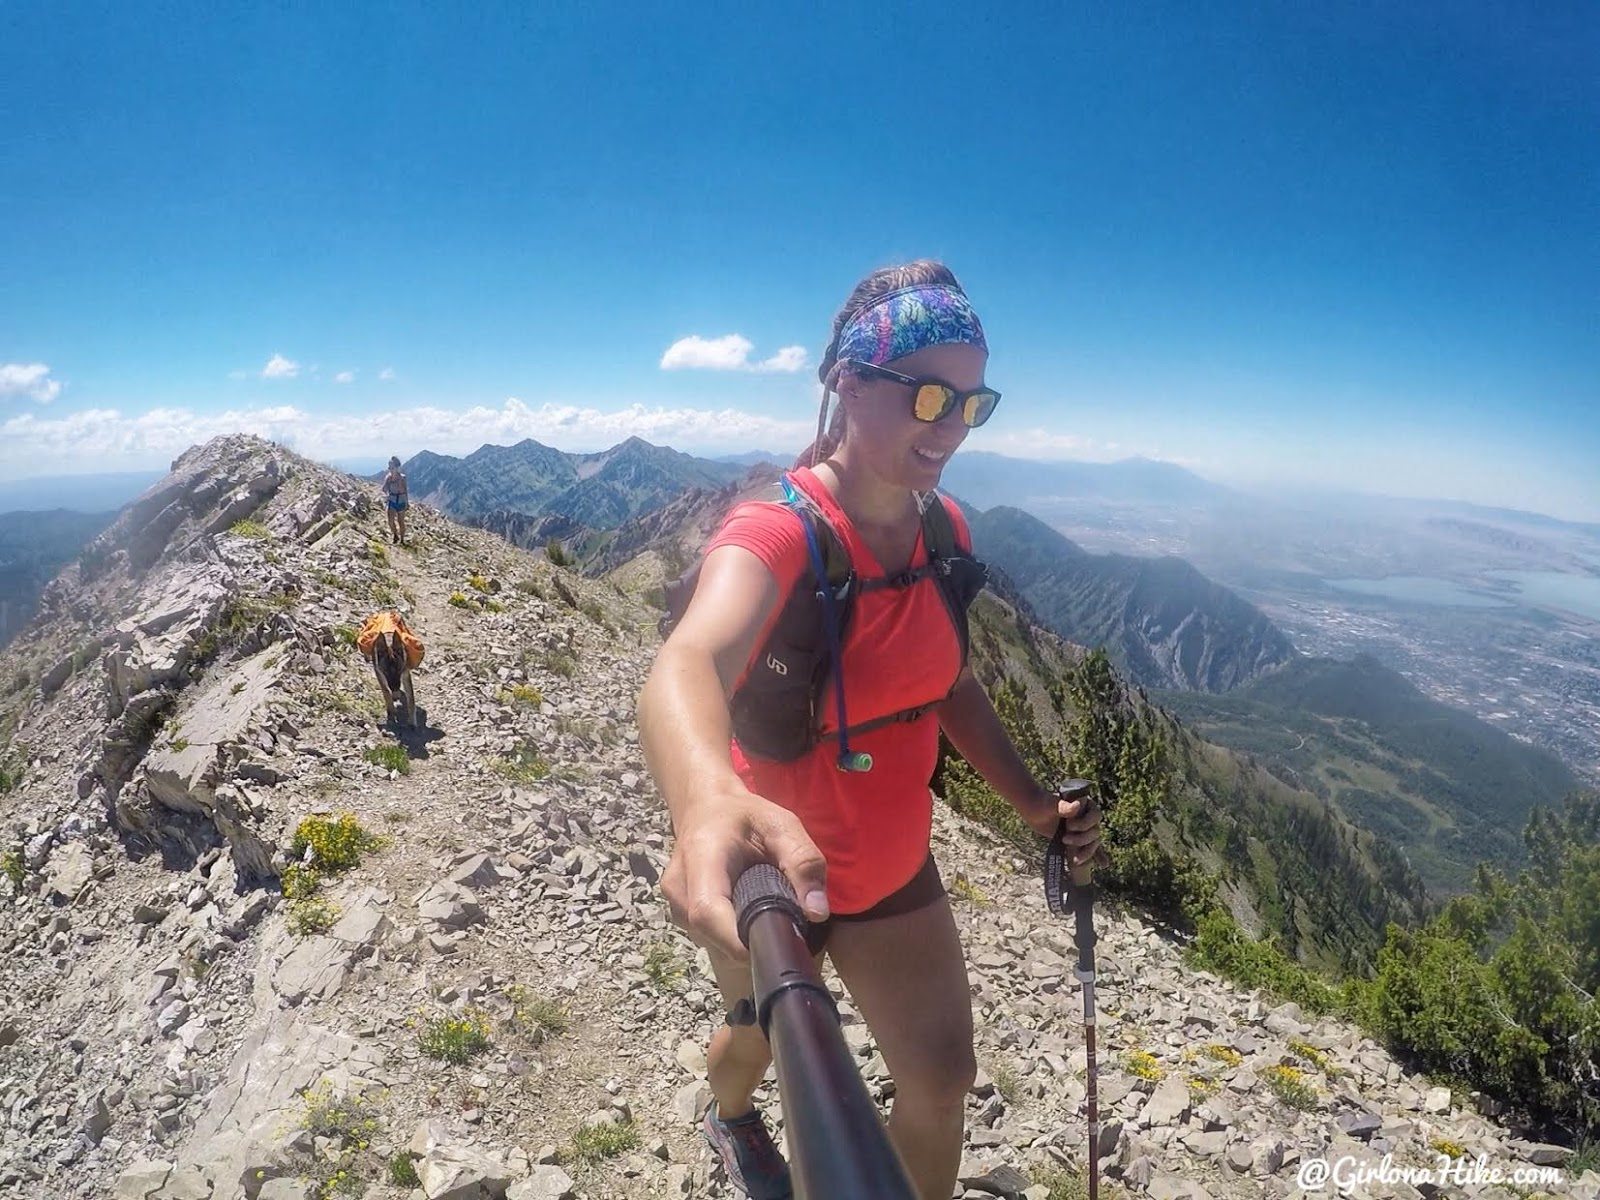
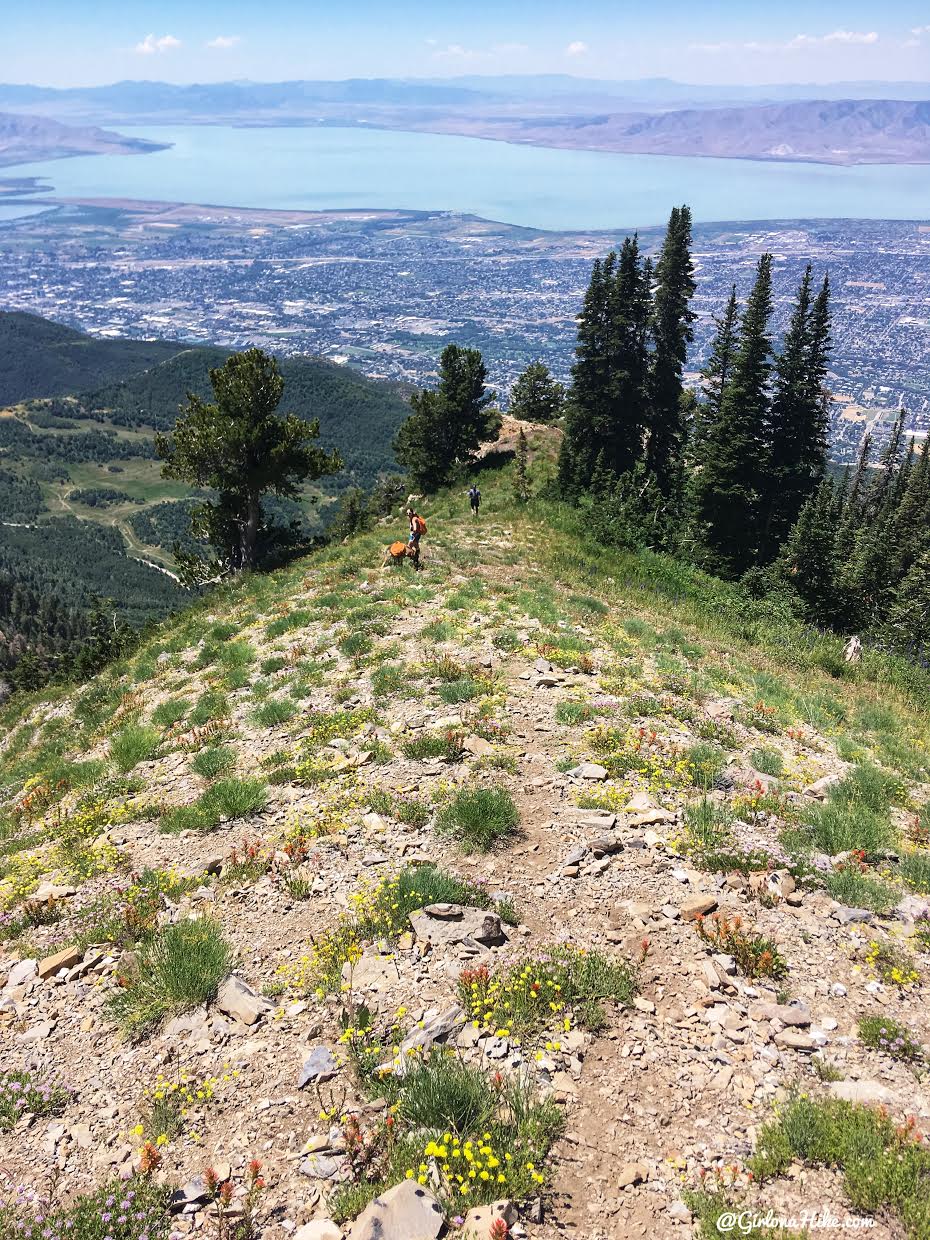
I love ridges – when they are level!
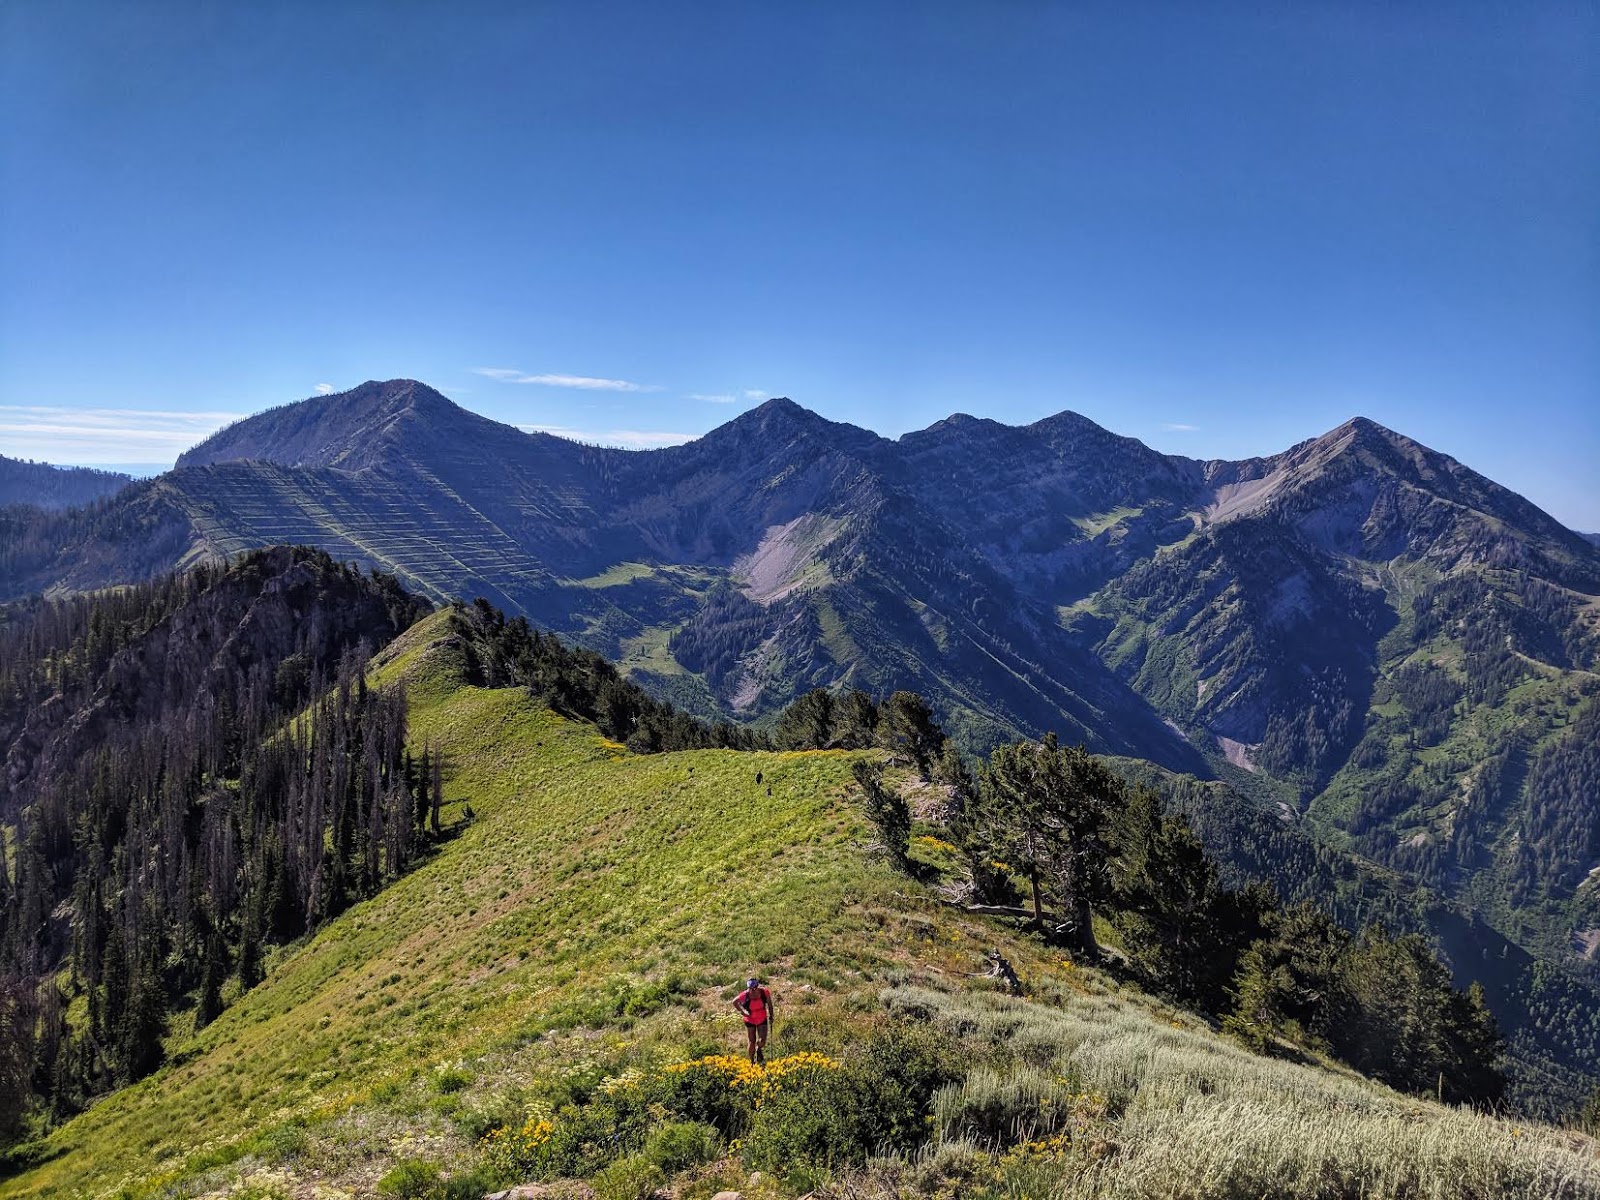
From a scenic perspective, I thought the best viewpoint on the entire hike was at Point 10,760 ft. The sharp ridgelines, the sweeping view of Cascade Mountain, and Mount Timpanogos in the far distance were absolutely stunning. On top of that, the sense of relief that we were getting close to the summit made it even more rewarding.
However, this was also the second time I nearly turned back. I paused and asked myself, “Would I be okay if I stopped here?” The thought even crossed my mind to write in my blog that it was just another mile to the summit—even if I didn’t actually go all the way. But deep down, I knew I’d be really disappointed in myself for giving up after coming this far.
This moment reminded me why being mentally prepared for Cascade is just as important as being physically fit. I still had the energy, but mentally, I was hitting a wall. Still, I gave myself a pep talk—“Nope, get up, you’re doing it!”—and pushed forward. Only 0.8 miles to go!
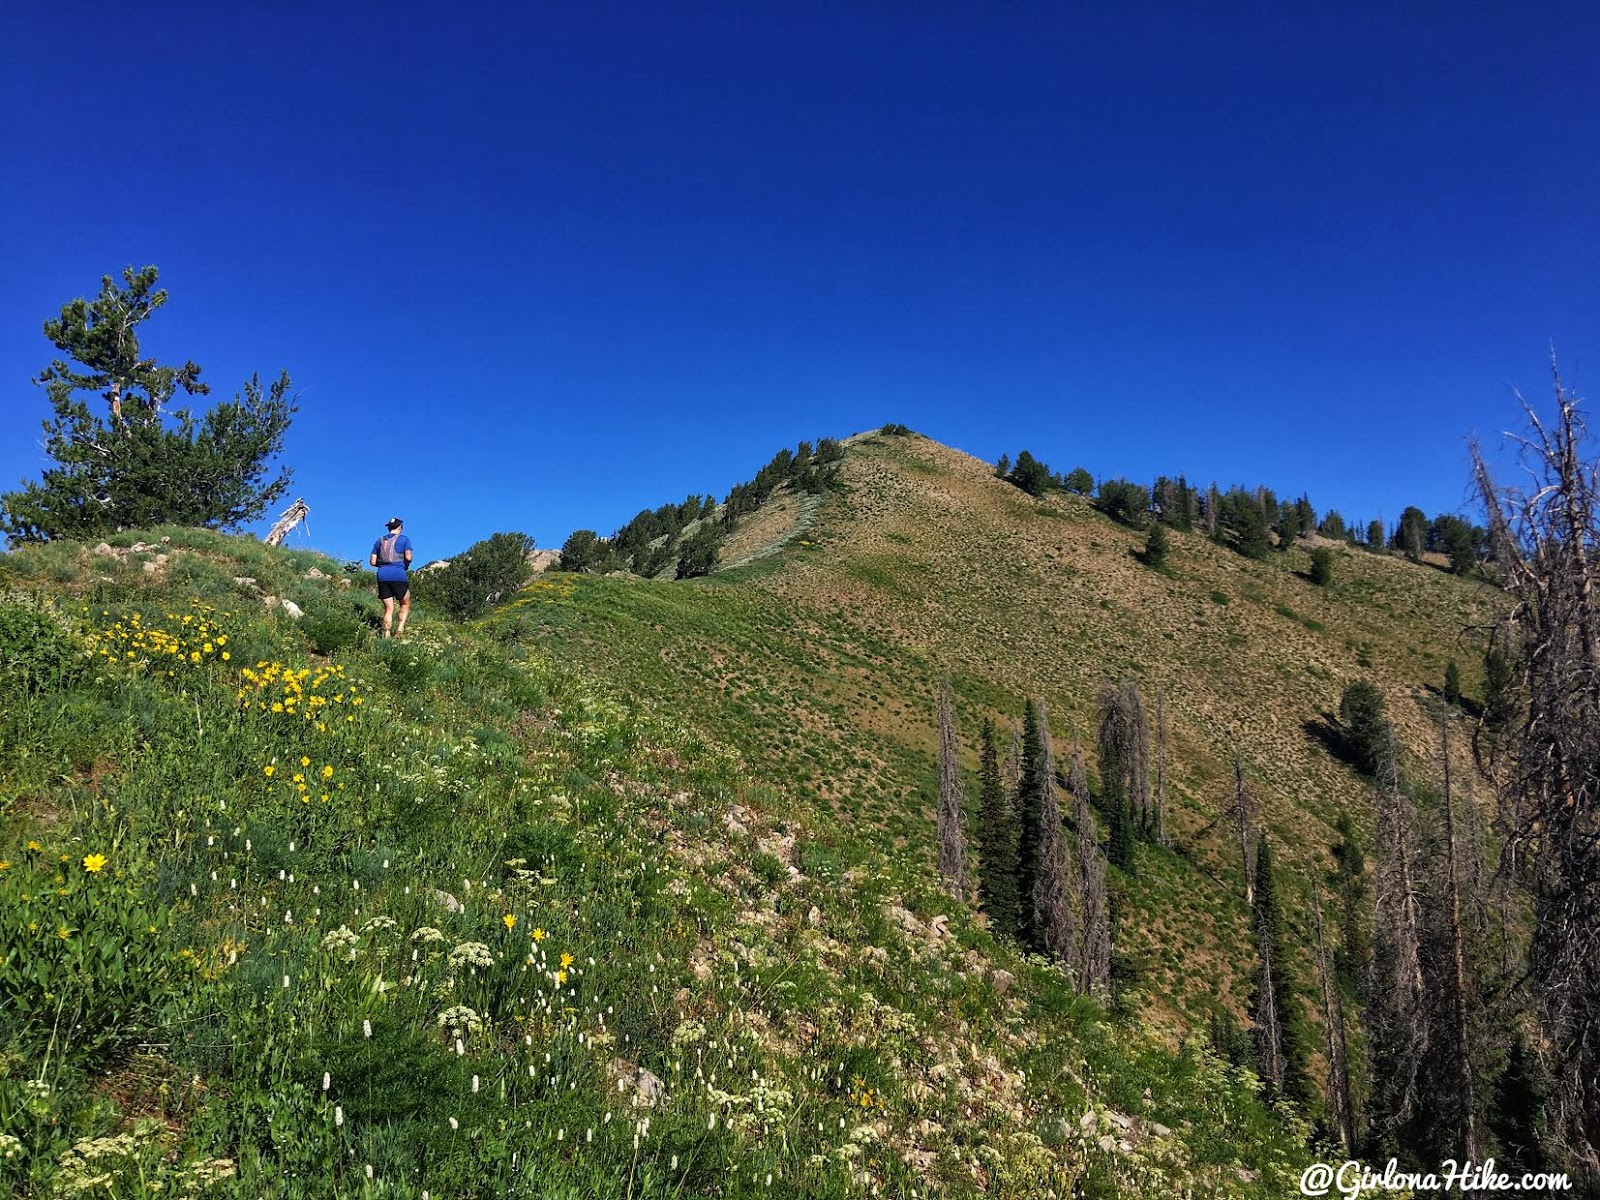
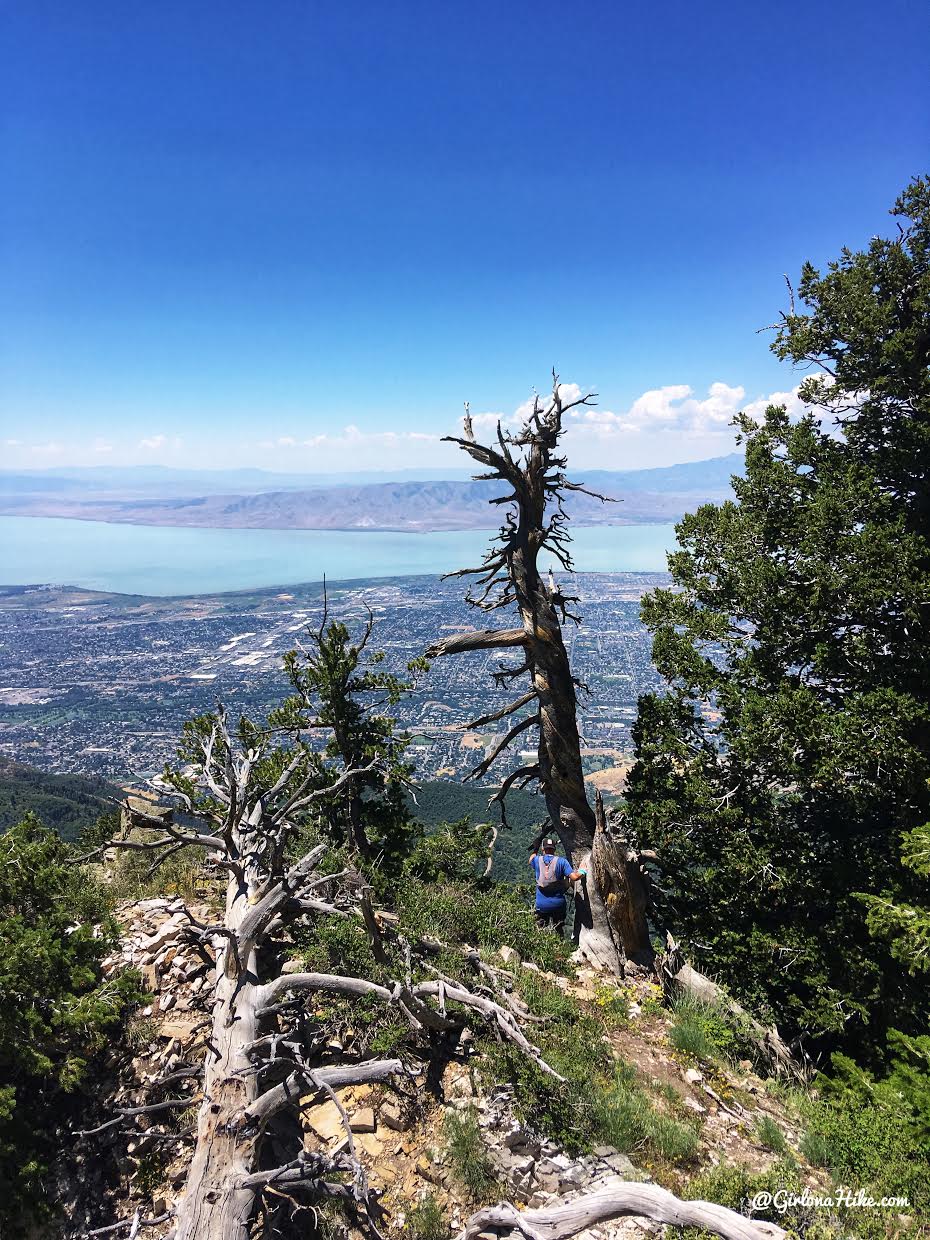
Continuing on!
The ridge is a little steep after the 10,760 ft peak, but totally doable to get down.
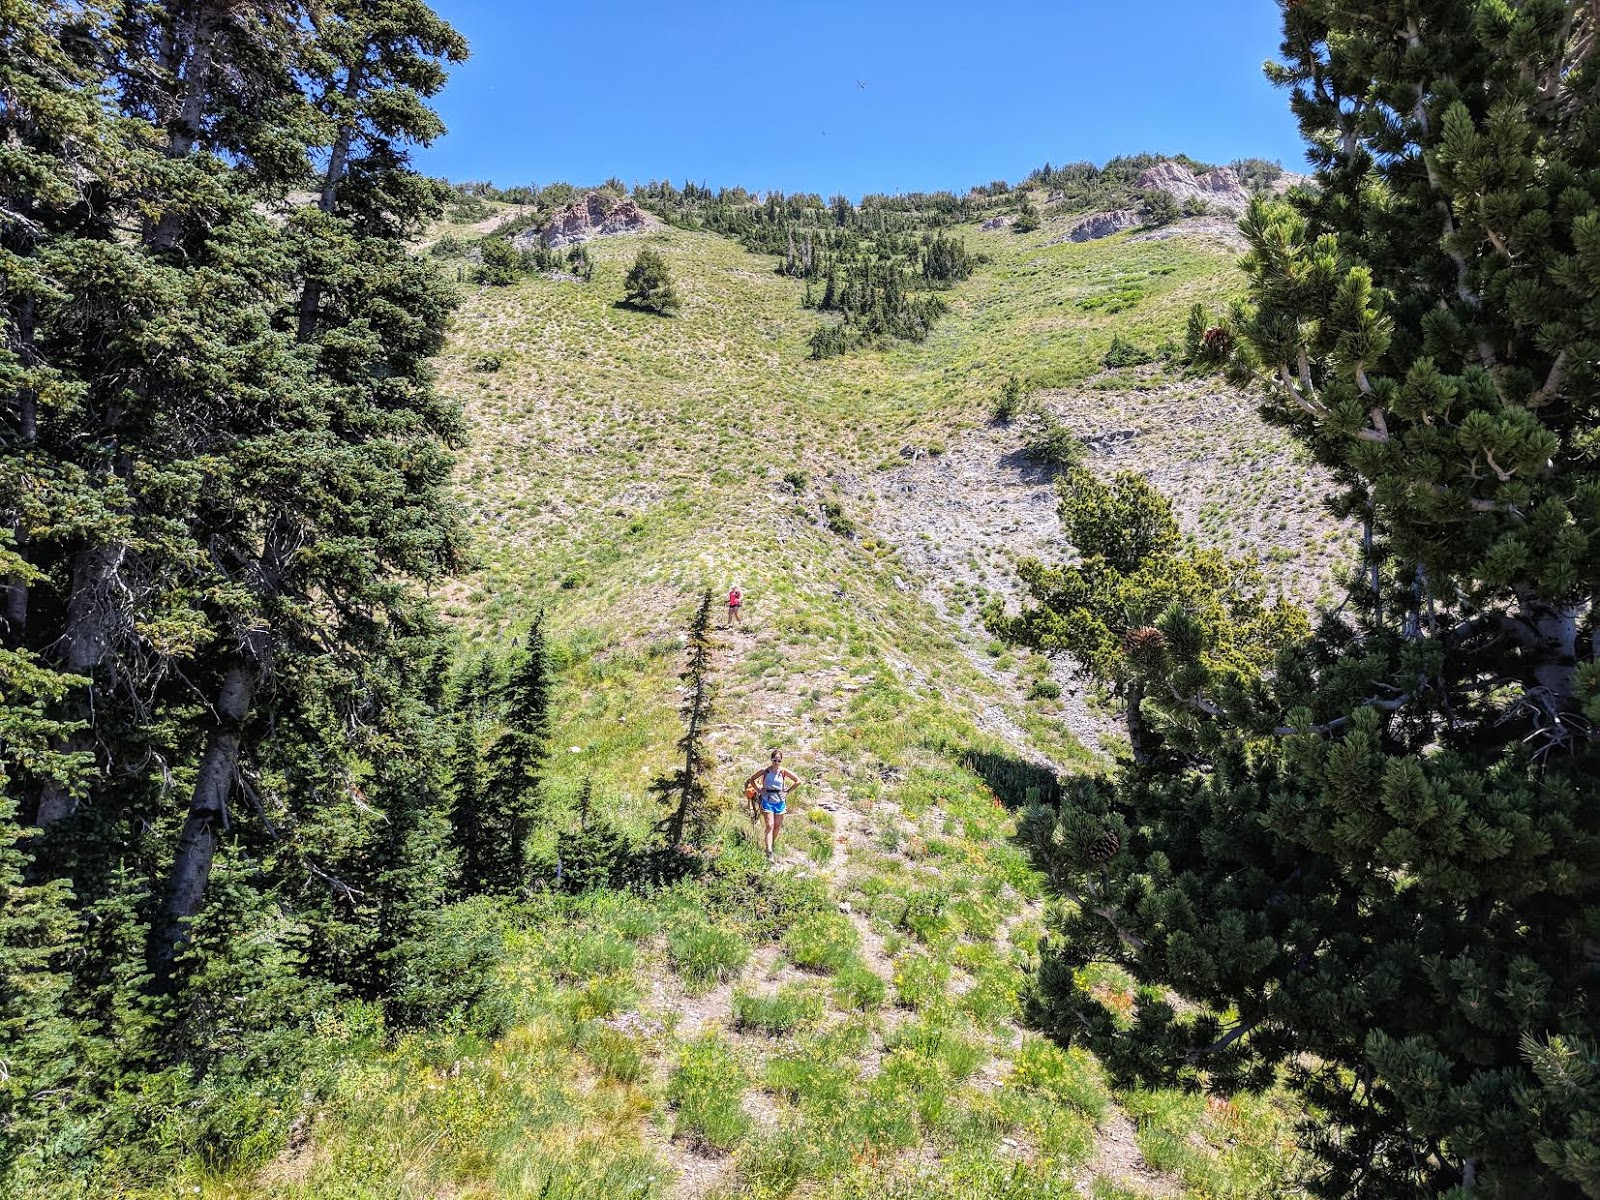
Hiking down hill for just a few minutes felt so much better for my legs. I started to perk up when I realized how close we actually were.
Looking back at where we just came from. Wow! It felt like it only took 5 minutes to reach this saddle.
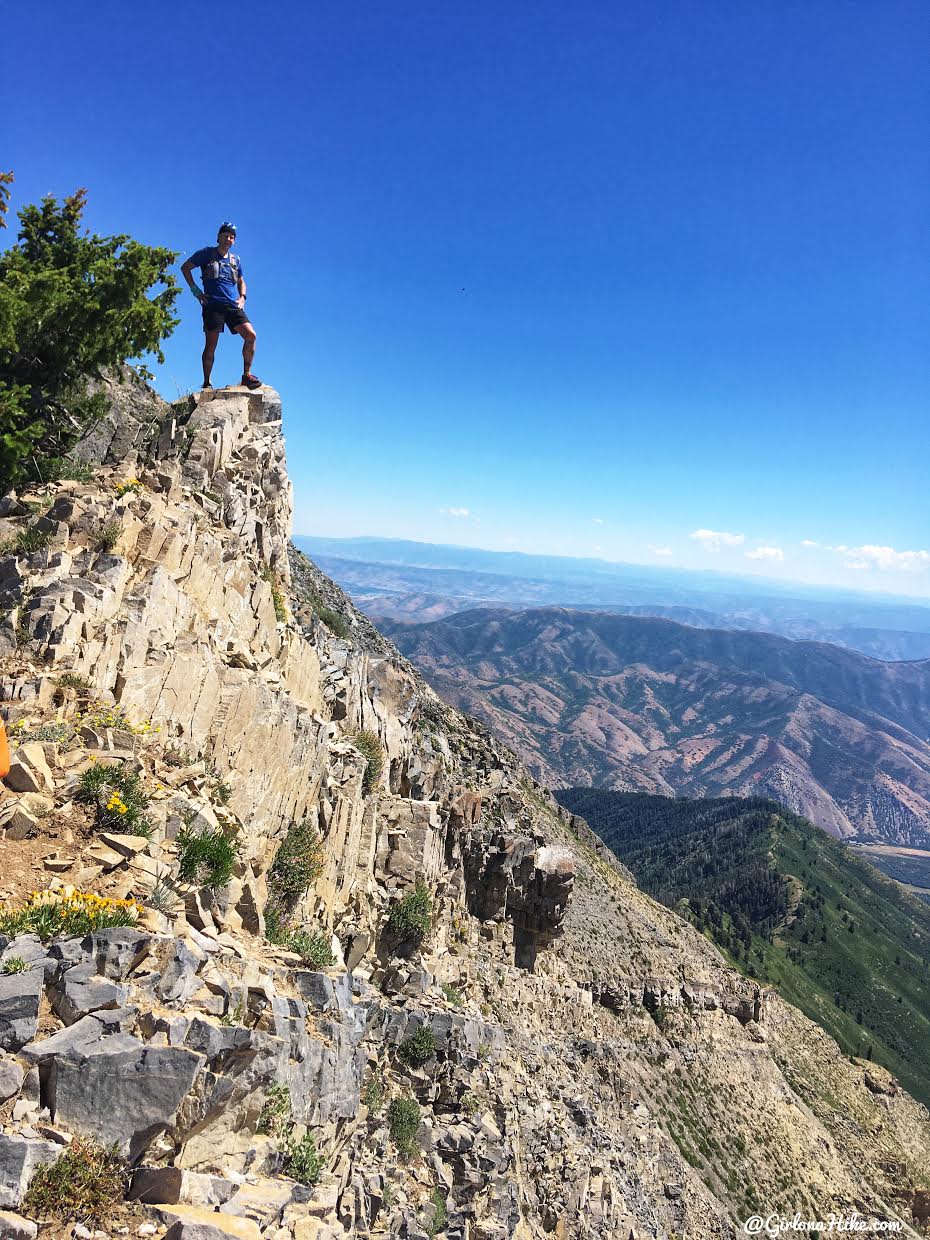
Ok Chris, stop showing off!
Almost there…
Dang it, I knew Chris would beat me to the summit!
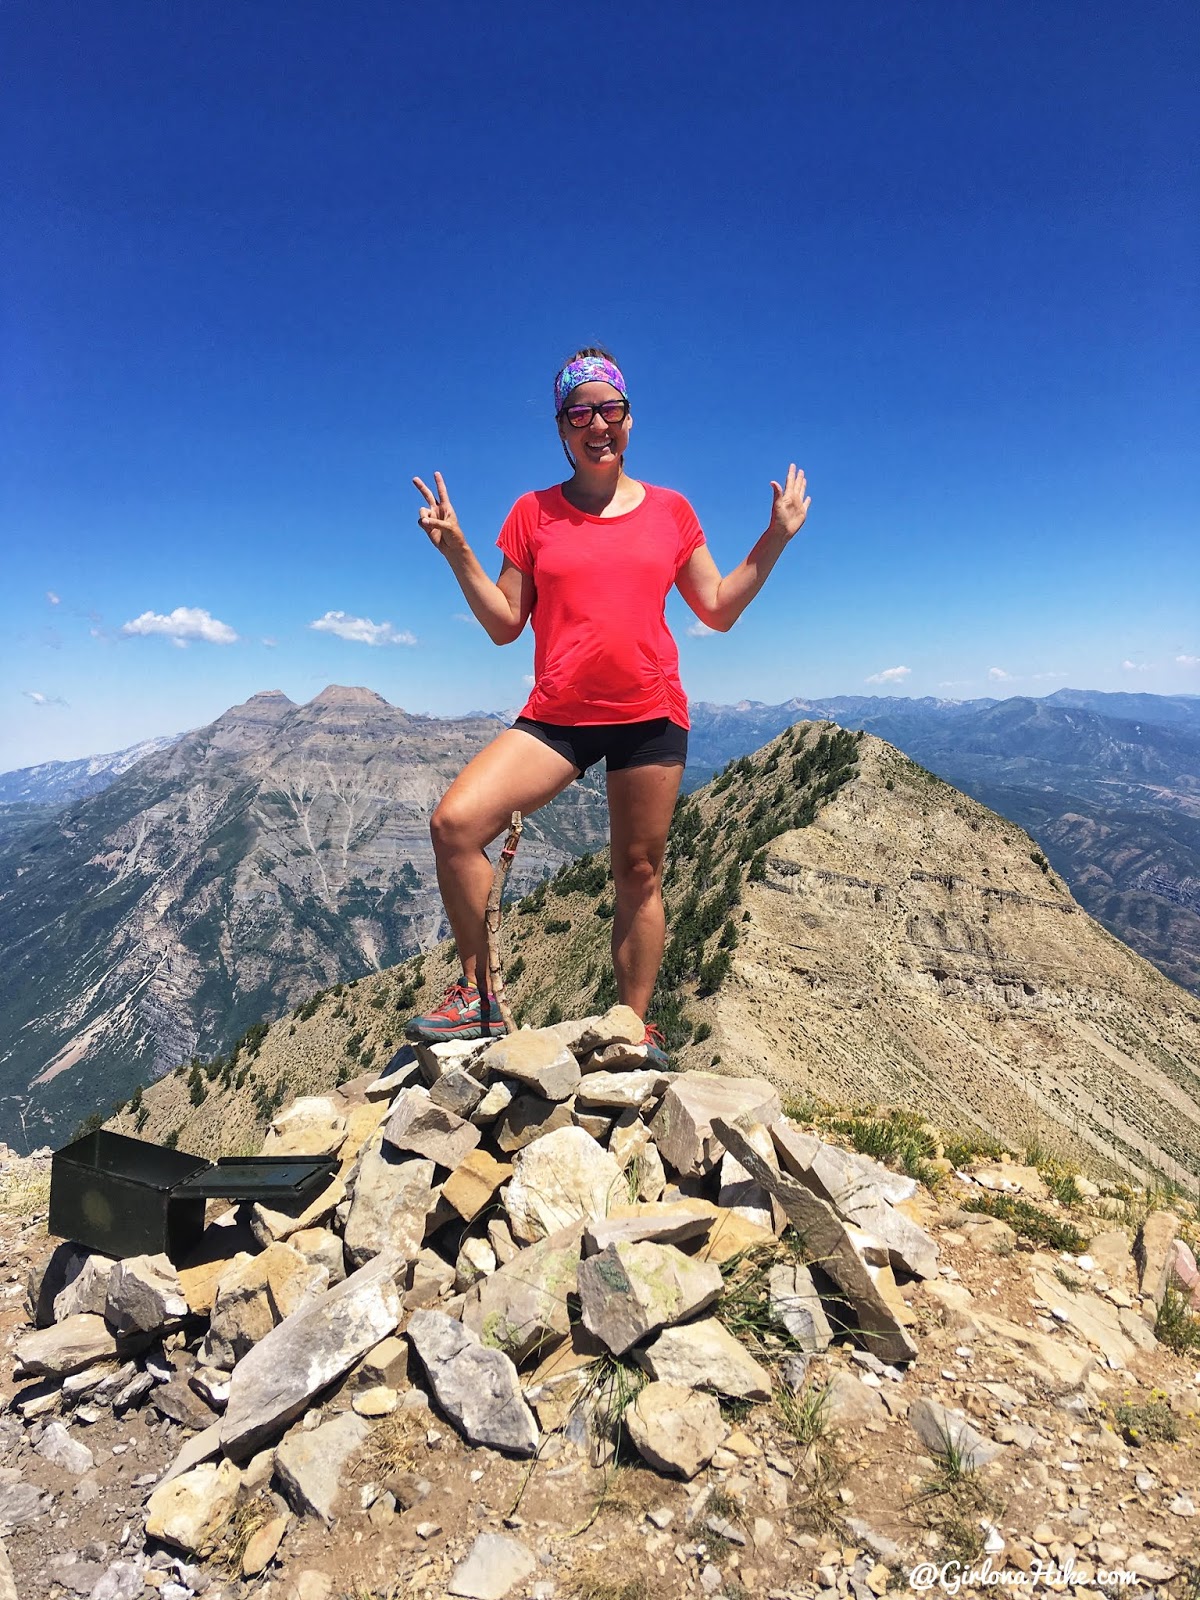
I made it! I completed the “Wasatch 7” Peaks!!! So happy to be done!
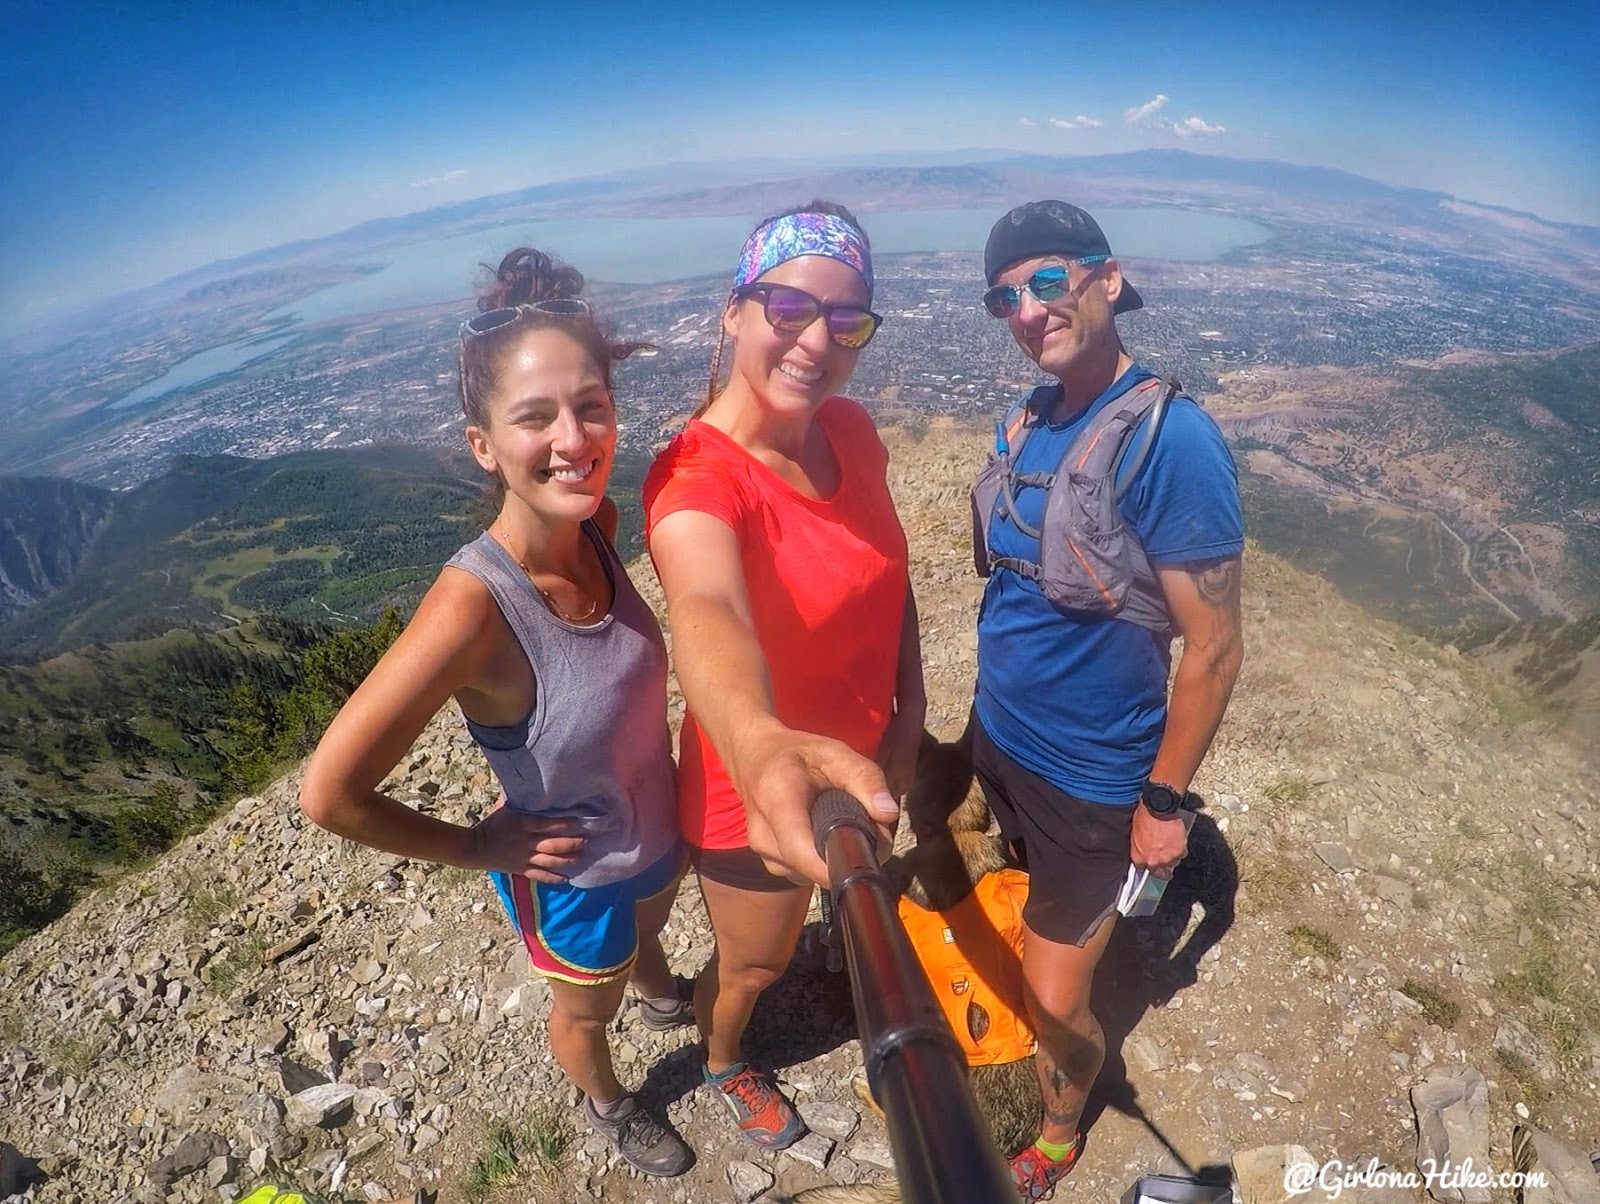
On the summit with KC Gladden – he sure kept motivating me!
The whole time we kept debating which route we wanted to take back – go back the same way along the ridge OR down the Upper Pole Couloir. We got to the summit, and right before we started to head down I was like, “Let’s do it – let’s take the couloir. I don’t think my legs can handle hiking up any more steep hills.” Another reason I agreed to it was because Chris had done it before, and we followed his old GPS track down.
If you’ve never hiked the Couloir before, I strongly recommend avoiding it unless you’re with someone who has completed the route and knows it well. Without our friend Chris leading the way and showing us the correct path, we wouldn’t have made it. There are multiple sections where it’s easy to get cliffed out or lose the route.
The descent primarily follows the ridge along the north edge of the couloir, but several sections have no defined trail. Due to the steep terrain, you’ll often find yourself side-stepping and using branches or shrubs for support as you make your way down.
Hiking around small obstacles. Just below this tree was about a 6 foot drop.
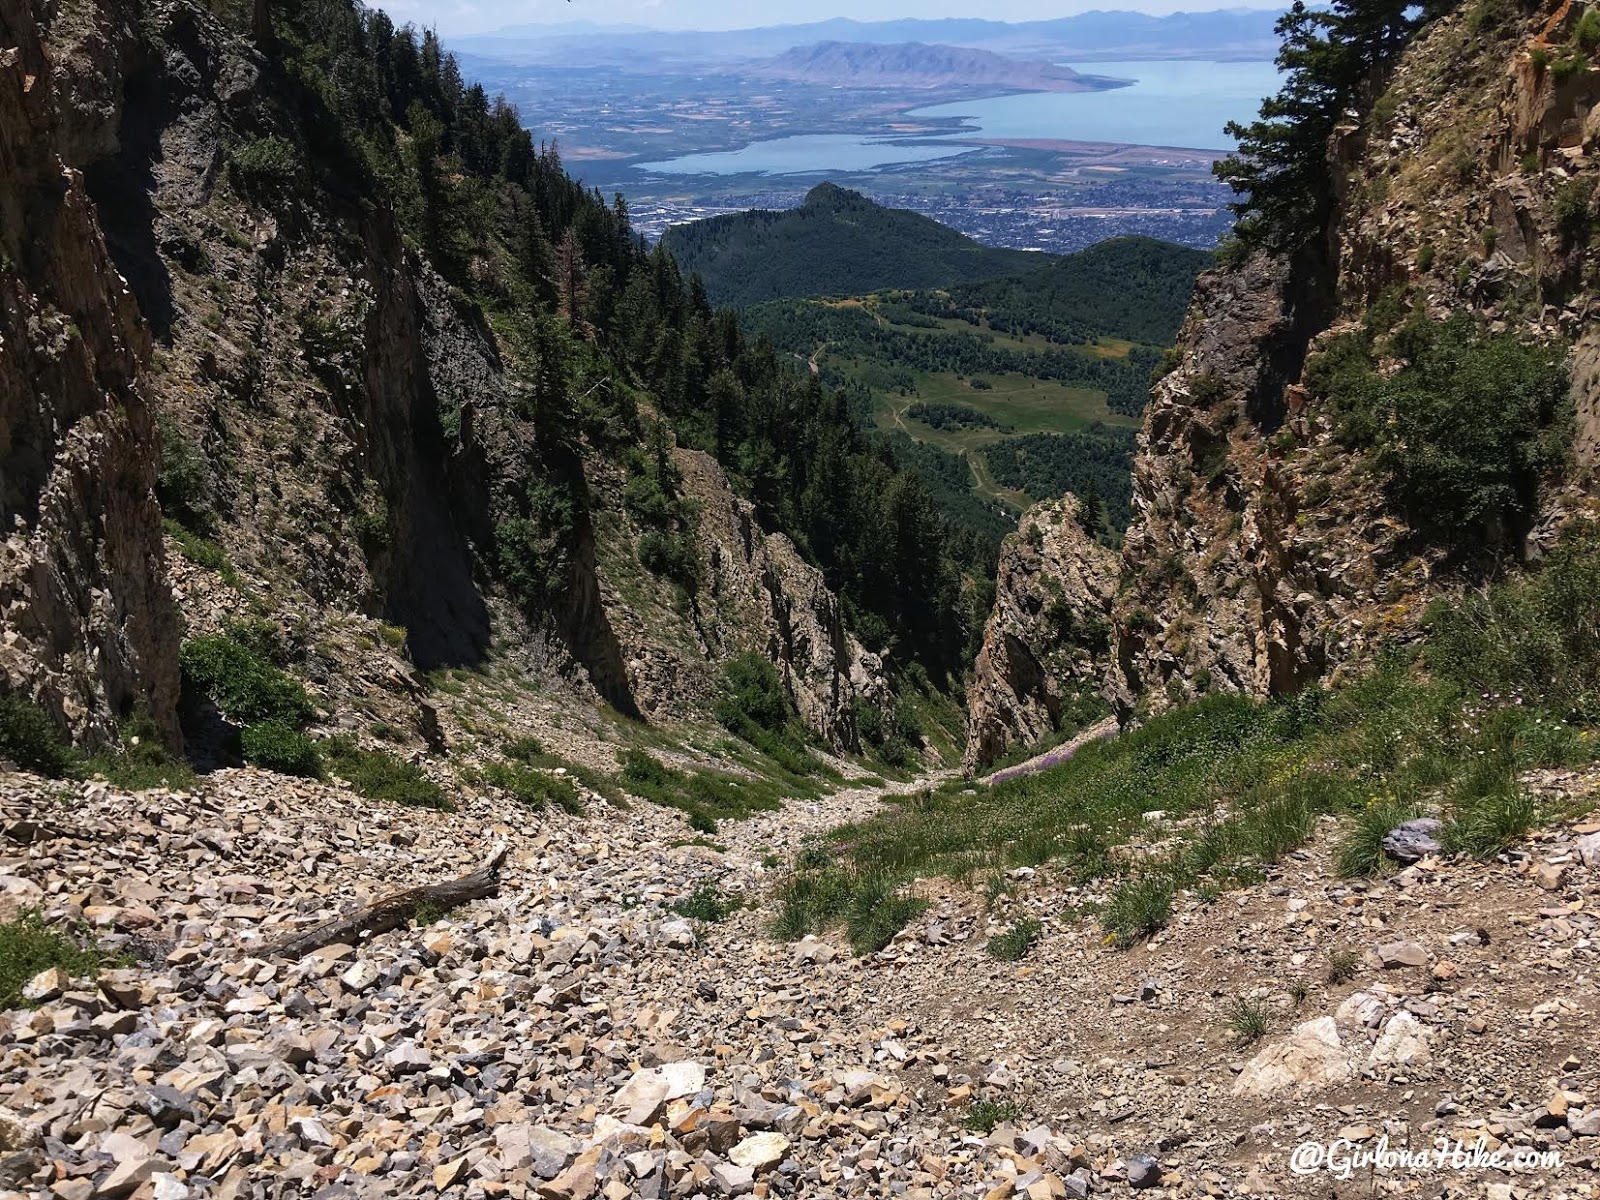
Ahh finally….the Upper Pole Couloir.
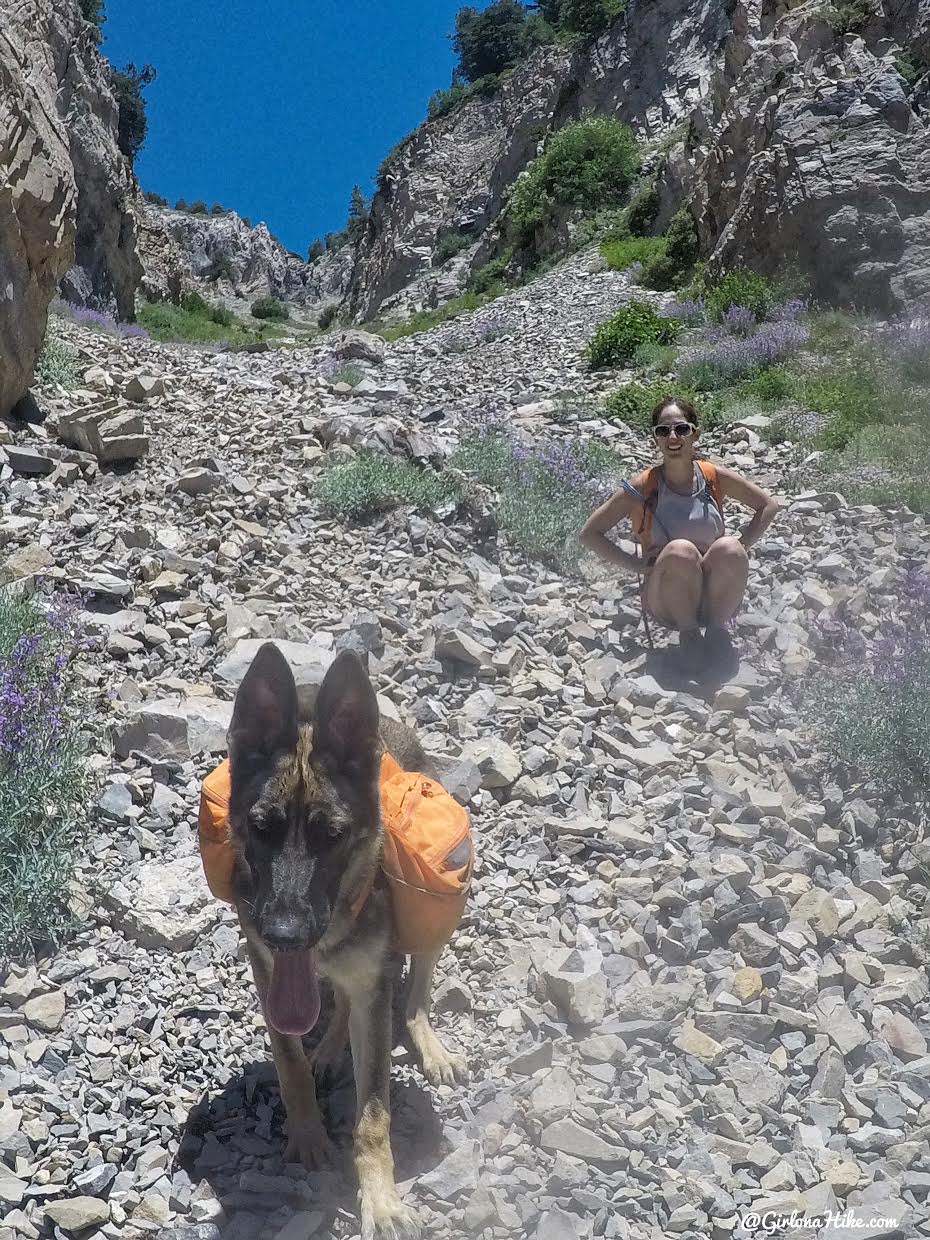
It’s still extremely steep, with lots of loose talus. Heidi-dog did great the entire hike – she needed some help getting a boost over trees, and being lowered down some sections. I was glad she had her backpack on so we could all help lower her. She did, however, pant hard the entire hike. She carried her own 2 liters of water but probably could have drank another liter. Overall she did great, but when I think about it more, I’m so glad I didn’t bring Charlie with me.
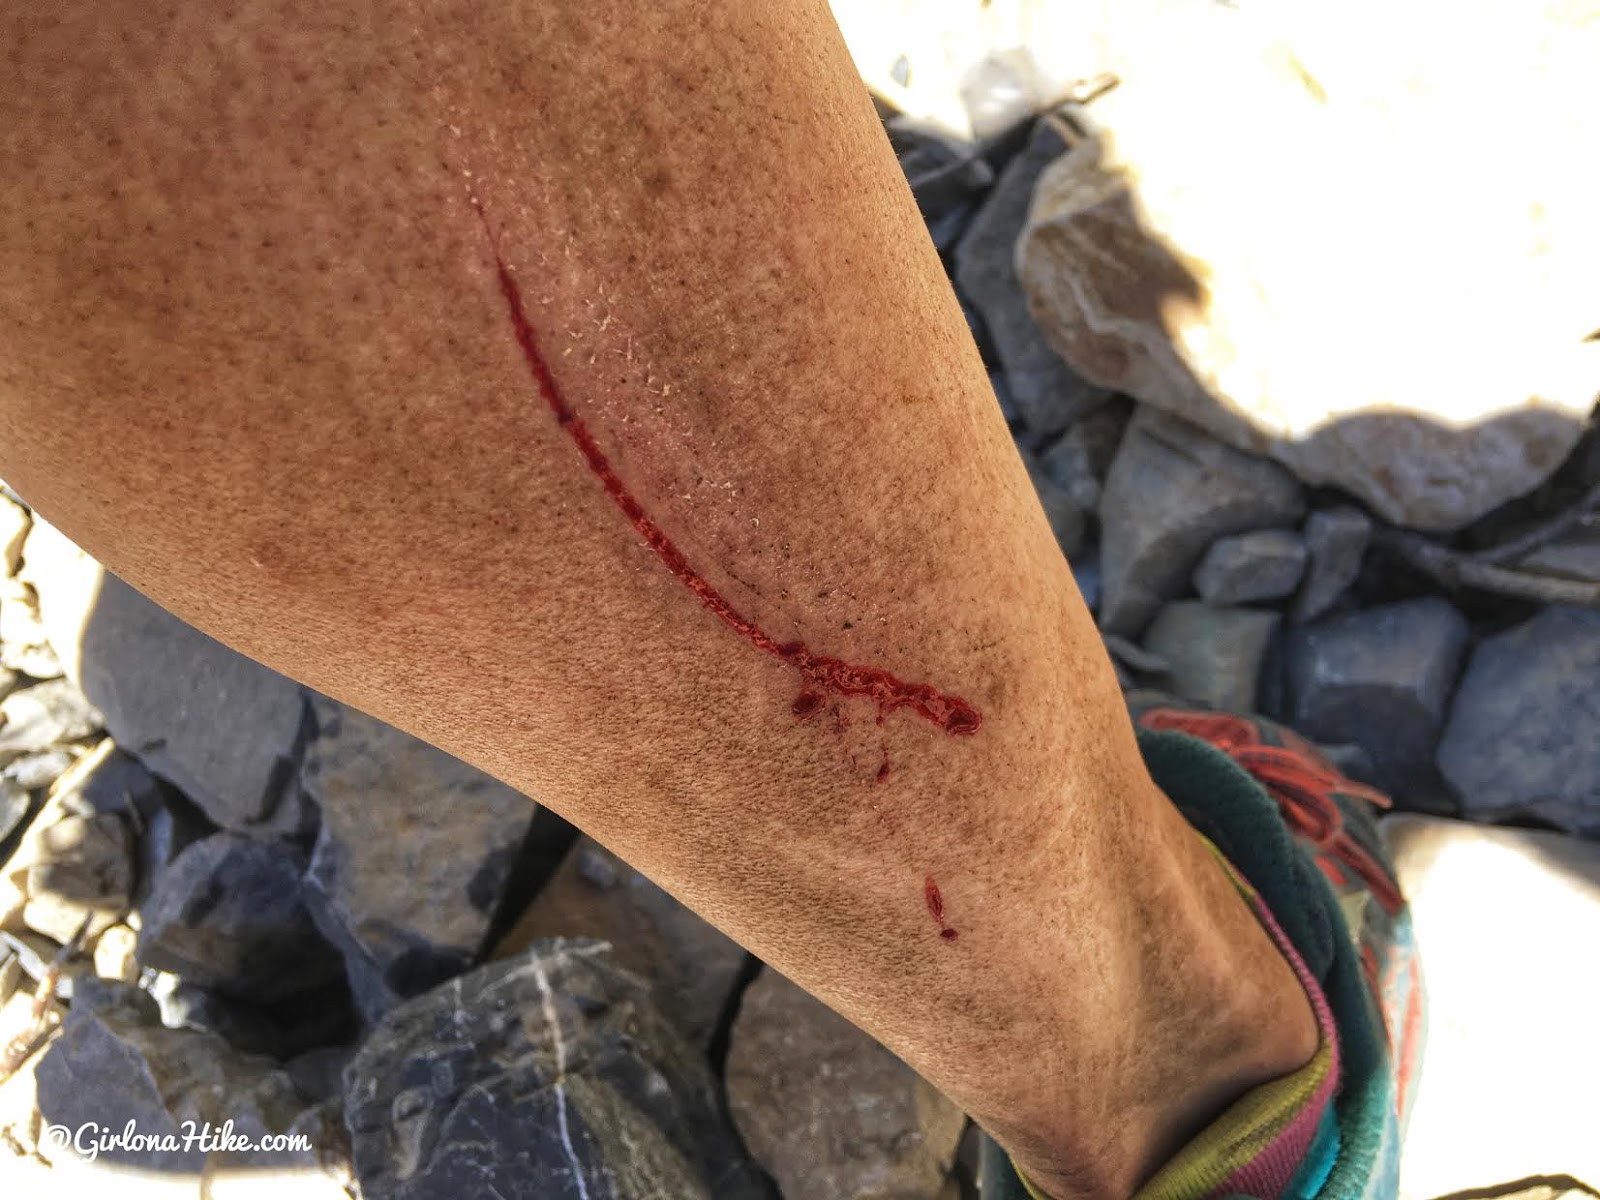
Watch out, the rocks bite 😉
The large talus will cut you easily like a paper cut.
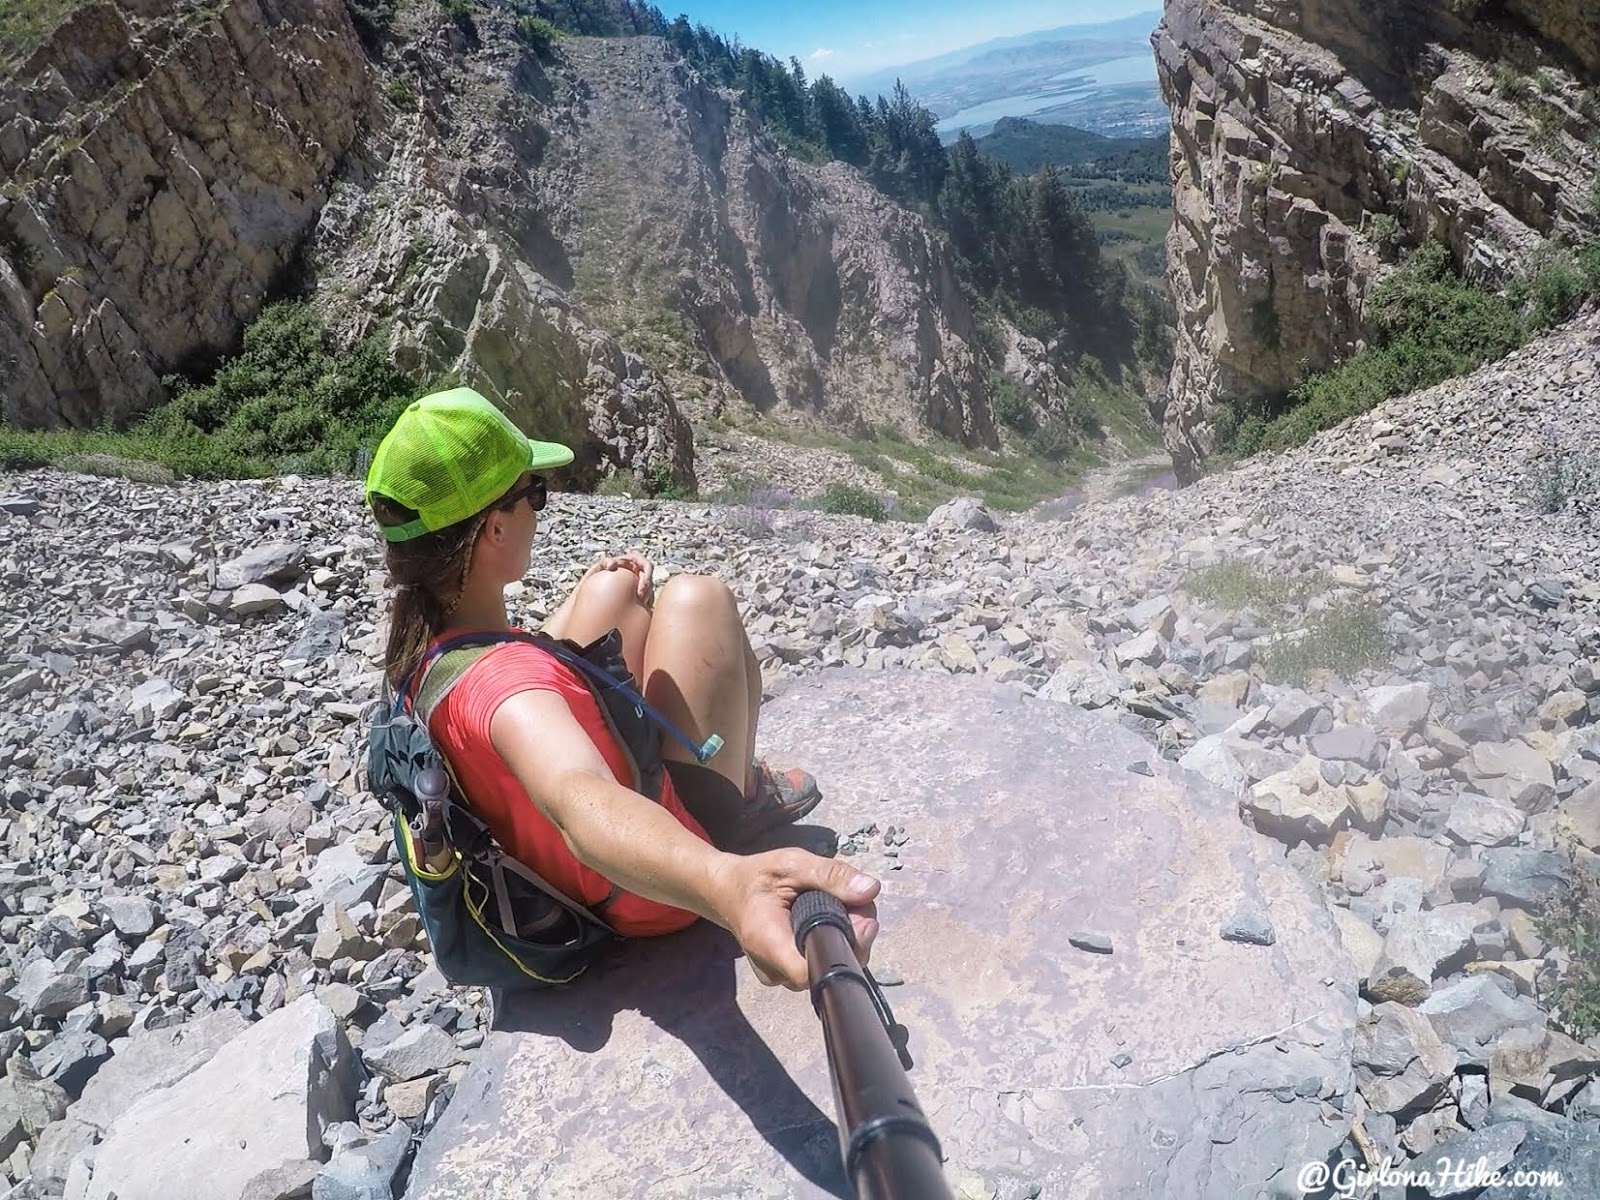
Taking a break on a larger boulder. Surprisingly it was so hot, even this rock was kind of hot to rest on.
Chris going through what I am calling “the squeeze” – the tightest section of the upper pole couloir. It’s only about 10 feet wide, and the rock seems to be extra lose through here.
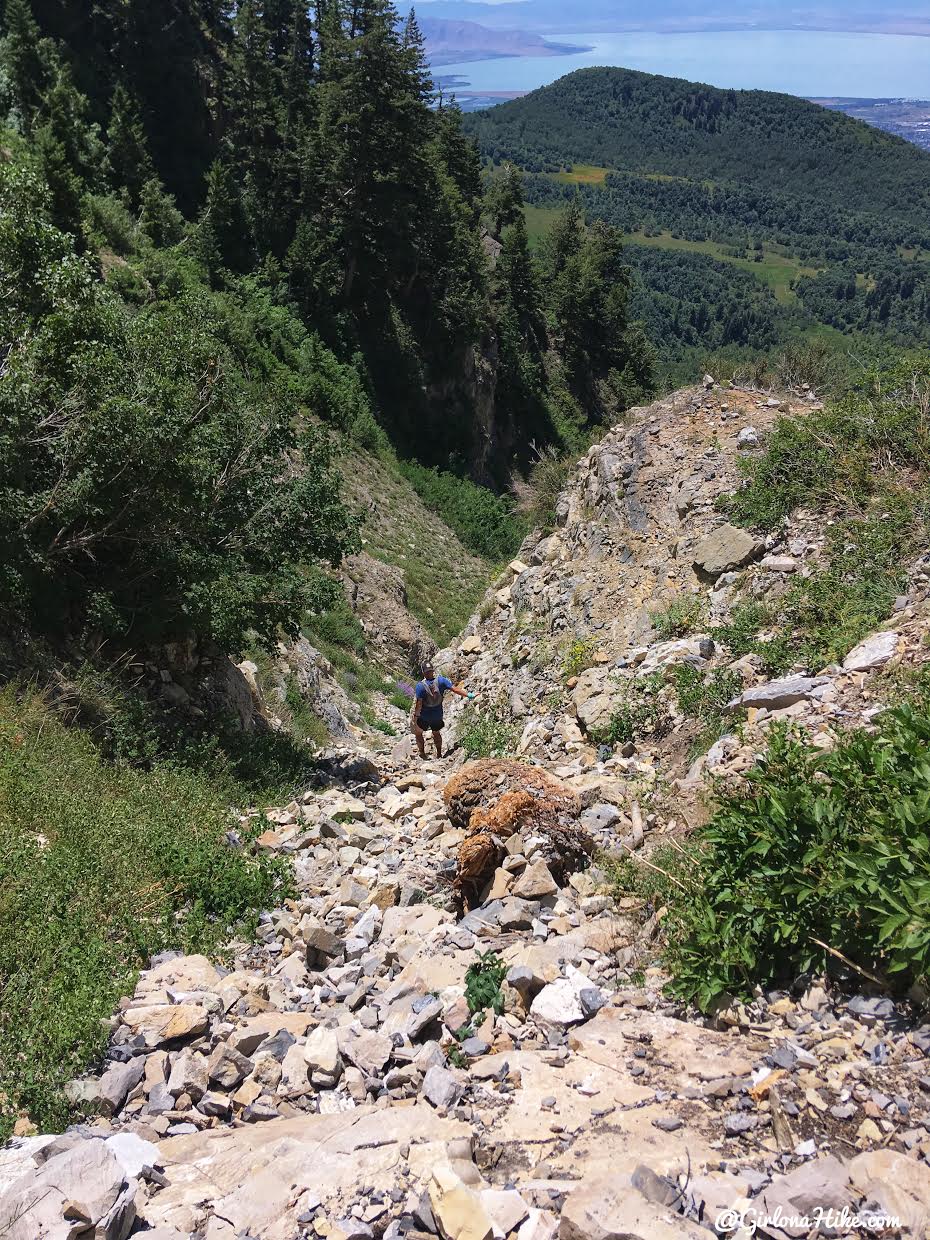
When you get to the base of the couloir – keep an eye out for this cairn and turn left here. You’ll be hiking through a very overgrown section of trail.
It’s so overgrown you can’t see the trail at times. But this is the easiest and most direct route to the “Quarry” (some maps label it as “gravel pit”).
What a relief—finally done!
Once you reach the quarry, head left to connect with the main road. Remember how our friend and his dog turned around earlier? It actually worked out perfectly. We were able to call him from the summit and arrange for him to pick us up at the quarry. While he was a bit disappointed not to summit, it allowed us to descend a different route and avoid hiking nearly 7 more miles. Instead, by taking the couloir down, we cut the distance to just about 2.2 miles.
That said, I can’t imagine hiking up the couloir—major respect to those who do! No matter which route you choose, Cascade Mountain is a tough climb from every angle.
Trail Map
Our routes:
Purple line – hiked up Dry Fork Trail #060
Pink Line – hiked down the Upper Pole Couloir
My track via Gaia GPS – the best tracking app! Get your app here for a discount.
Nearby Hike

Save me on Pinterest!