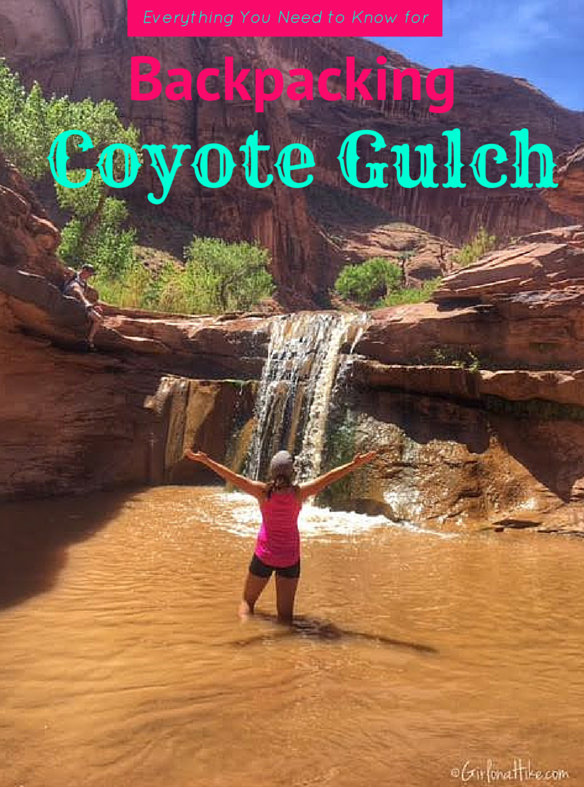


Coyote Gulch, located in Southern Utah, is one of the most iconic and scenic canyons within the Escalante River drainage. Known for its towering red rock walls, natural arches, natural bridges, petroglyphs, cascading waterfalls, and stunning desert beauty, Coyote Gulch is a must-see for any Utah hiker or backpacker.
While some adventurous hikers complete the loop in a day, I highly recommend planning at least one night of backpacking—ideally two—to fully appreciate the canyon’s breathtaking features, cool stream crossings, and dramatic rock formations.
Best Trailheads for Coyote Gulch
Coyote Gulch is one of the most beautiful backpacking destinations in Grand Staircase-Escalante National Monument. From dramatic natural bridges to flowing streams and towering canyon walls, it offers an unforgettable desert adventure. Whichever route you choose, plan ahead, pack smart, and give yourself time to soak in the scenery.
There are three main access points into Coyote Gulch, each with different pros and cons:
1. Hurricane Wash Trailhead
Distance: ~8 miles to the canyon
Terrain: Dry and sandy
Water: None until you reach the gulch
Best for: Those looking for a gradual entry without climbing or tight squeezes
2. Crack in the Wall (Fortymile Ridge Road)
Distance: Moderate
Challenge: Requires squeezing through an 18-inch wide crack
Best for: Adventurous hikers comfortable with tight spaces
3. Short Cut / Water Tank Route (our choice)
Distance: Only 2 miles to the canyon floor
Challenge: Requires scrambling down a 100-foot slickrock slope
Best for: Sure-footed hikers who are confident with exposure
We chose the Short Cut Trailhead, also known as the Water Tank Route, for its short approach. However, the descent is steep and exposed, so it’s only recommended for hikers comfortable with light scrambling. A 150-foot rope is extremely helpful for assisting hikers and packs during the exit climb—don’t expect one to be there, so bring your own.
Since our entire trip was based on this route, the rest of this guide will describe the hike using the Short Cut Trailhead as a reference.
Coyote Gulch FAQ – Everything You Need to Know Before You Go
Do I need a permit to hike or backpack in Coyote Gulch? How much does it cost?
As of 2021, permits are free and can be self-issued at the following trailheads:
Short Cut Trailhead (Water Tank Route)
Crack in the Wall Trailhead
Hurricane Wash Trailhead
Always double-check the Glen Canyon National Recreation Area website for the most up-to-date permit requirements and regulations.
Can I bring my dog into Coyote Gulch?
No. Dogs are not allowed in Coyote Gulch or any area within Glen Canyon National Recreation Area. This rule helps preserve the sensitive desert ecosystem and keeps water sources clean for wildlife and other visitors.
Is Coyote Gulch a good hike for kids?
Yes! Coyote Gulch is kid-friendly for the most part. During my trip, I saw several families with children ranging from toddlers to teenagers. That said, be sure to choose an appropriate access route—Hurricane Wash is the most gradual and safest option for young kids, while the Short Cut route is better suited for older kids and experienced hikers due to the slickrock scramble.
How many nights should I plan to stay in Coyote Gulch?
While it’s possible to do Coyote Gulch as a one-night backpacking trip, I recommend staying two nights. This allows time to:
Explore the major landmarks
Swim and relax by the stream
Enjoy your campsite without rushing
Hike at a more relaxed pace
Where are the best places to camp in Coyote Gulch?
You can camp anywhere within Coyote Gulch, as dispersed camping is allowed. There are plenty of established campsites along the stream, often tucked under trees or near rock walls. Keep in mind:
Campfires are not permitted
Always follow Leave No Trace principles
Camp at least 200 feet from water when possible
Directions
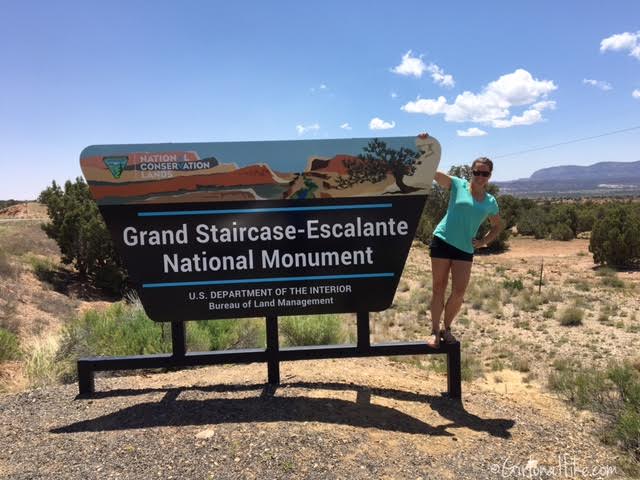
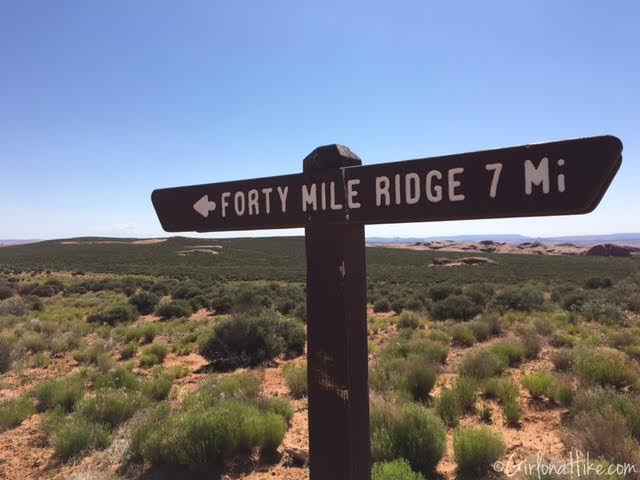
From Escalante, UT head east on HWY 12 for 5 miles. Turn right onto Hole in the Rock Road. Immediately reset your odometer to 0. Cross several cattle guards. At 36.0 miles, turn left onto the signed Fortymile Ridge Road. At 39.8 miles veer left up to the water tank. Drive another 0.2 miles to reach the TH at the Water Tank (see maps at end of post).
Day 1

We drove down from SLC after work, and arrived at the TH around midnight. Quickly set up camp, and got about 5 hours of sleep. We woke up at 5:30am Friday morning, and got out gear together, and started hiking at 7am. This was taken just before sunrise on the west side of the water tank, in the parking lot. There is actually water in this tank, I think for the cattle in the area.
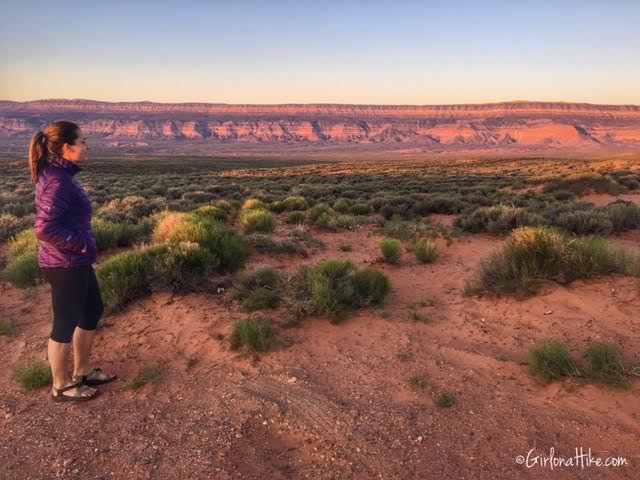
Just before getting on the trail, the early morning light was too good to pass for a photo op!
Ready to Hike!
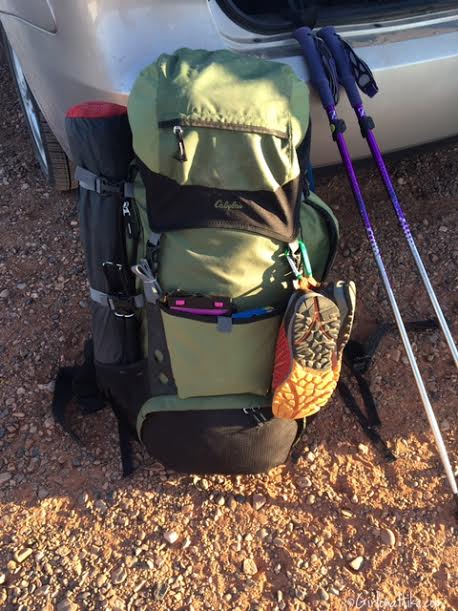
Got my pack ready to go!
Tip: Bring water shoes that don’t allow rocks or sand to get inside the shoe. You will be hiking in water most of the time.
For a list of what I usually bring, click here.
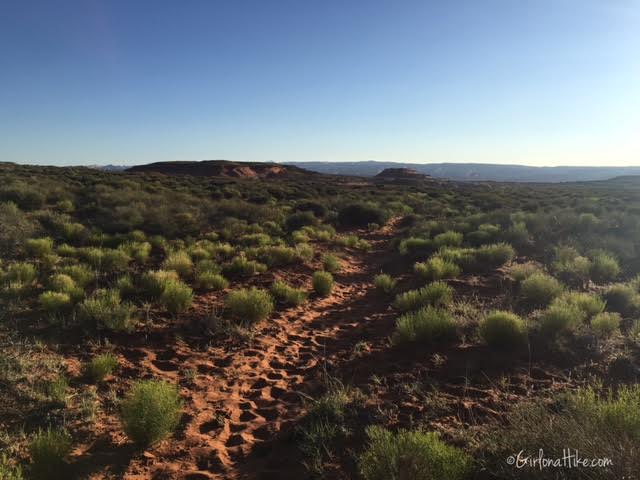
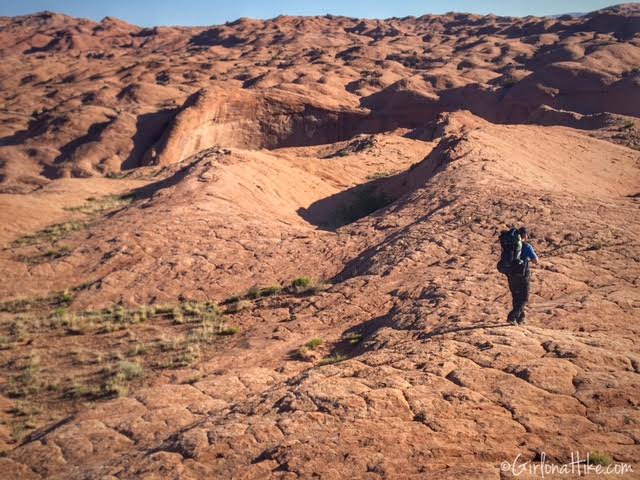
Starting out the trail cut through this sage field for about 3/4 mile.
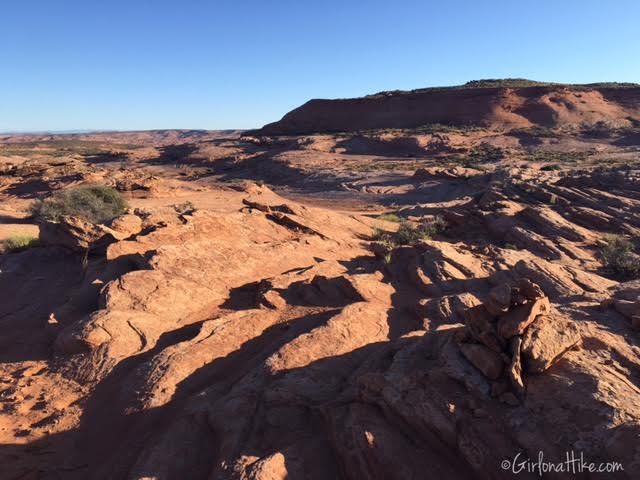
Once you get to the slickrock, follow the cairns. You will be hiking to the west of that hill. If you get yourself on the east side, you are going the wrong way.
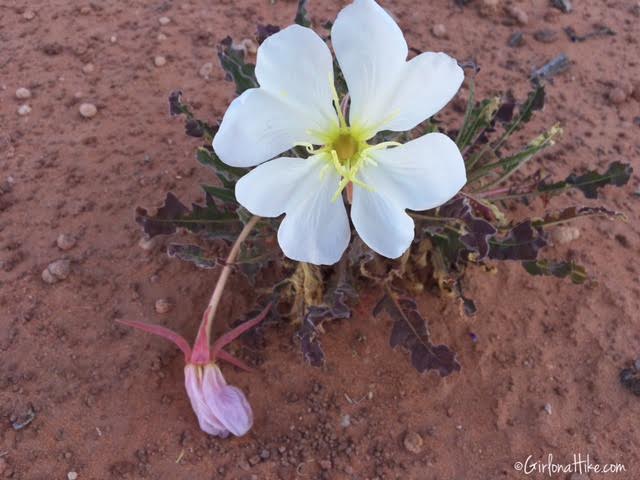
Several desert flowers were in bloom!
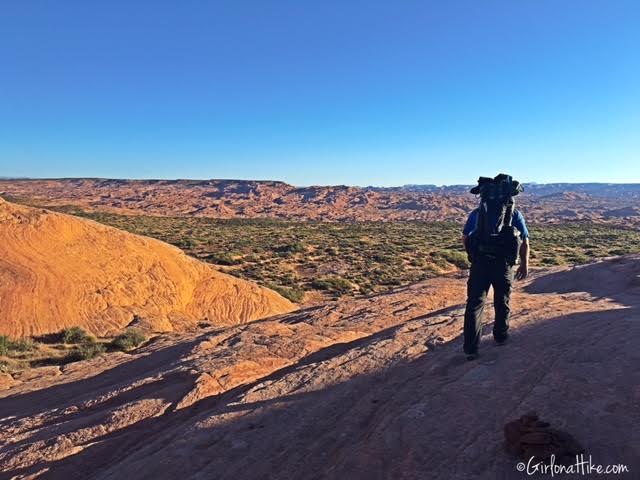
CJ leads the way over the slickrock.
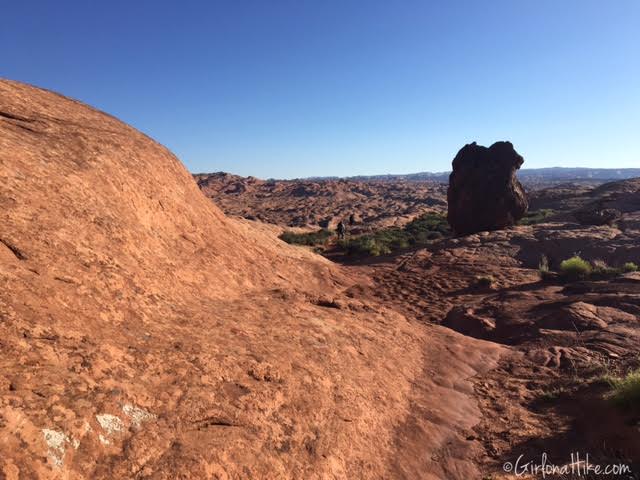
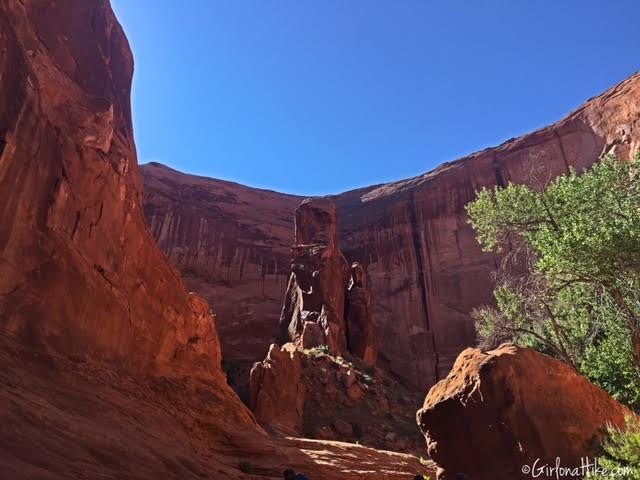
The cairns should take you past this Lone Rock (rock to the right), that looks out of place by looking at its geology. It almost looks like an ancient volcano rock.
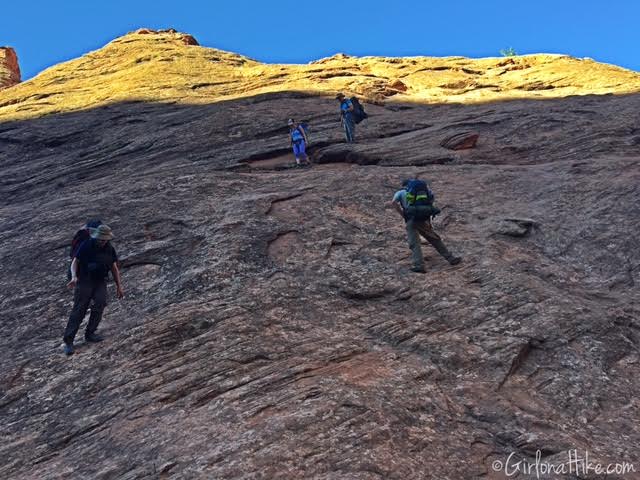
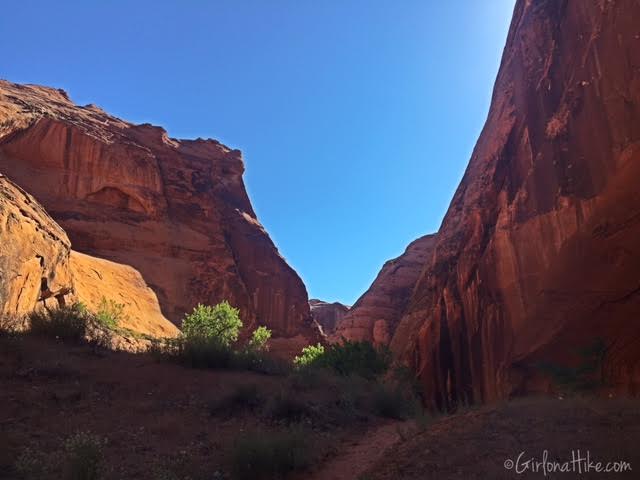
At about 1.8 miles you will start to see that there is a canyon ahead of you – this is the canyon you will hike down into.
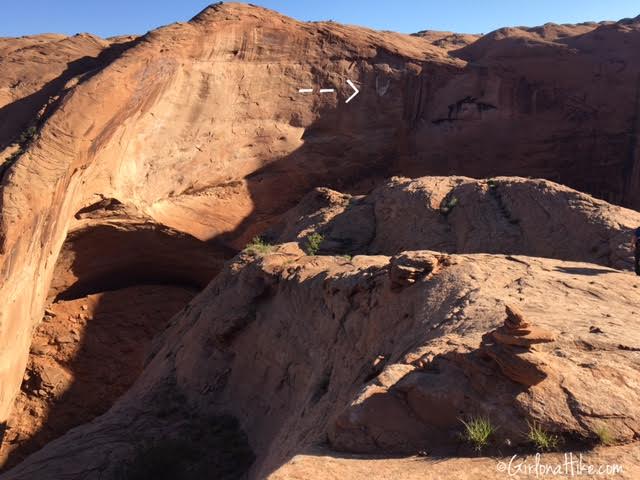
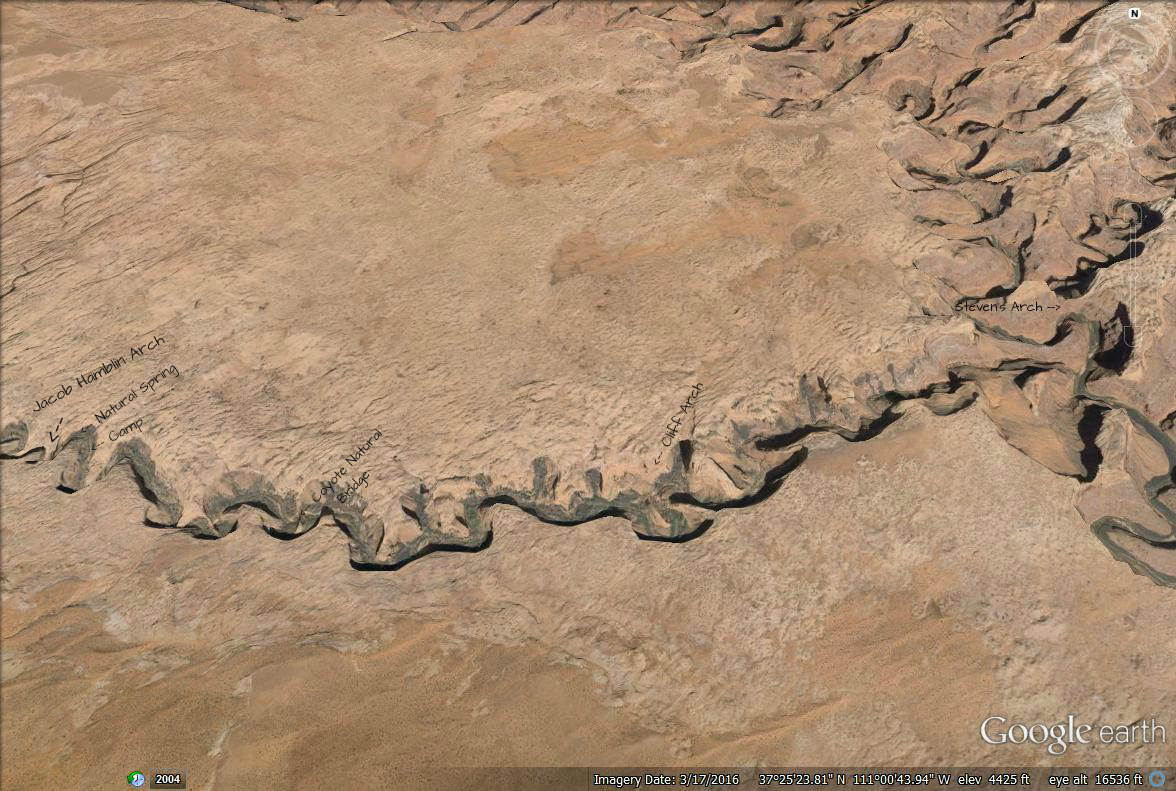
What you want to look for, is the large white “U” or wing-shaped figure across the canyon wall. This is where the short cut route leads you down into the canyon. It’s the only spot in the canyon, that is doable for hiking down. Just to the left is Jacob Hamblin arch – but you can’t quite tell until you are further down this hill.
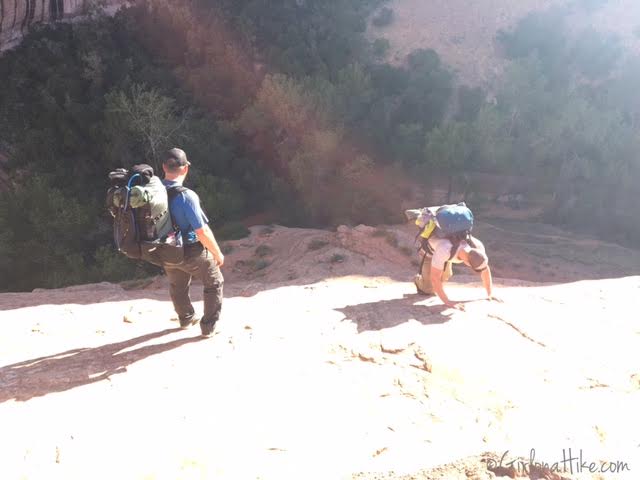
Working our way down, the guys led the way, and sometimes had to hike down facing the slickrock. At times, we had to drop our packs down to the next person because the weight of our packs was throwing us off balance.
Waiting for our group to get down the steep section.
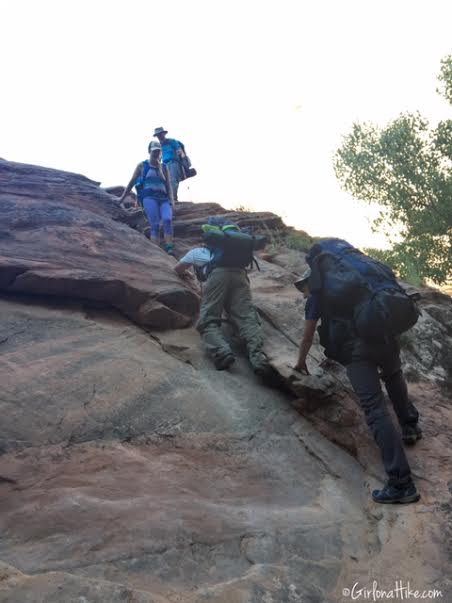
The last piece of the steep section requires a little scrambling. With someone at the base of this part, you can get some help down easier.
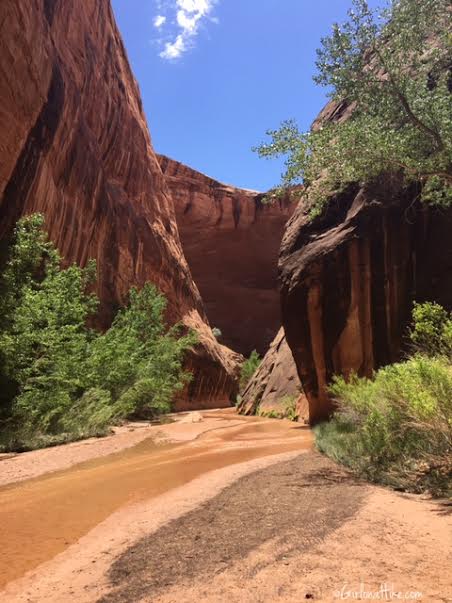
Camping in Coyote Gulch
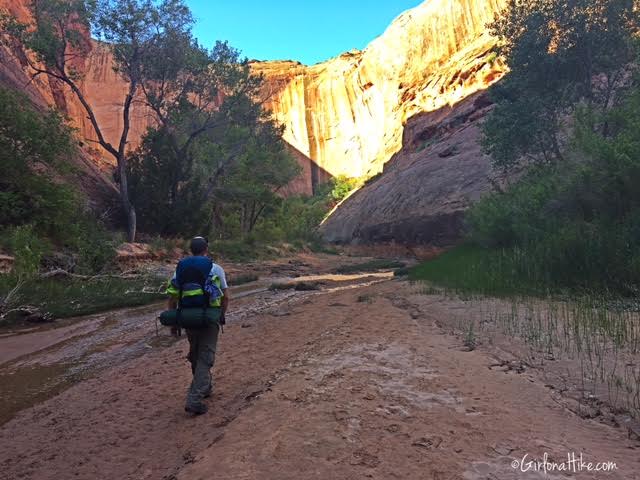
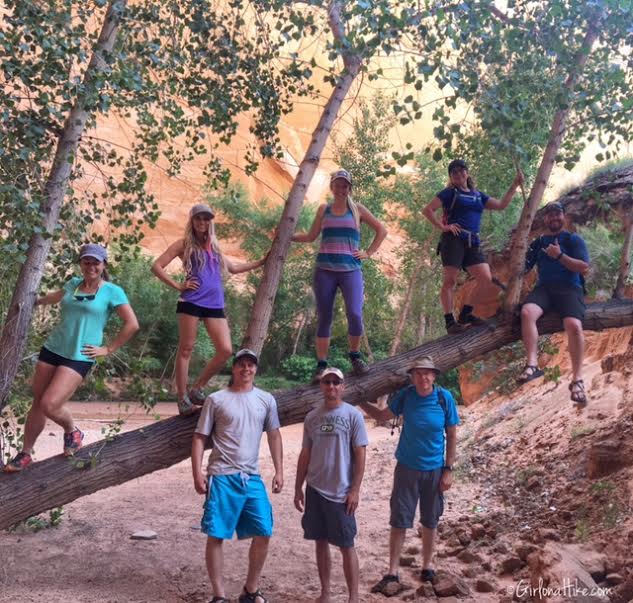
Finally down in the canyon!!! It took us 1 hour 15 minutes to reach this point. We literally picked the first large campsite we found, so we could fit all 12 people in one site. Our campsite was just across the stream and to the left.
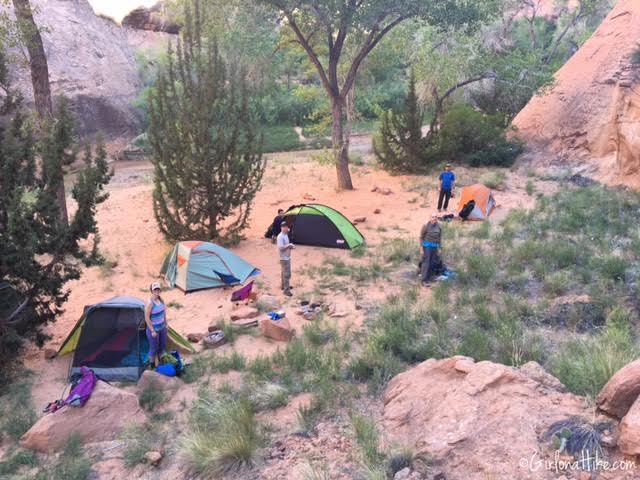
Half of our group sets up camp. The other half of our group arrived an hour later. We were able to get this campsite at around 8:30am.

Once you get down the steep hill, if you head left towards Jacob Hamblin arch, there is a natural spring on the right hand side of the canyon, that is perfect for getting more water to filter. There is less silt and dirt, which makes it faster to filter.
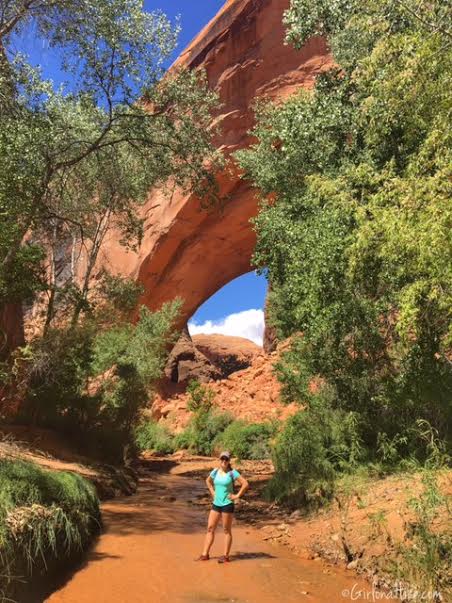
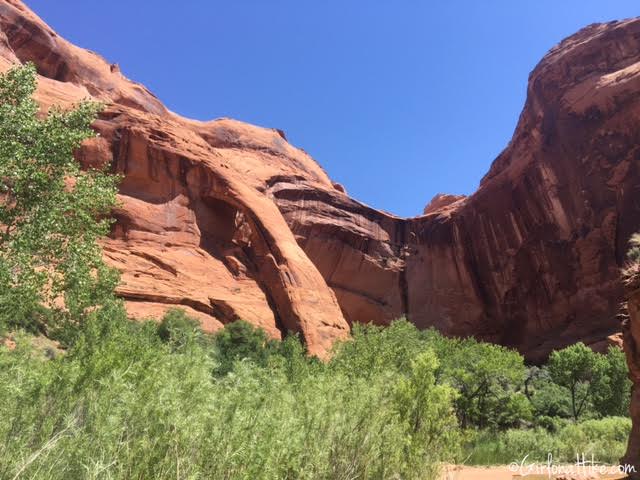
After setting up camp, we hiked around the bend to Jacob Hamblin Arch (the water spring is on the right side of this photo).
The canyon walls were so big!
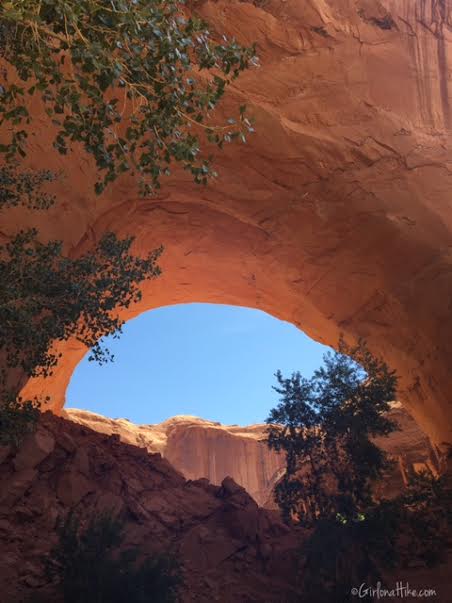
Jacob Hamblin Arch
On the opposite side of Jacob Hamblin Arch, with the morning light coming through the arch.
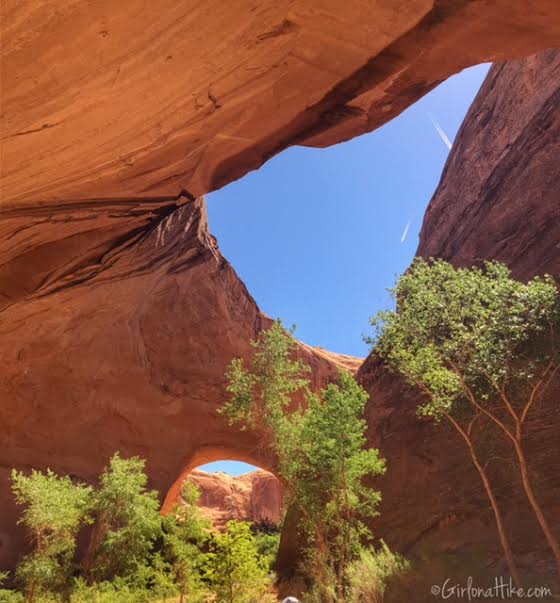
Another view of Jacob Hamblin Arch, with the alcove above us.
We turned around at this tree (roughly 2 miles up stream from camp).
We then made our way back towards camp.
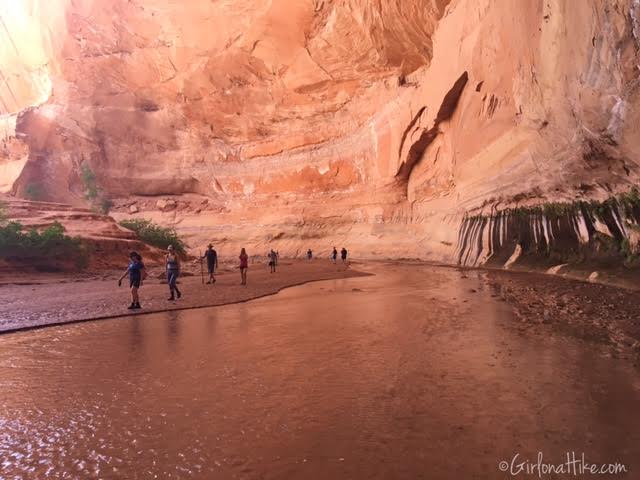
My friends walking ahead of me show how big the canyon is.
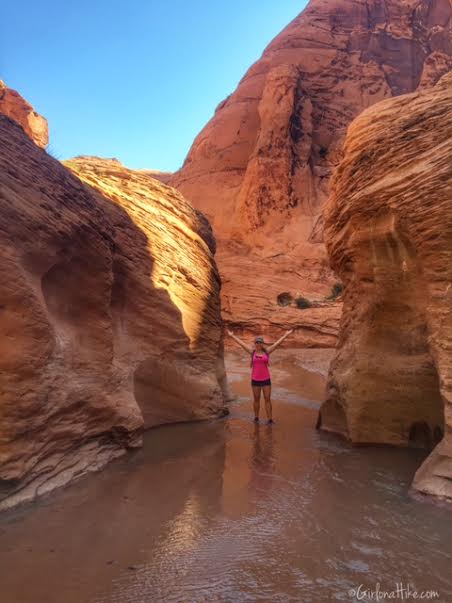
Once the sun rose above the canyon walls, it warmed up quickly and the water started to feel very refreshing.
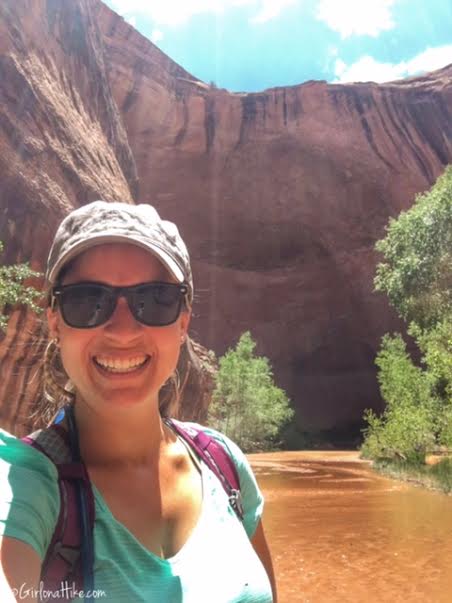
Selfie!
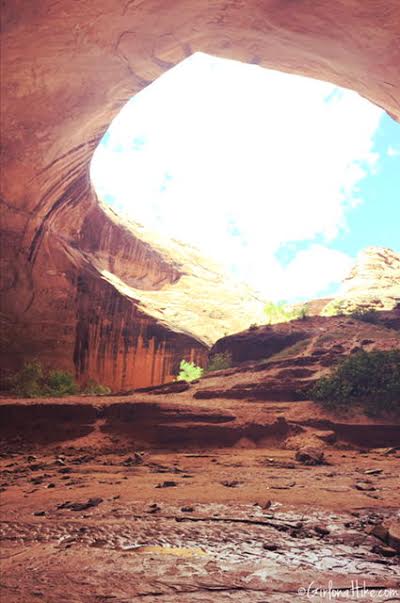
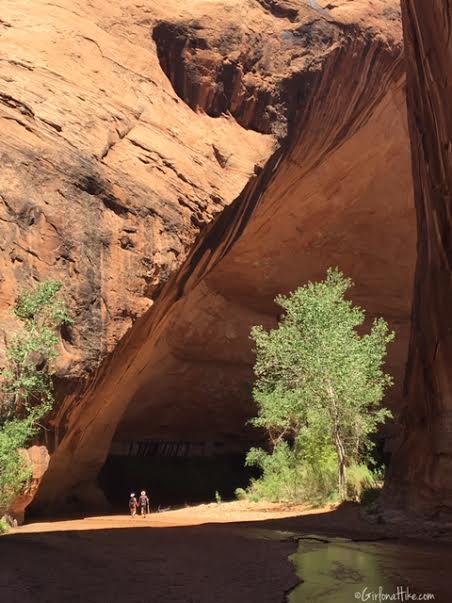
Under one of the big alcoves in Coyote Gulch.
Day 2
On Day 2 (Saturday) we started hiking at 9am, since we knew we had a big day ahead of us. Our goal was to hike to the confluence of the Escalante River, and over to Steven’s Arch.
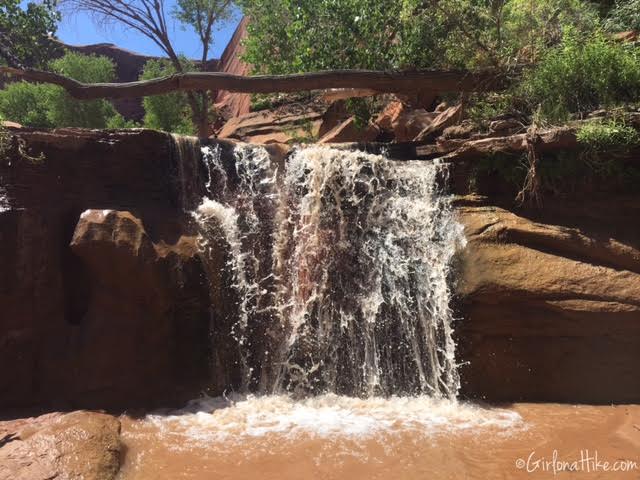
Swiss Cheese Falls
At Swiss Cheese Falls.
Around every corner was something even prettier!
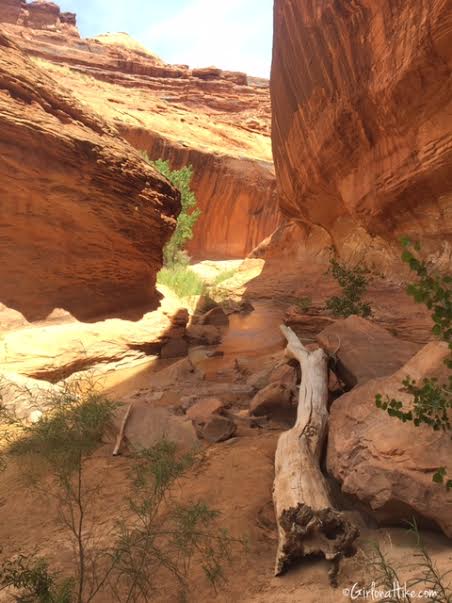
Cutting through this small slot canyon.
Coyote Natural Bridge
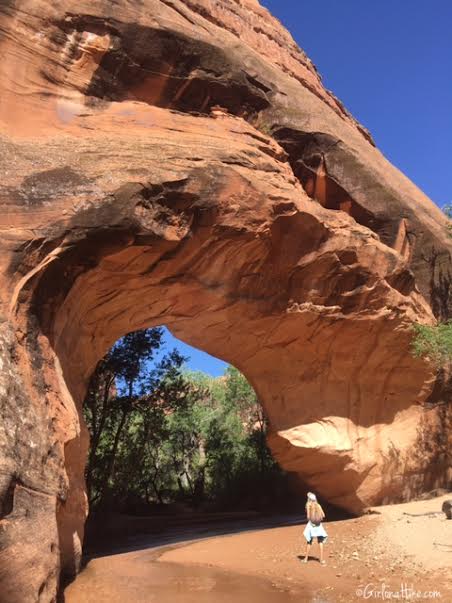
My friend Margaret stands under Coyote Natural Bridge.
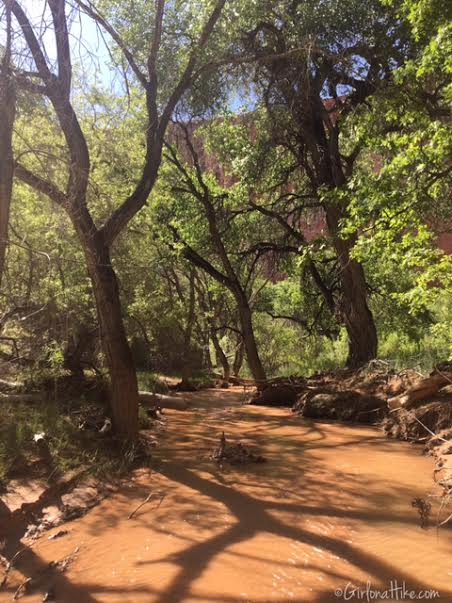
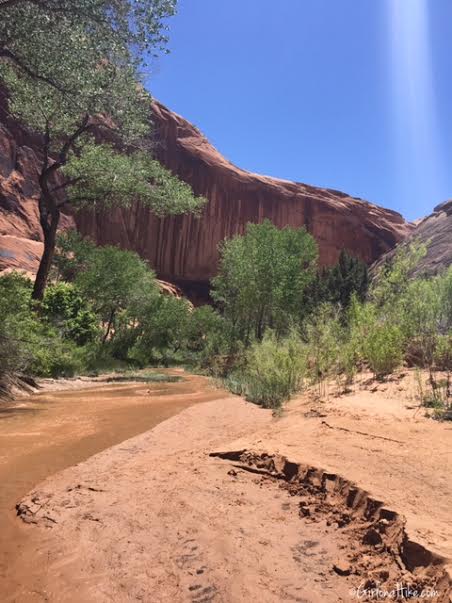
Part of the trail cut through very shaded sections, and it was a relief from the 75F heat. Although the creek looks deep, it was never more than ankle deep.
Petroglyphs and Pottery
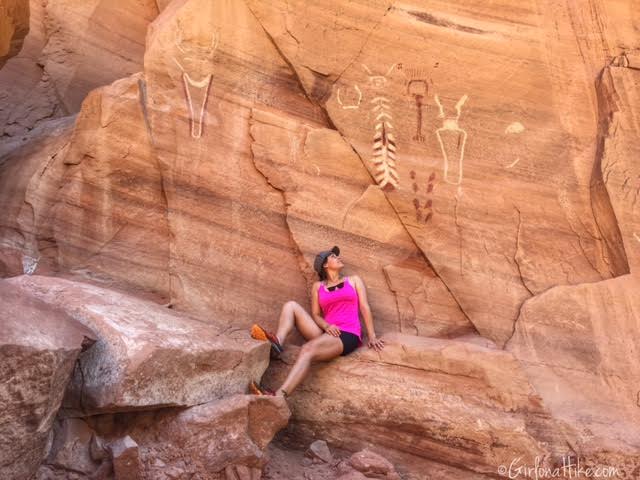
Coyote Gulch has several secret areas along the canyon, if you know where to look. One are these large petroglphys. I would like to keep some things hidden, and not open to vandalism, so I’m not telling where they are located.
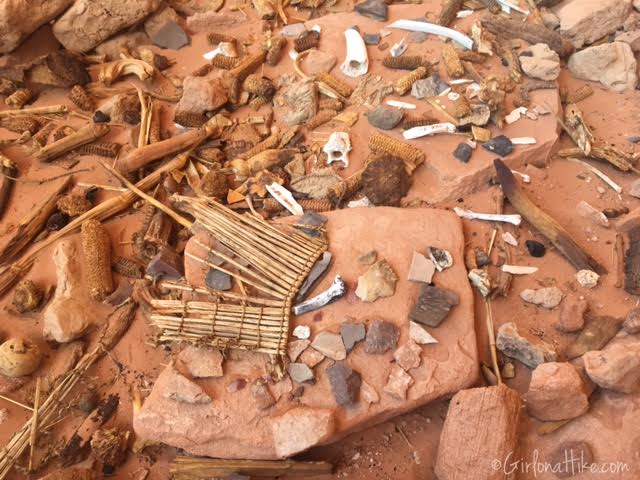
Artifacts found in Coyote Gulch. Another secret spot!
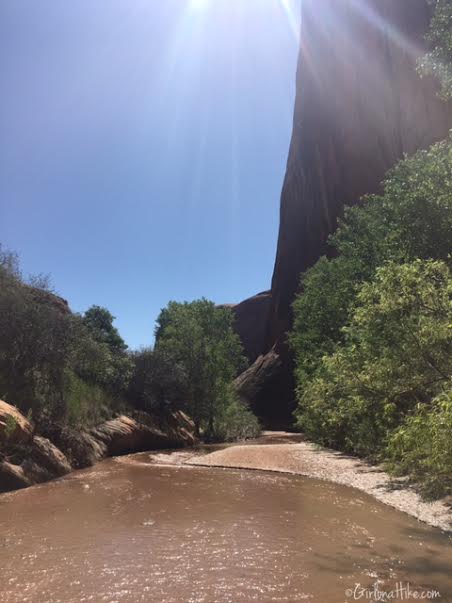
Continuing down stream.

About halfway (3 miles from our camp) there is a section that starts to get rocky. This is where you will start to see waterfalls, cascades, and around this bend, Cliff Arch.
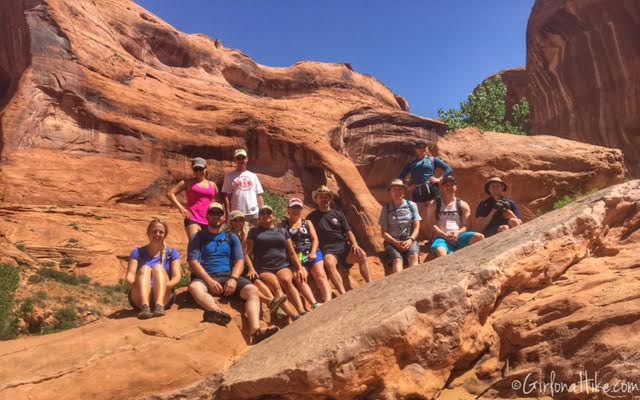
We reached Cliff Arch! Our first group photo with everyone.
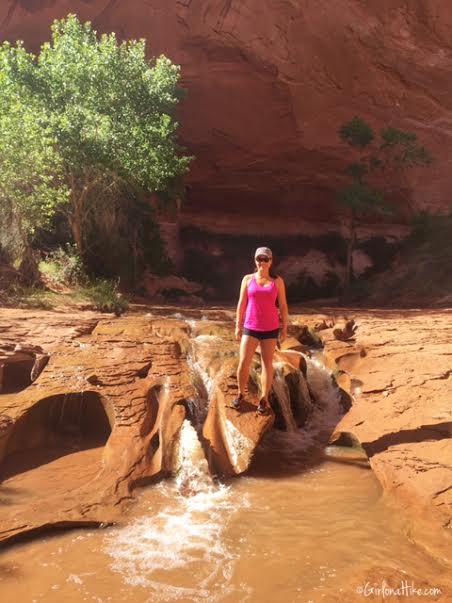
Waterfalls in Coyote Gulch
Mini waterfall near Cliff Arch.
2nd large waterfall.
Another shot of Cliff Arch. The photo makes this arch look small, but it is actually really big!

Waterfall #3 – taking it all in!
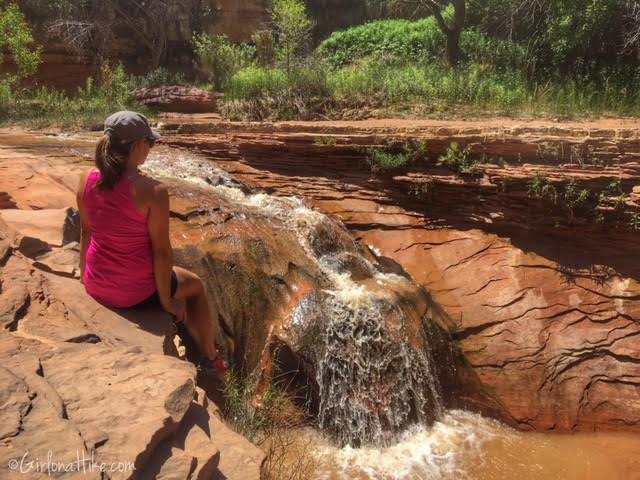
Waterfall #4
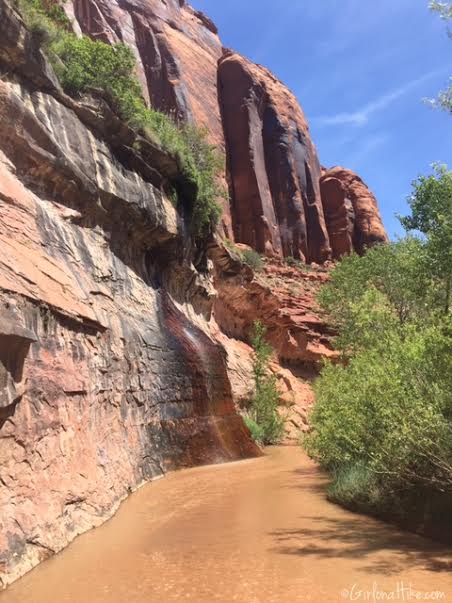
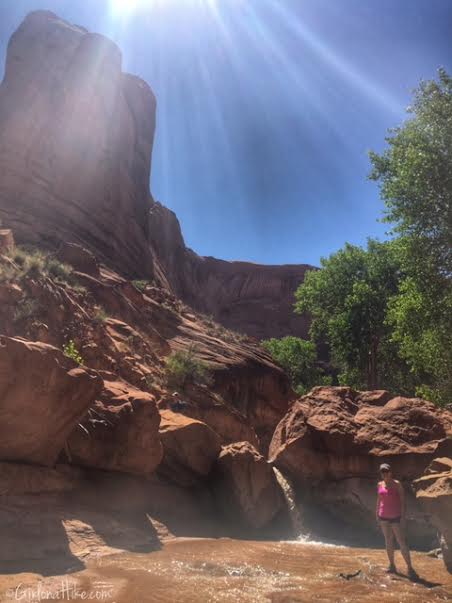
This is another natural spring in Coyote Gulch, which also doubles as a small waterfall. Standing underneath this was one of my favorite moments in the canyon because the cold, clean water felt so refreshing after sweating for hours! This is a good place to refill water on the hike back to camp.
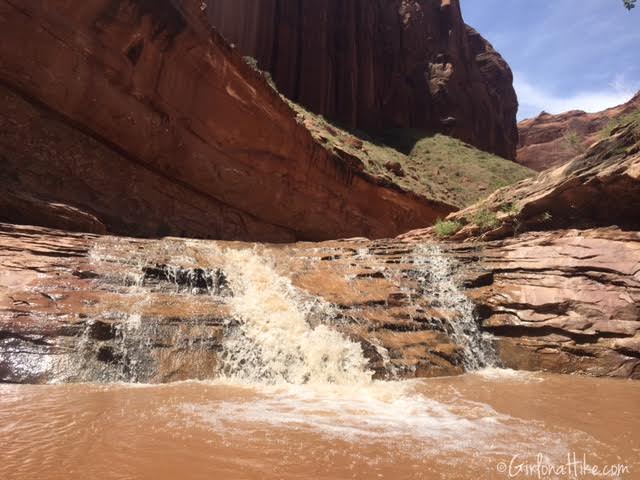
Waterfall #5. From these falls, you only have about 1.5 miles before reaching the confluence.
I really liked this part of the canyon – it just had a different feel that the upper canyon.
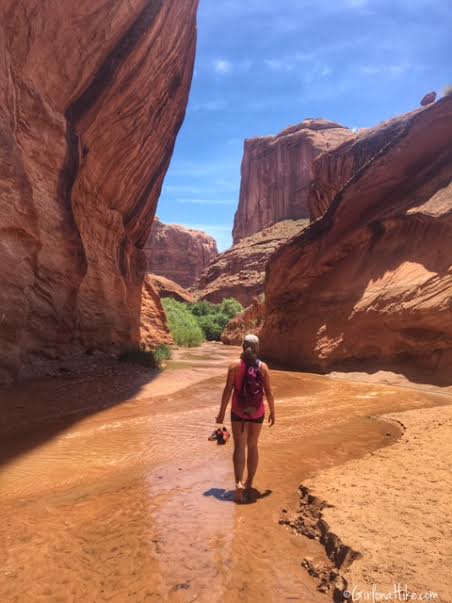
Just before reaching the confluence of the Escalante River, I took my shoes off and walked in the sandy water. It felt so good to walk barefoot!
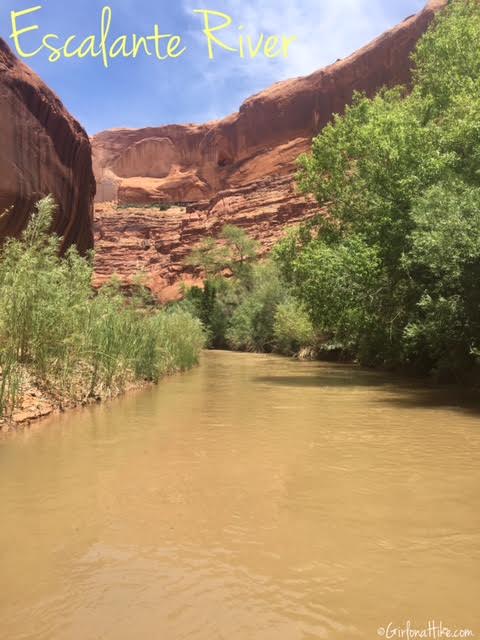
It took us roughly 4.5-5 hours to reach the Escalante River. Once you reach it, turn left and hike up stream for about 0.2 miles until you see Steven’s Arch.
Steven’s Arch
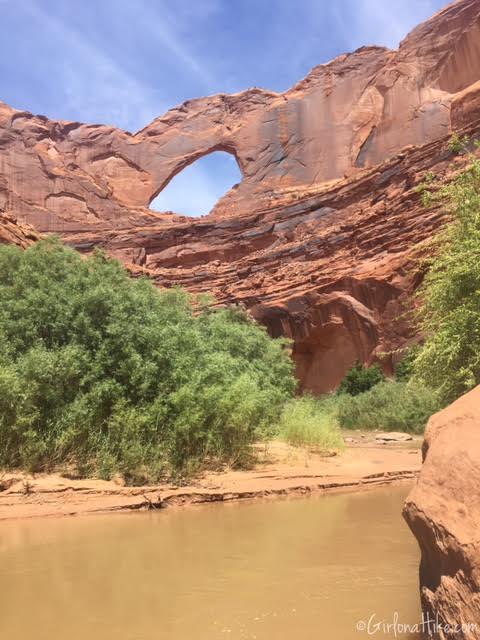
Just around the bend is Steven’s Arch! Half of our group decided to hike up to to, and stand underneath. There is a faint trail that leads up to it.

Trail Map
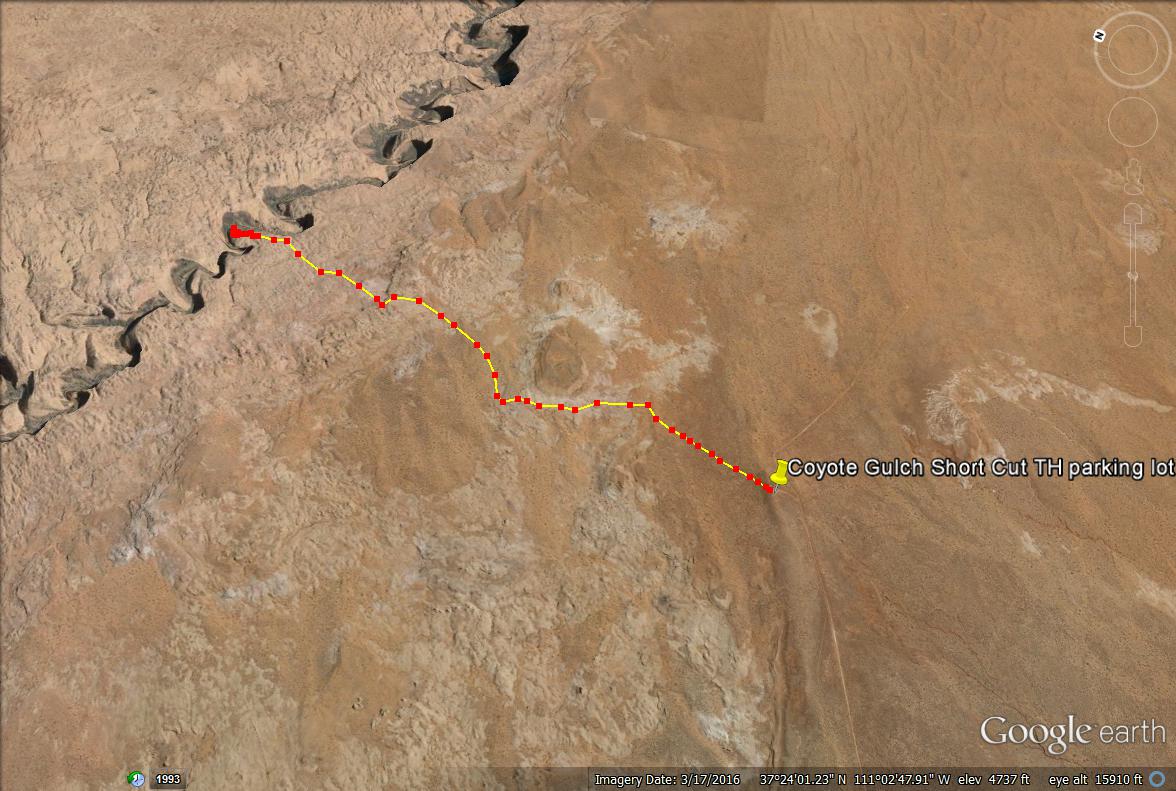
This is the Short Cut/Water Tank trail map looking NE.
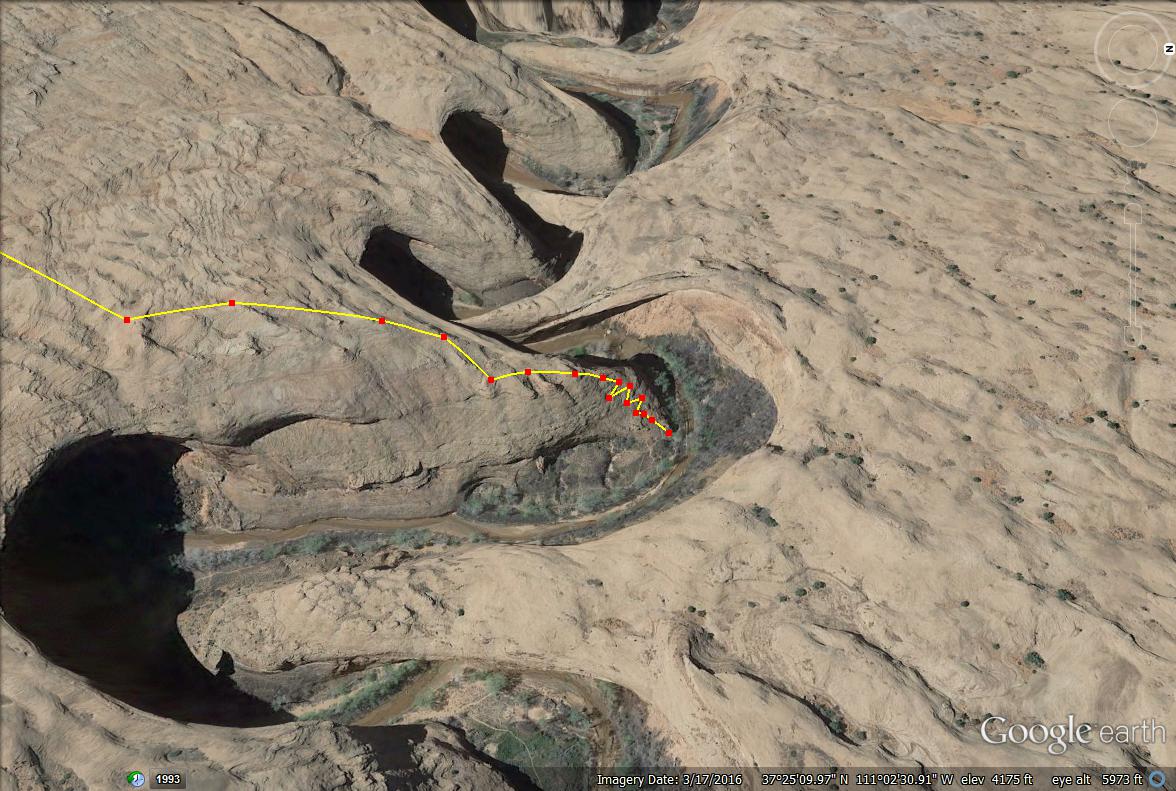
This trail map shows a close up of how to get down the steep section.
Also Read
Be sure to have these 8 Skills Every Backpacker Needs!

Save me on Pinterest!