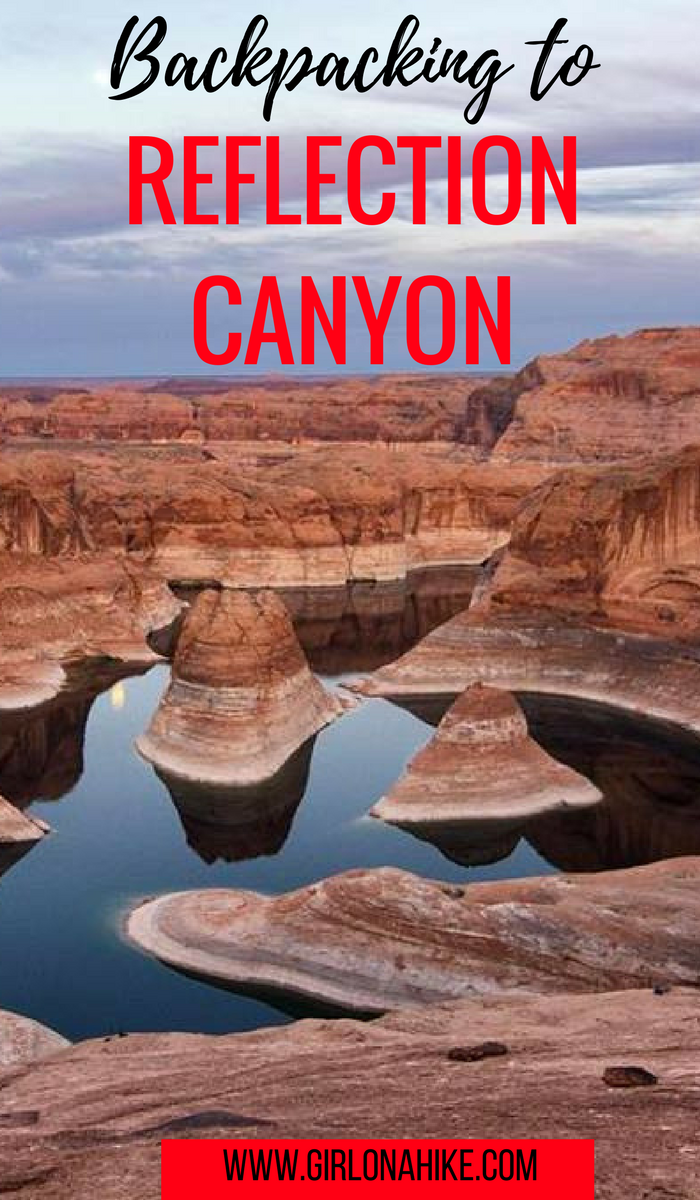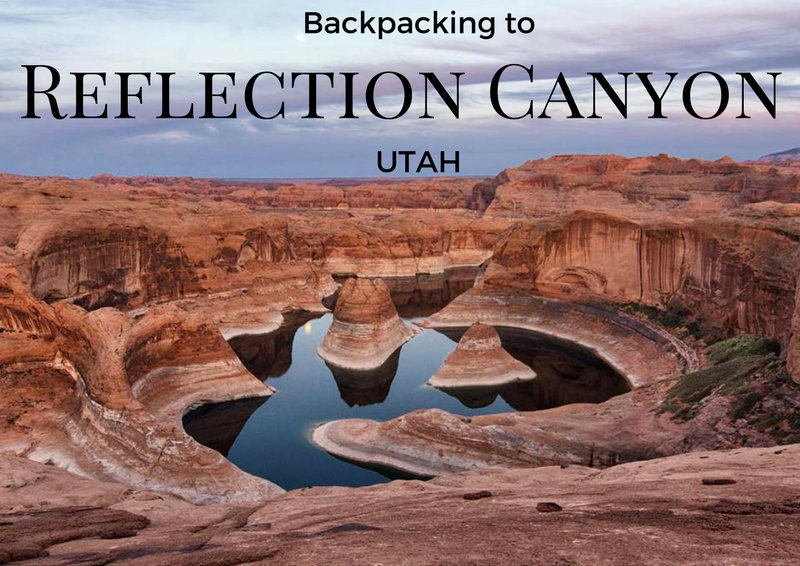

Reflection Canyon is a side canyon of Lake Powell that was first brought to the public’s attention when National Geographic photographer, Michael Melford, took an amazing photo of this canyon and wrote the article, Glen Canyon Revealed. Since then, Reflection Canyon has slowly become popular over the years as a “must see” location for photographers, backpackers, and hikers looking to explore this secluded area.
About
Backpacking to Reflection Canyon isn’t easy
It requires some route finding over sand and slickrock for 4-5 hours one way. Don’t think that is hard? Try having no water source along the way. Even in 2021 there is no official or designated trail, though popularity of this area has slowly started to create a fairly descent pathway. Don’t expect there to be cairns or footprints leading the way – the ever changing weather, flash floods, extreme wind can easily blow away any sign of hikers.
Still willing to backpack here?
If so, you won’t regret it. The sunset and sunrise over Reflection Canyon is like no other. The surrounding sand, slick rock, high canyon walls, green-blue water, and blue skies that go on forever offer a sight seen by very few. Because it’s fairly difficult to get here even by car down Hole in the Rock Road, you will hardly see any people, making a great secluded backpacking destination.
Directions
Use these map links, depending on where you start driving from. I’ve marked the map to the exact location of where to start hiking.
Trail Info
Distance: 16 miles RT
Elevation gain: 560 ft
Time: 1 night backpacking minimum
OR 10-12 hours for 1 full day hike
Dog friendly? Yes, off leash (see notes below)
Kid friendly? No
Fees/Permits: None, however, you do need to pick up a free backcountry camping permit from the visitor center in Escalante, UT.
FAQs
Can I bring my dog?
Yes, dogs are allowed off leash. It is a good idea to always have a leash handy, in case you come near wildlife. Dogs should be able to hike for long distances and over rocky terrain. Dog poop is expected to be cleaned up and packed out. Note that there is plenty of little critters and deer here, so make sure food is tucked away from critters. You will need to carry at least 4 liters of water minimum for your dog. The only reason why we didn’t bring Charlie with us on our trip was that he wouldn’t fit in our friend’s Toyota FJ with all of our gear. Poor Charlie!
Is this a good trail for kids?
Not for younger kids, but teenagers who have backpacking experience and can carry their own weight & water should be fine.
Is there a water source along the trail?
There is NO water source along this route, and that makes for a challenge and heavier pack. You will need water for hiking both in and out, if you make dehydrated food, plus water if you bring your dog. Though Reflection Canyon is obviously filled with water, there’s no way to get down there. I recommend keeping a cooler in your car filled with fresh ice (you can get ice in Escalante, UT), water, and sports drinks so that when you backpack out, you have cold drinks waiting for you. We use the 40 quart ORCA Cooler and it keeps ice for up to 10 days.
When is the best time to backpack to Reflection Canyon?
April & October seem to be the best months – the temperatures aren’t too hot, and in Spring the desert flowers are in bloom. Summer months are extremely hot and try, along with monsoon season; winter is cold along with high winds. Due to the quick changes in weather, be aware of flash flood danger.
How hard is the trail?
This depends on your experience, fitness level, pack weight and weather. There are no technical areas of the route, but hiking through sand, brush, and slickrock are required. You should have a few backpacking trips under your belt, and be comfortable carrying up to 30-40 lbs for hours on end. As always, the lighter your pack, the easier your hike will be. More weight = harder hike.
What guidebook or map do you recommend?
There is currently no guidebook nor official map, because there is no designated trail. I’ve created a few maps below to help guide you. However, this would be the best general map.
You can request full GPS Coordinates of my route by emailing me at [email protected]. The cost is $5.
Put your packs on and let’s start hiking!
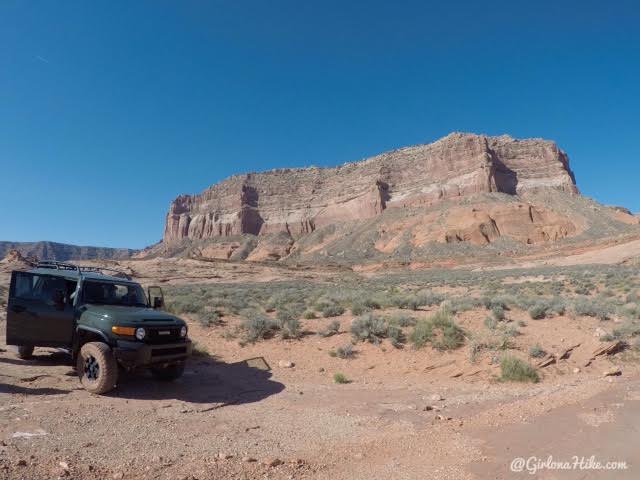
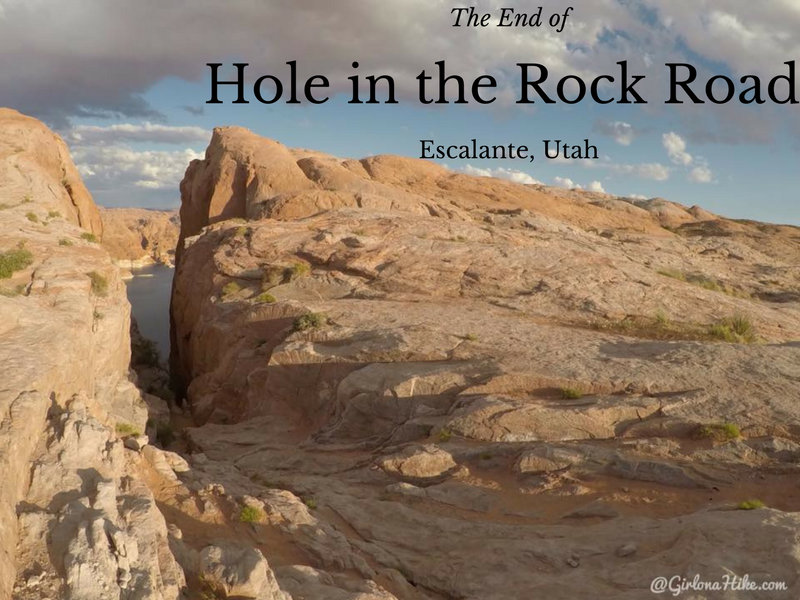
If you haven’t read my post on Hole in the Rock Road, let me emphasize again that you MUST have a 4×4 car to reach the “trailhead”. When traveling this road, you should have a full tank of gas, bring plenty of water and be equipped to get yourself out if you get stuck – this road is not routinely patrolled by any agency. You can see that we drove in my friends Toyota FJ, which has a lift and super duty tires. At times, we had to drive 10mph even in this car. I’ve marked my map (below) to the exact spot you should start hiking from. This long rock face is known as “Fifty Mile Point”. The parking area is down a hill past a cattle guard, on either side of the dirt road.
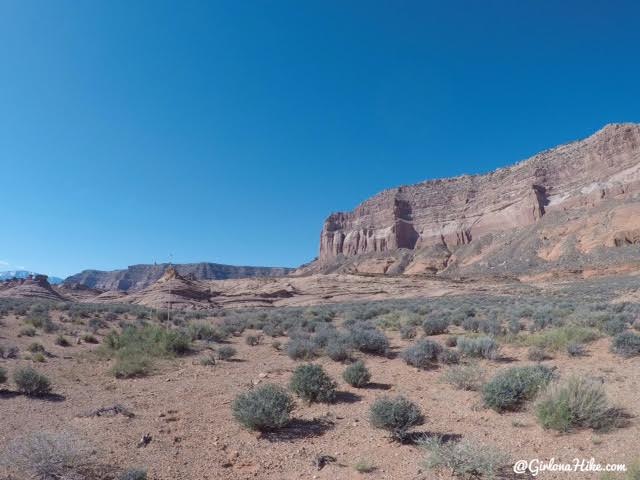
To start hiking, aim for the southern end of Fifty Mile Point. Once you hike over the slickrock you’ll get to the bench area in the terrain, and you should see a faint path heading south. Again, don’t rely on any path to be there – if nobody has hiked here in a few days and rain came through, you may not see footprints to follow.
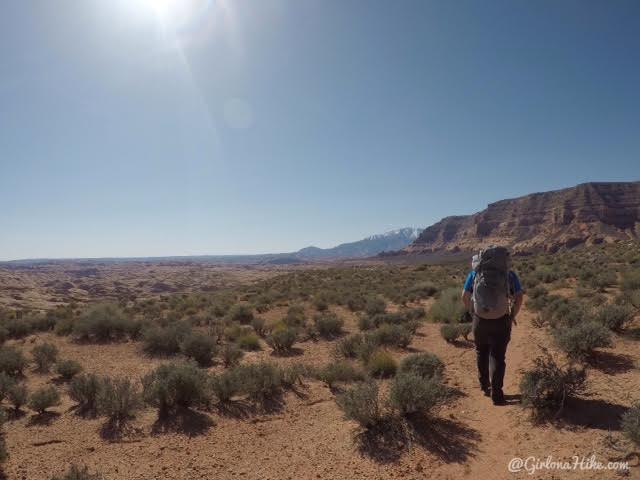
This is what a bulk of the hike looks like. Endless sage brush and sand. You can see that we are following the faint path already here. The tall ridge and cliff face should always be on your right while hiking to Reflection Canyon for the first 6 miles.
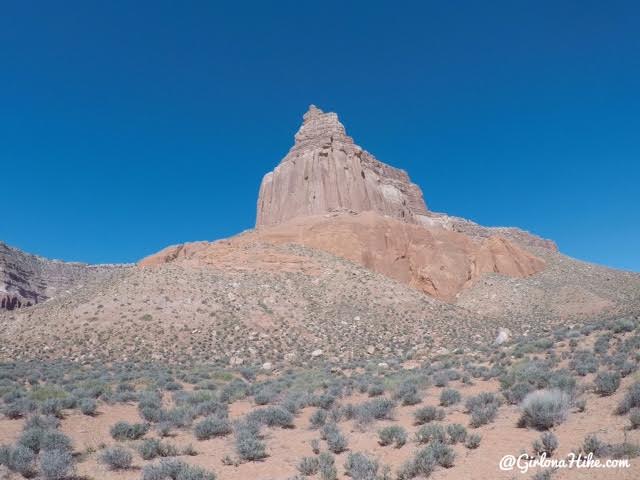
The faint path curves slightly around the southern end of Fifty Mile Point.

Starting out, we had cool temps so I had on all three of my layers. Within 2 hours I was down to my t-shirt and shorts.
This was my maiden voyage of my new Osprey Arial 65 pack, and I totally loved it! If you’ve read any of my past backpacking posts you know that for the last 8 years I used the wrong size and style of pack – I used a heavy, men’s, Cabela’s pack that was too big for me, causing incredible shoulder and back pain. What was I thinking!? I was a total backpacking newbie. SO glad I decided to upgrade to a pack that actually fits. I highly recommend having an employee at REI or any outdoor store help you fit the pack to your body shape and size before buying one.
Update 2018: I’ve made an even better pack upgrade – check out my Waymark Gear Co pack!
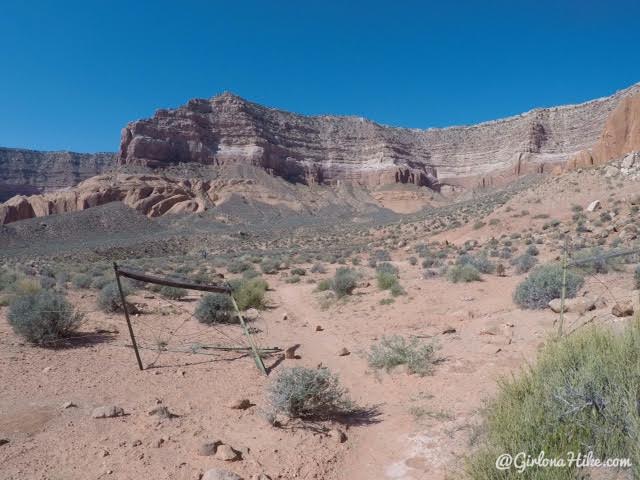
The path will most likely lead you past this old barbed wire fence.
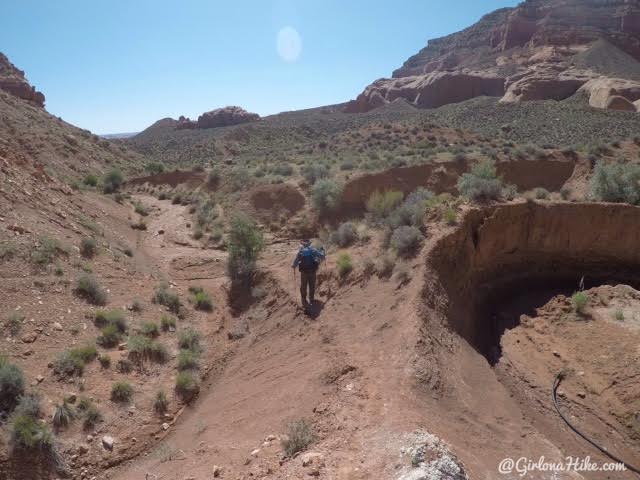
We hiked down and past and old ditch-type area, with hoses and a trough on the right side. You can see one of the black hoses.
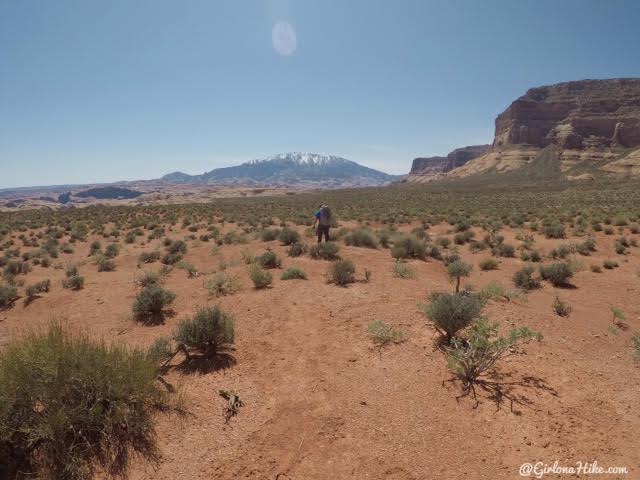
At times there were footprints going everywhere, and some of them eventually died off leaving us to wonder where the “trail” went. In order to find the route again, the four of us spread out so that we could pick up the trail easier and let our group know where it was. As long as you head South with the cliffs on your right you’ll be fine.
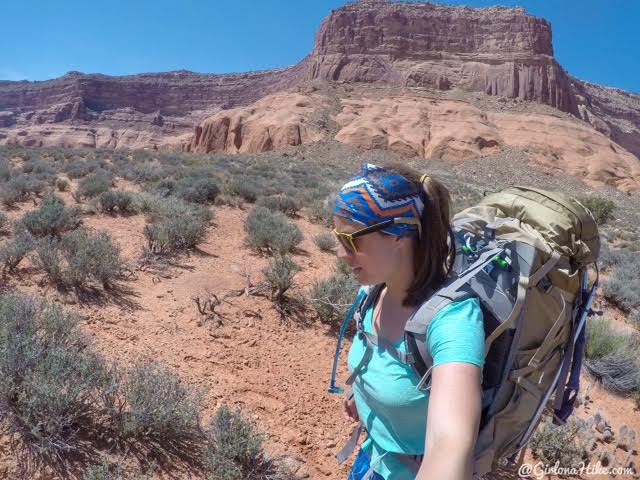
Around mile 5.5, you should start to get close to this squared off cliff face.
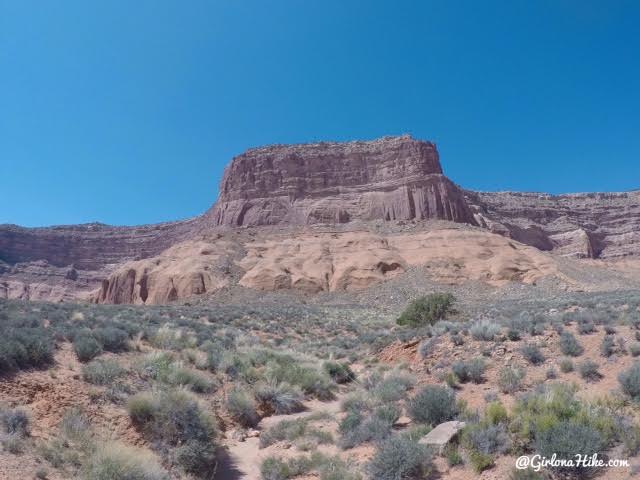
All the other cliff faces up until now, have been pointy. This one is square and longer than any of the other ones. At the southern end of this cliff face (roughly mile 6), turn East.
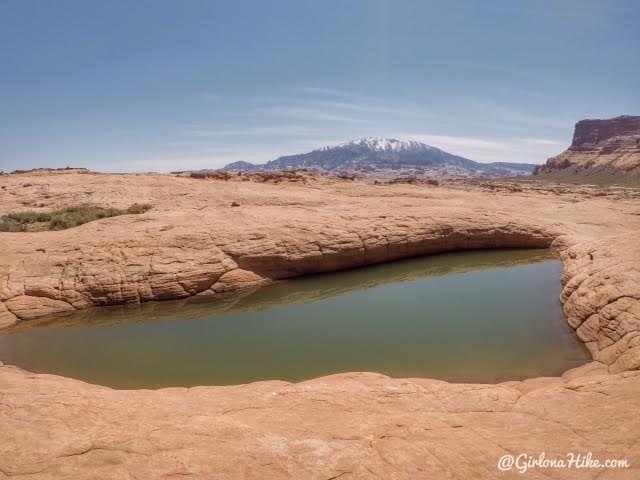
Once you start hiking East, you should now be hiking over slickrock. Surprisingly, we past a few of these pot holes filled with water. If you were totally desperate you could bring a Mini Sawyer Filter and get some water from here. However, don’t rely on water to be here! I think there was water only because the weekend before they had storms in this area.
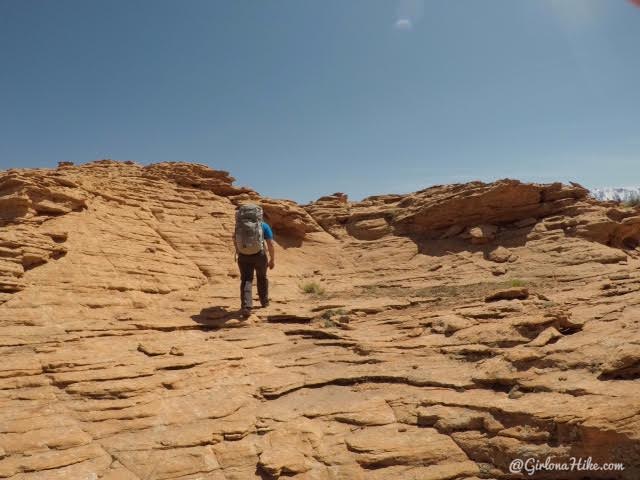
The last 2 miles leading to Reflection Canyon were the hardest. Not only have you already backpacked in 6 miles, but it was afternoon so it got hot, and all the up and down was wearing me down.
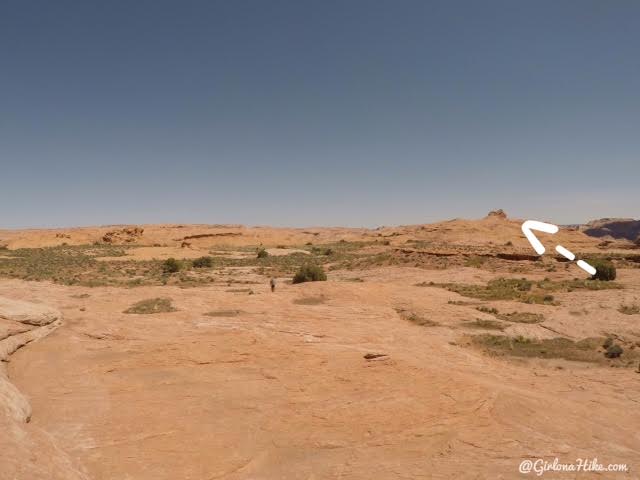
A good landmark to keep an eye out for is this large butte. It’s the tallest one in the area, you can’t miss it. On topo maps it’s marked as “4,317” for the elevation. Reflection Canyon is just one ridge past this butte. Don’t hike up and over it (you’ll get cliffed out), but hike around it to the left.
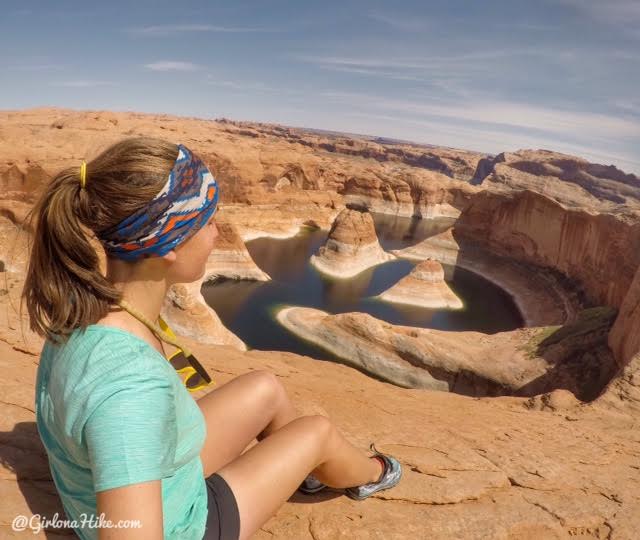
We made it to Reflection Canyon in exactly 4 hours. We only took one short, 5 minute break along the way, and all four of us have years of backpacking experience. Slower hikers will make it here in 5 hours. This photo was taken around 1-2pm. The water looked so green! Reflection Canyon is much bigger than I was expecting.
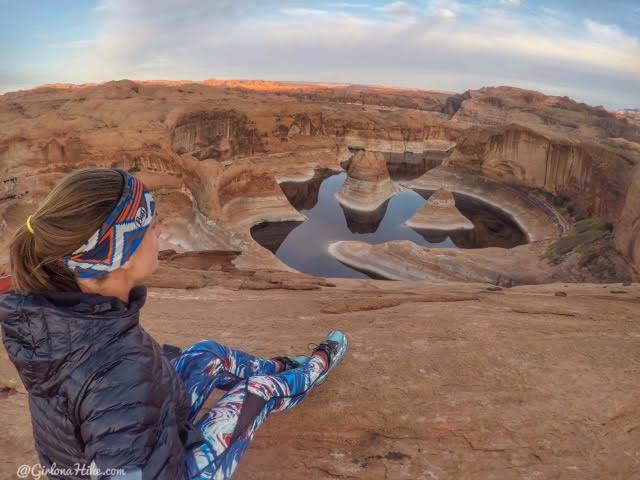
Same spot, but as sunset. It sure cooled off quickly – I was back to my puffy and pants.
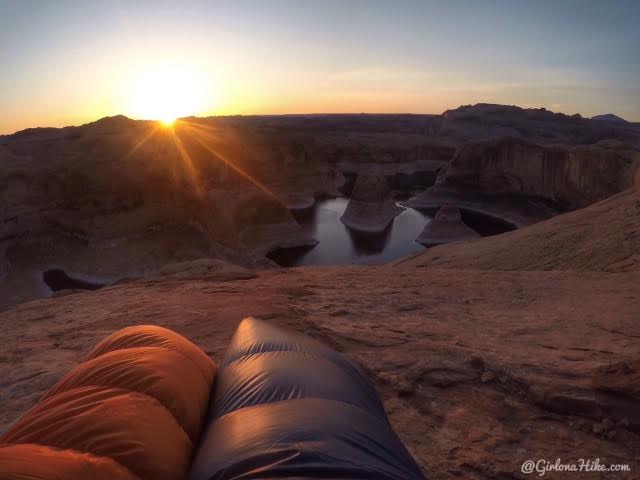
Sunrise!
You do need to pick up a free backcountry camping permit from the visitor center in Escalante, UT. No campfires are allowed. Pack out what you bring in, and Leave No Trace principles apply.
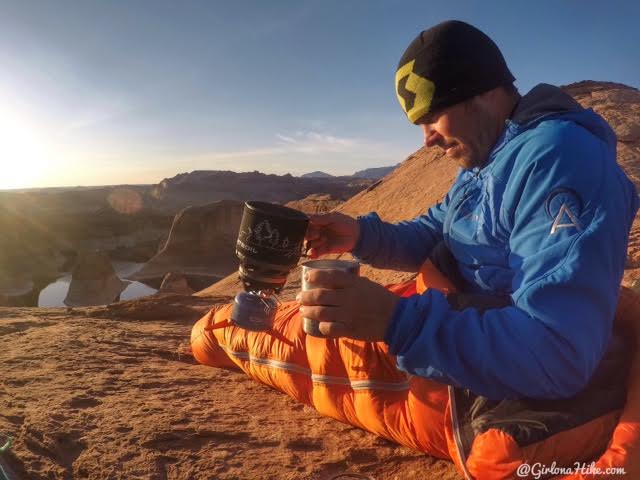
Gotta have coffee!
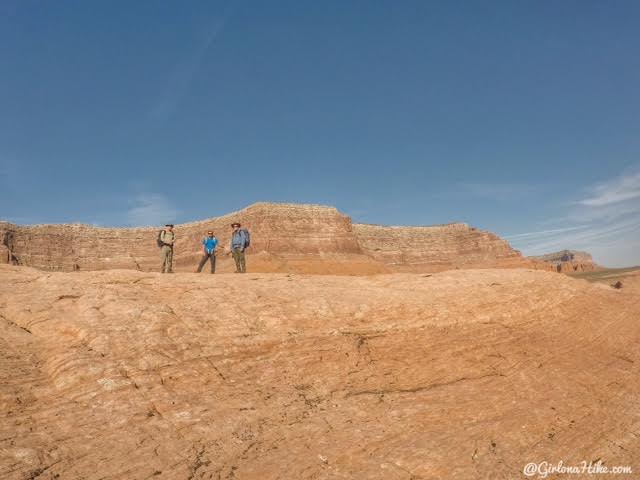
We only backpacked in for one night, so we left Reflection Canyon around 9:15am that morning. On our way back, try to follow the same path that you came in on.
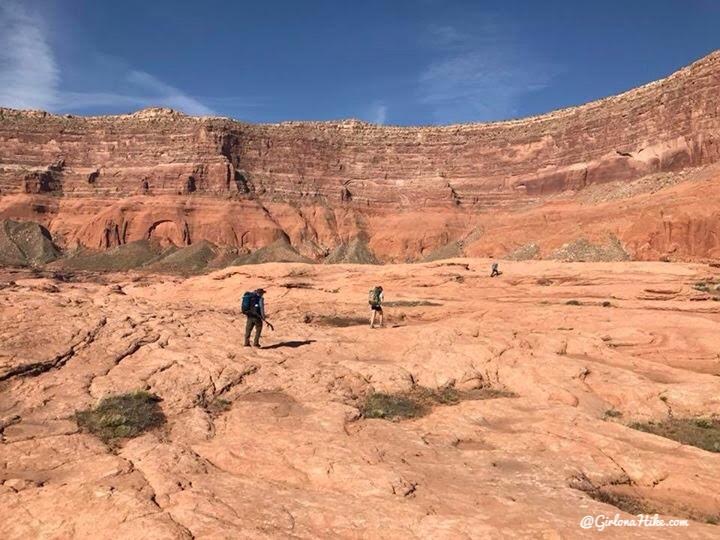
Heading home.
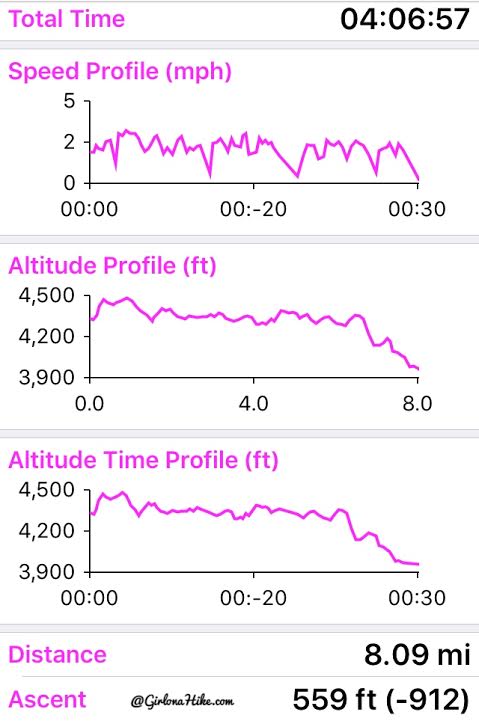
Here is my route via Gaia GPS. I highly recommend this app for tracking your route here. You can plug in way-points, & create a route for any trip. It was super helpful to help aid us in knowing how far away we were, and where we had to turn. I tracked 8 miles one way, my partner tracked 9 miles.
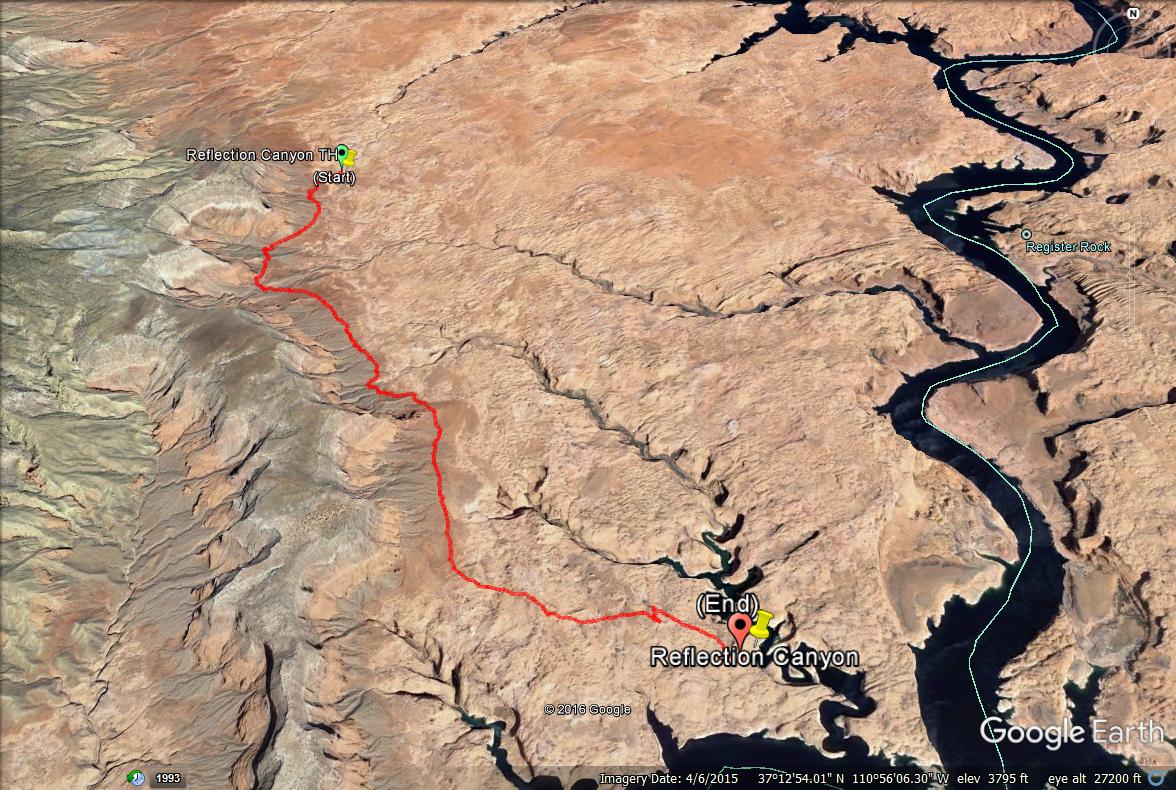
You can request full GPS Coordinates (& KMZ file) of my route by emailing me at [email protected]. The cost is $5.
Recommended Gear
Click HERE to see a complete list of my backpacking gear.
Also Read
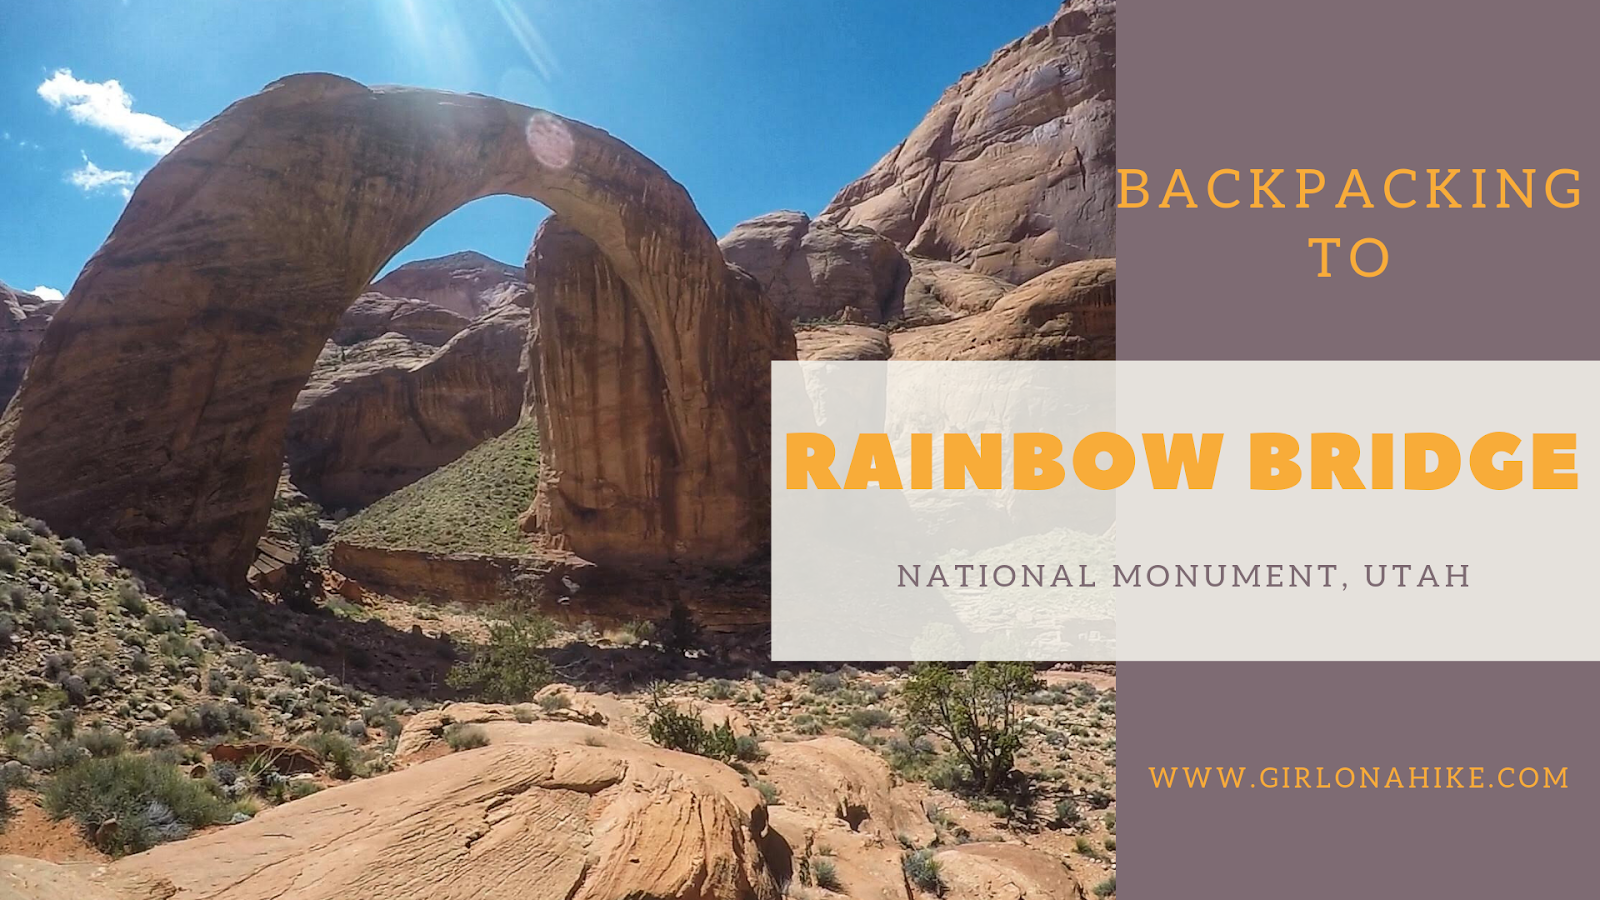
Backpacking to Rainbow Bridge National Monument

Save me on Pinterest!
