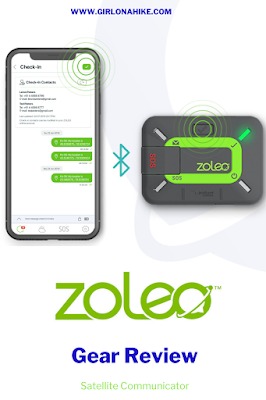

ZOLEO is one of the newest satellite communicators on the market, and on our big 5 night, 6 day trip to the Alice Toxaway Loop, I knew this was something I wanted to take along and test out. ZOLEO sends and receives messages via the Iridium global satellite network when you are in the backcountry. Using the ZOLEO device itself along with the app (required for use), you can text messages via cellular or Wi-Fi when available – you won’t even miss a message if the ZOLEO isn’t turned on!
About
Two of the big appeals about the ZOLEO for me were the SOS feature and Dark Sky weather reports. When planning a trip to the mountains, I always check the weather beforehand but that doesn’t mean things won’t change day to day. Being able to check the weather was a huge plus for us on our long trip – we checked it daily. The hope is that I’ll never have to use the SOS, however, peace of mind is great when traveling in the backcountry or on solo trips. ZOLEO’s response partner, GEOS, monitors SOS calls 24/7 wherever you are in the world.
This is NOT a route tracking device with maps you can download. You will need something in addition to the ZOLEO such as a paper map or the Gaia GPS app (my personal favorite).
ZOLEO isn’t just for backpackers. Are you a backcountry skier? Do you spend a lot of time driving solo on backcountry roads with no cell service? Are you a water lover and get on on a kayak or SUP often? Do you do long cycling rides? Are you worried about your dog getting injured on these activities? This can literally be used for any activity where you don’t have cell service.
Keep reading to learn about all the features!

Unboxing time! I got the ZOLEO device ($199) plus the Cradle Kit ($35). I ended up not using the cradle kit on my trip, I just kept the device in the lid of my backpack. Your first step will be to register and activate the device online. Then you will need to pick which monthly plan you want to activate as well – Basic ($20/mo), In Touch ($35/mo), or Unlimited ($50/mo); there is a one-time activation fee of $20. You can read more about each plan here.
The main differences in each plan are basically how much you want/need to be able to send texts. For testing purposes, I got the Unlimited, however, I think the Basic would fit the best fit for me if I were to own one, since I don’t plan on texting like I normally do when backpacking.
Don’t backpack or hike year round? You can suspend your monthly plan when not in use for just $4/month (after the device has been in use for 3 months).
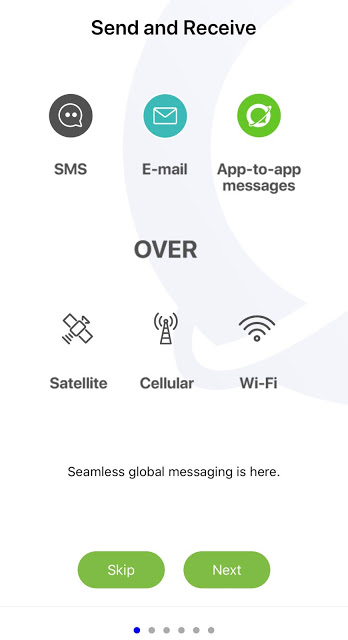
My device was registered and ready to go – next was setting up the app. The app is very easy to use – it walks you through each step. The layout and UI/UX flowed well.
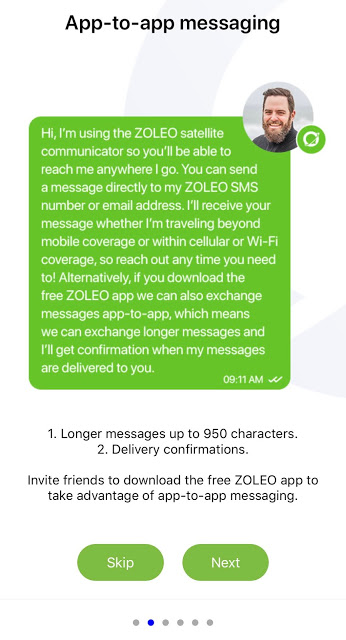
The nice thing is that you can invite friends (or, Mom!) to use the App for free, even if they don’t own the ZOLEO device. If a friend already uses the device, you will automatically see their contact info appear if they are already in your phone as a contact.
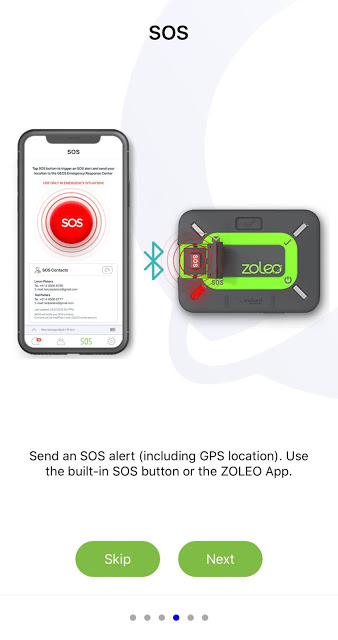
The SOS is explained. You really can’t accidentally hit this button – it needs to be held down for a full 5 seconds before SAR is contacted. It’s important to point out that whenever you are in the backcountry to always be well-prepared and as much self-reliant as possible – use this only as a last resort. While I try to handle situations on my own, there is always the possibility I may not be able to at some point.
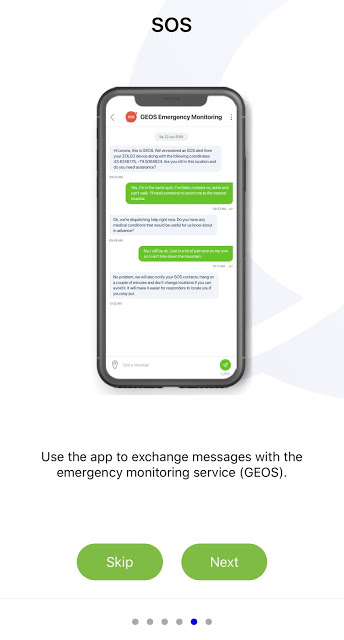
What the SOS interaction looks like if you were to hit that button. They will confirm your GPS location and ask for specific medical conditions.
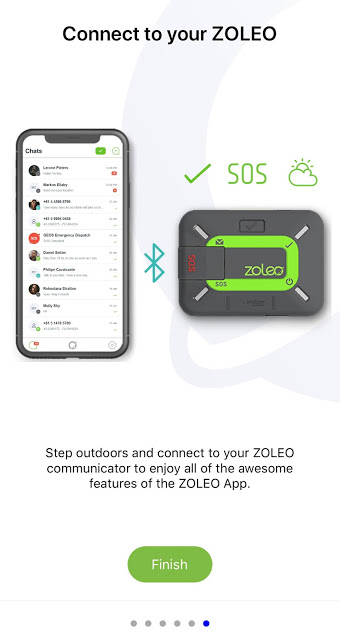
Now it’s time to make sure the device and app are working together. Turn it on, then step outside. Make sure you have a clear view of the sky, and aren’t in your house or under a blanket of thick trees.
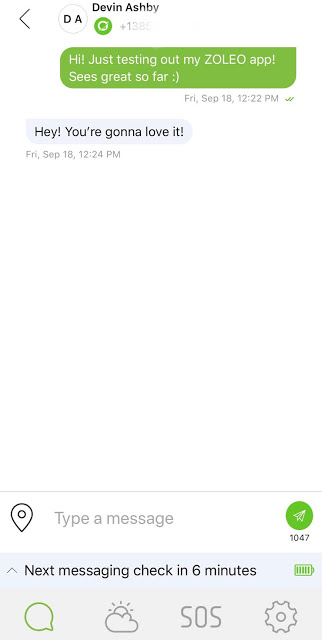
I saw my friend, Devin from Backcountry Exposure, automatically pop up in my app since he both has the device and app, and was already in my phone contacts. How cool! I sent him a test message from home.

Time to check the weather report to make sure that works. It only takes about one minute for it to update to your location, and includes conditions, temperatures (Daily high/low), sunrise/sunset times, expected precip (% and millimeters), and type of precip.
Now that I knew everything was working, it was time for our trip!
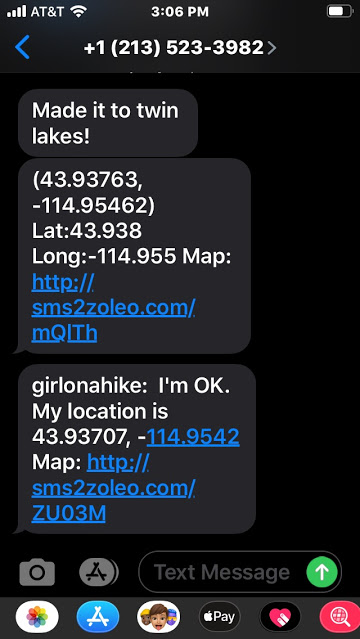
Using the Check-In feature with another friend who doesn’t have the device nor app. This is what is looks like on their end, when receiving a text. The phone # will be a dedicated number to you.
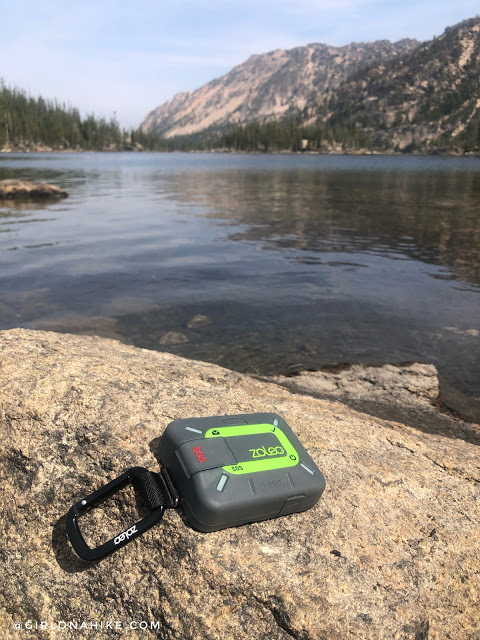
Always try to have a clear sky, again, so the device gets the most accurate information. After checking in with my friend back home, it was time for a weather report.
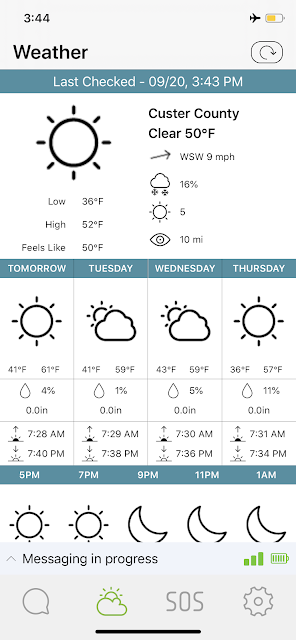
Clear skies – looking good for a few days. You can view the hourly weather forecast for 12 hours, however, there is no radar feature.
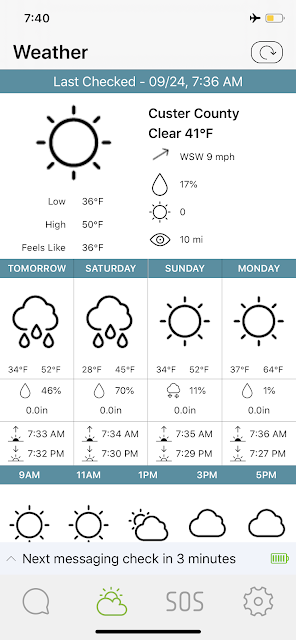
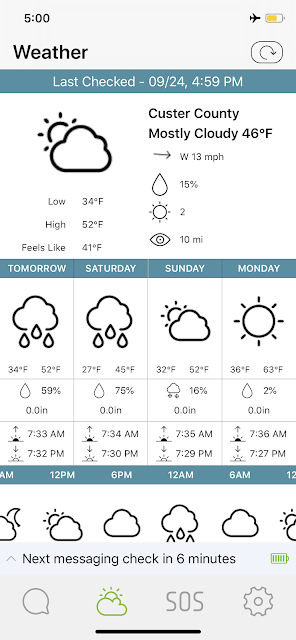
Here are two weather reports from the same day, morning and evening. You can see that in the morning it only said a 46% chance of rain for tomorrow, then in the evening it said a 59% chance of rain. This would be the day we hike out back to our car, the last day of our trip. The following day we had zero raindrops!
On another day we checked the weather right in the morning before planning what we would do on our “relax” day. It said there was only a 17% chance of rain. Great, let’s hit a peak! Wrong. Two hours later we quickly took a photo near the summit, and then turned around within 5 minutes of getting to the top, before it rained for about 15-20 minutes.
I’m not sure if the Dark Sky forecast was just plain wrong where we were, if I haven’t used it over enough time and trips to learn more, but I also understand predicting weather in the mountains can be tricky. If there were a radar feature, seeing the build-up begin could be useful in predicting the weather yourself and what is really going on in that area.
Either way, in my opinion, this is one of the biggest features that needs improvement, and can’t quite be relied on yet.
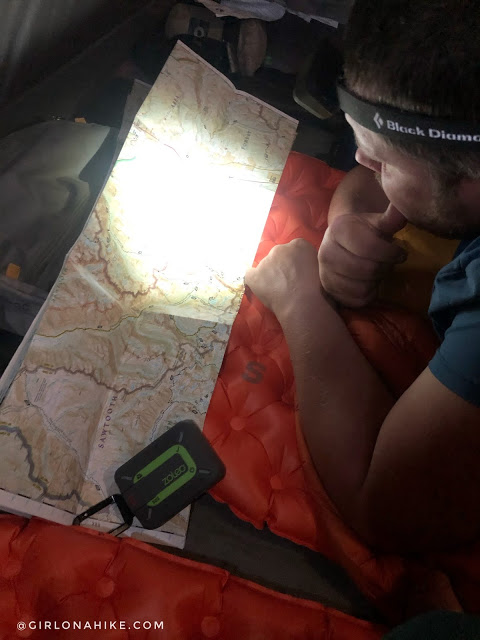
While I only tested this on one 5 day trip, there are pros and cons with the ZOLEO device/app.
PROS
– Easy to use & set up
– Great for checking in with friends/family while in the backcountry
– Sending messages was very fast and seamless
– Can use anywhere in the world
– No cell service needed
– 24/7 SOS alerting with GPS location sharing
– Can send long messages (950+ characters)
– The device itself is small, lightweight (5.3 oz), and waterproof for backpacking
– One of the more affordable satellite communicators on the market
– Can share your location & text with anyone, even if they don’t own a ZOLEO device
CONS
– An improvement to add a weather radar would be very helpful
Shout out to ZOLEO for letting me borrow and test out this product! Overall it’s a great bang for your buck satellite device/app to feel safe and secure in the backcountry in case you need help or just want to check in with friends/family.

The ZOLEO device and monthly plan can be purchased directly from their website or if you are in the Salt Lake area, both Cabela’s locations (Orem & Farmington). Make sure you’re following them on Instagram, Facebook, & LinkedIn!

Save me on Pinterest!
