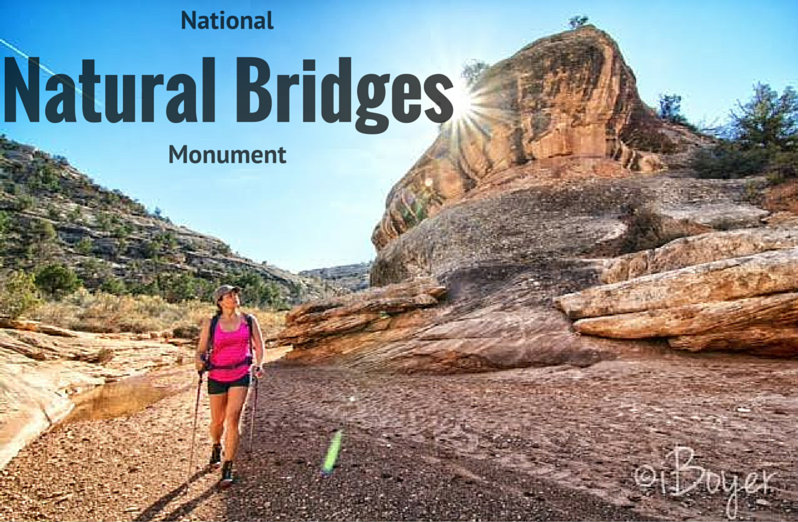

Natural Bridges National Monument covers a small area of SE Utah, and is therefore very remote and not close to any of “Utah’s Mighty Five” National parks.
About
Despite being near many other amazing places in this part of the state such as White Canyon, Mule Canyon, Cedar Mesa, Grand Gulch, and the LaSal Mountains. Unlike Arches National Park which has over 2,000 arches, there are only three bridges at Natural Bridges. This park also contains cliff dwellings, pictographs, petroglyphs, and white canyon sandstone.
Natural bridges are formed by running water, and hence are much rarer than arches. This is also the reason why bridges tend to be found in deep canyon, sometimes hidden, whereas arches are usually high and exposed. Millions of years ago sandstone was deposited then uplifted by the Colorado Plateau, gradually forming today’s landscape. Though you may not notice it, pollen studies have shown that this area was once a spruce-fir forest. Changes in climate changed the plant life, but pockets of fir still dot the cooler, moist, north facing cliffs near Sipapu Bridge.
The three majestic natural bridges can be viewed from the marked overlooks, however, to really get a sense of how massive they are and to take in all of the park, it is best to hike the 9 mile loop trail. “Sipapu” (pronounced Si-pap-ooh), “Kachina” (pronounce Ka-cheen-ah), and “Owachomo” (pronounced O-wa-cho-mo) bridges are all named in honor of the Native Americans that once made this area their home.
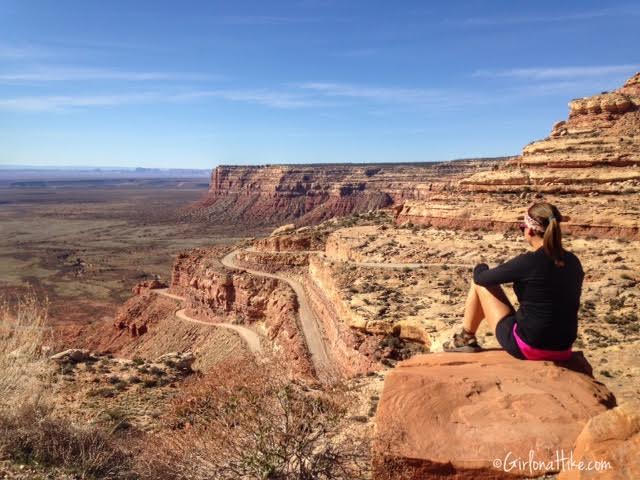
Since we first had to make the 45 minute drive from camp at Goosenecks State Park, our route took us up and over the famous Moki Dugway. The Moki Dugway, located on HWY 261, just 8 miles from Mexican Hat, UT, is a staggering, graded dirt switchback road carved into the face of the cliff edge of Cedar Mesa. It is a 3 miles long, with an 11% grade, which winds up 1,200 ft from the valley floor. Road closures can be frequent, so check conditions before taking this route. Most cars can travel this safely (as did our Honda Accord), but RVs, and vehicles over 28 ft should not attempt this road. Several pull-outs are available along the road to hop out and take some photos.
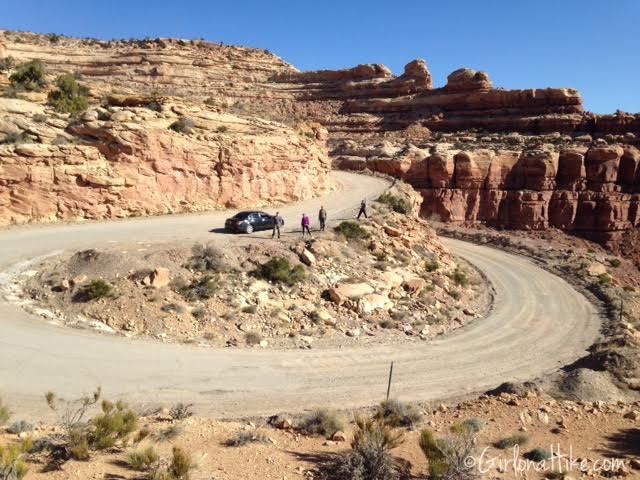
The Moki Dugway was constructed in the 1950s to provide a way to haul ore from the Happy Jack Mine on Cedar Mesa to the mill near Mexican Hat, UT.
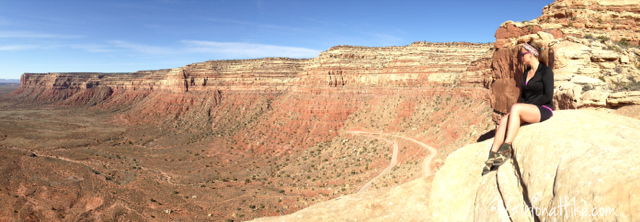
Climbing up on the rocks to get a good view of the Moki Dugway.
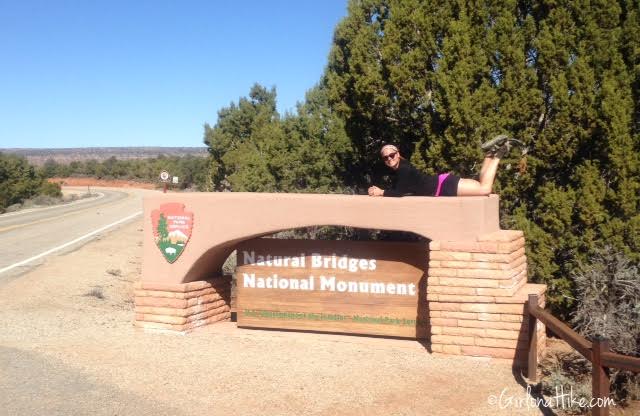
Always have to get a photo with the entrance sign! We thought this one was cool because it was formed like a bridge.
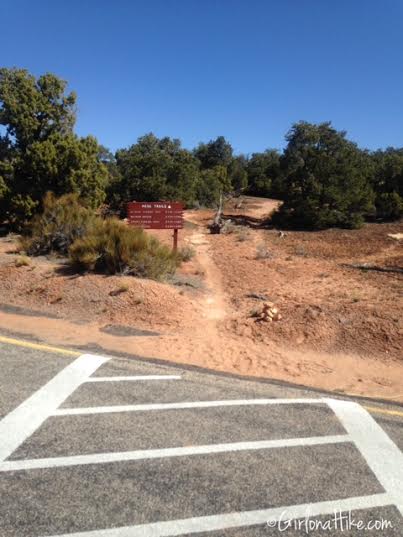
After stopping at the Visitor Center, and checking in with the ranger, we started our hike. What the ranger recommend was to do the loop trail in a counterclockwise direction, starting from the Owachomo Bridge parking area. We were glad we followed his advice. The trail starts on the mesa – very flat, exposed to sun and wind, and no water. Since we started hiking around 10am, it was great advice to knock out this section early before it got too hot.
Trail Info
Distance: 9 miles (loop)
Elevation: 560 ft
Time: 5-8 hours
Dog friendly? No
Kid friendly? Yes, but beware of sheer cliff drop offs
FAQs
What time is the visitor center open?
Oct 18 – Nov 20 9-5pm
Dec 1 – March 31 9-4:30pm
April 8-5pm
May-Sept 8-6pm
Are dogs allowed on the trail?
No, dogs are not allowed on the trail. Pets may accompany you at the campground, at overlooks, and pullouts, and must be leashed at all times. DO NOT leave your pet in the car, as temperatures can rise extremely fast.
Is there a fee to get in or hike?
Yes, you can use the annual National Park Pass to get in free. If you don’t have one, they cost $80/year and you can purchase one at any National Parks gift shop. Otherwise it is $10/car, which is good for 7 days.
Do I need a permit to hike here?
No.
Where is the closest camping?
The campground at Natural Bridges is available on a 1st come, 1st serve basis, and only has 13 sites. There is a 26 ft length limit for RVs. Each site has a grill, picnic table and tent pad, but no running water, electricity, nor hookups. There are 2 vault toilets in the campground, and flush toilets are open 24 hours at the visitor center.
The next closest town for food and lodging is Blanding, about 45 minutes East.
For a trail map and park brochure, click here.
For a FANTASTIC video on our trip to Southeast Utah, click here: KatieWanders.com.
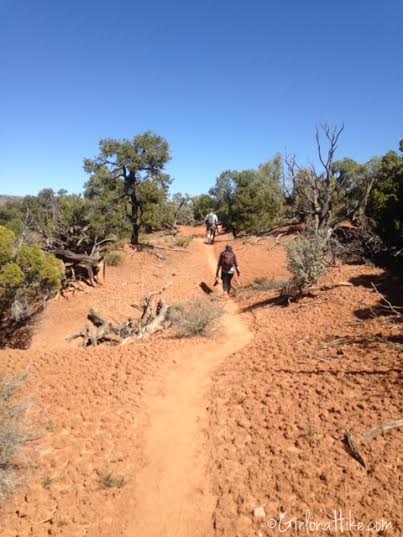
The trail starts by heading North across the mesa. At 0.2 miles cross the road.
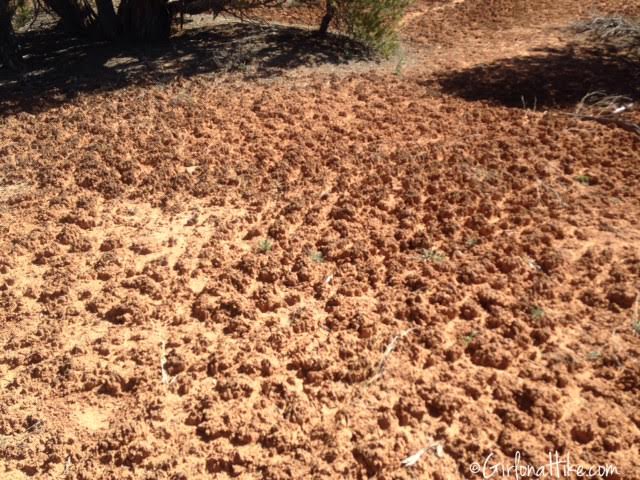
Along the trail you will see dirt patches that look like crumbled vertical blocks of dirt, with a black shading to it. DO NOT step on this! This is a special crust called Cryptobiotic Soil (or biological soil crust), and is found in many areas of Utah. It takes millions of years to form, and one footprint can kill the microorganisms living here, and will take many years to re-form.
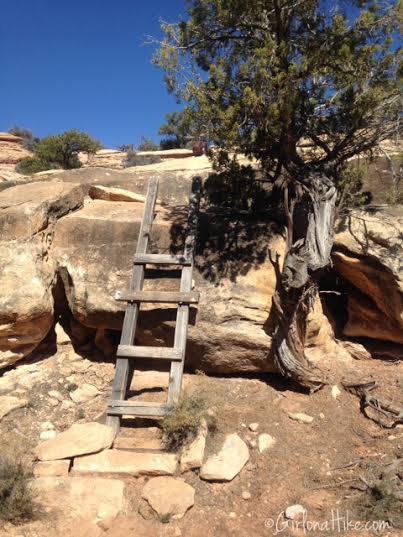
Continuing on the trail, you will climb up a small ladder. Other parts of the trail will require a big step up and light scrambling.
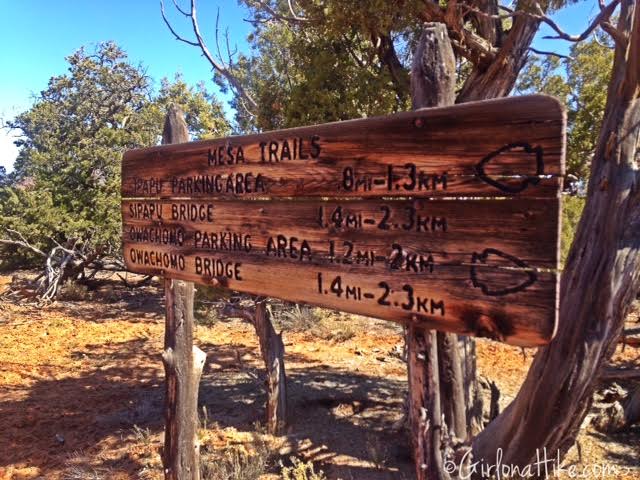
Follow the signs for Sipapu Bridge.
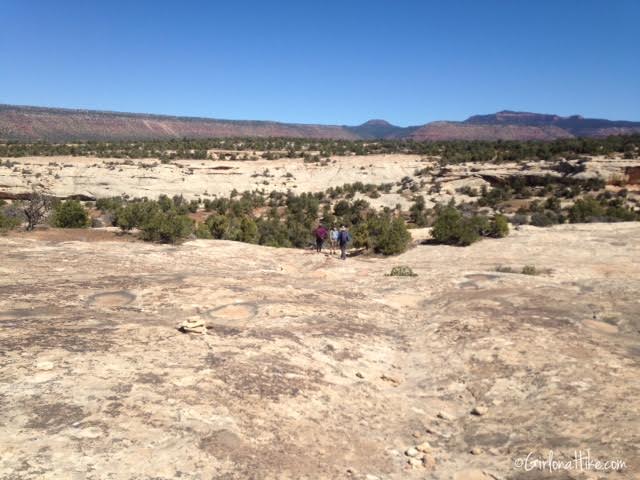
Hiking over white slick rock.
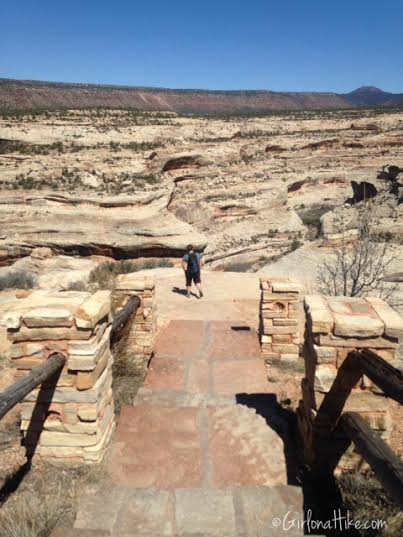
At 0.8 miles cross the road a 2nd time, and at 2.0 miles, cross the road a 3rd time, which will put you at the Sipapu Trailhead. All of the bridges can be see from their own TH, however it’s more fun to hike the whole loop and get underneath the bridges.
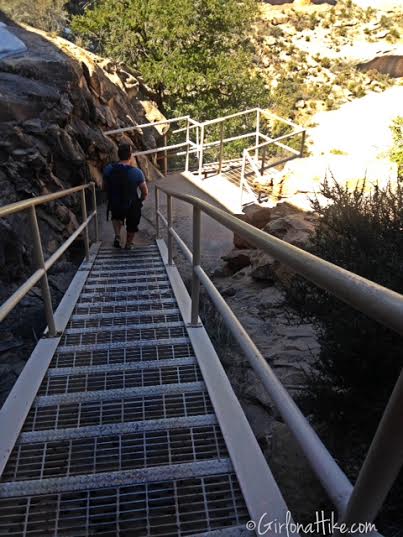
The trail leading to Sipapu Bridge is well marked with stairs and ladders to help you descend the 500 ft.
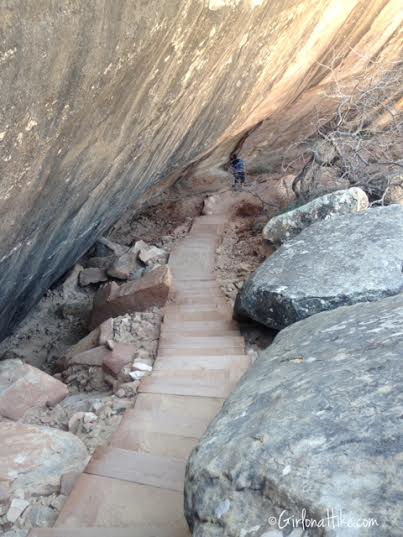
More stairs…Can you see why it’s better to start this way, rather than climbing up all these stairs if you went the opposite direction?
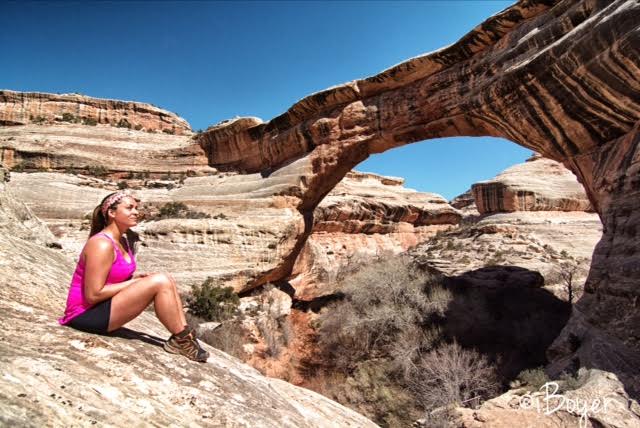
Finally the first bridge, Sipapu, is in sight! The trail will take you to the bottom of the canyon, which is well shaded and a good place to take a first snack break.
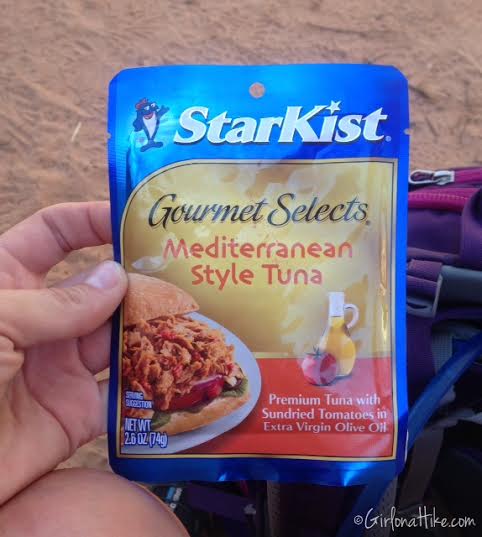
A friend recommended these packets of Tuna for a snack while hiking or backpacking. I got this at Walmart for $1. They are great for hiking because 1) super light weight 2) it packs 14g of protein 3) the flavor was super tasty and 4) they are cheap! Two things I learned while eating this: you need a fork and a small baggie to put it in after you are done eating. I thought I could just squeeze the tuna out, but a fork would have been really hand, and since it contains olive oil, it was a bit messy afterwards, and I didn’t want it to ruin my gear inside my pack. Thankfully, since I always carry doggie poop bags for Charlie, I put it in one of those and created a trash bag.
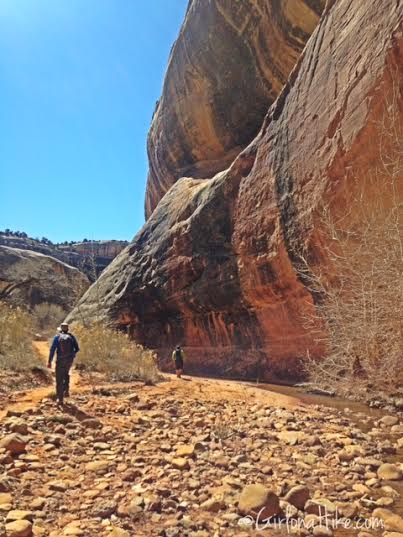
Now that you are on the bottom of White Canyon, you will follow this the rest of the way. The stream was always low enough that we never needed to put on river shoes.
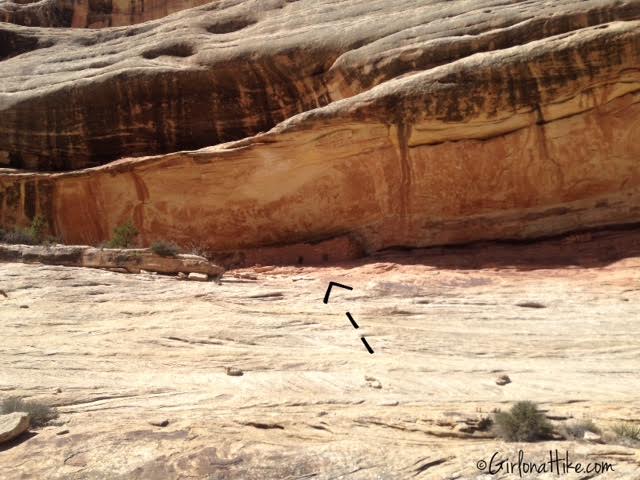
0.75 miles past Sipapu Bridge, look on your right for the cliff dwellings. This is just past Deer Canyon, the first east to west canyon you’ll pass. You are allowed to climb up to these and look at the ruins, however it requires a steep scramble up to them.
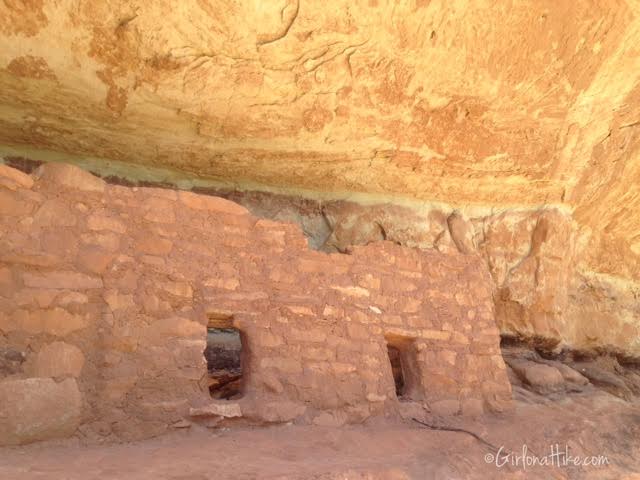
At the ruins, just past Deer Canyon. You are NOT allowed inside the ruins. The evidence the Indians left is fragile and irreplaceable. To help preserve it, do not enter, touch, or mark walls or rock art. Leave artifacts in place.
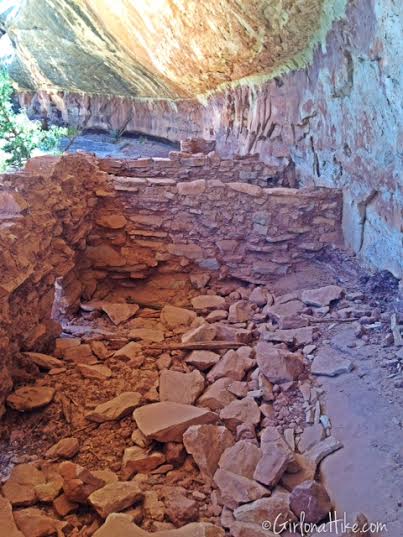
Looking inside the ruin from above.
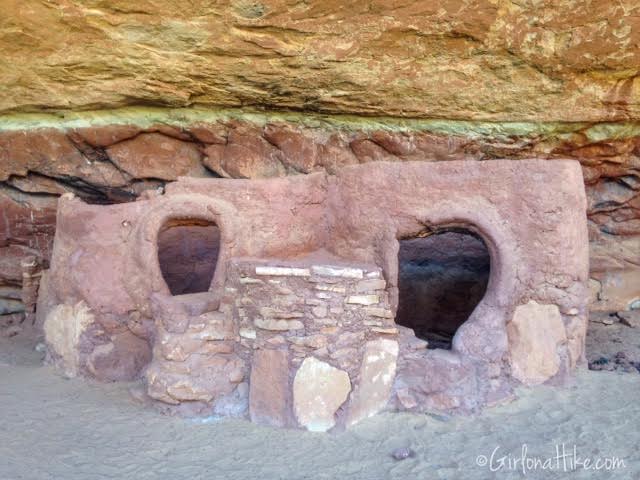
Horse Collar Ruin
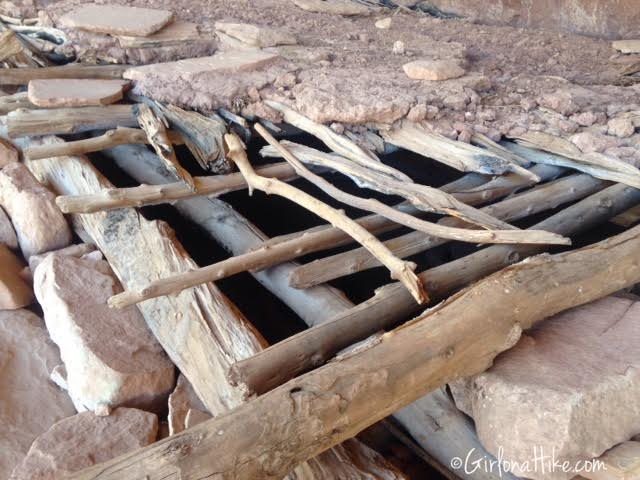
The roof of a dwelling.
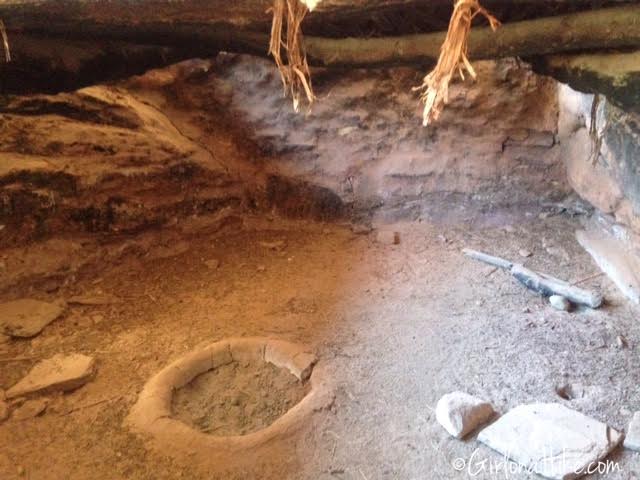
Peeking inside, you can still find fire rings and Maize husks.
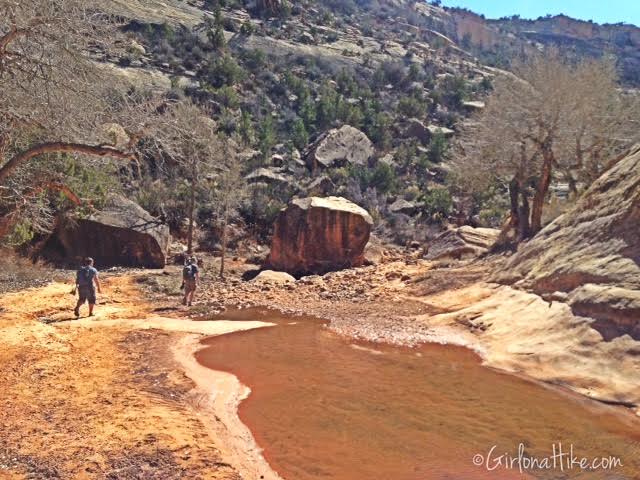
To get back on the trail, simply climb down the way you went up to the ruins.
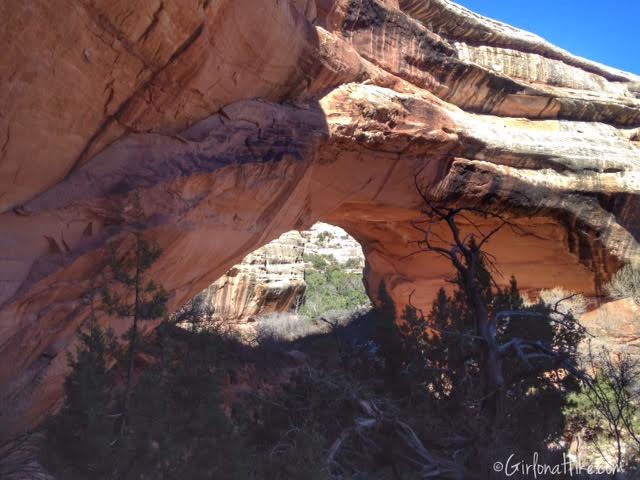
The 2nd bridge, Kachina Bridge. This is a massive bridge, but is also considered the youngest of the three bridges because of the thickness of it’s span. The relatively small size of its opening and orientation make it difficult to see from the overlook. The pile of boulders under the far side of Kachina resulted from a rock fall in 1992, which roughly 4,000 tons of rock broke off the bridge.
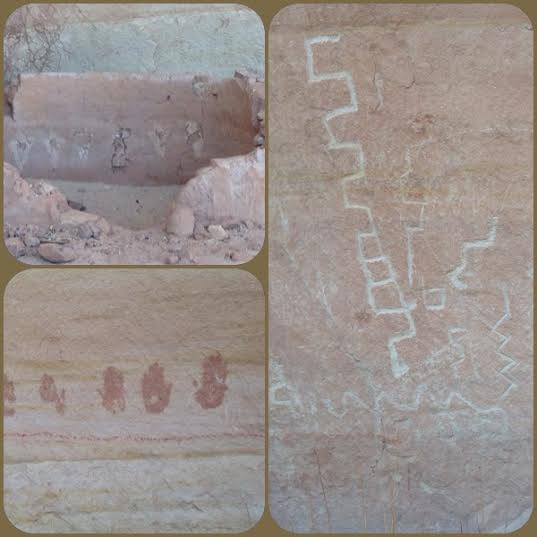
Petrogplyphs (carved rock) and pictographs (drawings on rock) near Kachina Bridge.
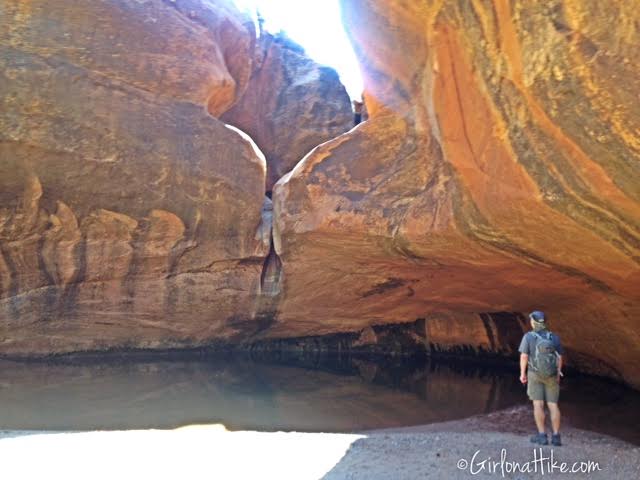
As you continue on down the canyon, you may miss the trail marker (as we did) and come upon the “Knickpoint” – a pour off in Armstrong Canyon. During floods, this spout sends a muddy red waterfall plunging into the pool below. If you miss the trail marker, simply backtrack the 0.2 miles and look for the trail heading up stairs. The Knickpoint is marked on the map.
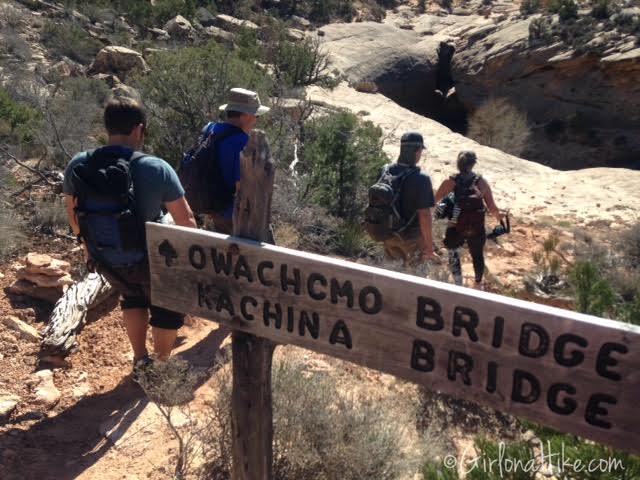
Following the correct path, we were back on track. Katie from Katie Wanders, leads the way.
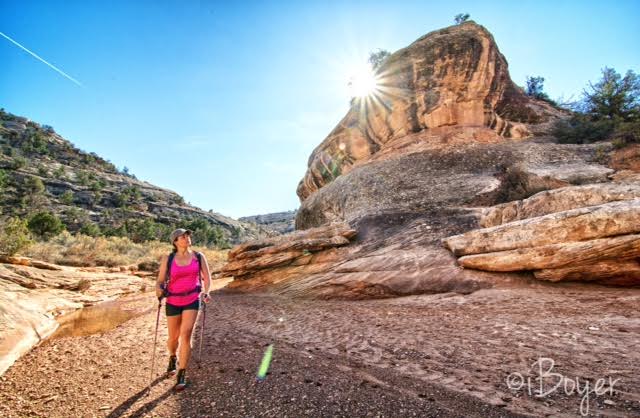
Past Kachina Bridge is now Armstrong Canyon, which heads in a more Southerly direction. You will pass many rounded corners of the canyon, such as this one. Always keep your eyes up for petroglyphs along this canyon. There is ONE spot just past this (about 1/2 mile before Owachomo Bridge) where you will need to take off your shoes and wade through a section of the creek to get to the other side. There is no other way around it. The good thing is it only lasts for a few feet, however, depending on what time of year you go the water can be ice cold (such as in March).
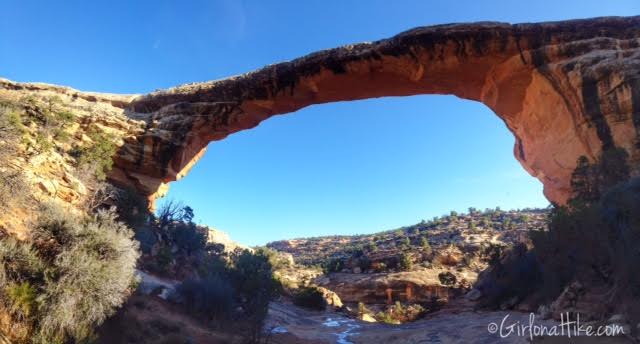
The last bridge on the loop trail is Owachomo Bridge. Owachomo is a stunning example of erosion. At just 9 ft thick, is it the most fragile of the three bridges. It is also the smallest, with a height of only 106 ft, and a span of 180 ft. This is commonly thought to be the oldest bridge in the park.
Continue up the stairs from Owachomo Bridge and you will be back to your starting point, and where your car should be. This completes the loop trail.
Trail Map
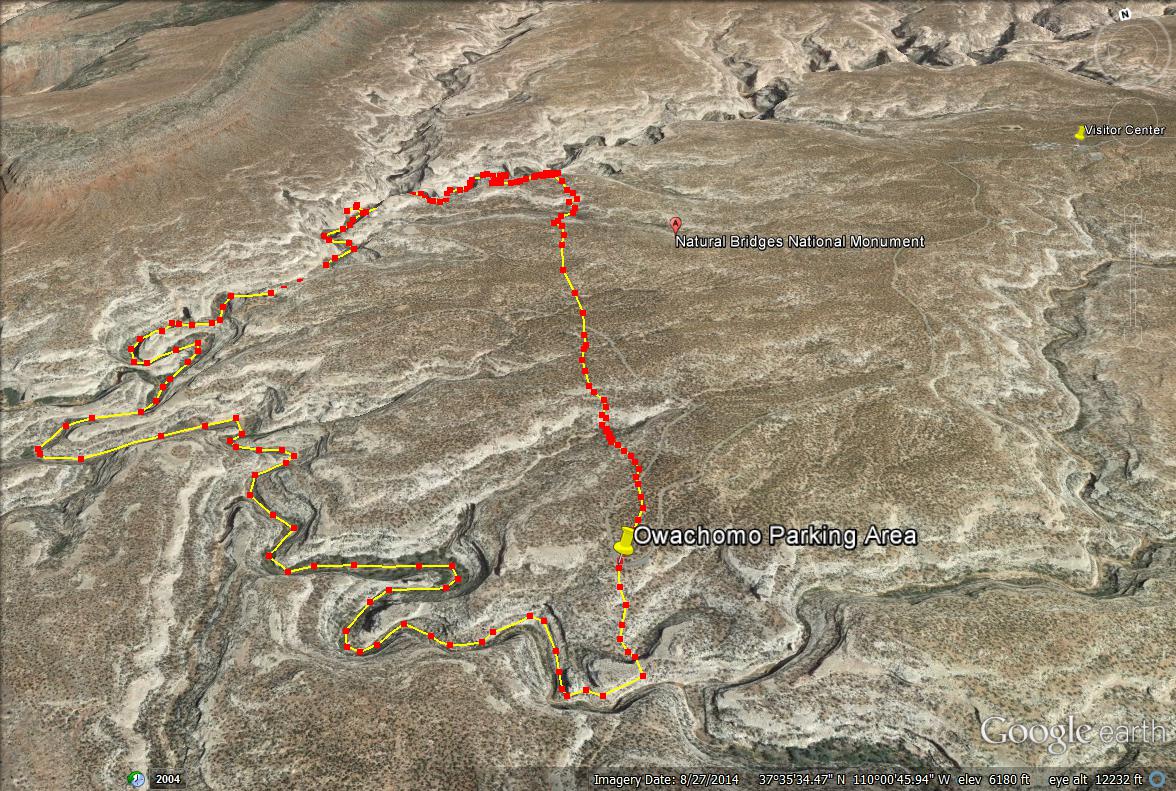
Map view looking North. I’ve marked the Visitor Center and Parking Area. This parking area is recommended as the starting point for the loop trail.
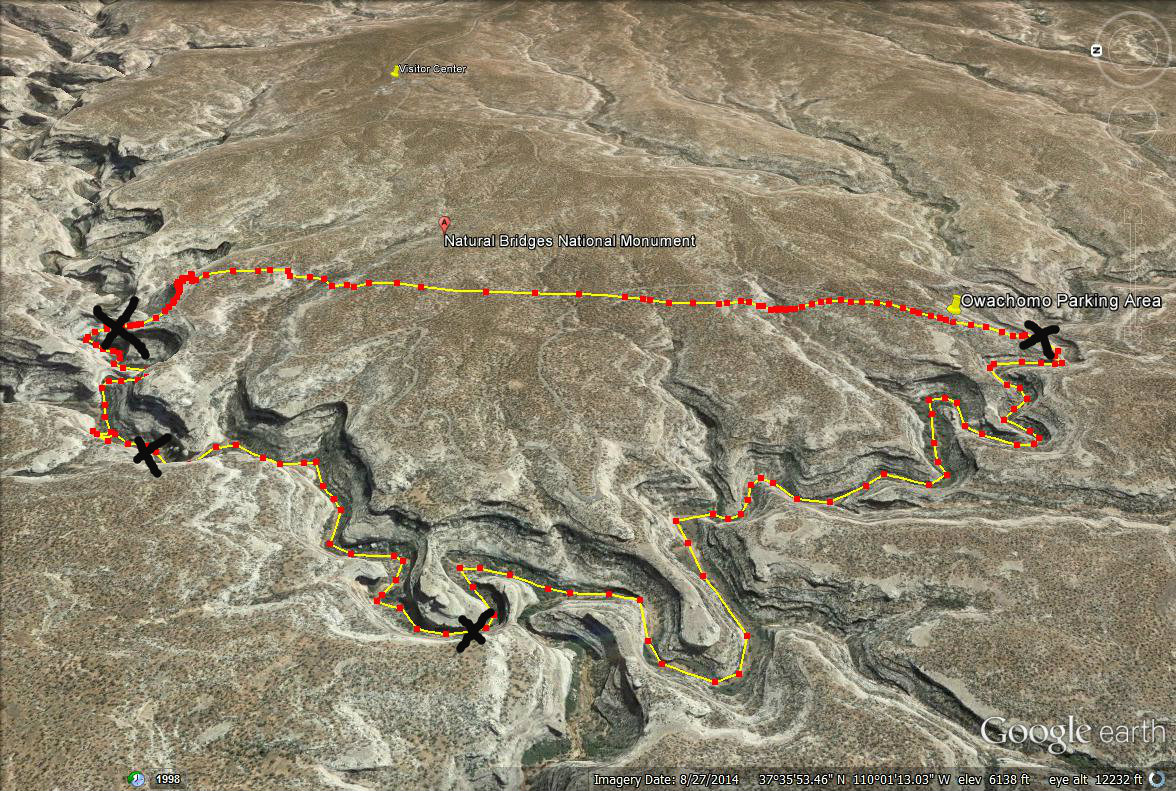
Map looking Northeast. I’ve put X’s where the bridges and ruins are so you can find them more easily. Hiking the loop trail is a sure way to explore all the Natural Bridges National Monument has to offer. Start early in the day, and plan on a full day of hiking.

