

About Cassidy Arch
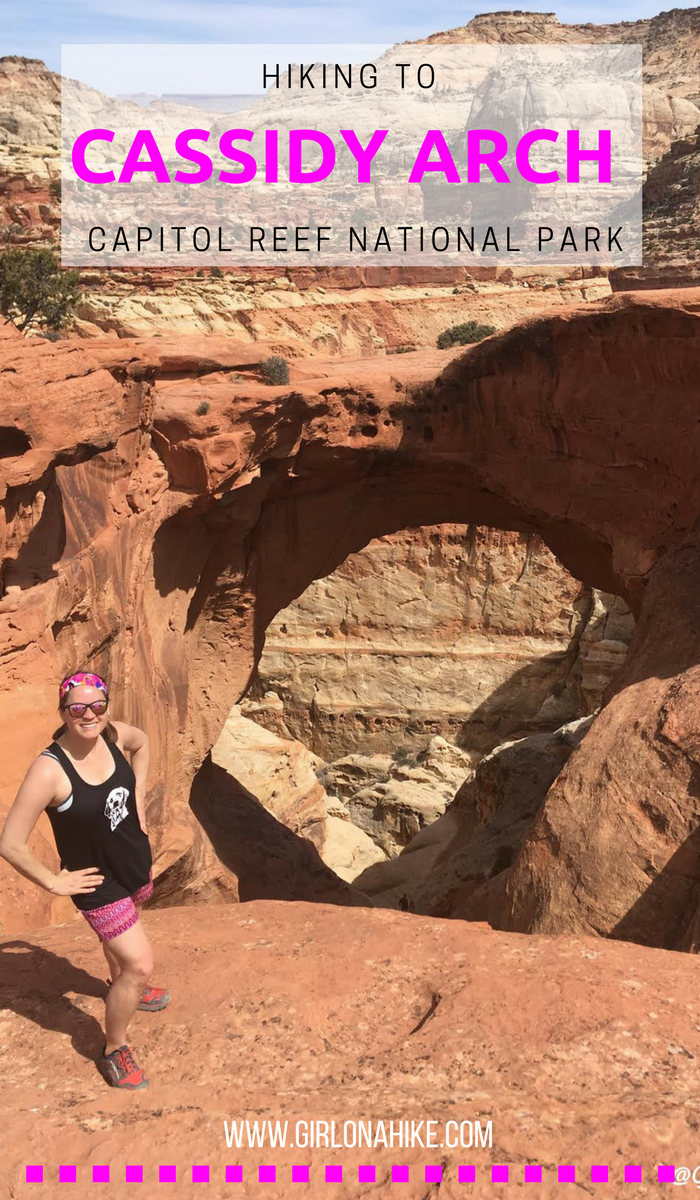
Over millions of years, uplift and erosion along the Fold have carved deep canyons, slot-like passages, and incredible rock formations. Among them is Cassidy Arch, named after the infamous outlaw Butch Cassidy. The arch spans approximately 40 feet near its top and offers breathtaking views of the Grand Wash and surrounding Capitol Reef landscapes.
Hiking Routes & Trail Info
If you’re only hiking to Cassidy Arch and back, the trail is 3 miles round-trip, making it a great half-day option. However, for a more adventurous and rewarding experience, consider doing a point-to-point hike using the Frying Pan Trail. This extended route passes Cassidy Arch and continues to the Hickman Bridge Trailhead along Highway 24.
This longer route is 5.5 miles point-to-point and showcases some of the best panoramic views in the park. You’ll hike along stunning cliff edges, traverse colorful sandstone formations, and witness the vibrant red, orange, and white layers that define the Southern Utah desert landscape.
👉 Tip: The point-to-point option requires a shuttle—either drop a second vehicle at the Hickman Bridge parking lot or try hitching a ride back to your starting point at Grand Wash.
Best Time to Hike
The best time to hike to Cassidy Arch is in spring or fall, when temperatures are mild. Summer hiking is not recommended due to extreme heat, minimal shade, and a complete lack of water sources. Even in cooler months, be sure to pack at least 3 liters of water per person and wear sun protection.
🛑 Note: Dogs are not allowed, as this hike is within a National Park. However, older children with hiking experience will enjoy this route.
Directions to Cassidy Arch Trailhead
From the Capitol Reef National Park Visitor Center, drive south on Campground Road for 3.4 miles. Turn left at the sign for Grand Wash Trailhead and continue to the end of the road. This is where the trail begins.
Here’s a driving map.
Trail Info
Distance: 3 miles RT to Cassidy Arch
5.5 miles point-to-point from the Cassidy Arch TH to the HWY 24/Hickman Bridge TH
Elevation gain: 1,400 ft (point to point)
Time: 2-4 hours
Dog Friendly? No, dogs are not allowed on this trail
Kid Friendly? Yes, but only to Cassidy Arch
Fees/Permits: None
Hiking the Cassidy Arch Trail: What to Expect
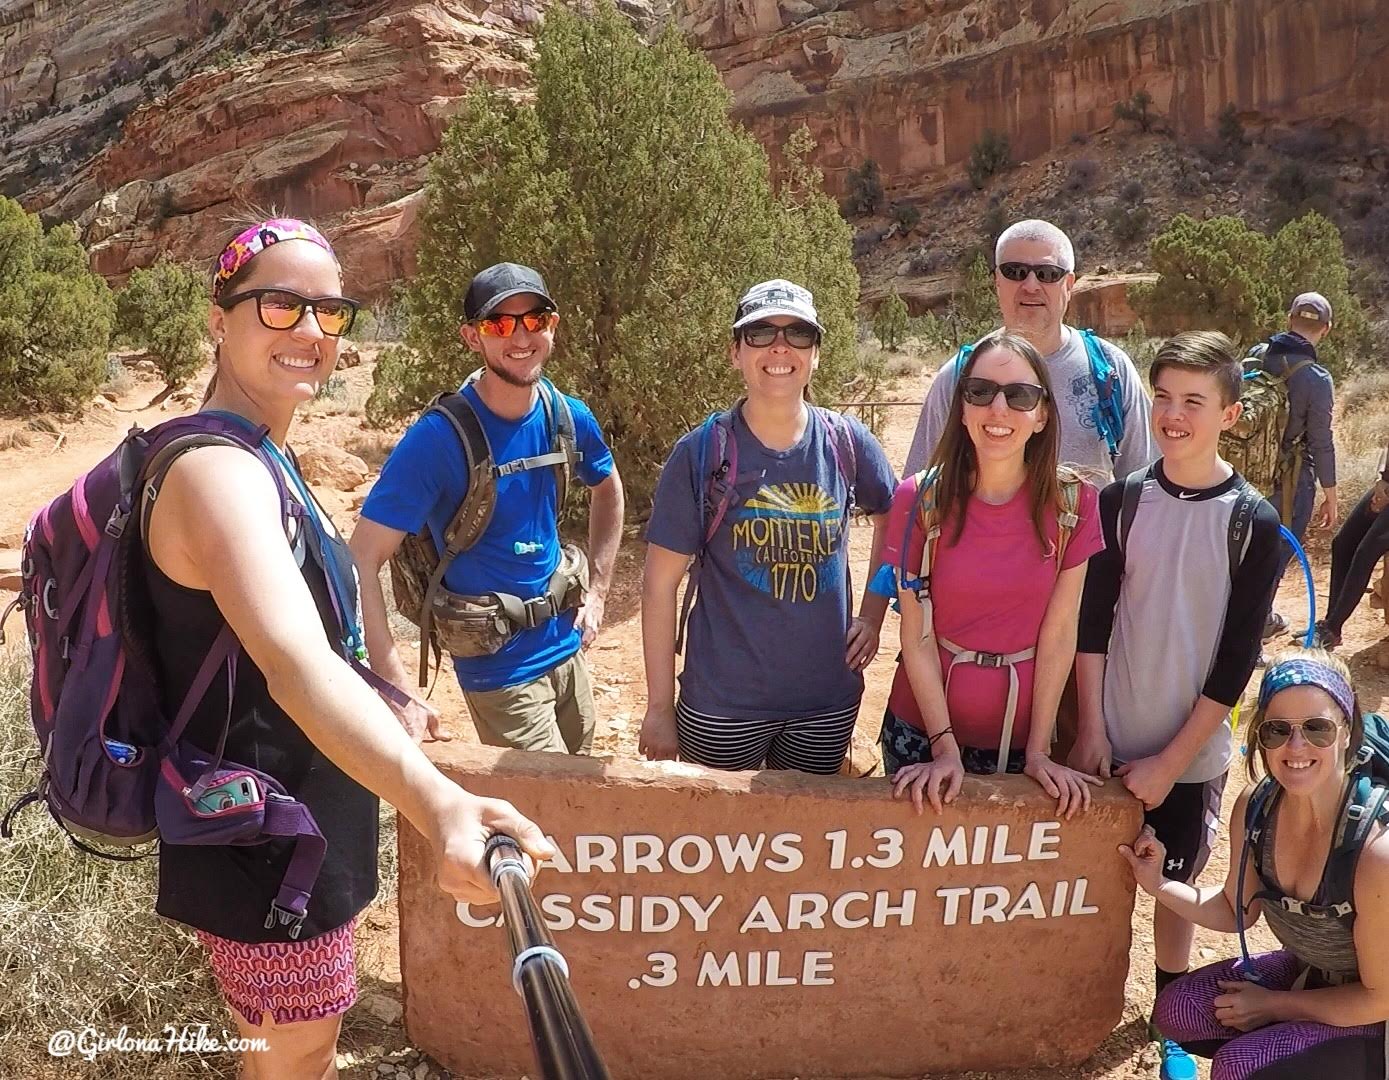
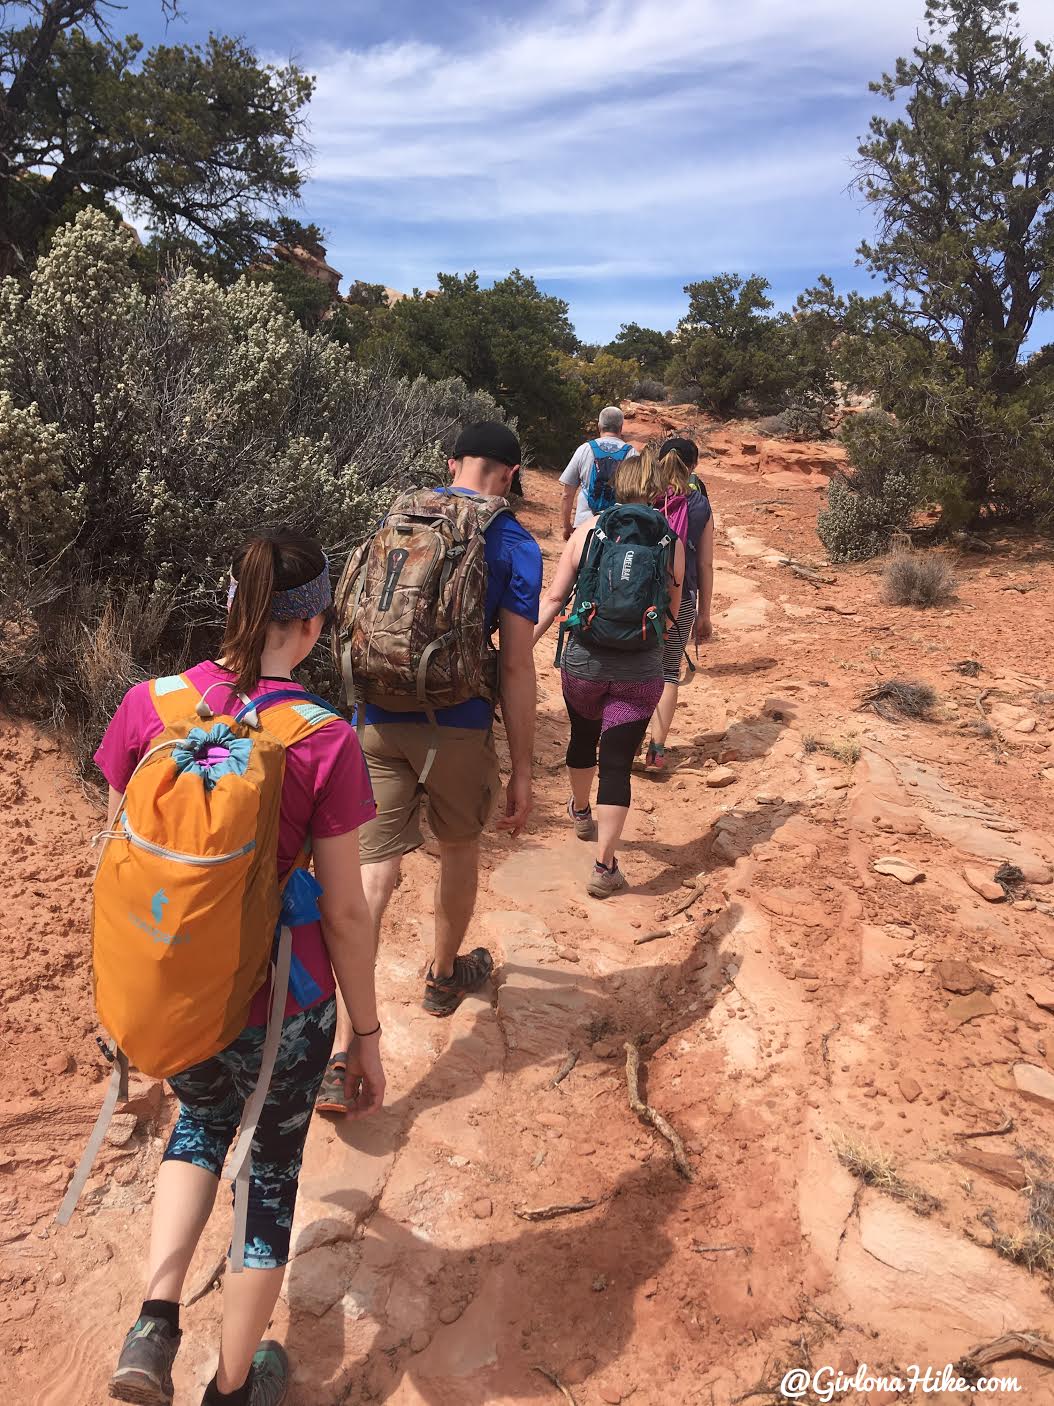
Ready to go! We didn’t start hiking until noon or so, and it was already hot for Easter weekend.
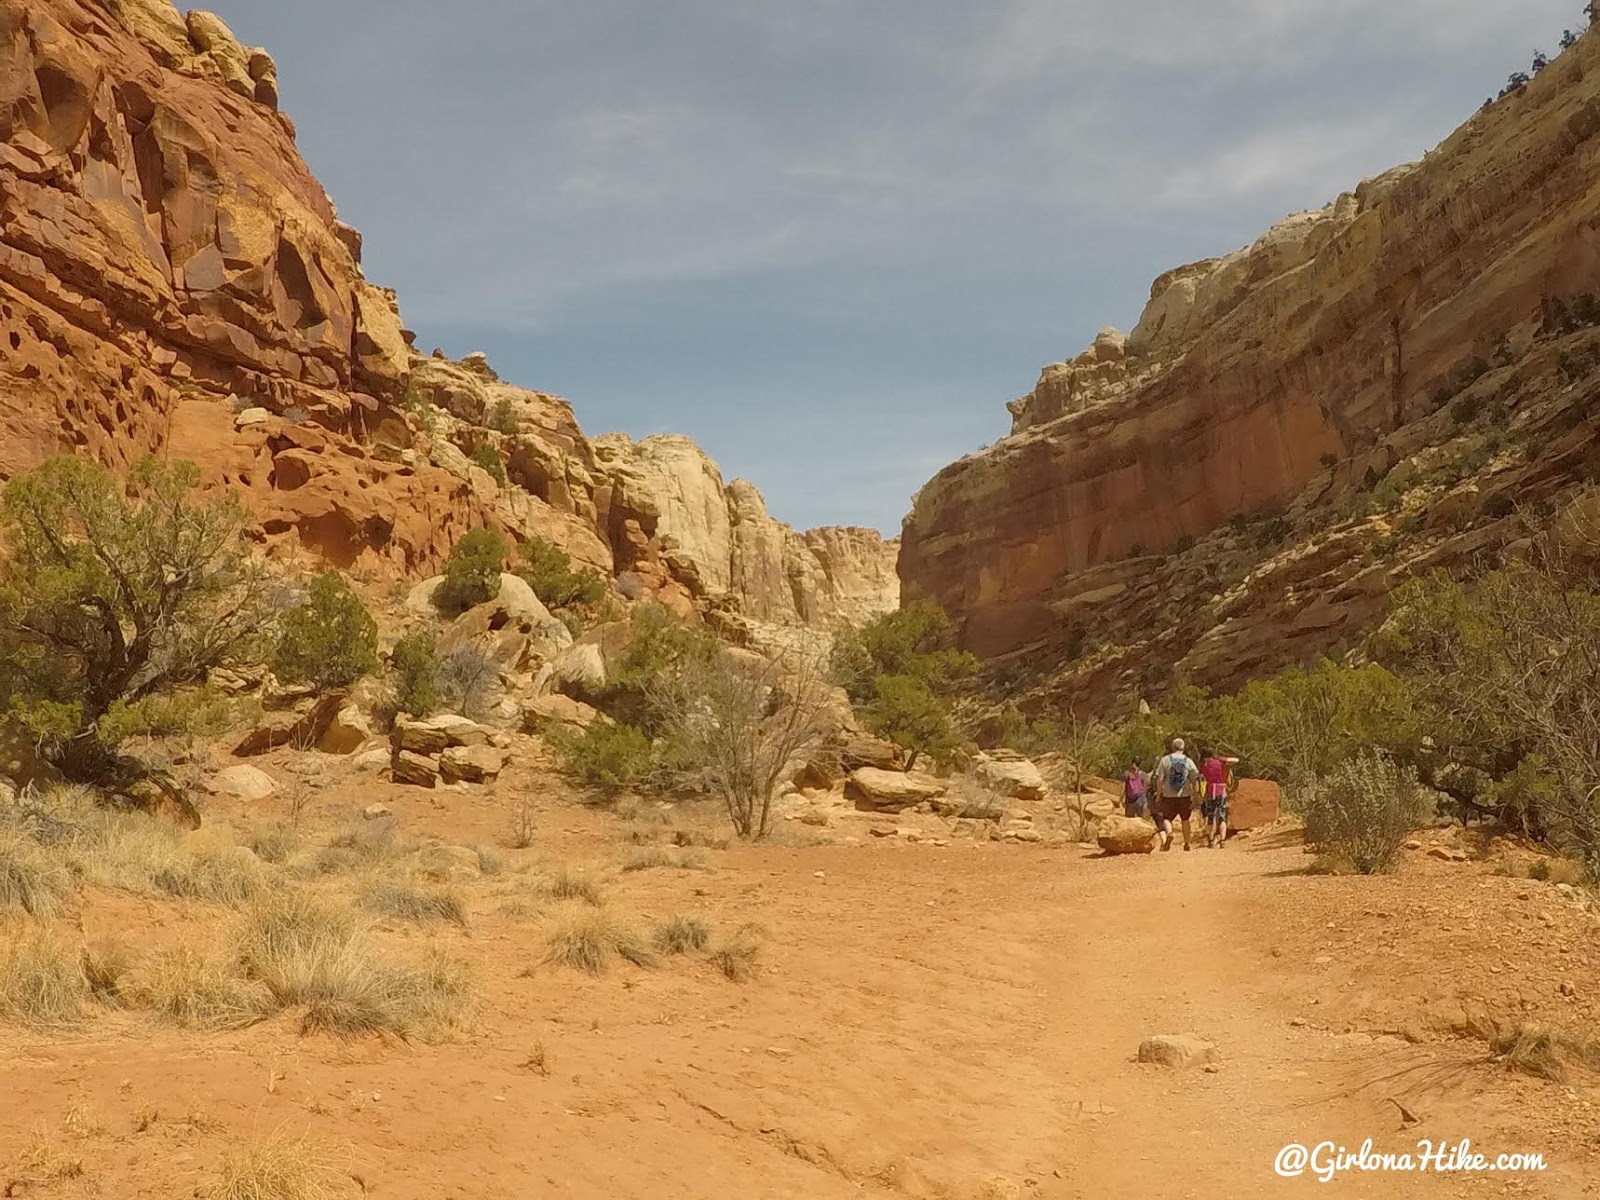
Start by following Grand Wash.
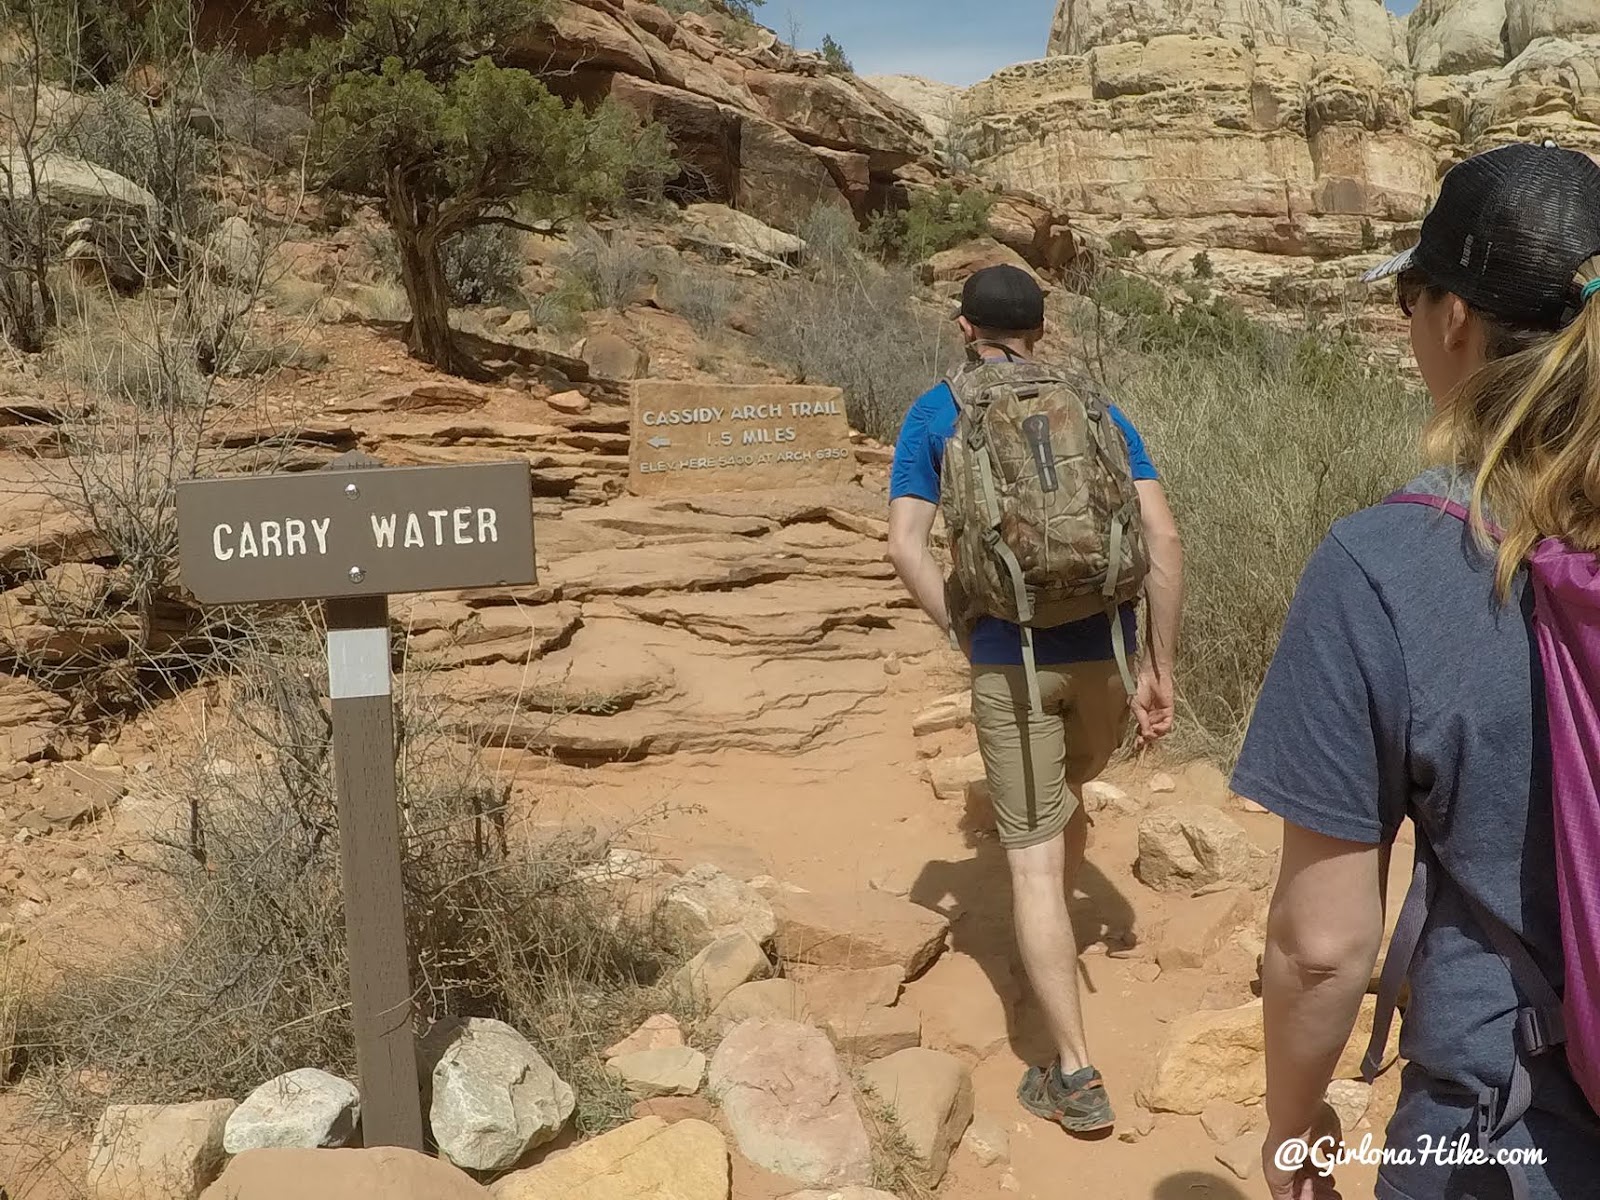
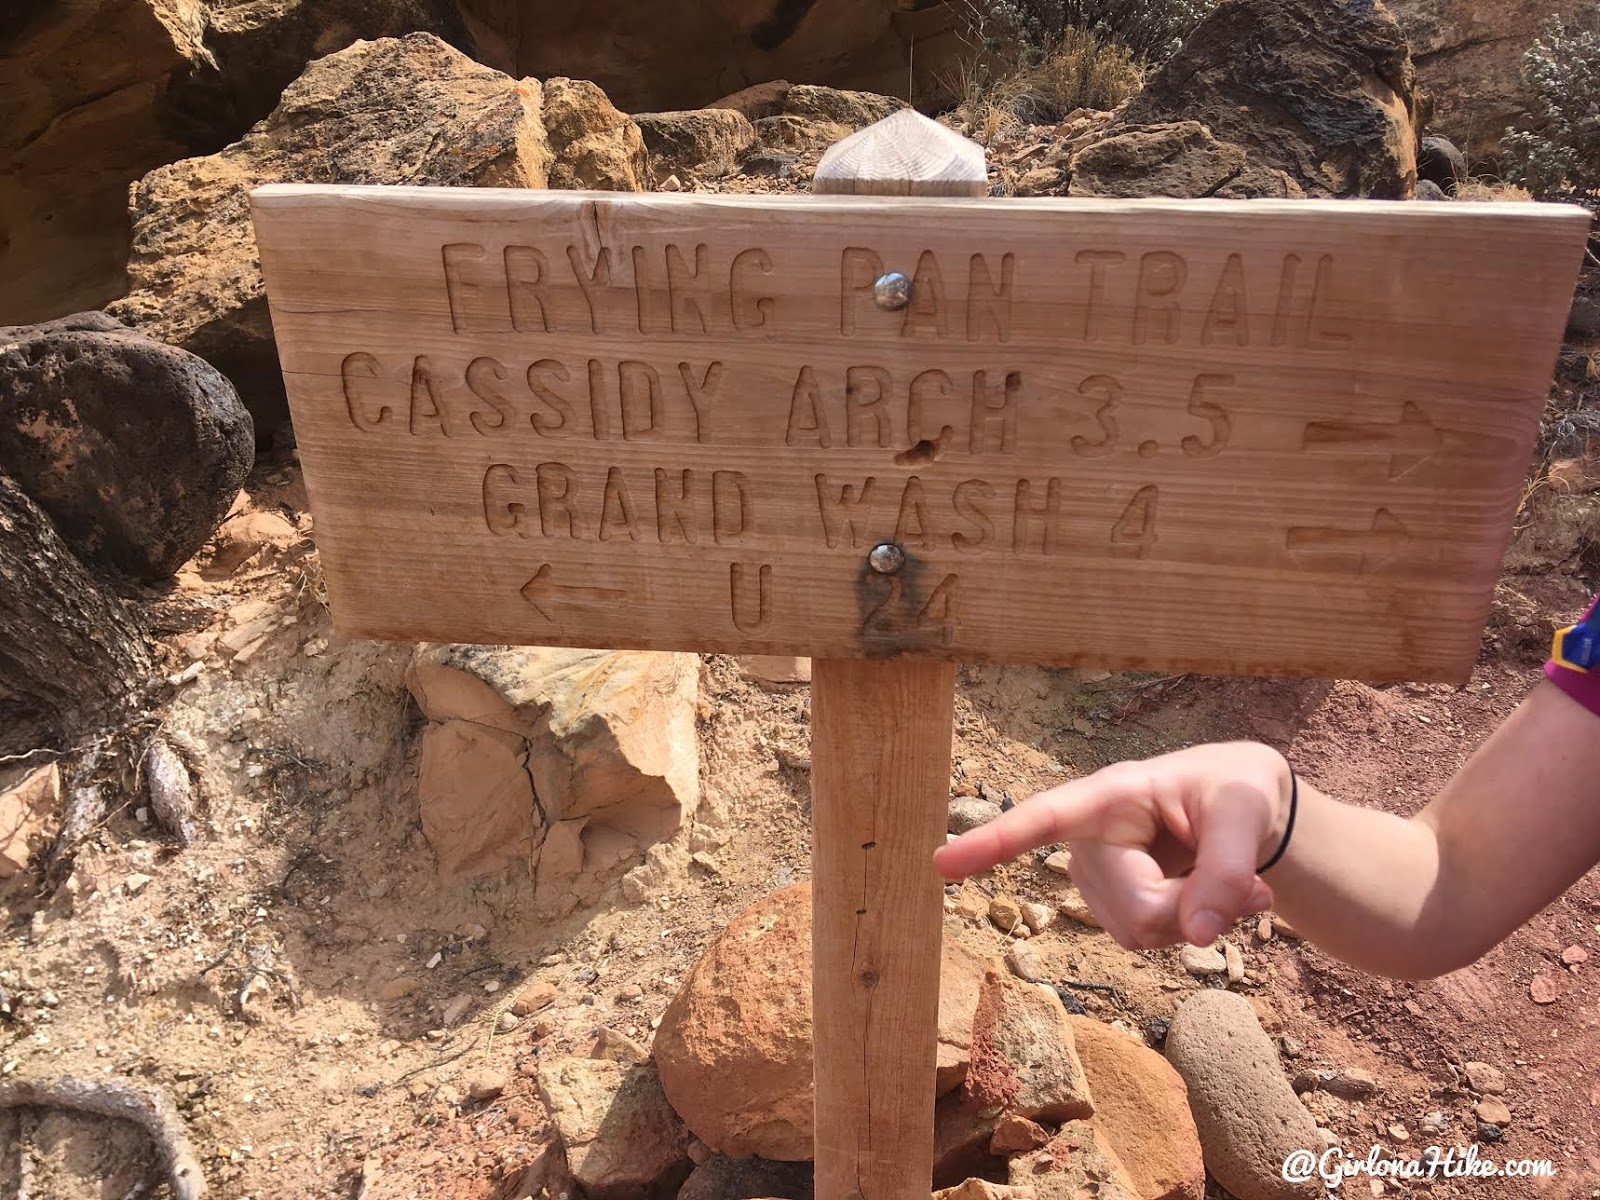
Keep an eye out for the water and trail sign on the left side of the canyon. This is how you will reach Cassidy Arch, and connect back over to your car via the Frying Pan Trail to HWY 24.
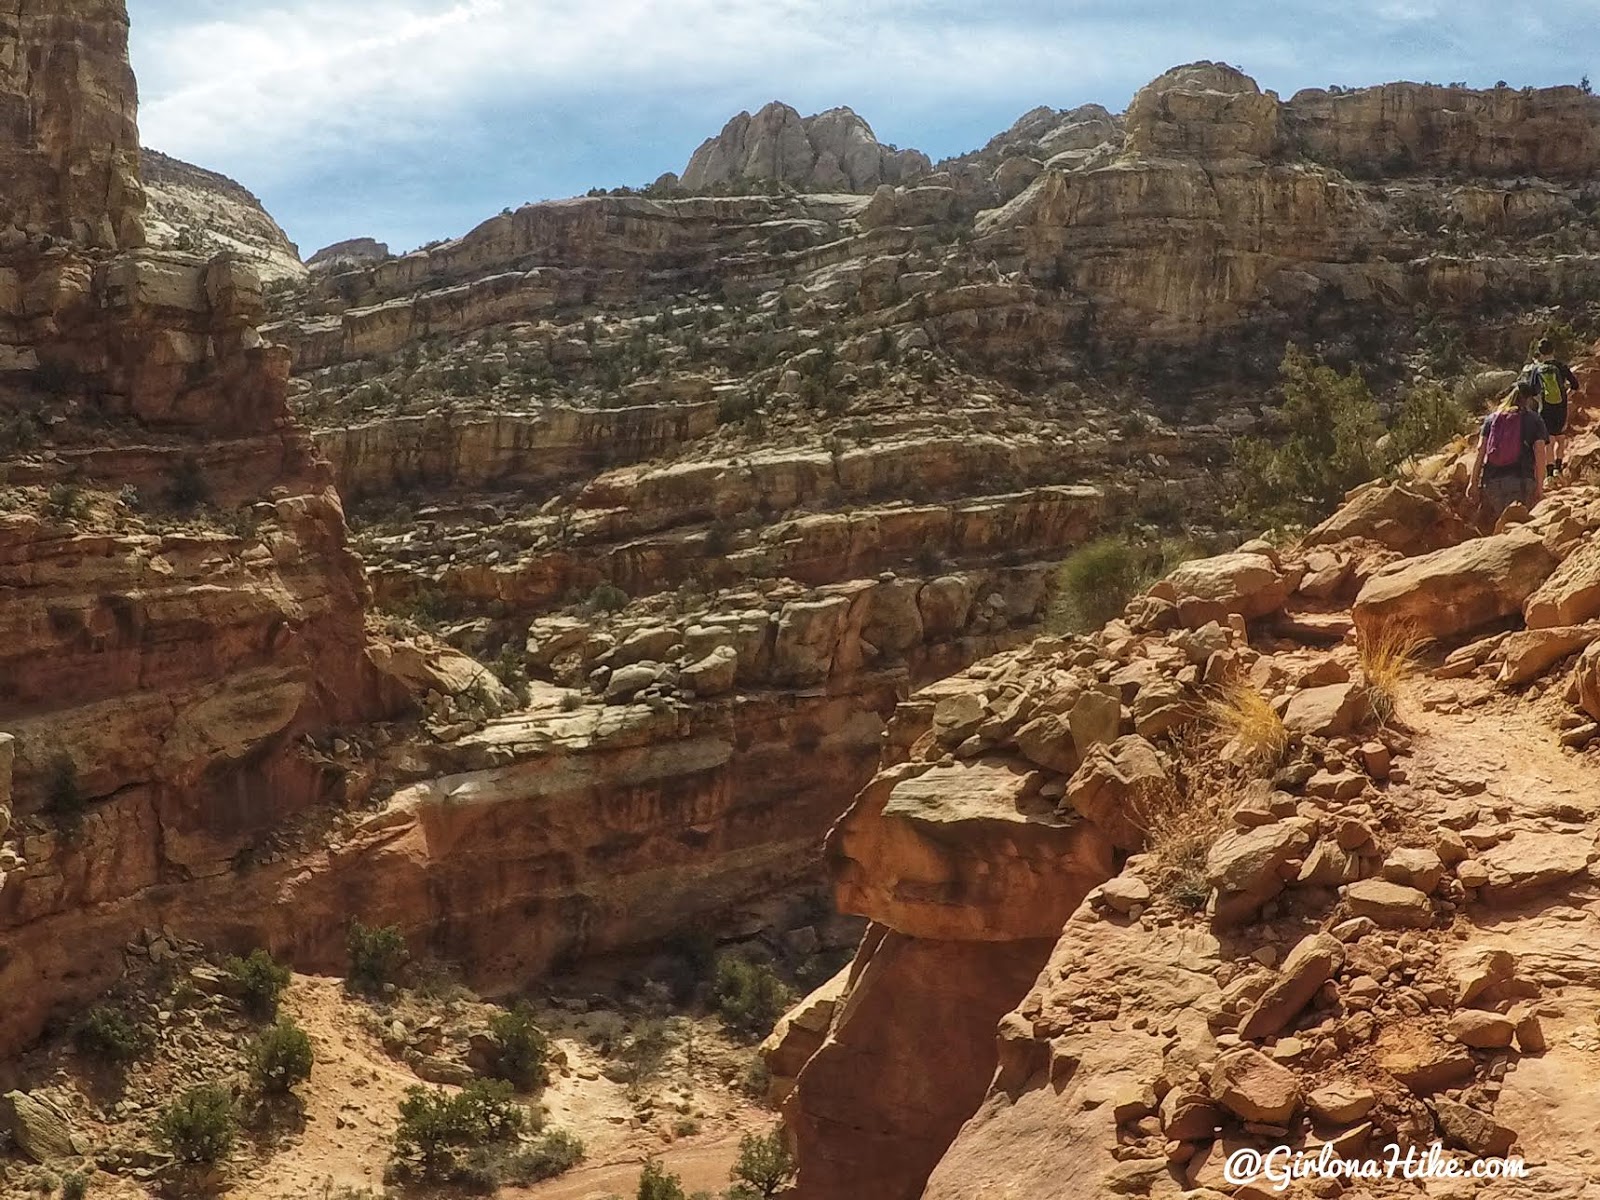
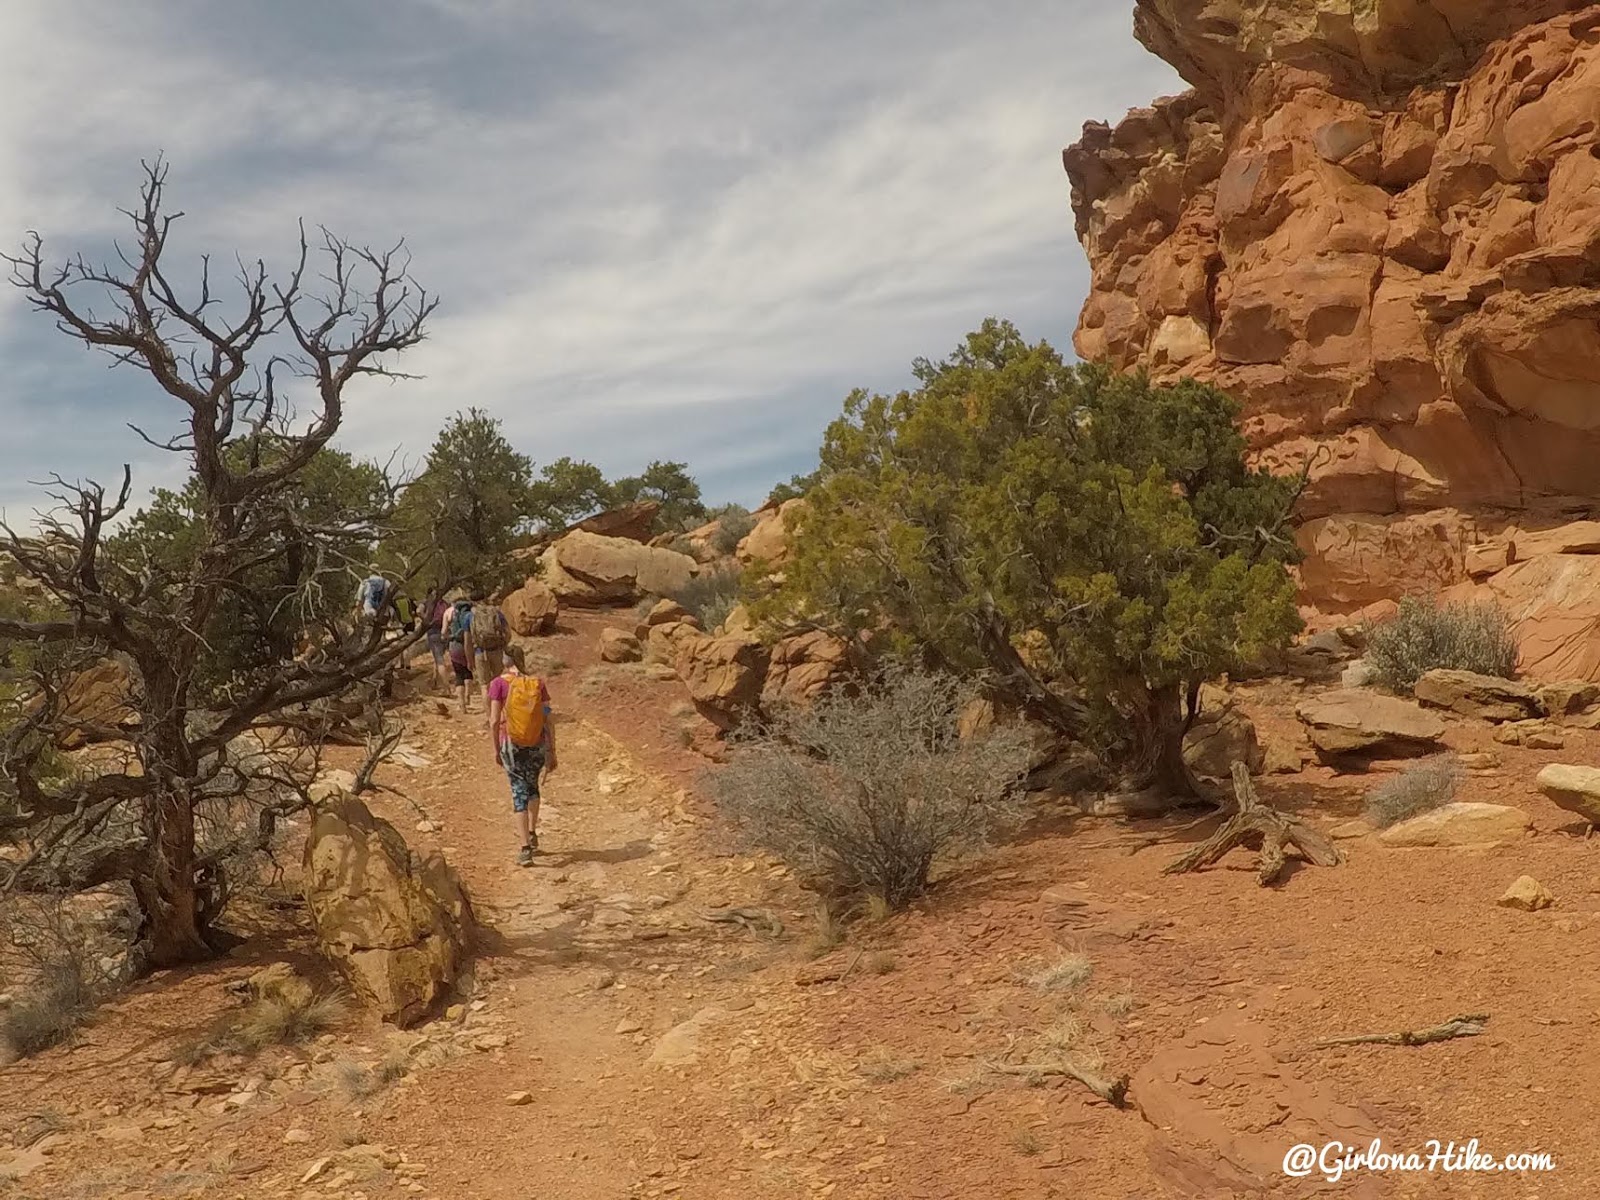
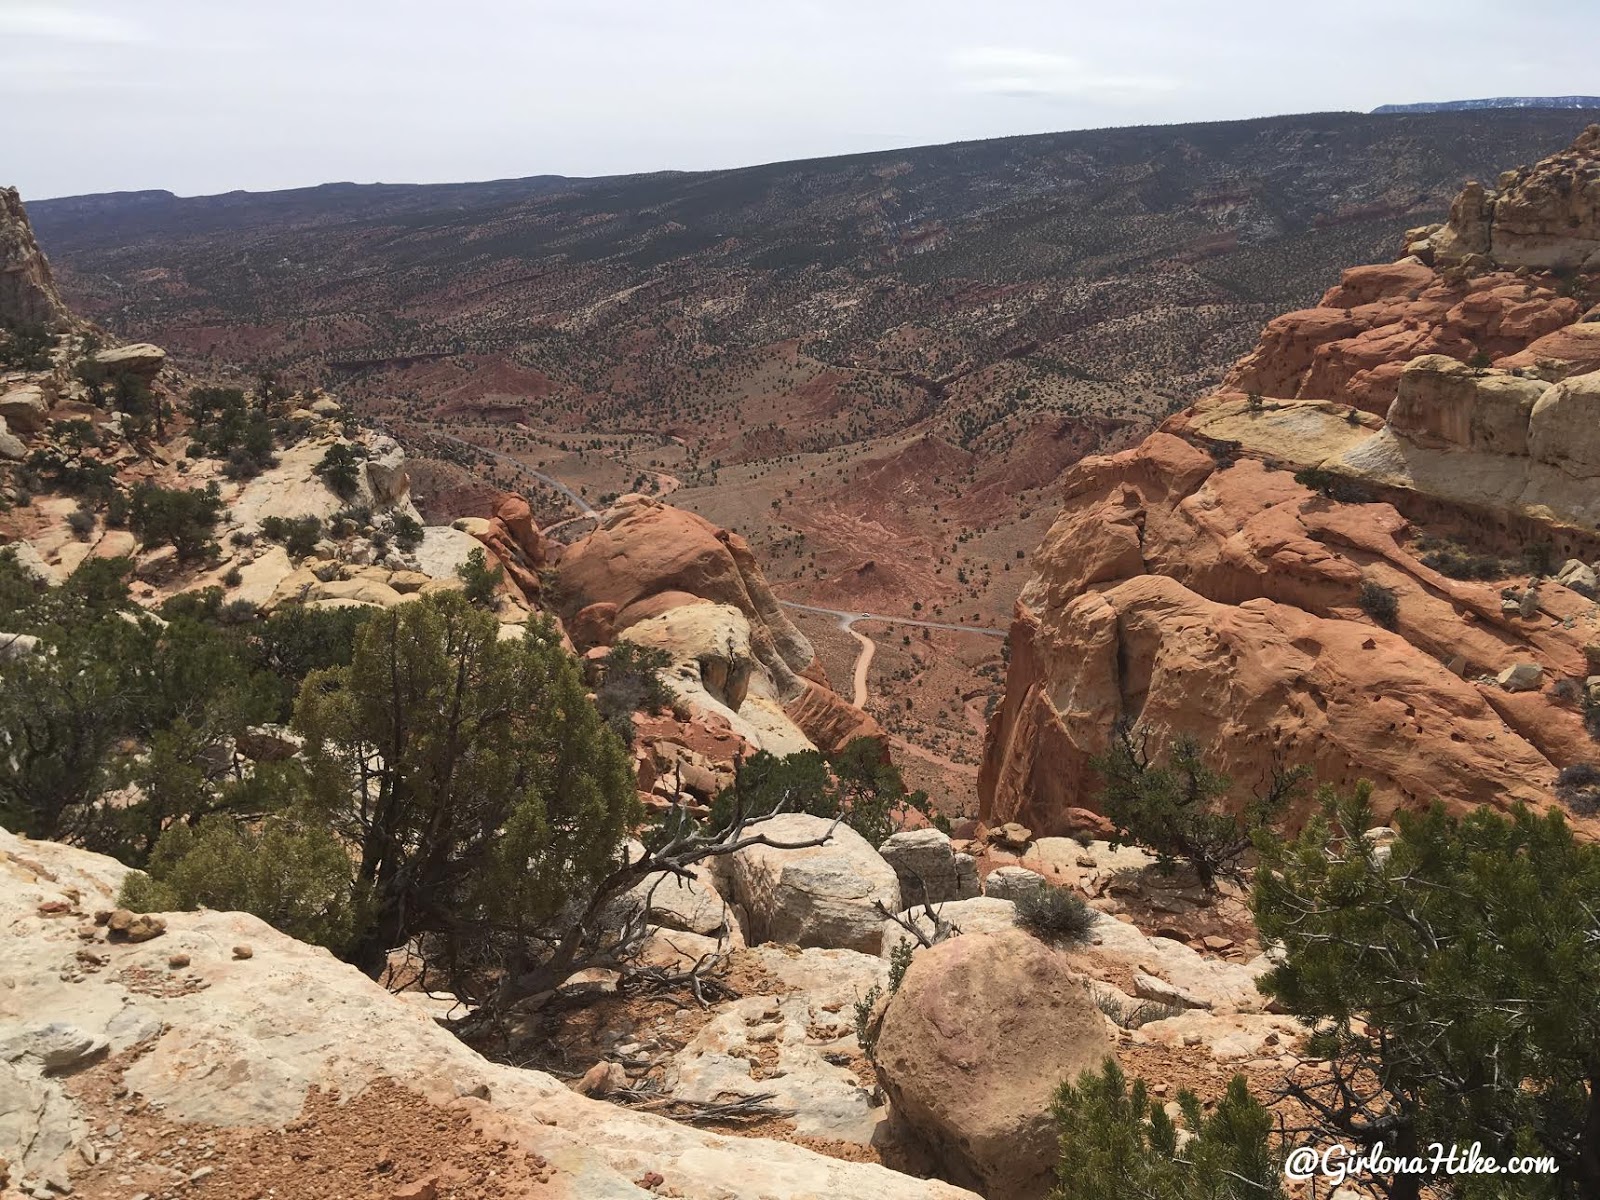
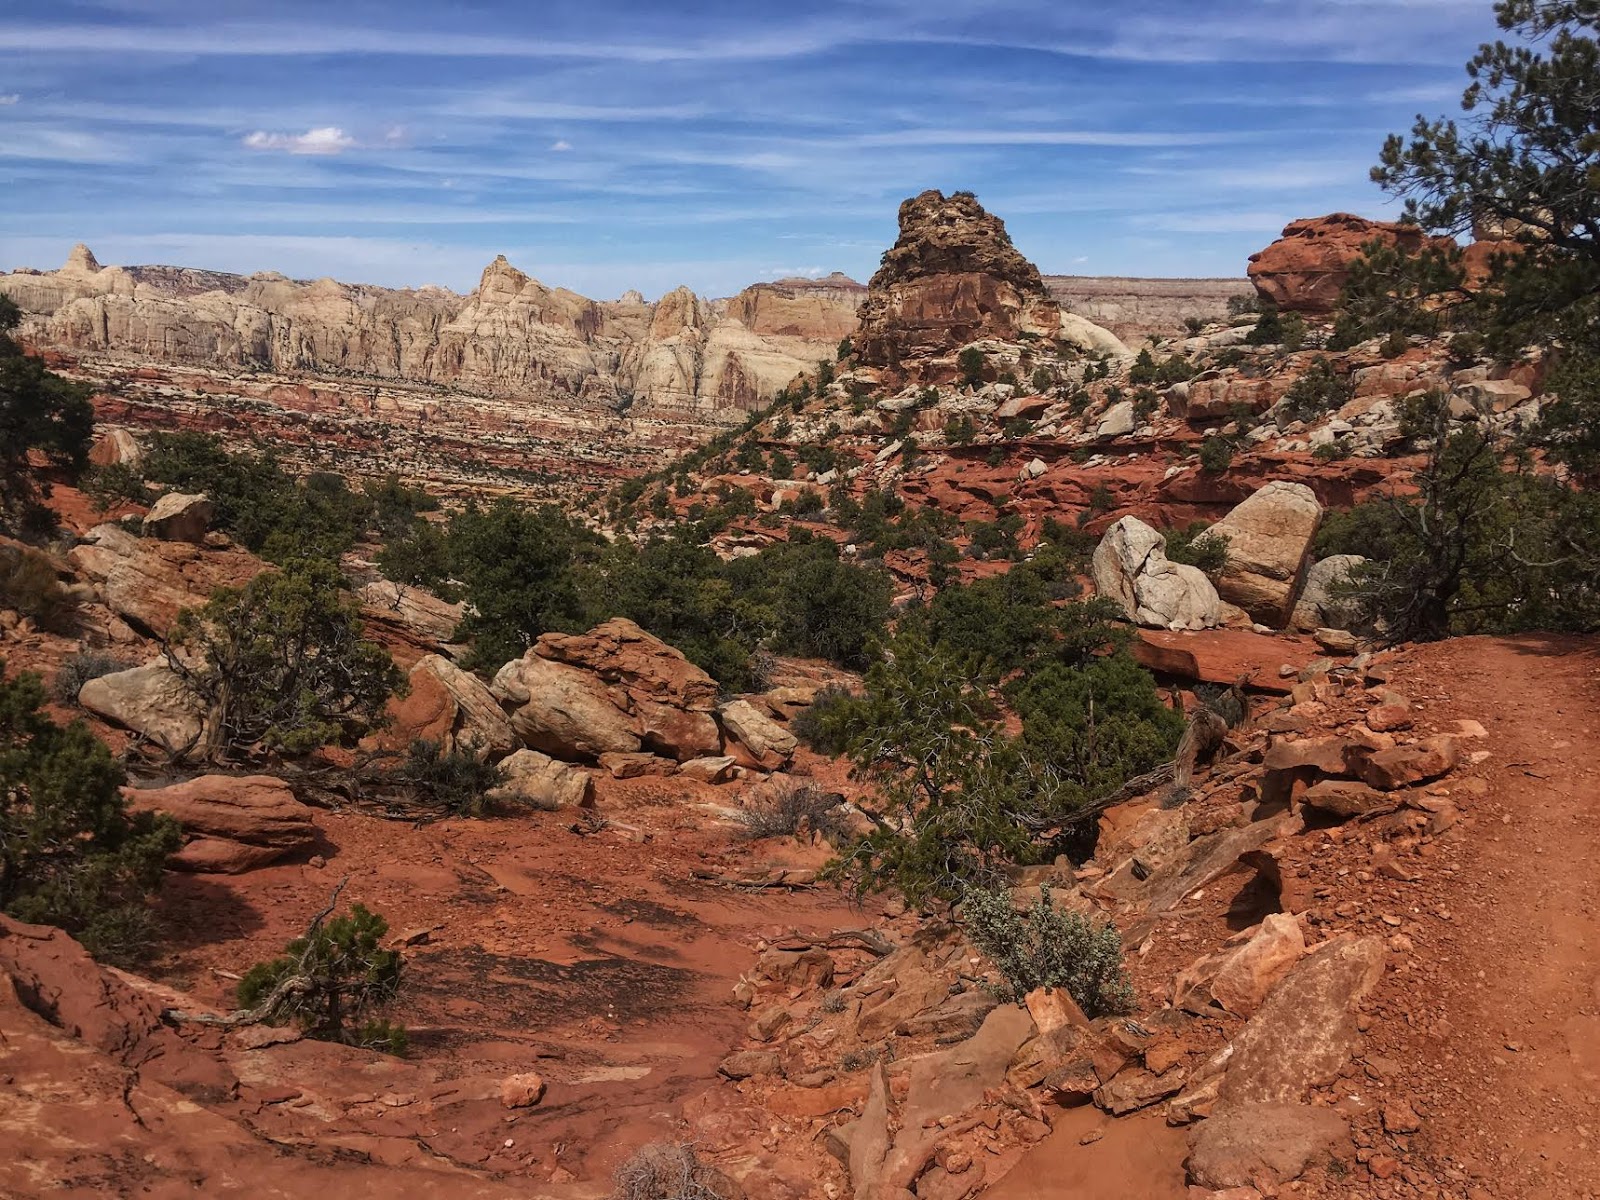
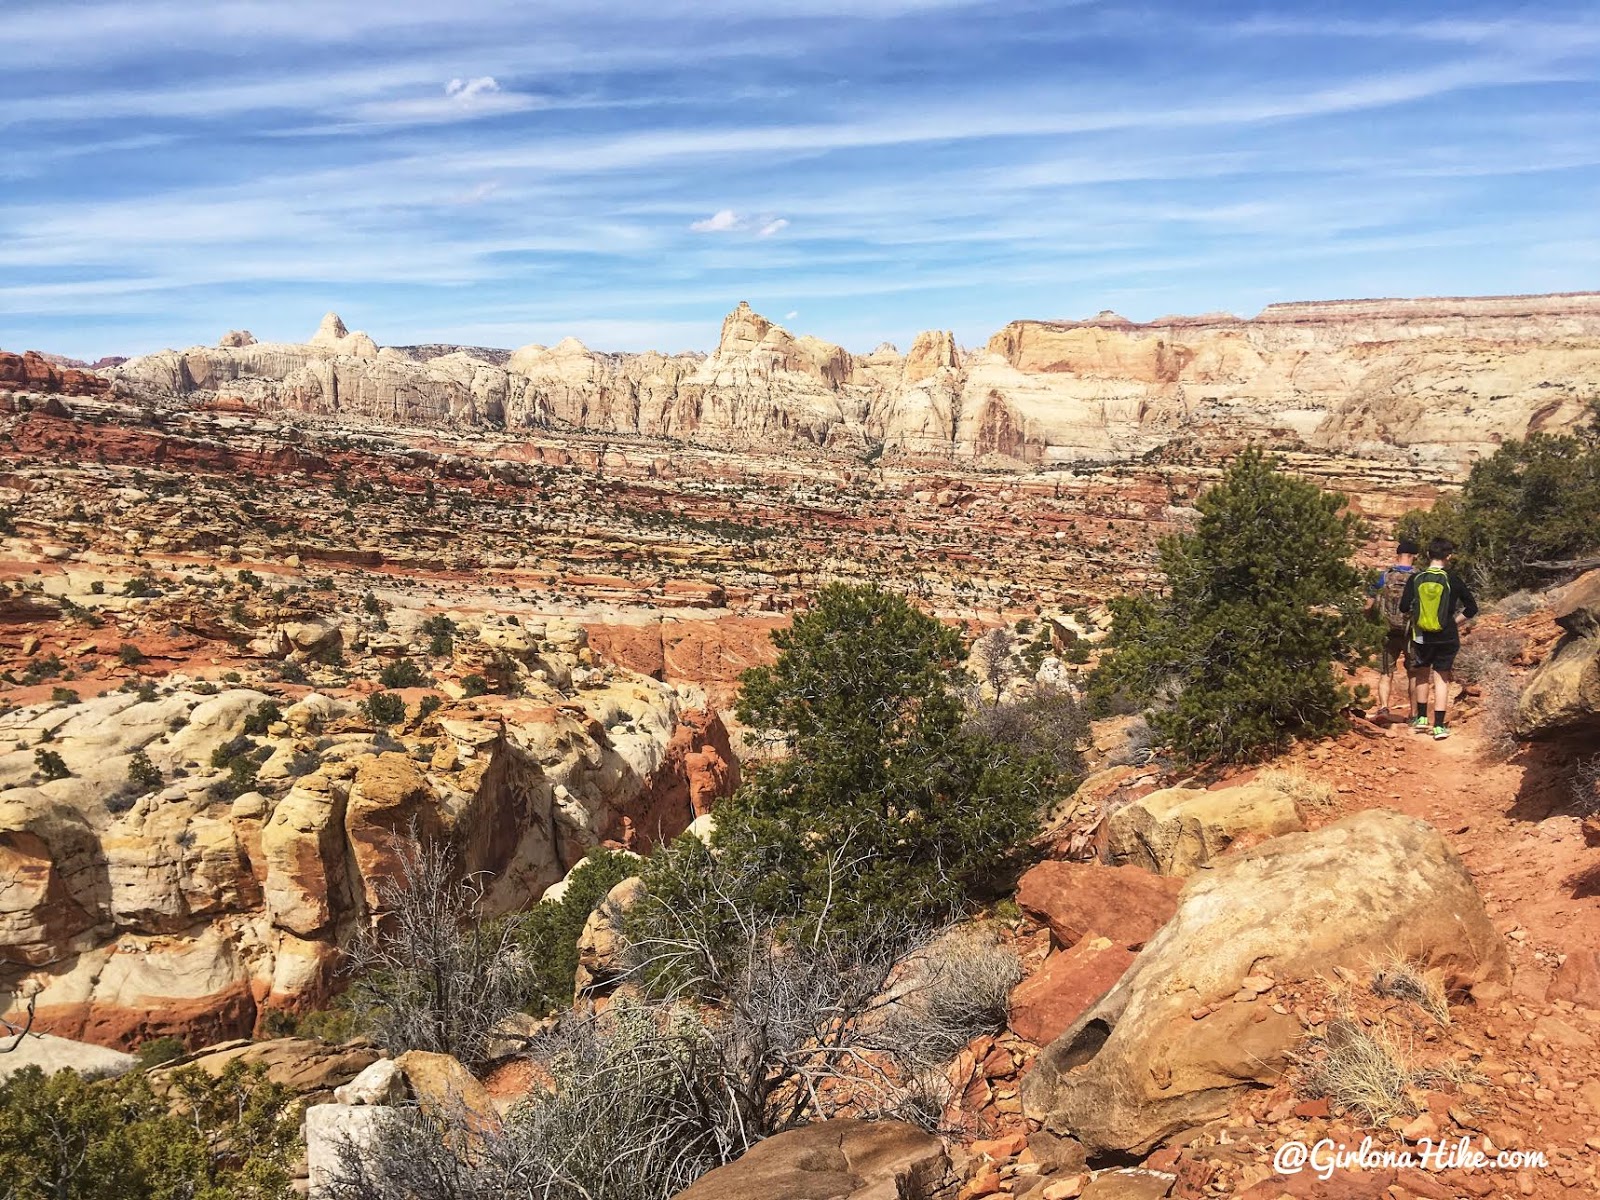
You’ll immediately gain elevation and have amazing views of Grand Wash.
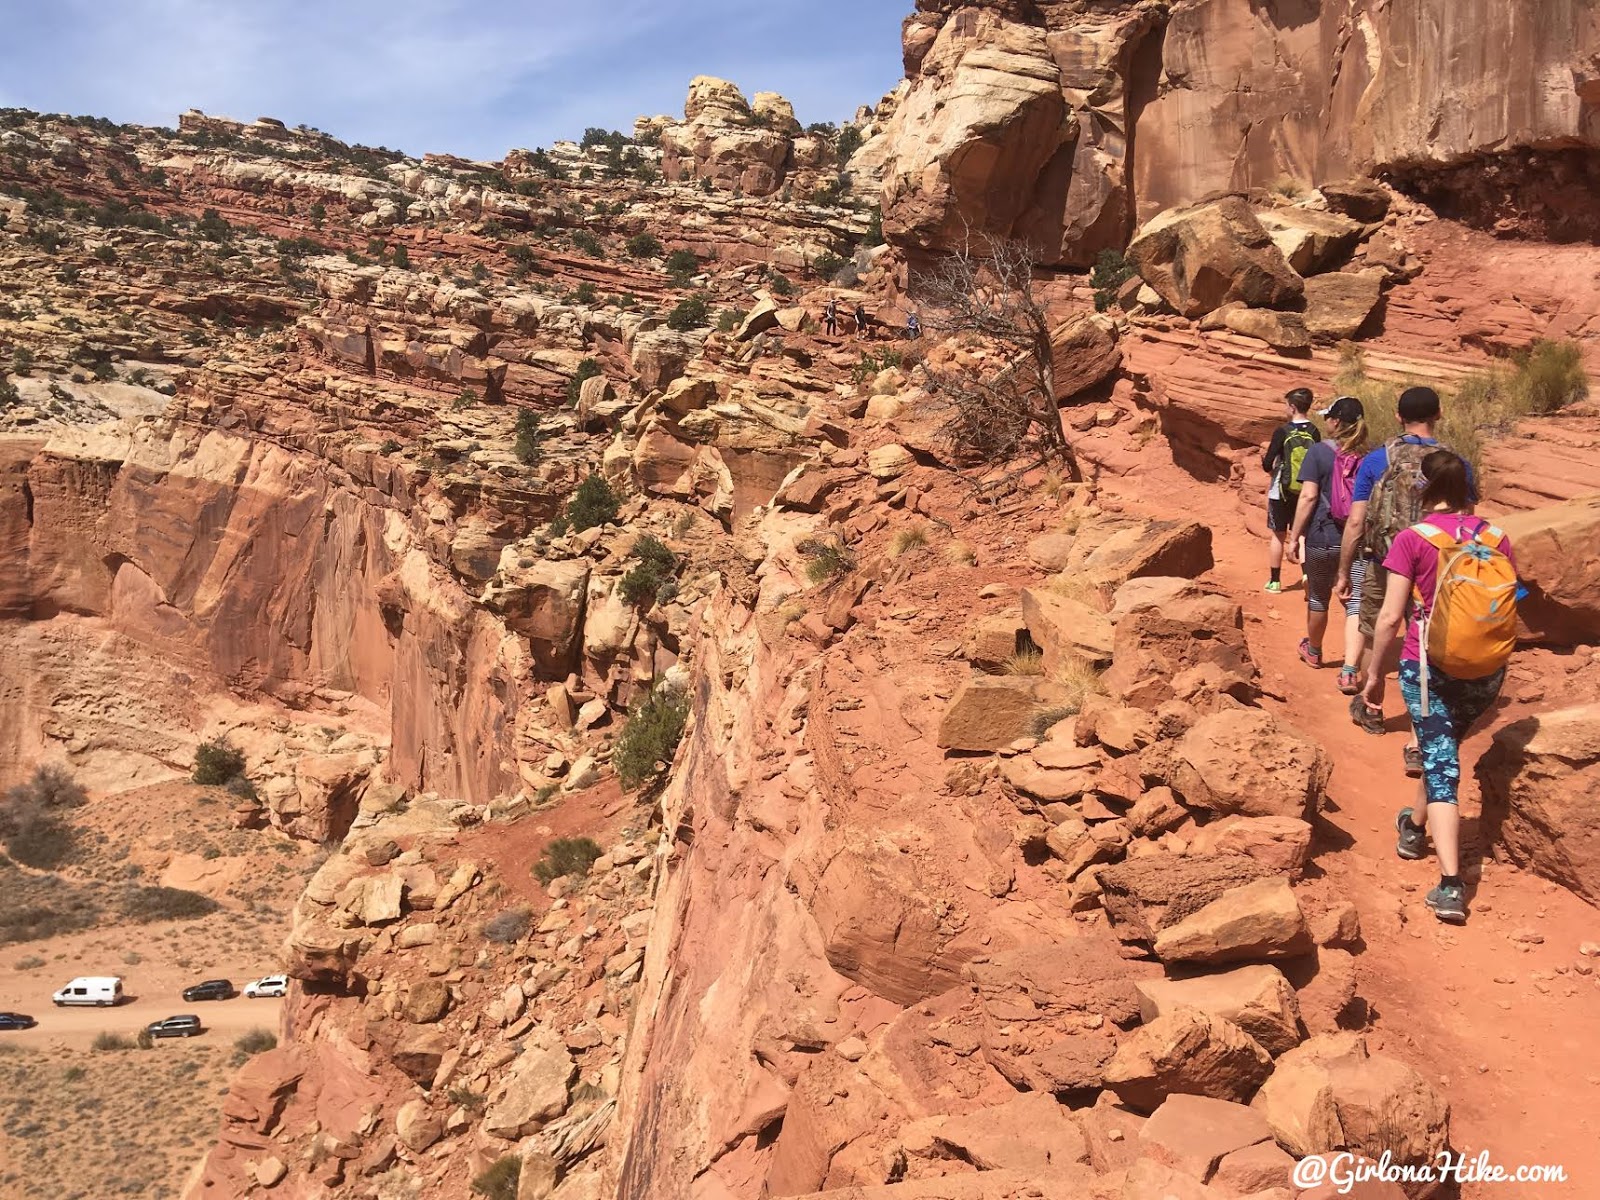
I spy a white van….that’s our car way down there!
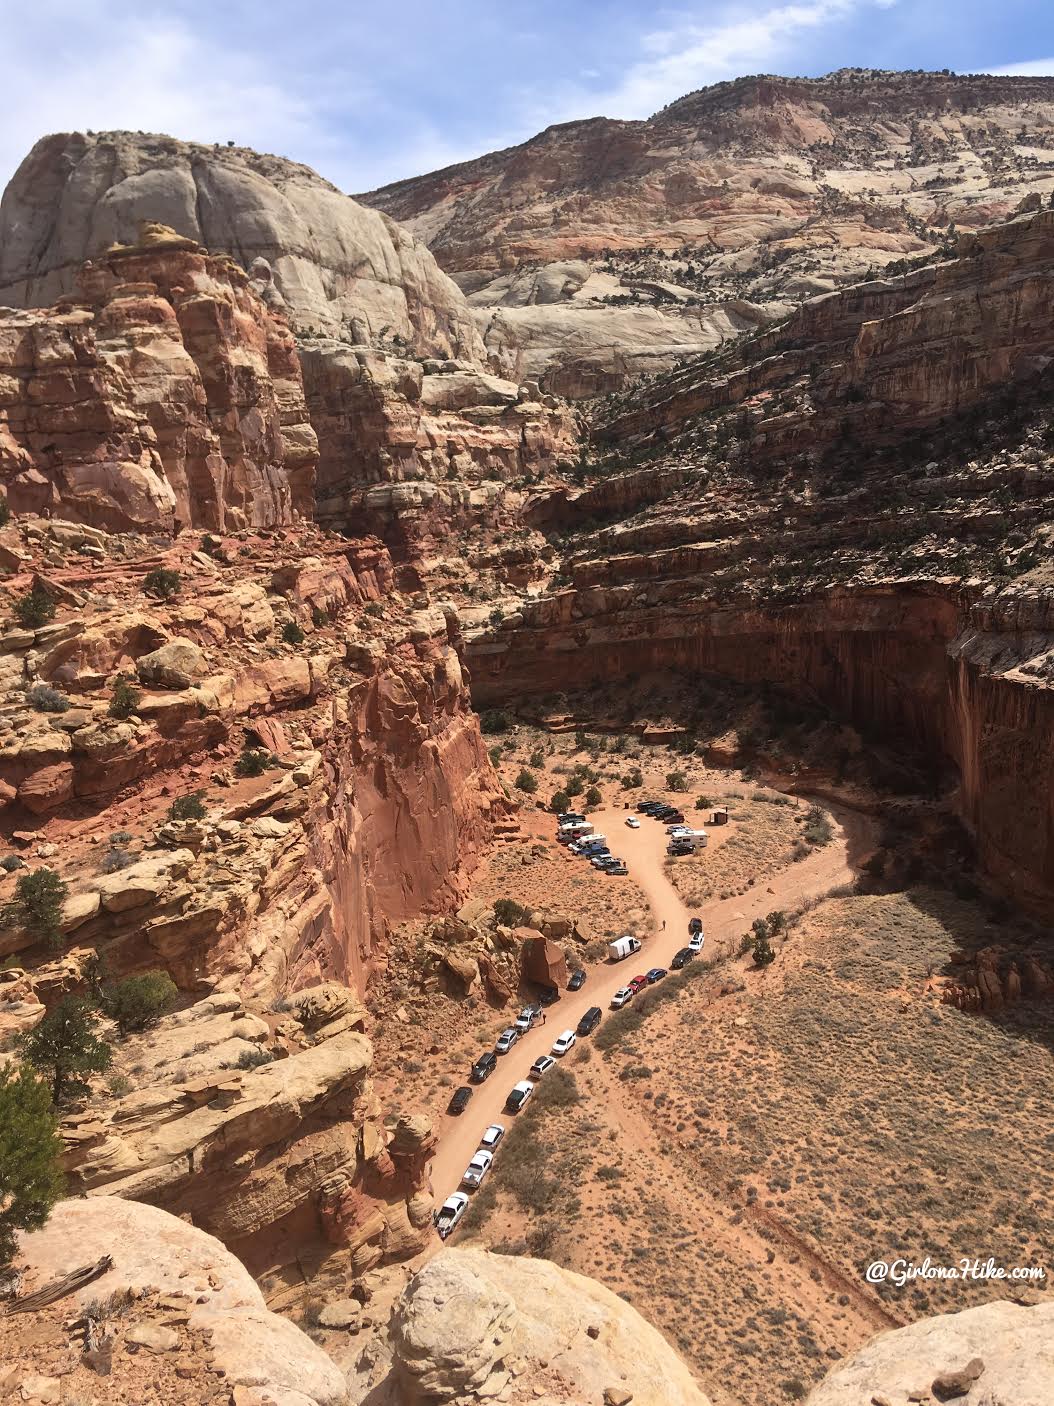
Looking back, and down to the TH – the trail was really packed.
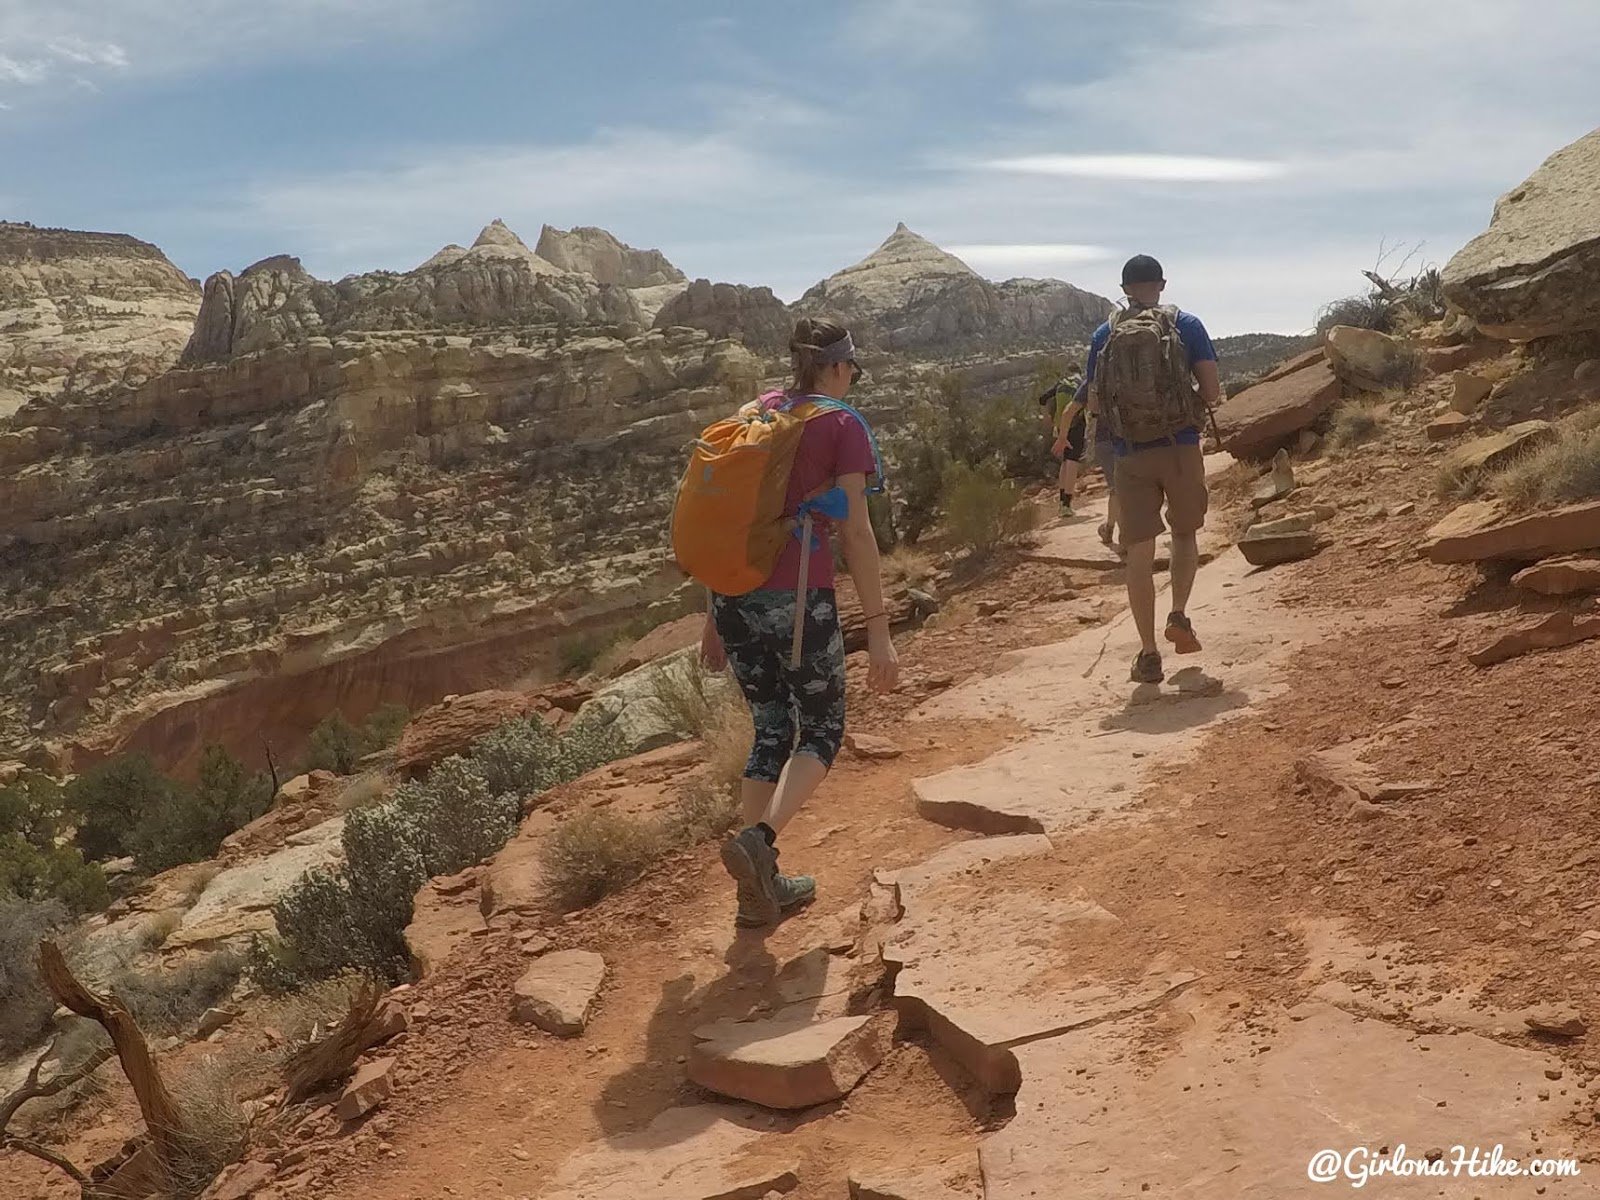
Hiking along the ridge, with “Fern’s Nipple” in the distance.
Cassidy Arch is right next to my head in the distance – you’re halfway there!

You’ll reach the trail split – Cassidy Arch is to the left and about another 10 min hike. Stop here first before coming back to this split and connecting to the Frying Pan Trail. You won’t see a trail sign for HWY 24 or the Frying Pan Trail until the very end, but this is the right way.
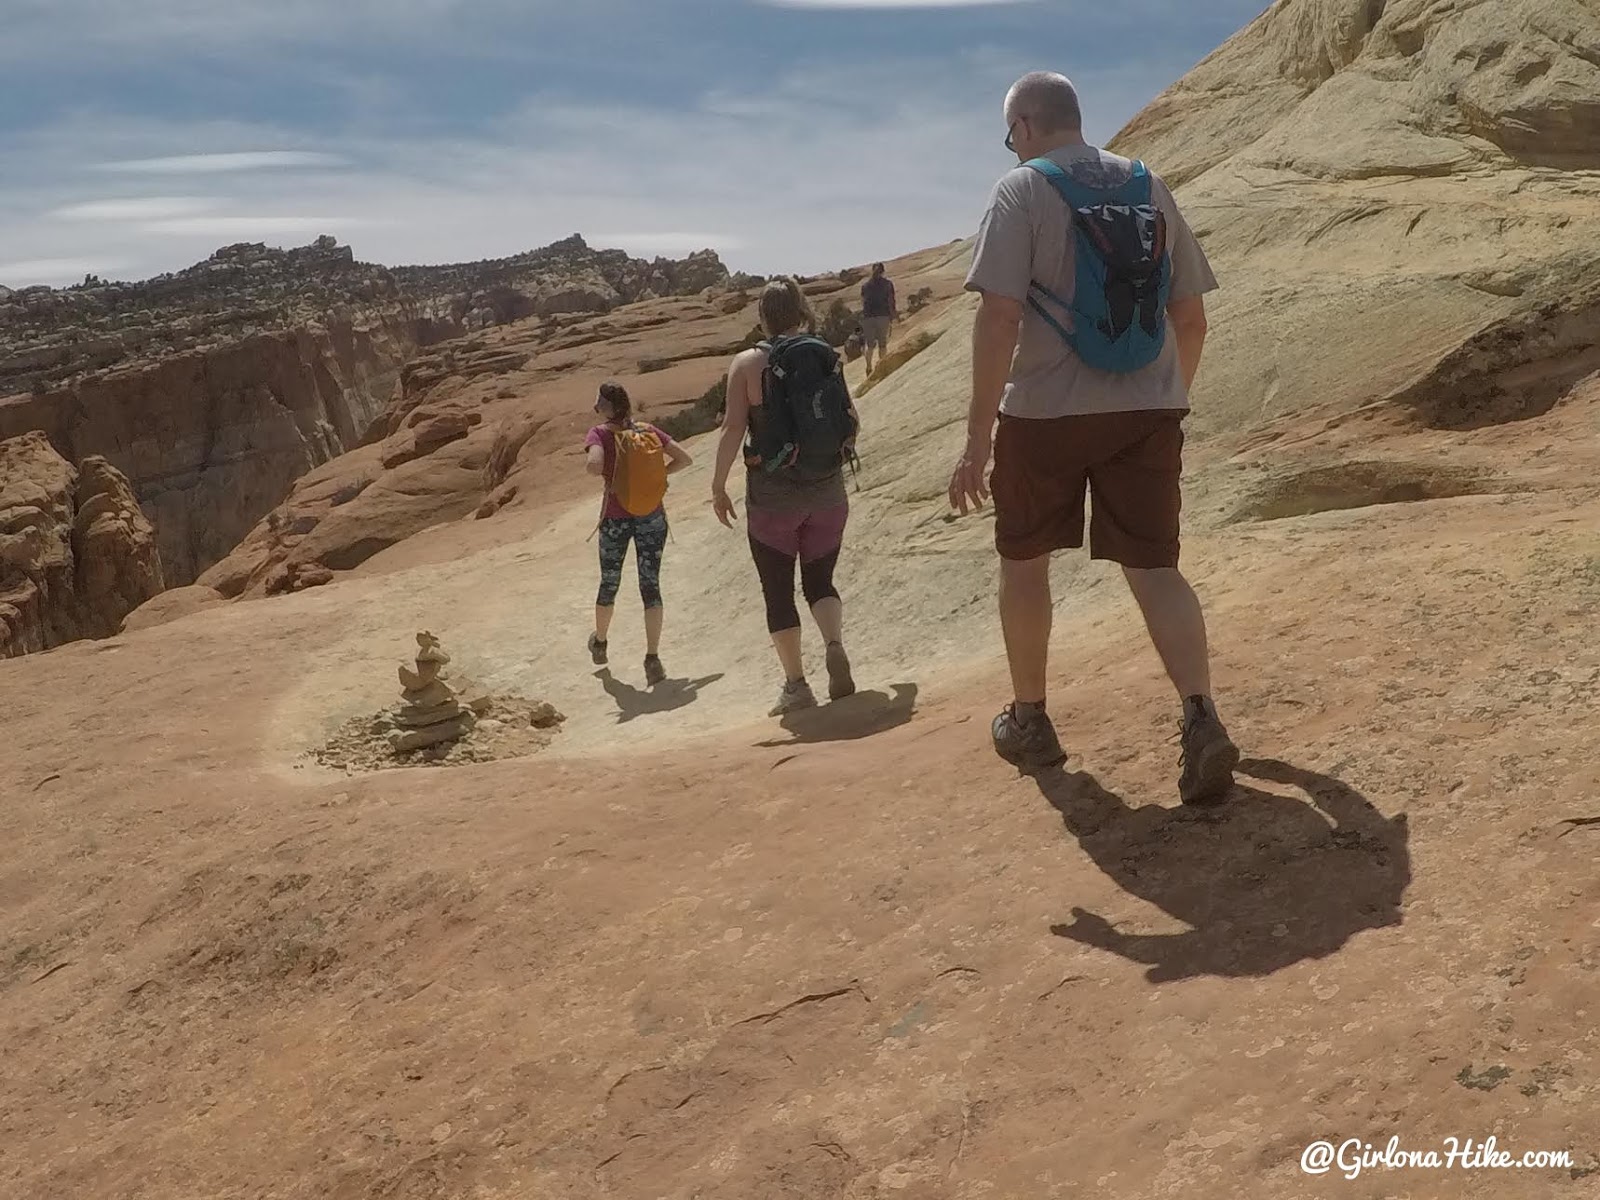
The trail to Cassidy Arch turns into slick rock. If you haven’t noticed yet, there’s zero shade on this hike. If you are hiking in hot temps, be sure to start early in the morning to beat the heat.
At the Arch
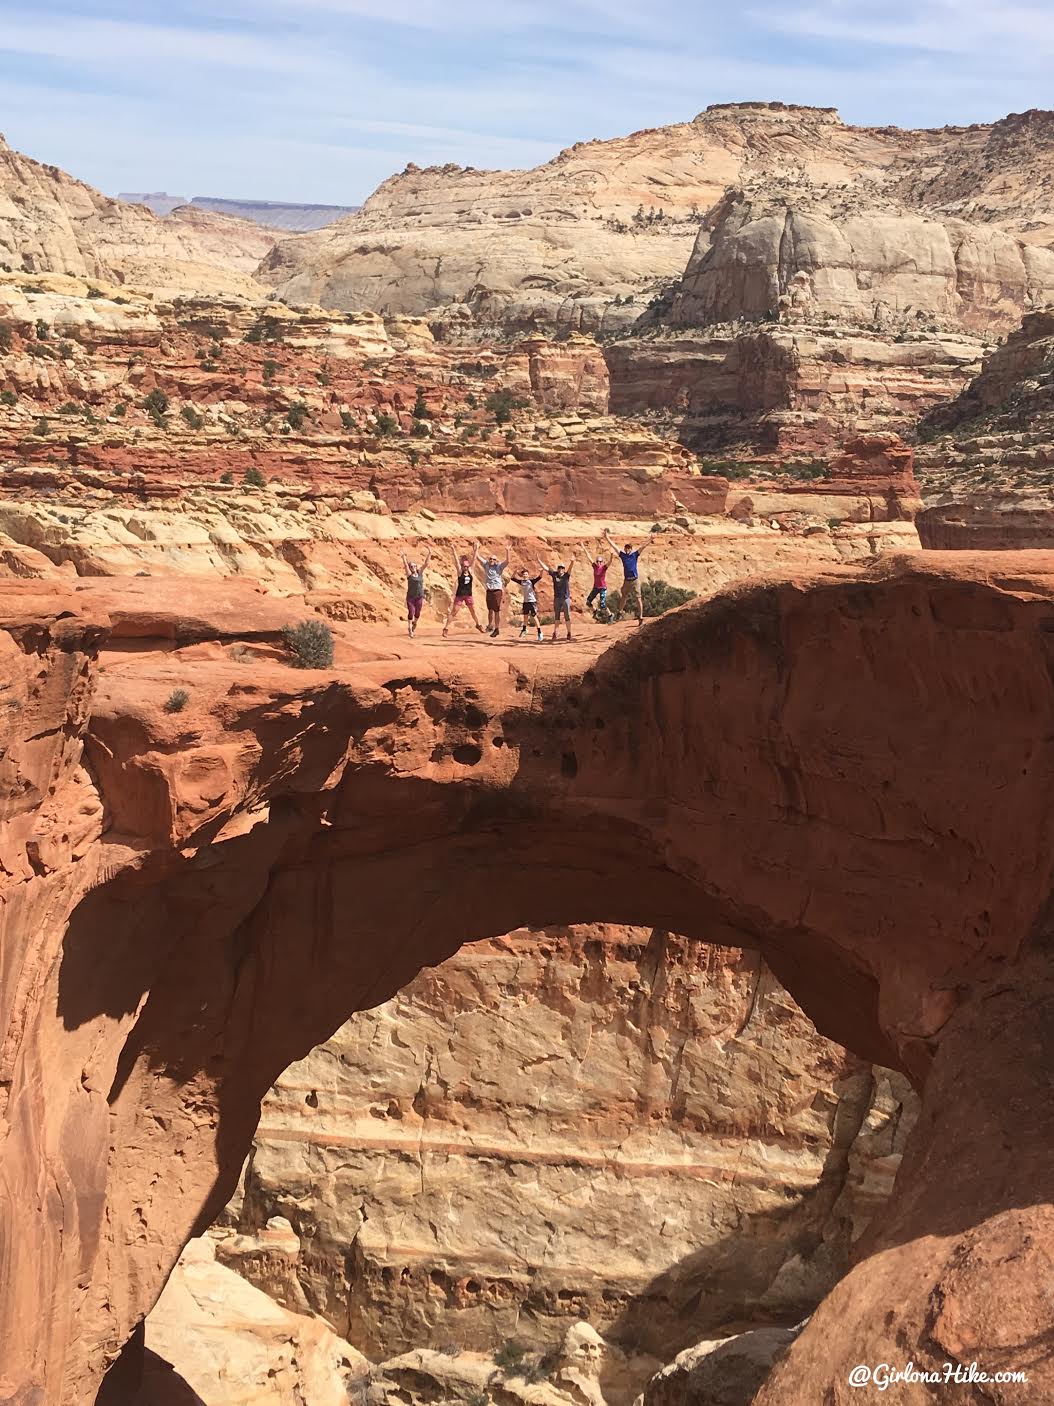
We made it! Standing on top of the arch is not scary at all – it’s about 20-25 feet wide so there’s plenty of room to walk.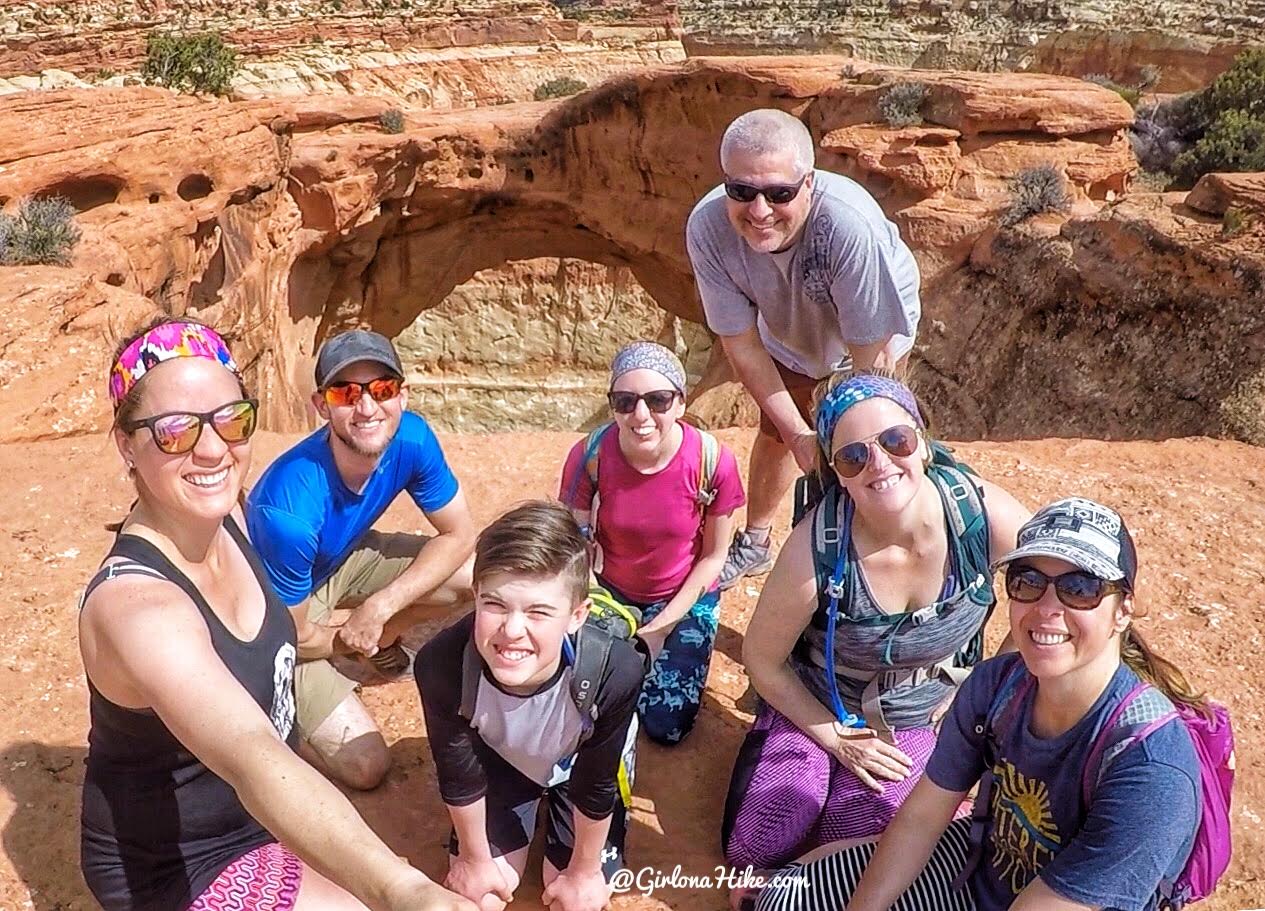
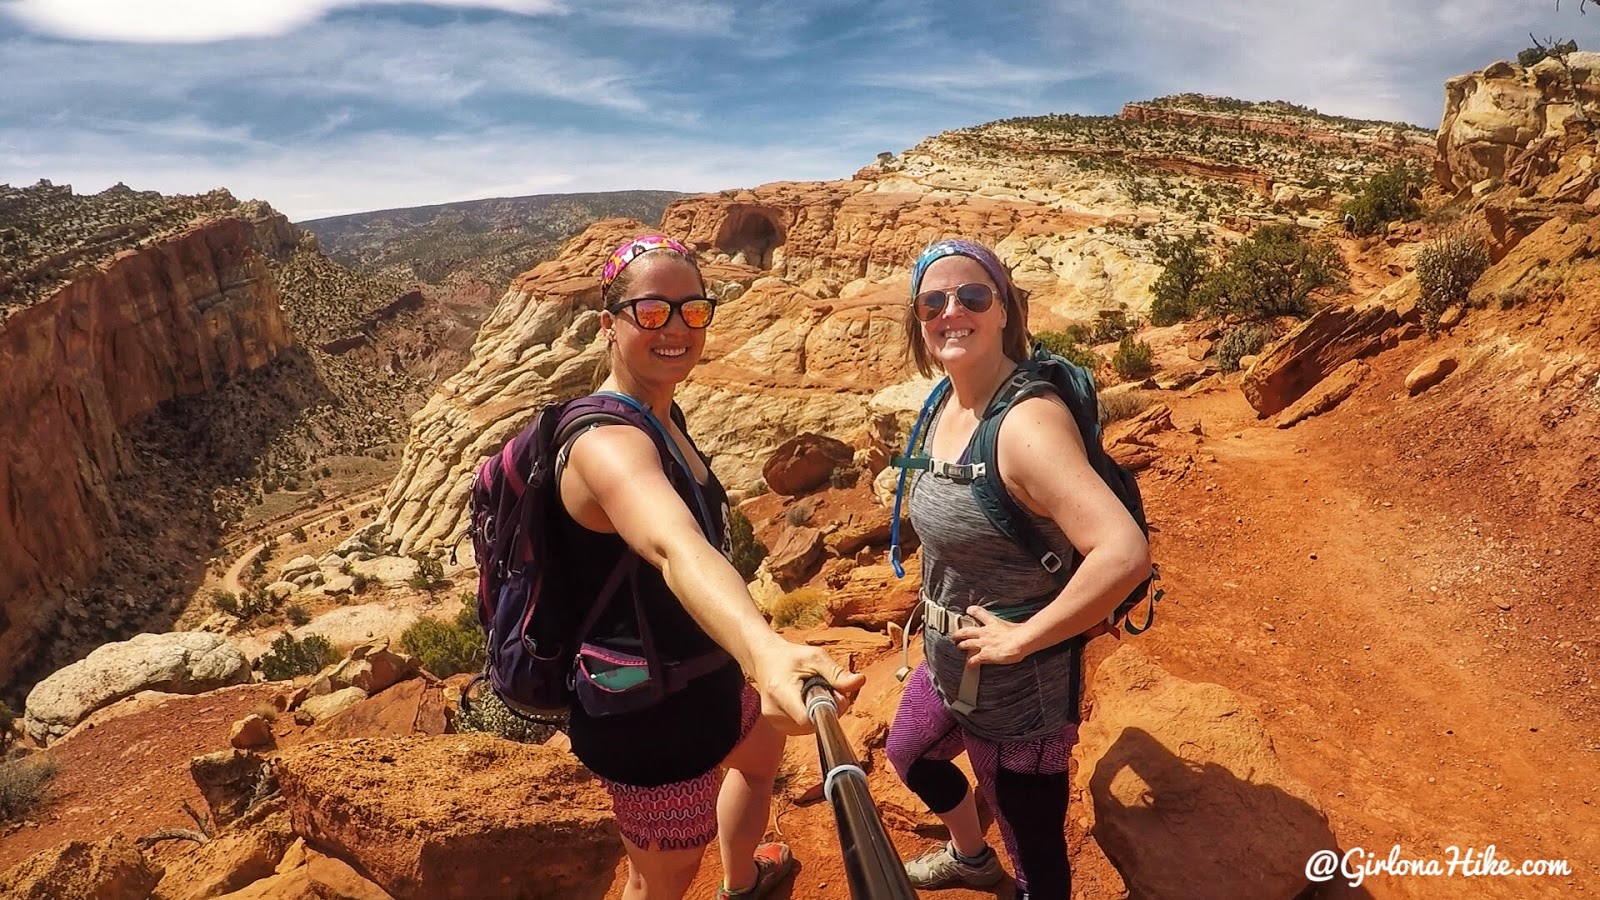
Group selfie!
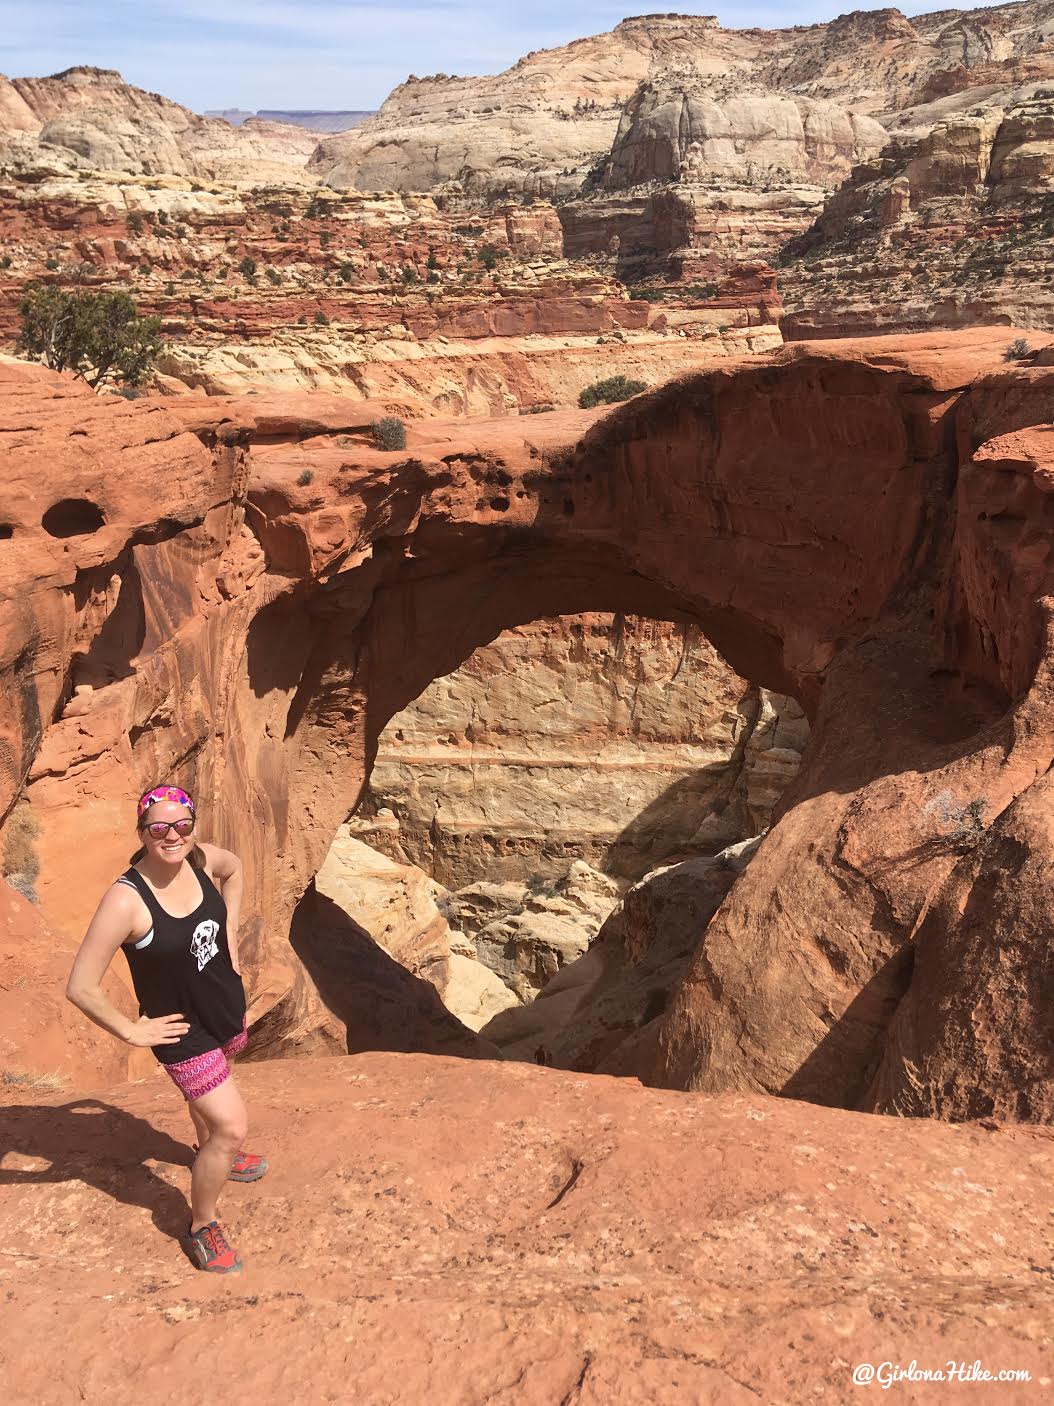
One more photo! This arch is really cool but also hard to get pictures since there’s so many people. Thankfully we waited a few minutes and people cleared out.
Hiking over to Highway 24
Back at the trail split, stay right to connect over to HWY 24, if you are doing this as a point-to-point hike.
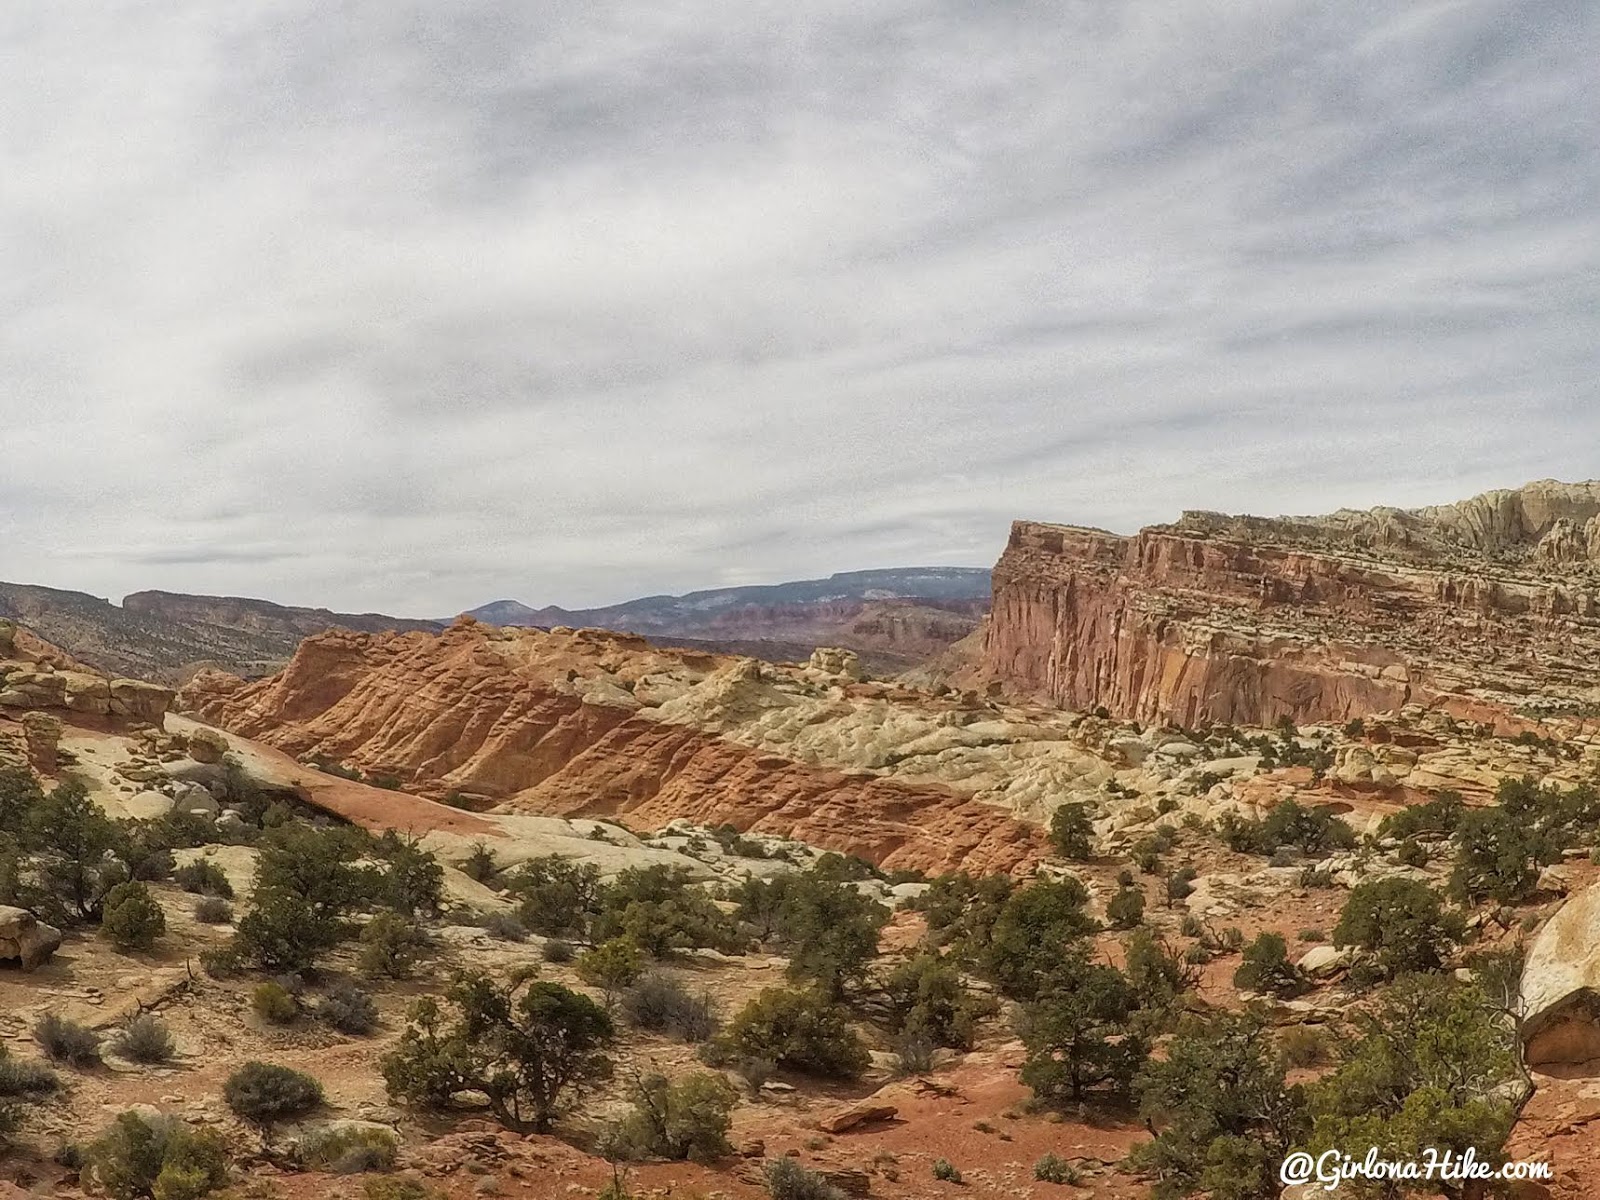
You’ll gain even more elevation, and have amazing views near the top at the highest point along the trail.
All heads are down…it must mean were are all focused on the trail haha
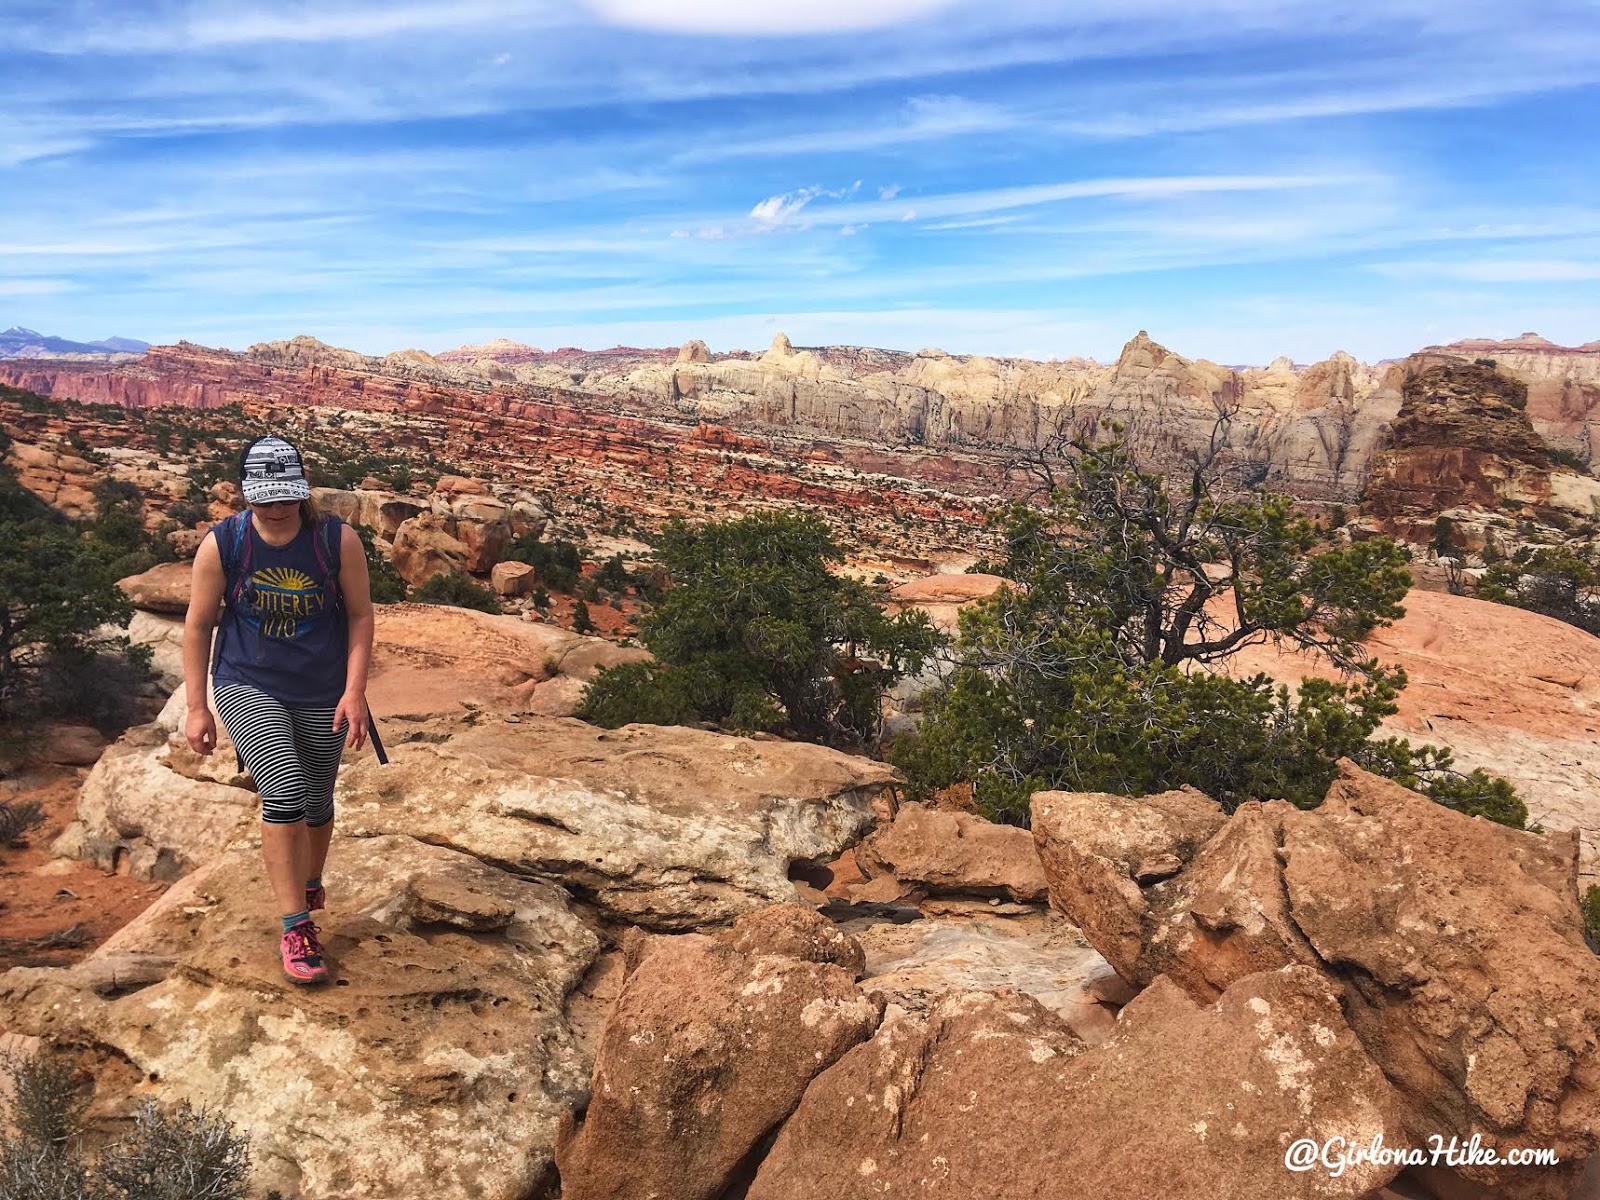
The views from the high point are so pretty!
The trail will then drop in elevation for awhile, before picking right back up.
Orange, red, and white for days!
Cohab Canyon is now in view. You can exit this route, if you parked a car at that TH or keep going to the Hickman Bridge/HWY 24 TH. Both are about the same distance just opposite directions.
You’ll come to the next trail split. It’s a little confusing here. The trail kind of splits in a “Y” – to get to HWY 24 make sure to take the trail up and right. Going down and left will take you into Cohab Canyon.
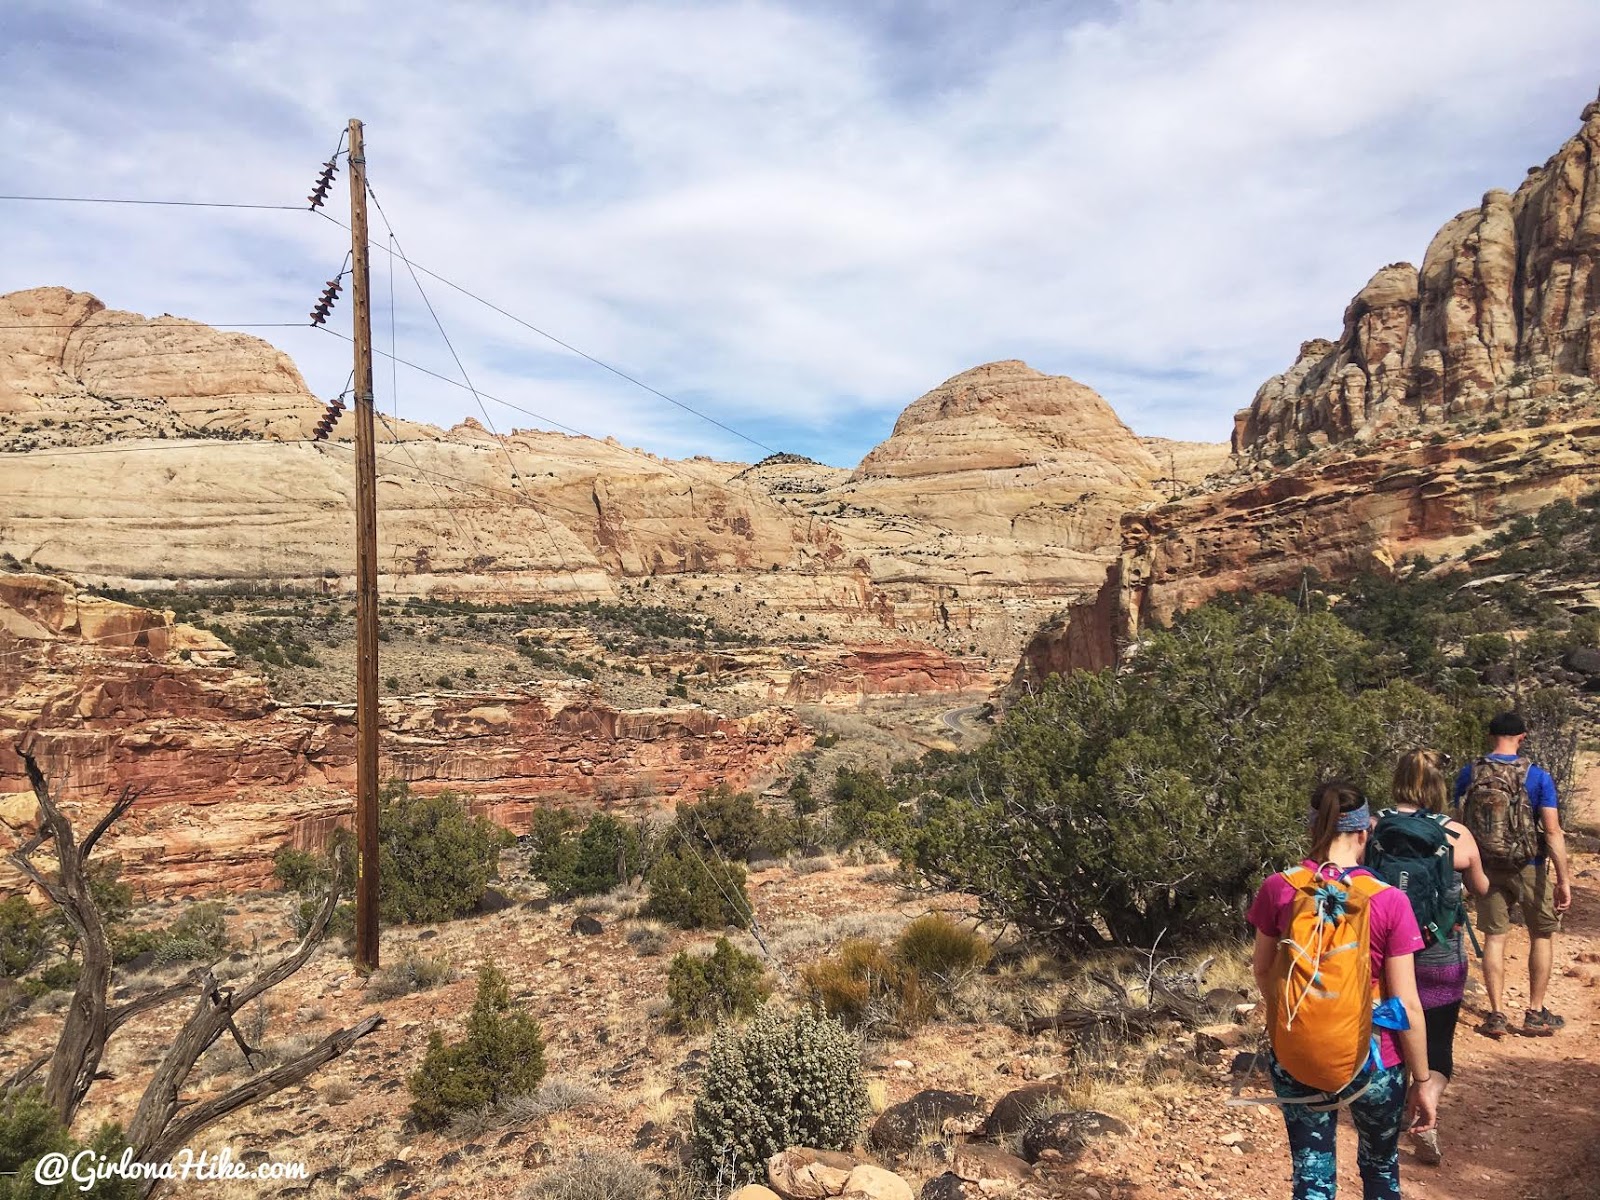
You should hike past the electric poles heading East.
Getting Back to the Cars
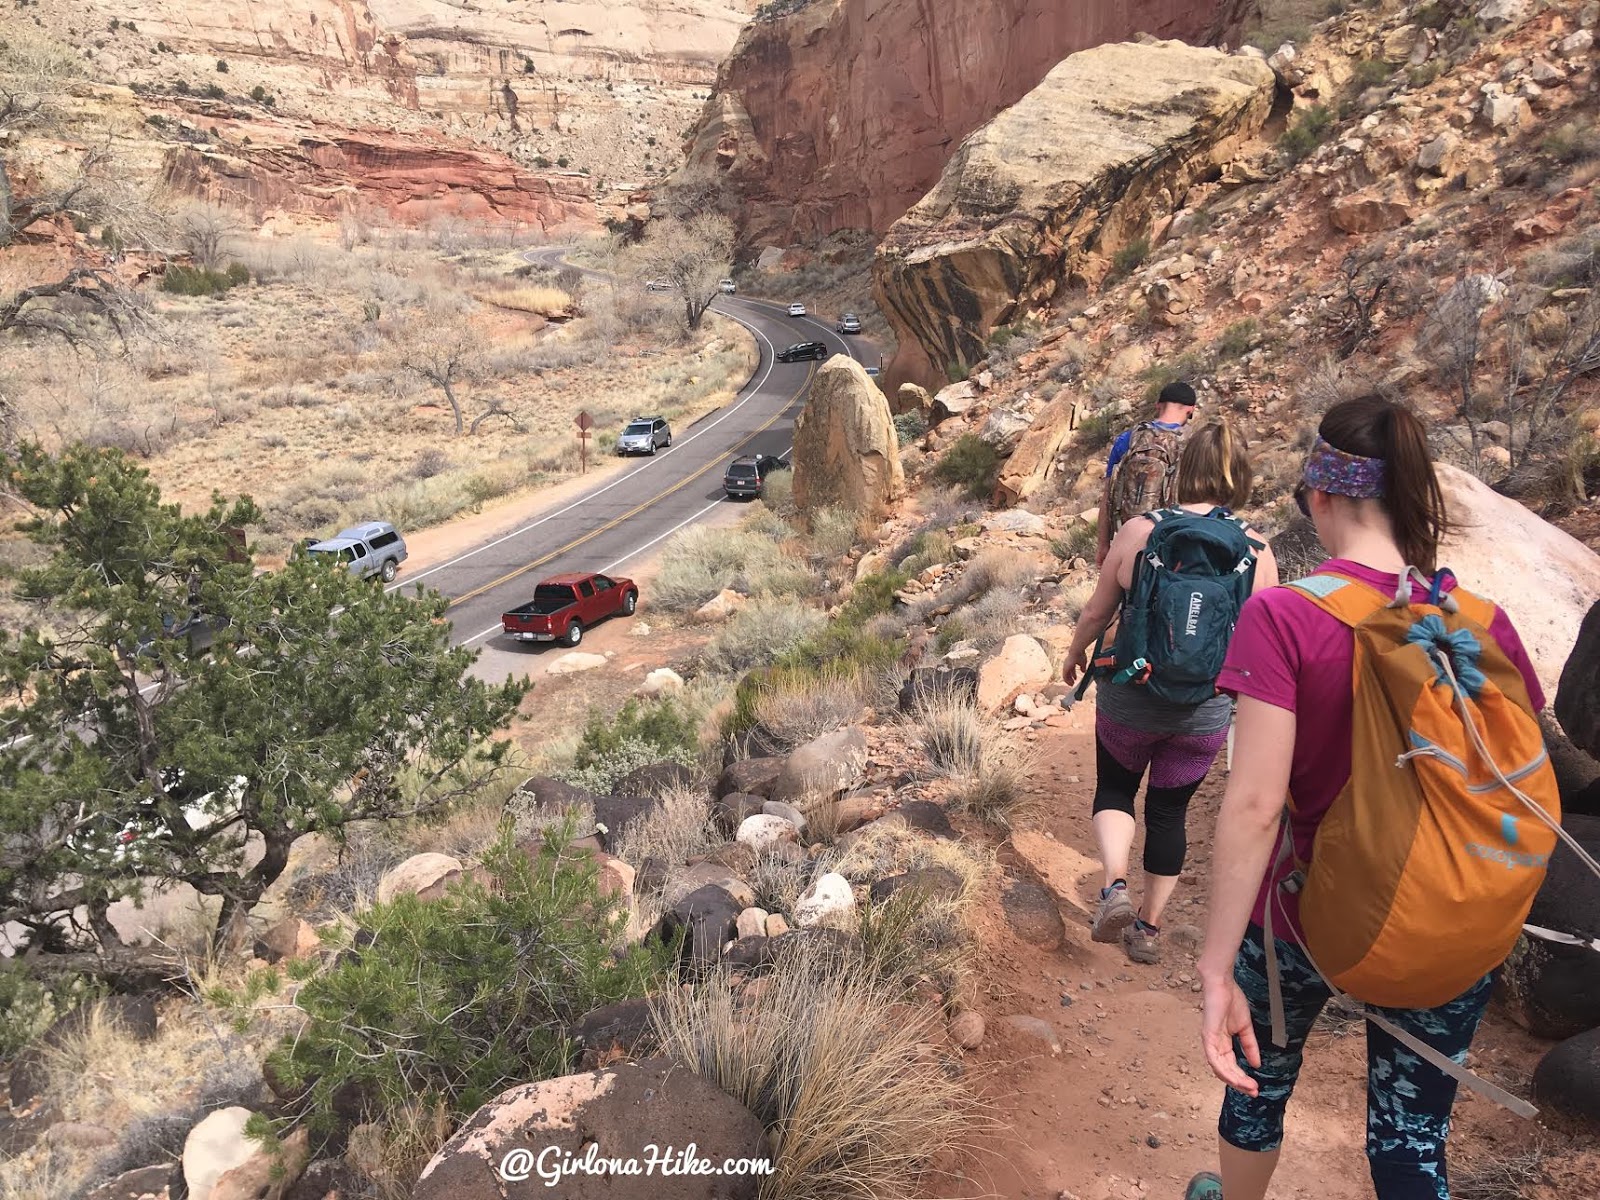
You’ll see the parking lot, and the trail will lead you down to the road.
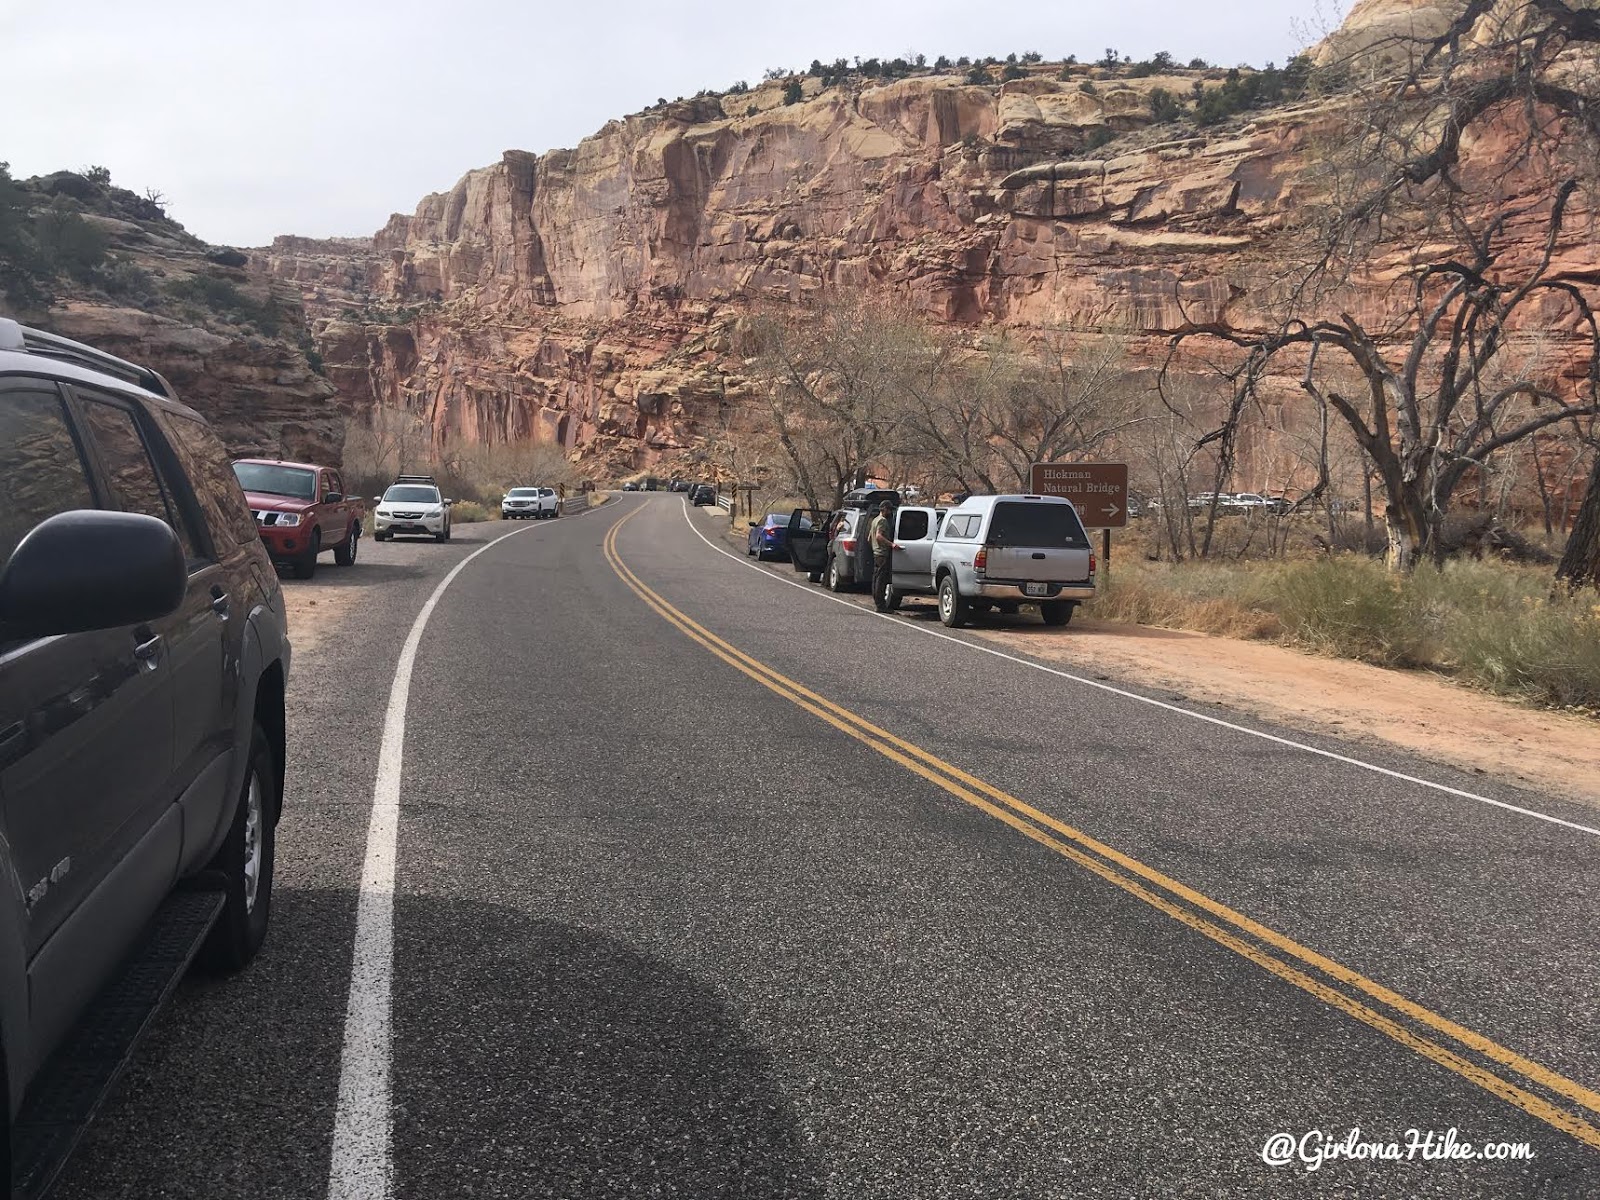
Walk back to your car along the road. From here you would drive back to get the other car you parked at the Cassidy Arch TH, then drive back here to get the rest of your group. If you are in one car then you’ll need to hitch a ride back.
Trail Map
My track via Gaia GPS – the best tracking app! Get your app here for a discount.
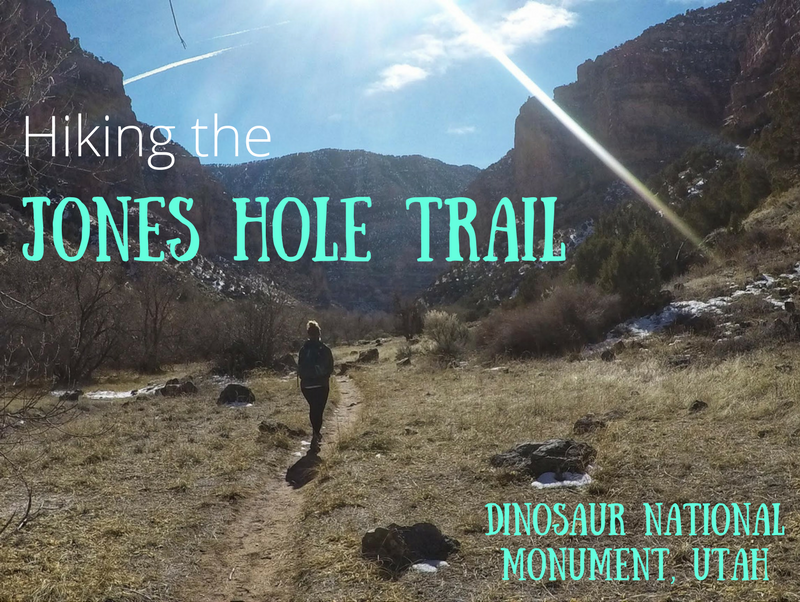
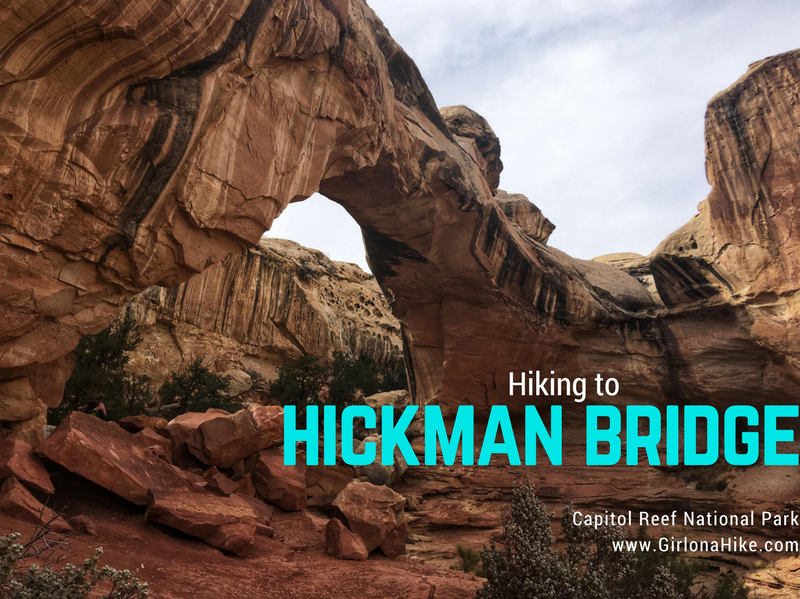
Nearby Hike


Save me on Pinterest!