
About
Directions
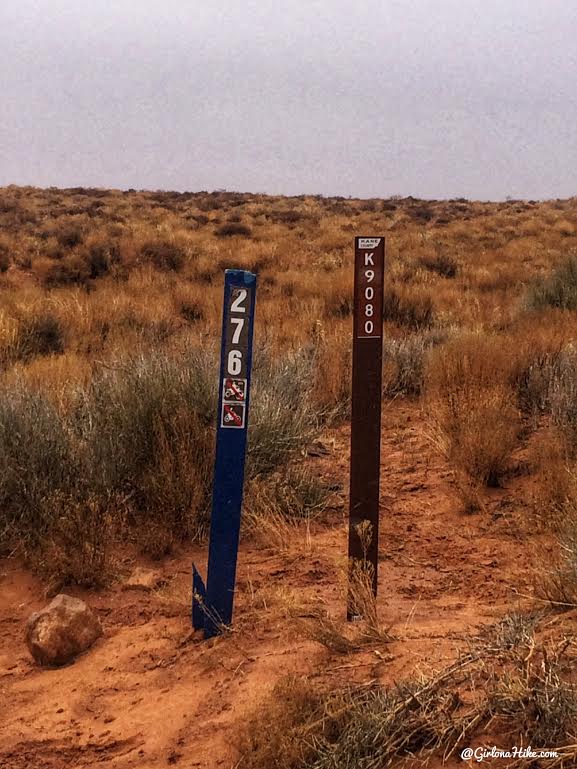
From Escalante, UT head East on HWY 12, then turn right for Hole in the Rock Road. Reset your odometer. Drive 40.5 miles, and turn left with a blue post signed “276” for the County Road number. Drive 1.4 miles to the end of the road where the trail starts.
Here’s a driving map.
It’s a good idea to call the Escalante Interagency Visitor Center before making the drive. This is where you can also get maps, get your free backcountry camping permit, use clean restrooms, fill up on water, and ask the questions about the area. This is another good site to get more info on the visitor center.
Trail Info
Distance: 4.2 miles RT
Elevation gain: 138 ft (-456 ft descent)
Time: 2-4 hours
Dog friendly? There is a sign that says dogs must be leased but nobody does as long as you have them under voice control
Kid friendly? Yes
Fees/Permits? None. There is a sign that says camping permits are required, but not for day hiking. Camping permits are free however.
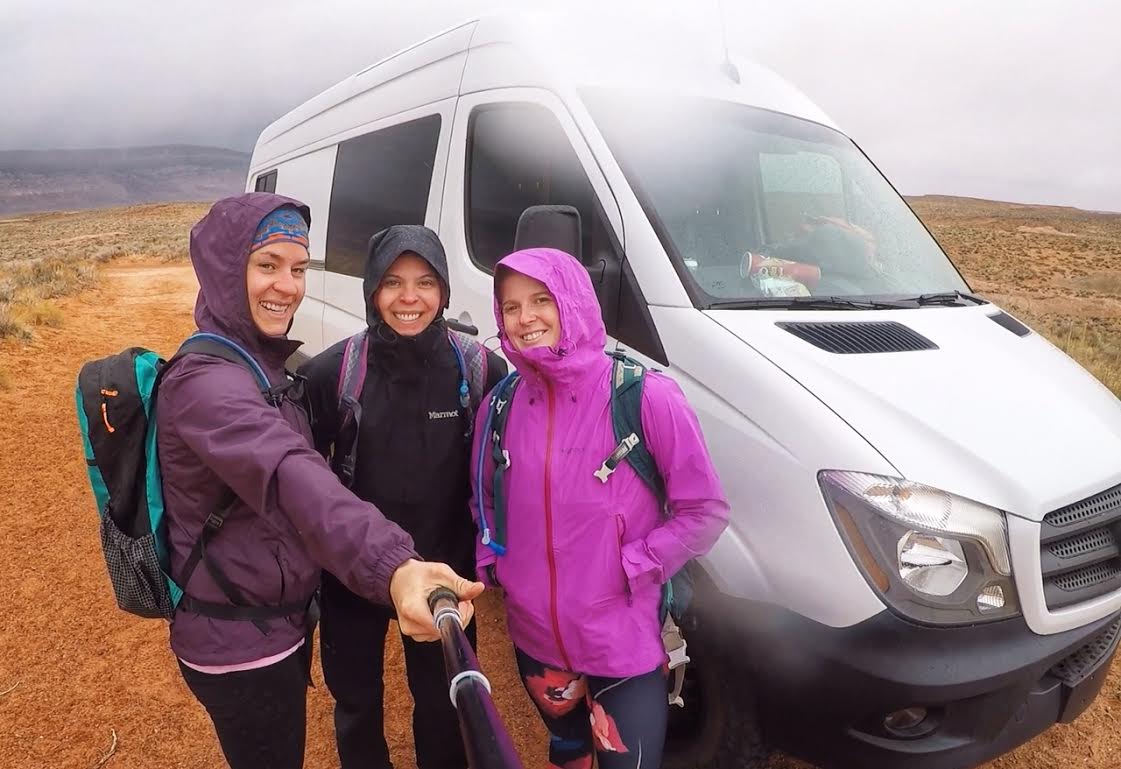
One of the main reasons we did this trip – Sarah got a new Sprinter Van!!!!
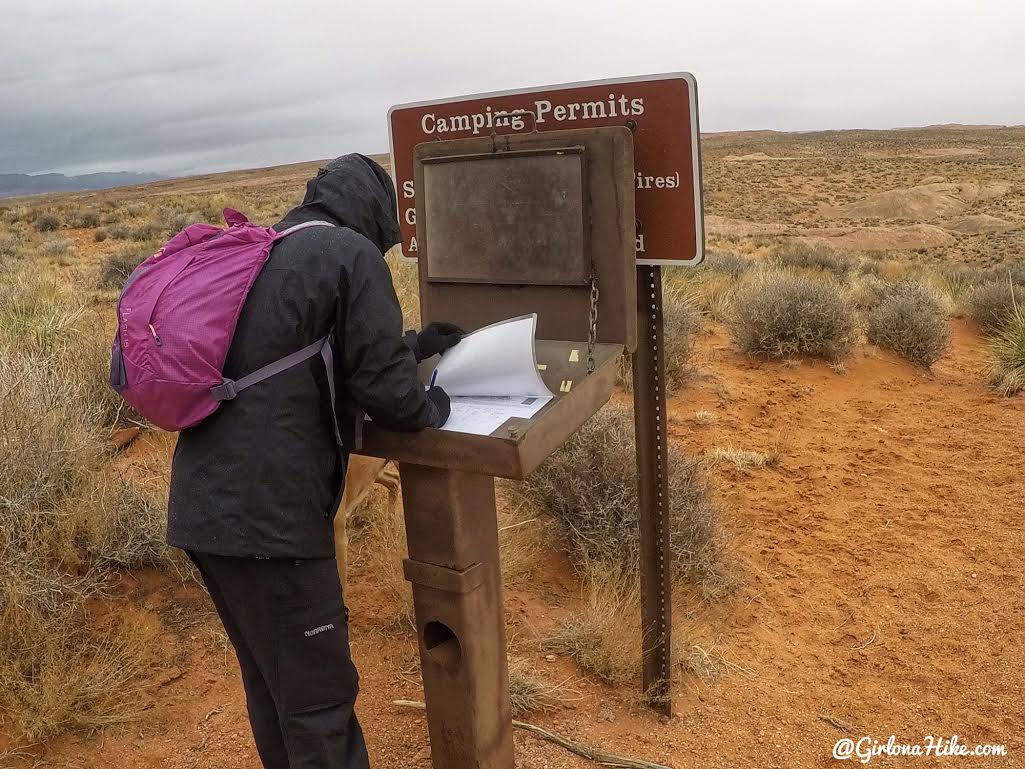
The trail starts in the NE of the end of the parking area.
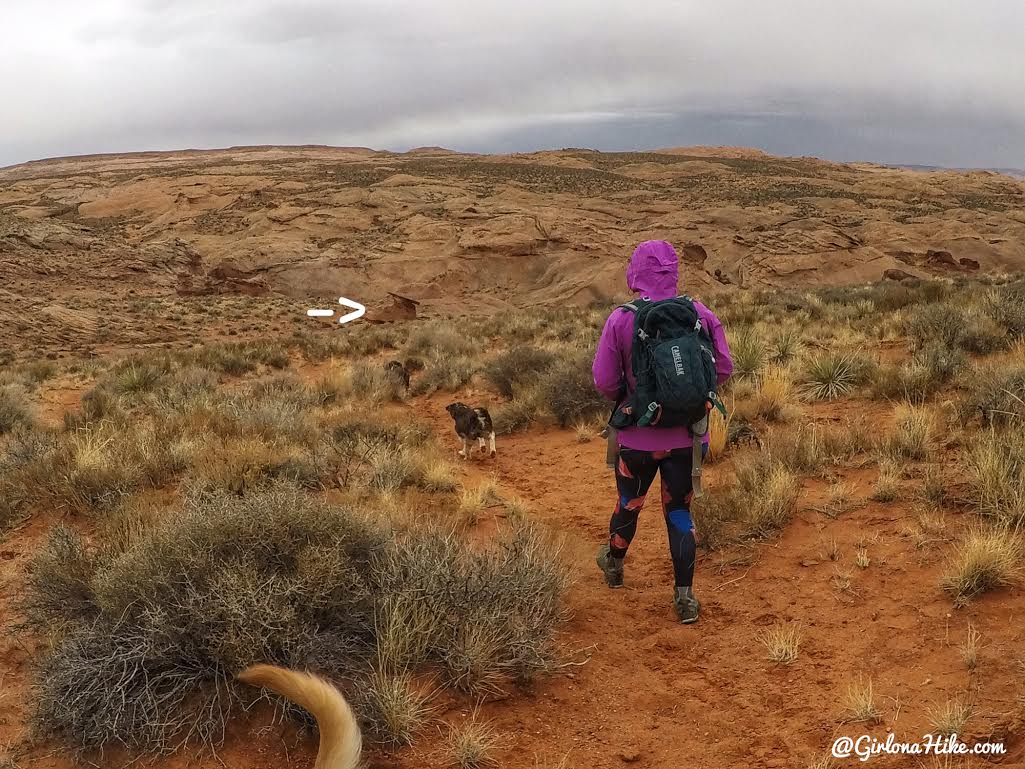
Follow the trail down, and keep and eye out for the one and only flat top rock on the sandy hillside. Stay to the right of that rock.
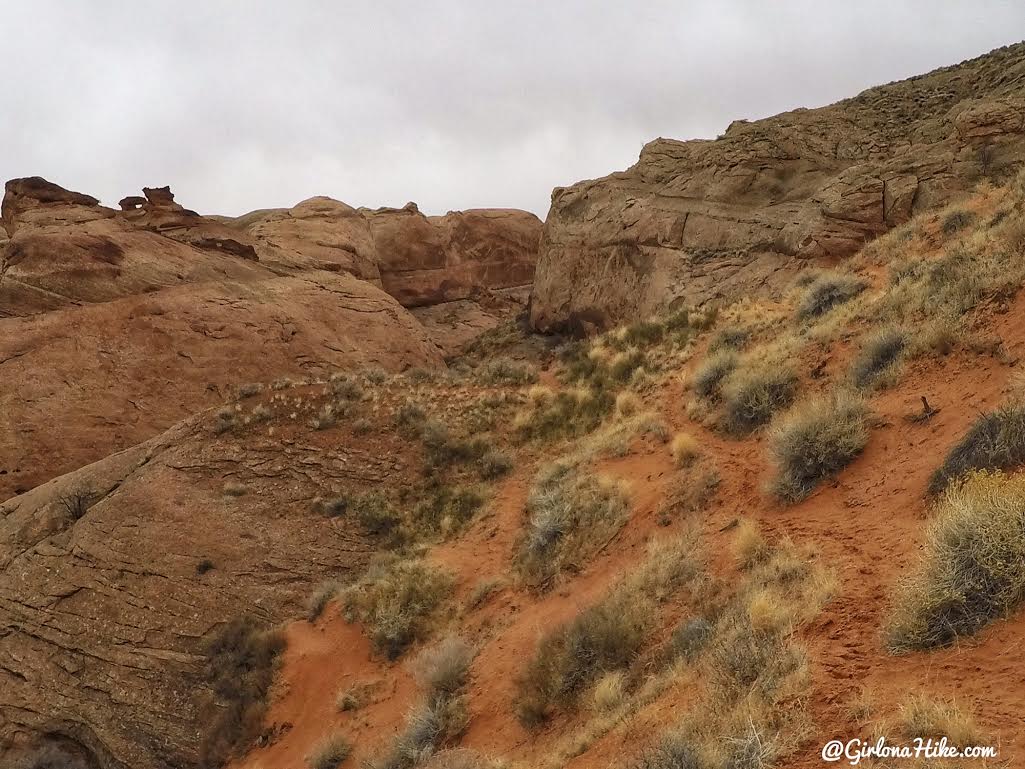
You’ll see the trail drop down to the wash. It’s a little steep, so just remember you have to hike back up this section.
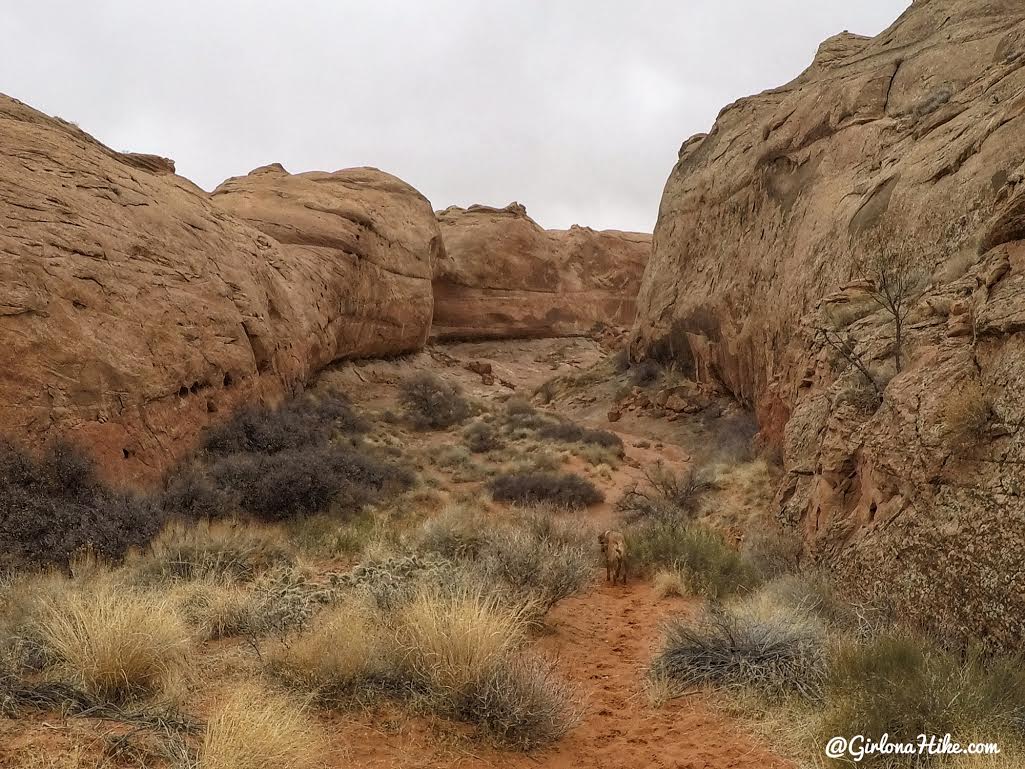
Don’t rely on cairns to direct you in the canyon. As long as you have a trail app, like Gaia GPS, you’ll stay on track. The nice thing about Gaia GPS is that you can pre-download maps & tracks for the area you are going, plus create waypoints among many other features.
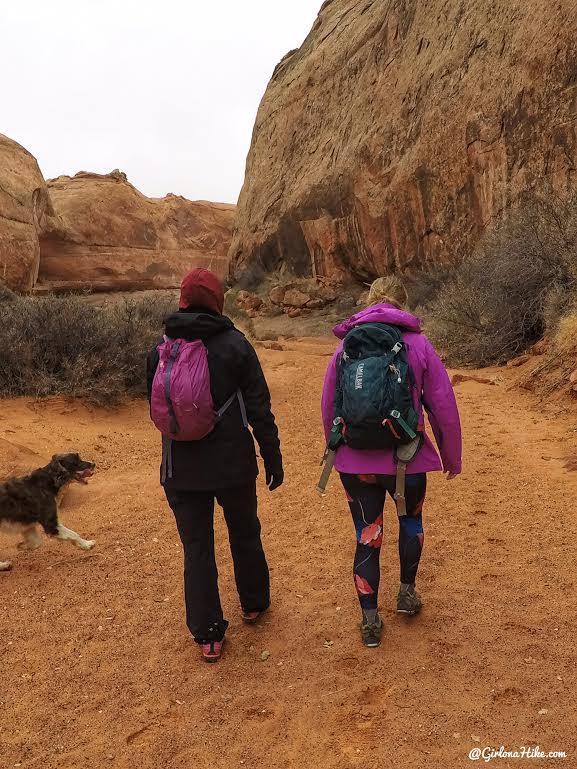
At the bottom of the wash – continue hiking in a SE direction.

These small sections look like the beginnings of a slot canyon. I’ll have to come back in 500,000 years to see if it morphed into one LOL.
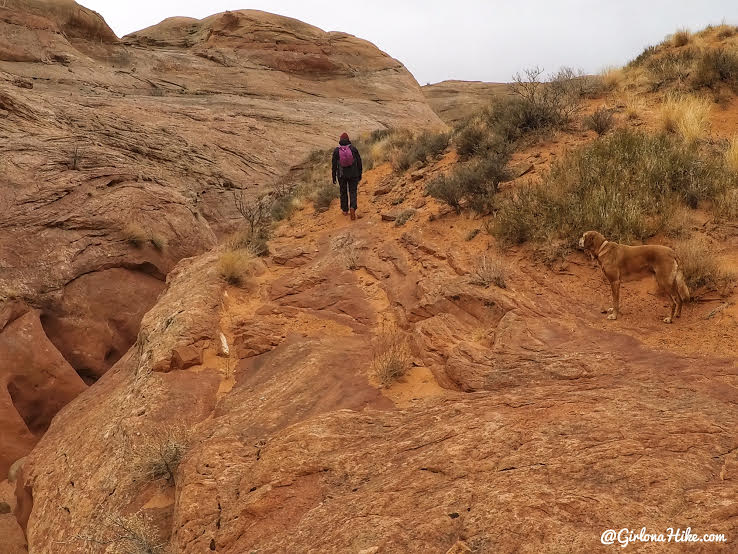
It’s easier to walk above those mini slot canyons.
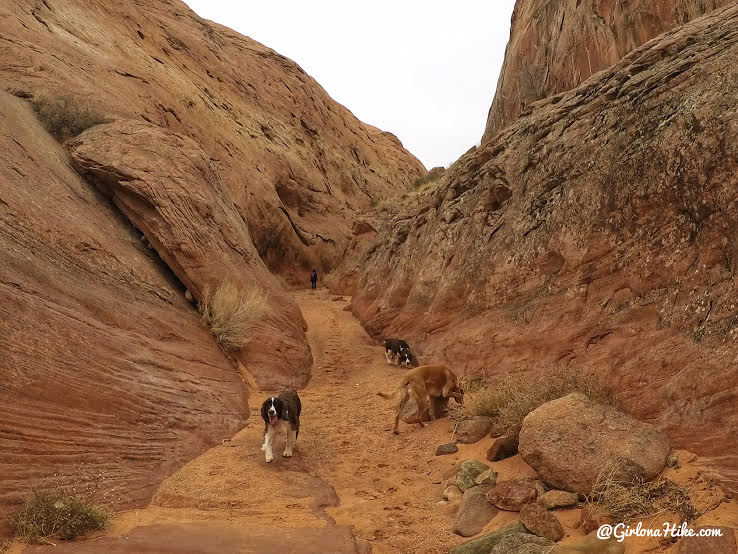
You will hike through some narrower sections of canyon, and those are really pretty.
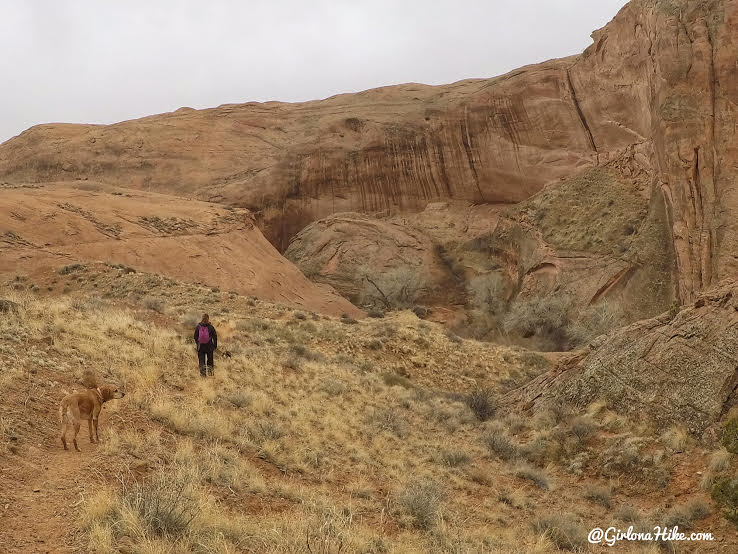
Eventually the trail opens up, and you are hiking on top of a semi-mesa with sage brush. The trail will lead you down, to the now Willow Gulch.
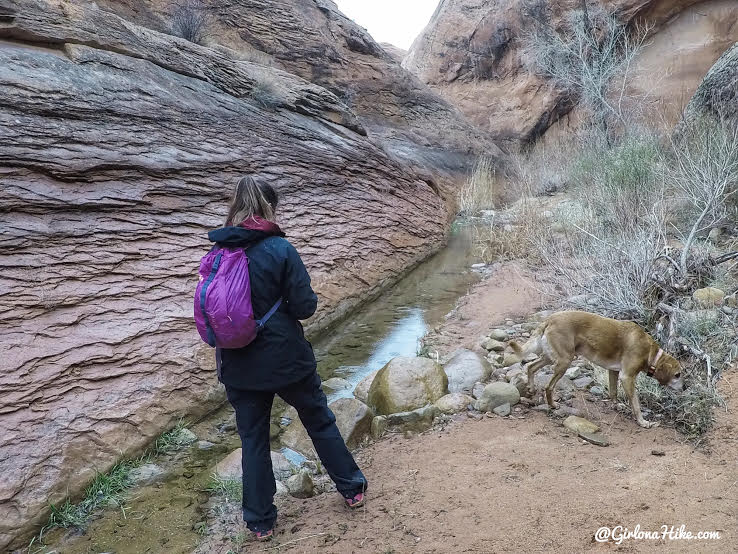
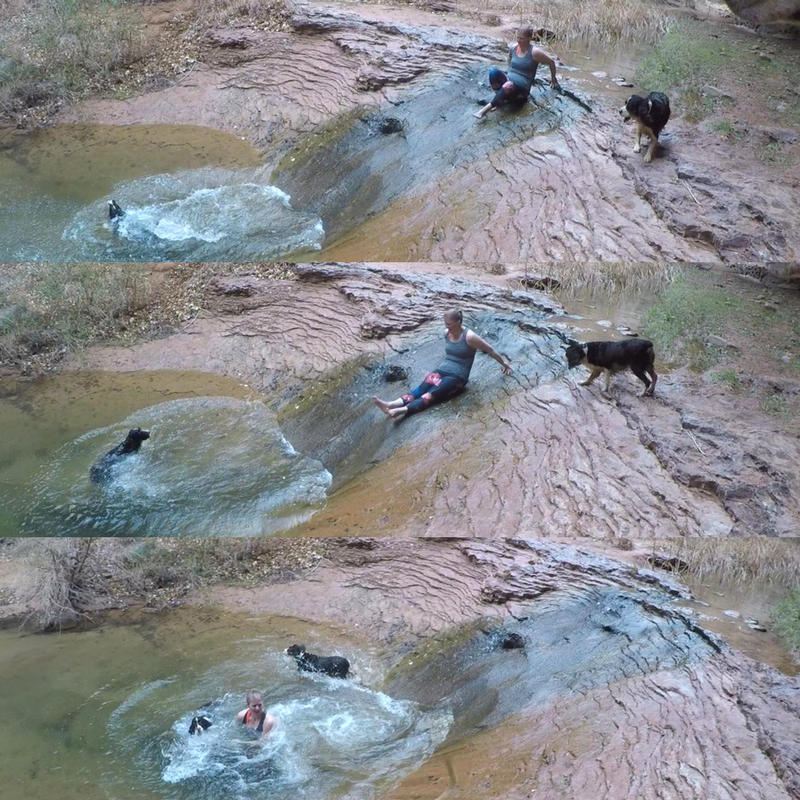
Water is usually found here year-round. It’s typically never more than ankle deep, and can be avoided by rock hopping or staying off to the sides.
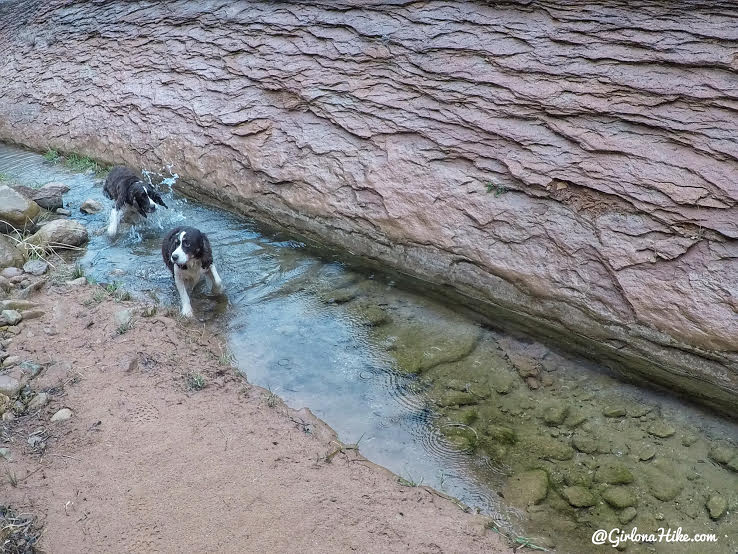
Surprisingly the water is very clean and clear – pawfect for the dogs to drink from.
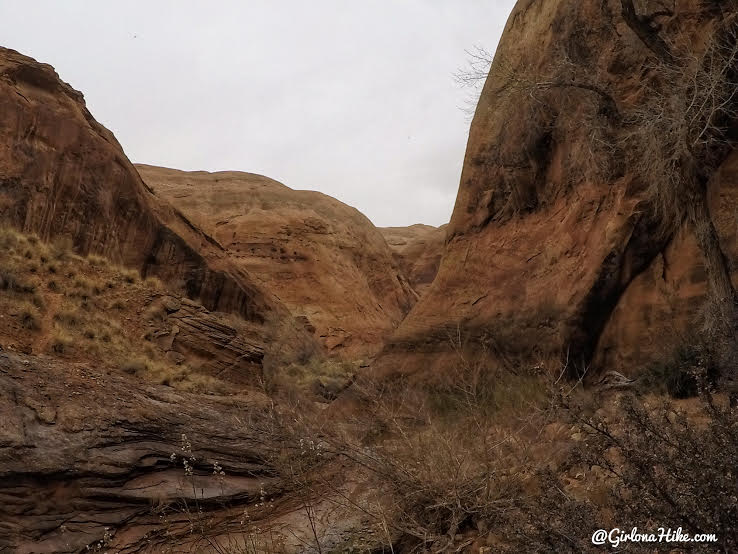
Now the not-so-fun-part happens – cutting through a section of thick trees. It only lasts for a few hundred feet though.
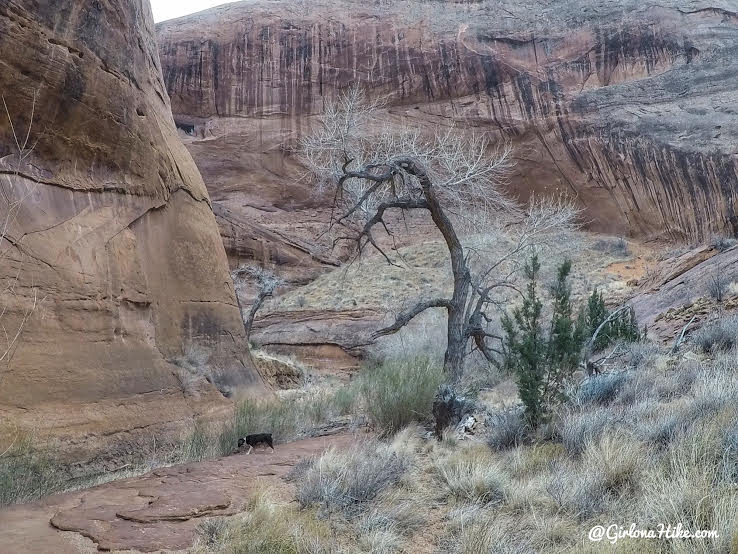
Once you see this lone, bent Cottonwood Tree, you know you are close.
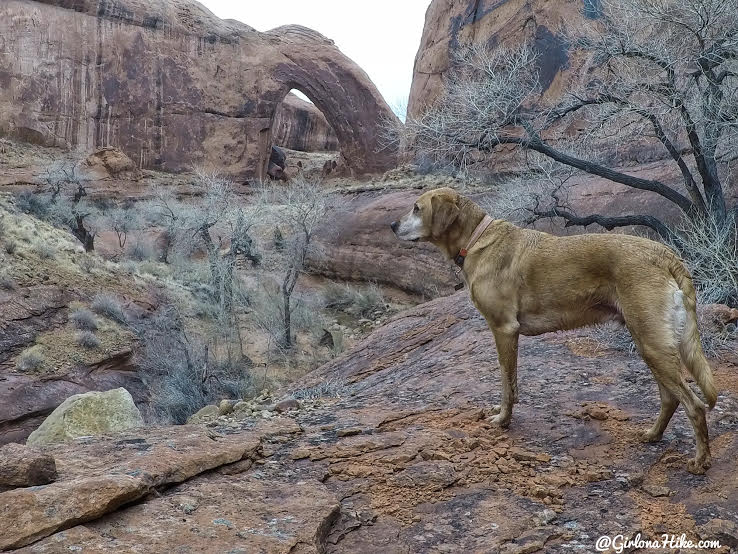
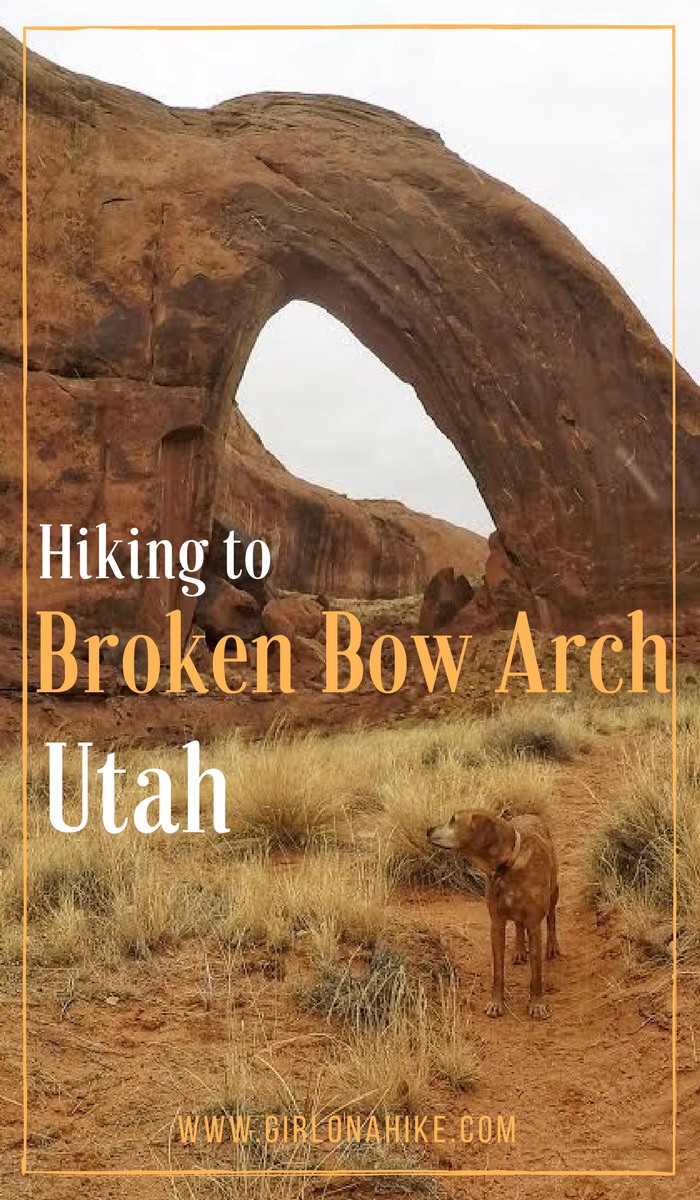
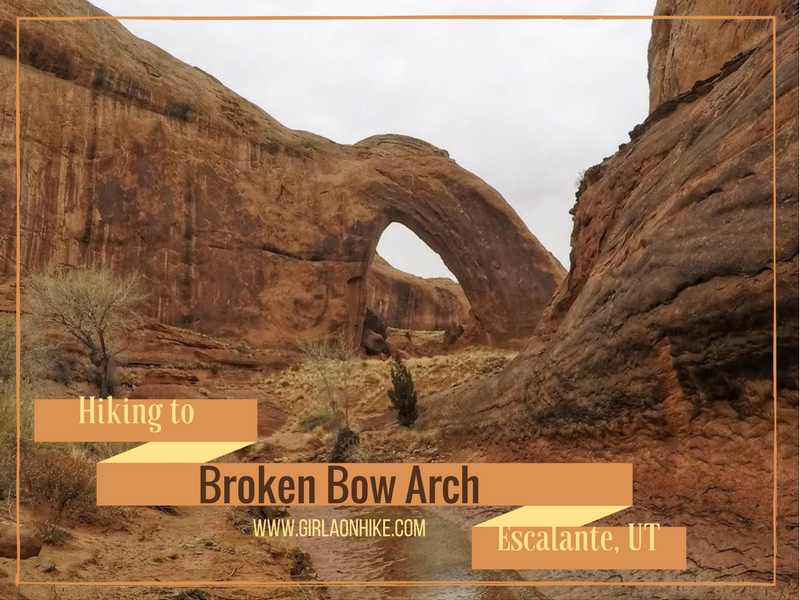
As you turn the corner, BAM! You’ll see Broken Bow Arch.
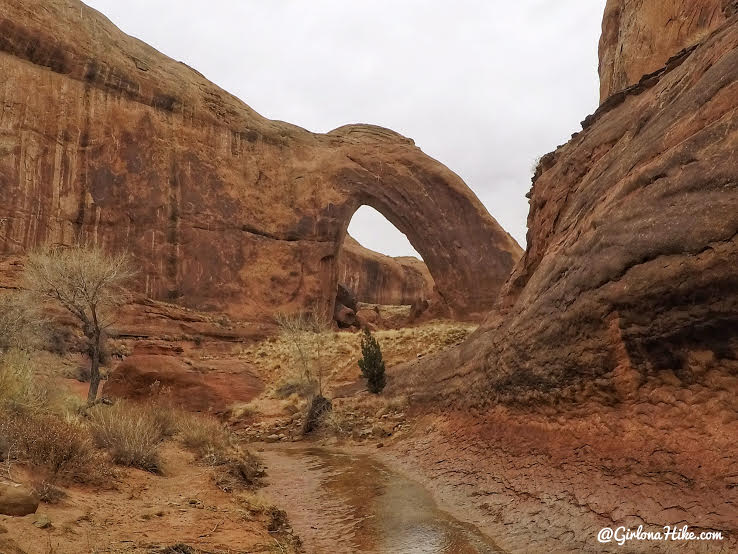
You can just walk in the shallow stream of off to the side once again. Follow the trail across the stream to get to the top of the mini mesa to have the best view.
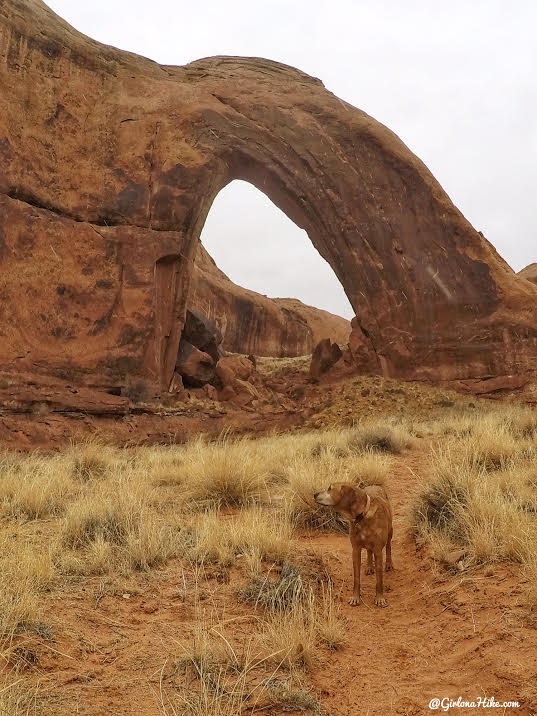
WOW! This arch is huge.
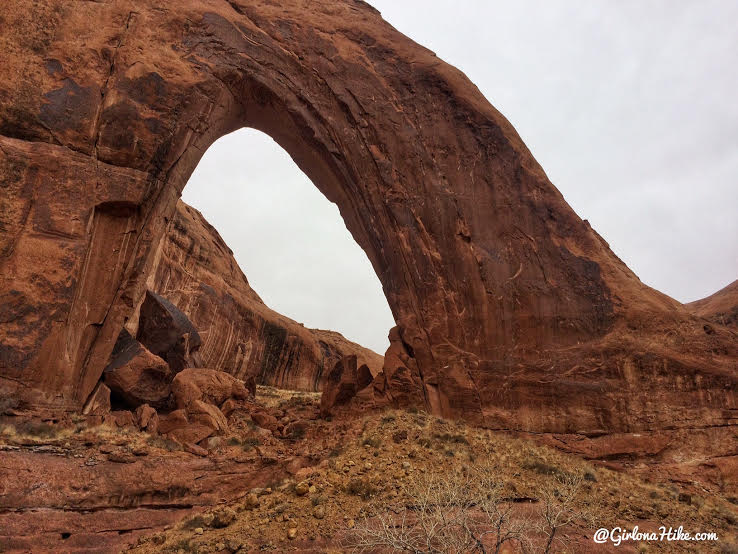
The sides are really thick, and dark brown. You can get to the other side of the arch as well, by hiking below it, then up and around to the back.
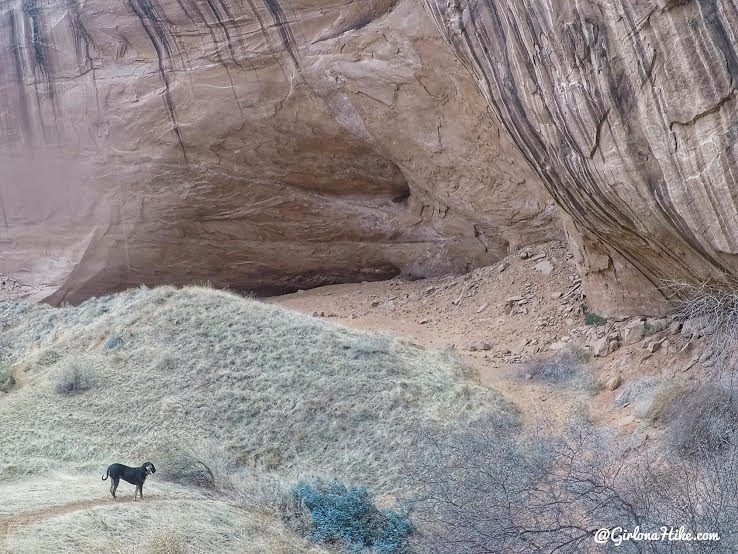
I headed over to the alcove, where it would be a perfect camp site.
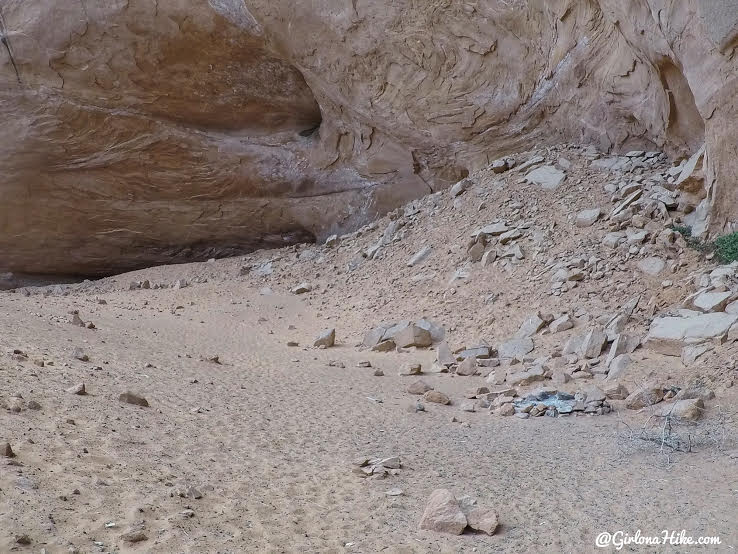
Plenty of space for up to 8-10 tents and shelter from the rain.
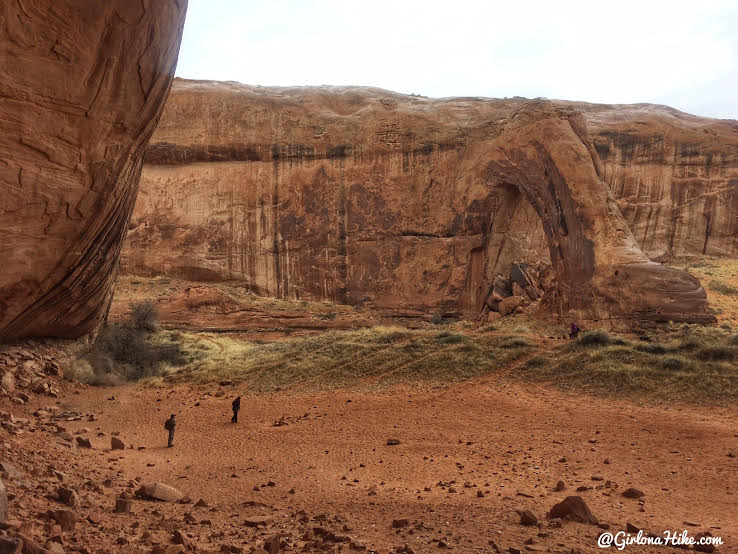
At the top of the alcove, looking back to Broken Bow.
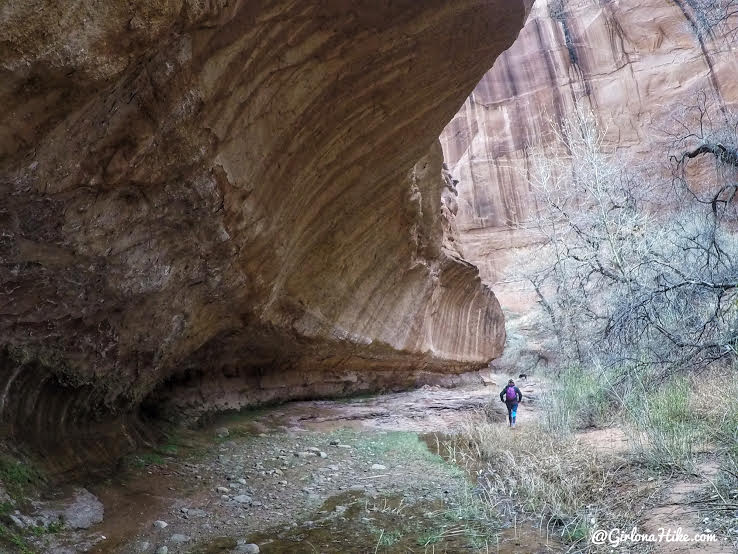
We decided to hike under the arch.
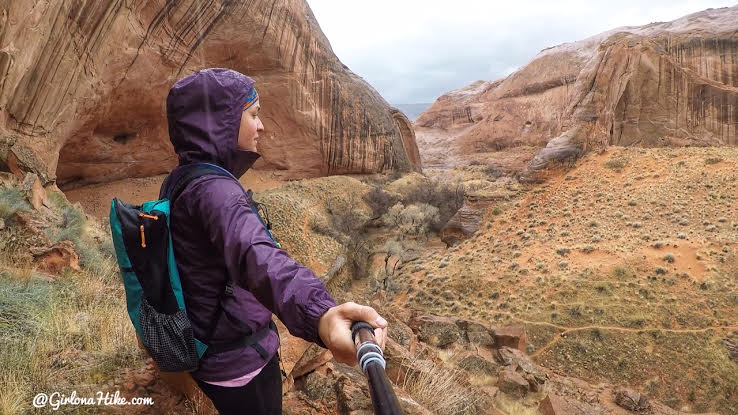
Exploring the area – the rain was starting to come down a little harder now. I knew we had to hurry and get out.
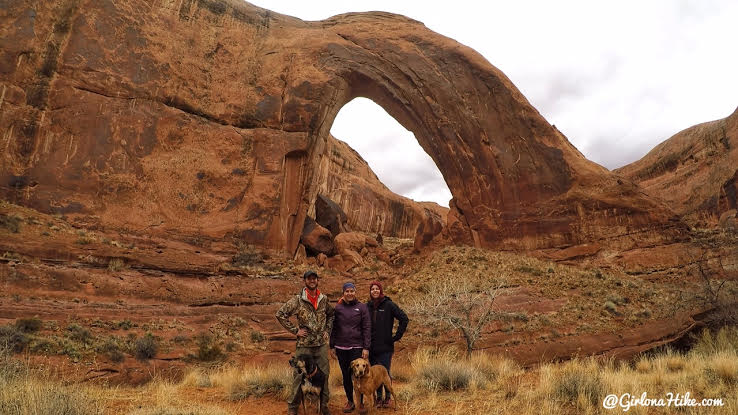
This arch was awesome! I would definitely come back, but turn it into a backpacking trip and head down Fortymile Gulch.
Trail Map
My track via Gaia GPS – the best tracking app! Get your app here for a discount.
Recommended Gear
Nearby Hike
Spooky & Peekaboo Slot Canyons

Save me on Pinterest!
