
Exploring Dutchman Arch & Head of Sinbad Pictographs – San Rafael Swell, Utah
Located in the heart of the San Rafael Swell, the Dutchman Arch and Head of Sinbad Pictographs are two fascinating sites rich in natural beauty and cultural history. While both are surprisingly close to I-70—just about 1/4 to 1/2 mile north—the drive requires a high-clearance 4×4 vehicle due to sandy and rough road conditions.
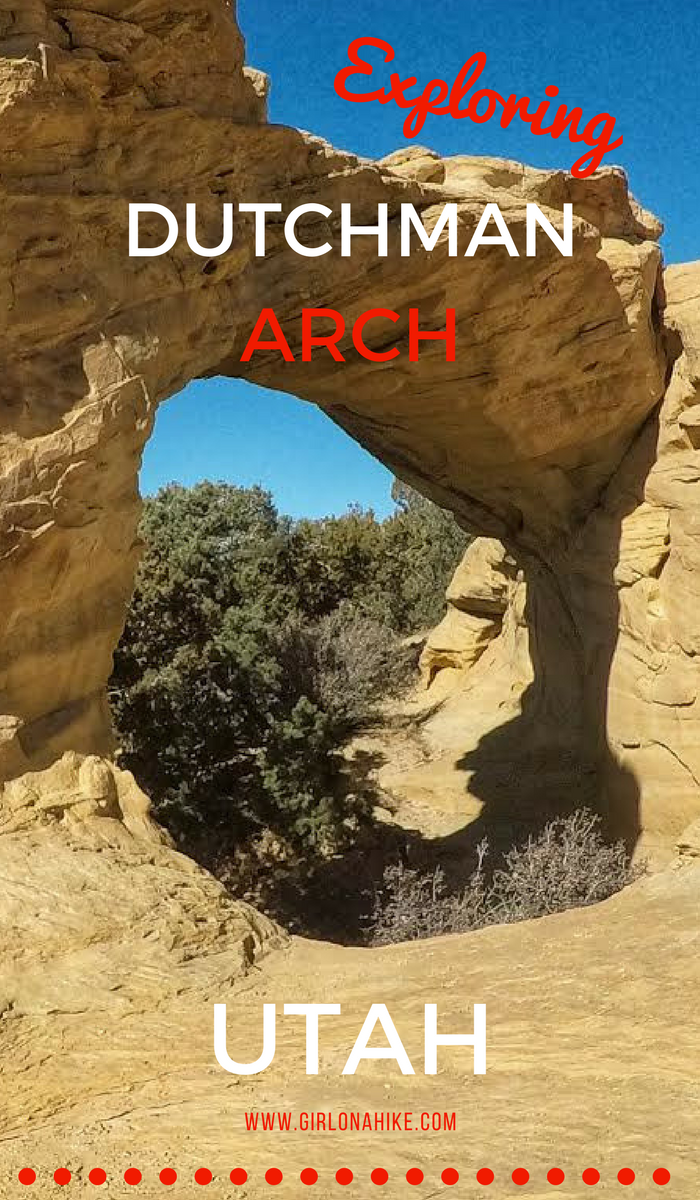
Dutchman Arch
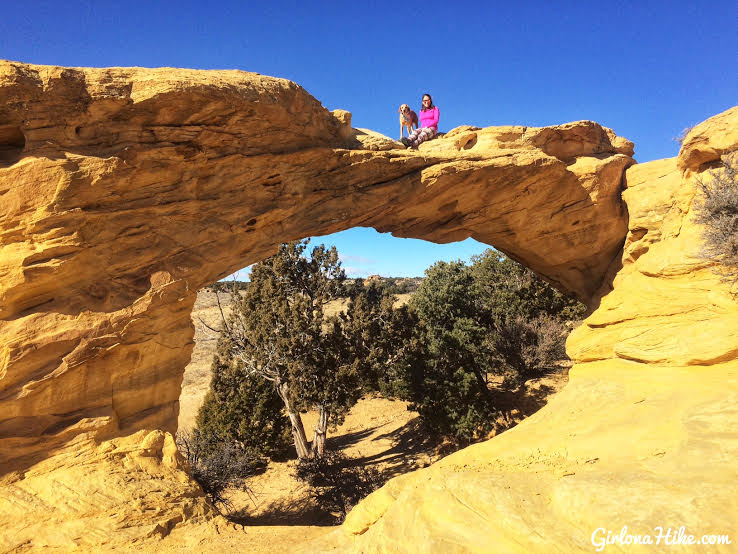
Dutchman Arch is a surprisingly large natural sandstone arch and a great spot to explore with dogs or kids. There’s no hiking required—you can drive right up and park on either side of the arch, making it an easy and scenic stop for families or those short on time.
About the Head of Sinbad Pictographs
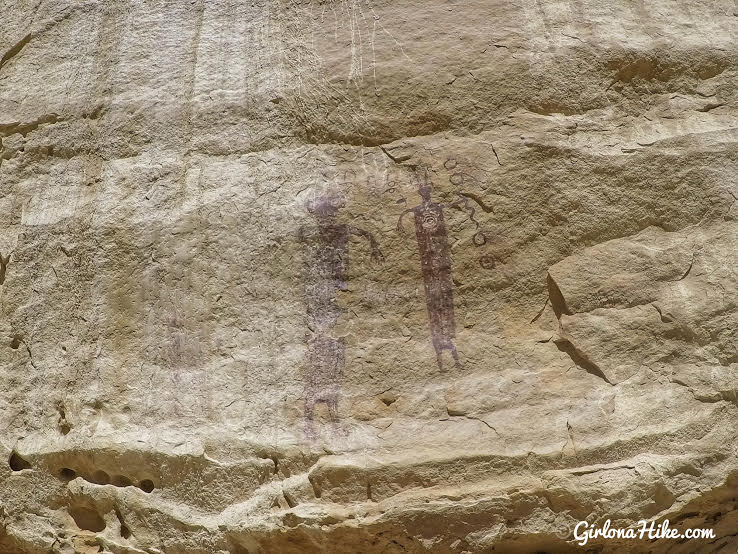
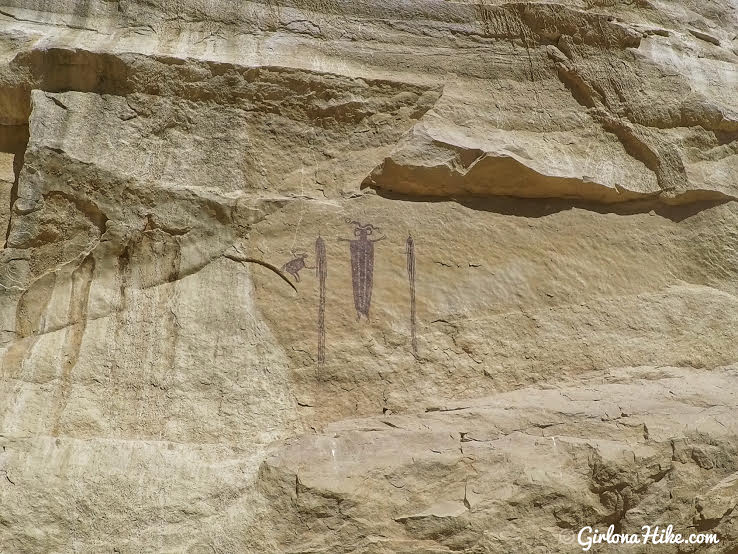
Also known as Locomotive Point, the Head of Sinbad Pictographs are two large Barrier Canyon-style images painted high on the sandstone wall. These striking Kachina-like figures include one holding a snake in its hand and another with a snake near its mouth. The figures appear to be in motion, possibly dancing, which may indicate a ceremonial scene such as a snake dance.
This interpretation is reminiscent of the Hopi Snake Dance, where snakes are believed to be spiritual ancestors. During this ritual, participants carry snakes by hand—and even in their mouths—as a sacred offering.
Directions to Dutchman Arch & Head of Sinbad
🚗 Important: A 4×4 vehicle is recommended due to deep sand and possible wet areas.
From I-70, take Exit 131.
Drive under the highway and head east on Temple Mountain Road for 5 miles.
Turn right at the sign for “Head of Sinbad”.
Continue for 1 mile. After passing a pond on your right, you’ll reach a T-intersection—turn right.
You’ll then come to a Y in the road—stay right. This road leads you through a viaduct under I-70, which has a cement bottom but can be very sandy or muddy, especially after recent storms.
⚠️ When we visited, there were about 6 inches of loose sand in the viaduct, making the crossing tricky even with 4WD. Use caution and avoid after heavy rain.
To Reach the Head of Sinbad Pictographs:
After exiting the viaduct, stay right/straight.
Look for a connecting road on your left—this road leads to Dutchman Arch.
To see the pictographs, stay right at the next fork.
Look for a brown post marked “Trail 644” and turn right.
To Visit Dutchman Arch:
Return to the previous fork and take the road that veered off to the left. Continue to Dutchman Arch, where you can park and explore.
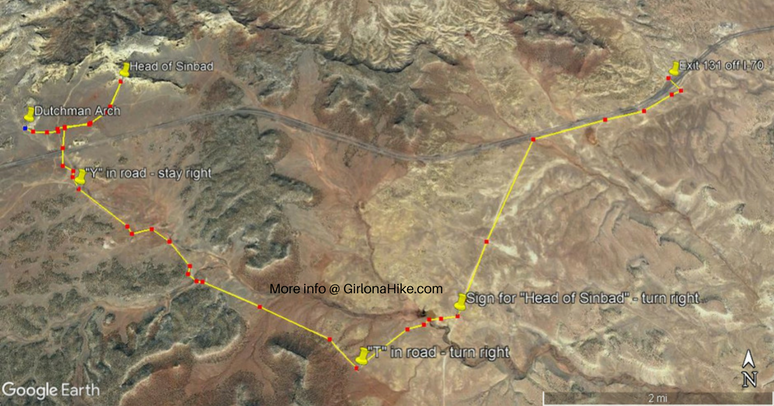
Here’s a screen shot of the map, since Google Maps doesn’t understand how to drive off road. I highly recommend that you get this Utah Benchmark Map – it’s super detailed and accurate. Make sure you have plenty of water, food, and gas – there are no services for miles.
Trail Info
There is no hiking – simply park and walk up to both Dutchman Arch and Head of Sinbad.

There’s only one sign for the Head of Sinbad. The next signs will be for Dutchman Arch, but no more for Sinbad.
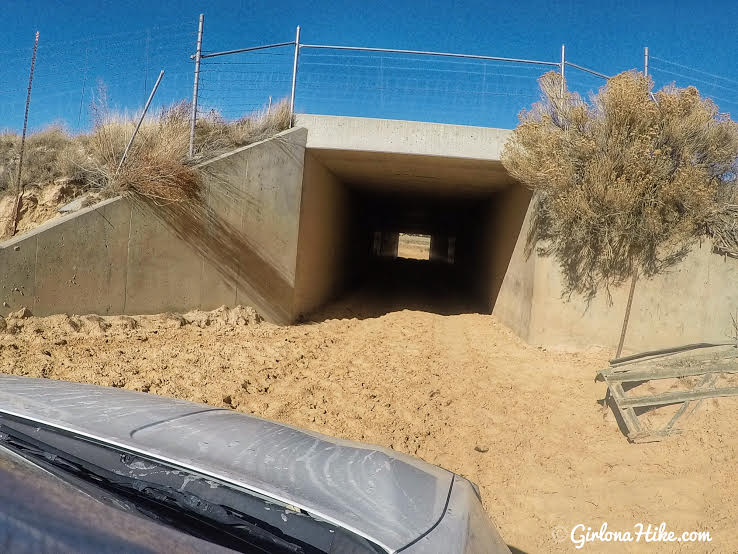
Driving through the viaduct eeek! It was a little scary since our car started to slow down and tires spun in the thick sand. Small cars will definitely NOT make it through. Make sure at a minimum you have 2WD. We have a Rogue and it (barely) made it! After you exit the viaduct the road immediately splits, but the left road was completely washed out with 4-5 foot drops, so we had to take the round-a-bout way to get there (which I have described in my directions).
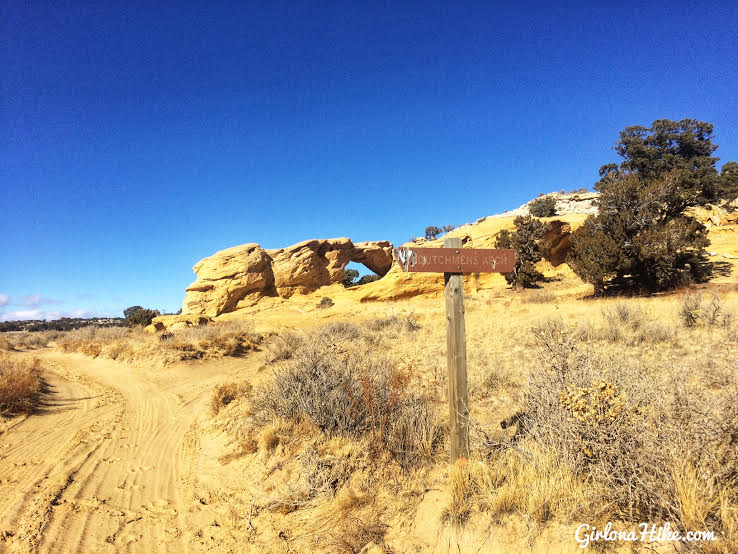
Driving up to Dutchman Arch.
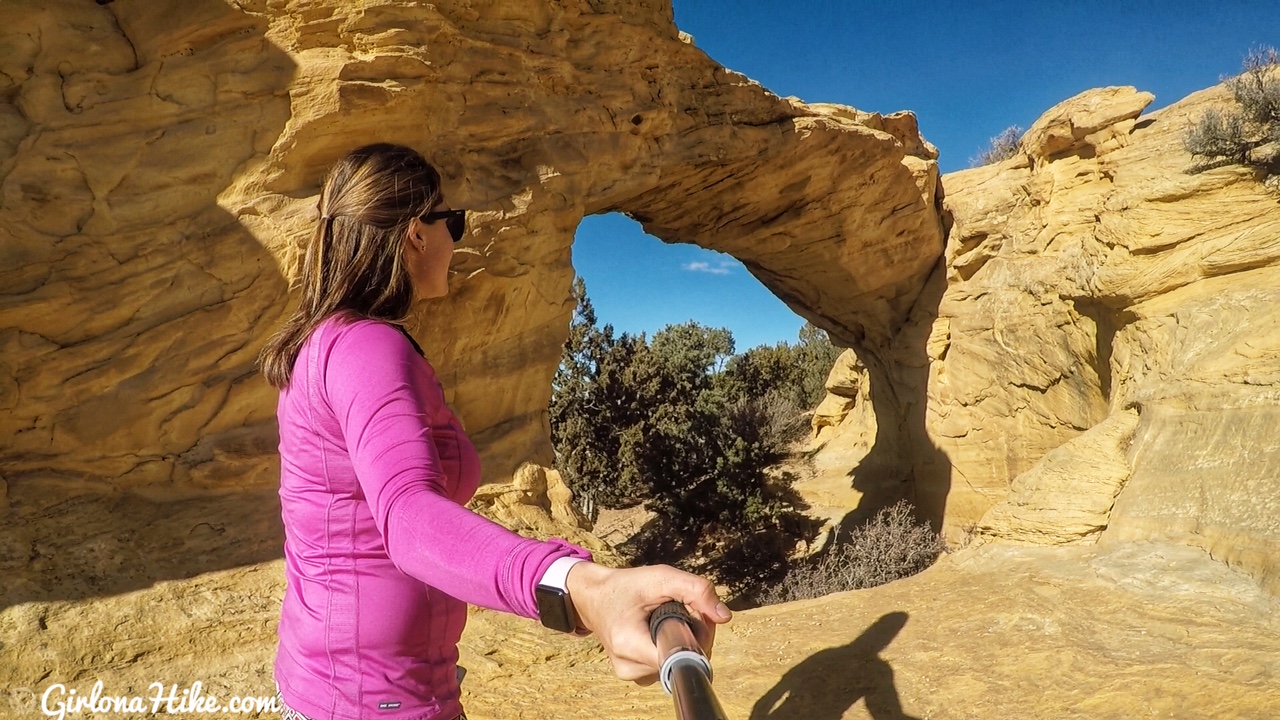
What a cool arch!
It’s hard to tell but the thickness of the top of the arch is about 5-6 feet.
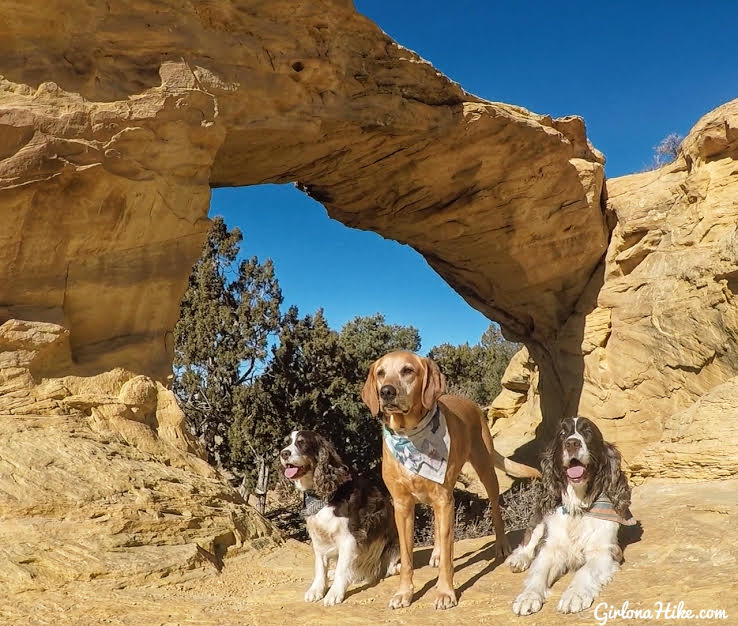
Posing for us dog moms!
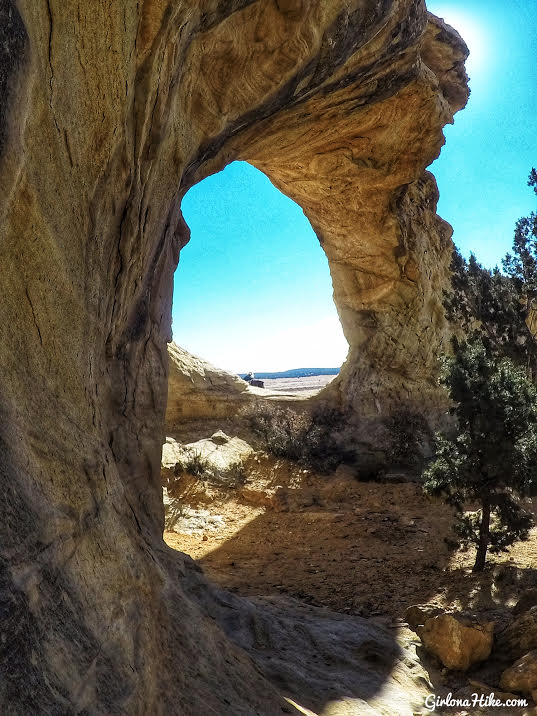
Dutchman Arch from another angle.
Head of Sinbad
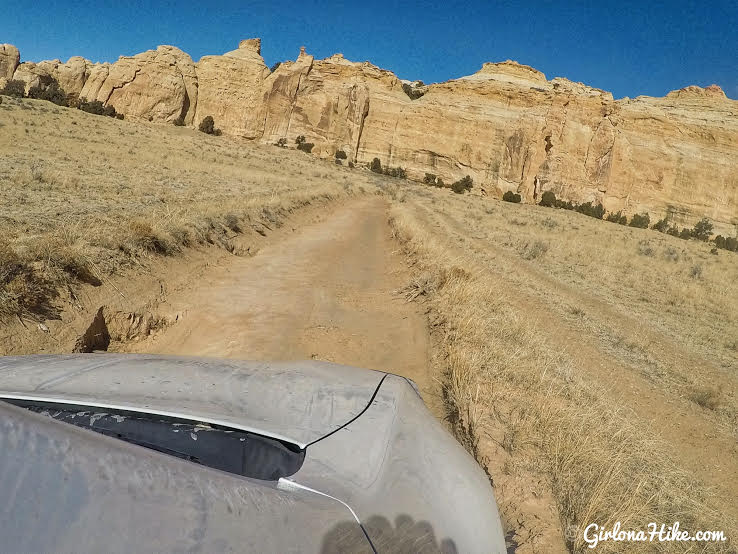
The road leading to Head of Sinbad is very rutted out, but as long as we stayed high on the right side (super tilted as you can see), we made it. Towards the very end of the road it drops about 3 feet into a ditch, so it’s actually easier to drive up on the right side where you can see the faint tire tracks. If your car can’t make it very far, you can also park at the turn off and just hike the rest of the way.
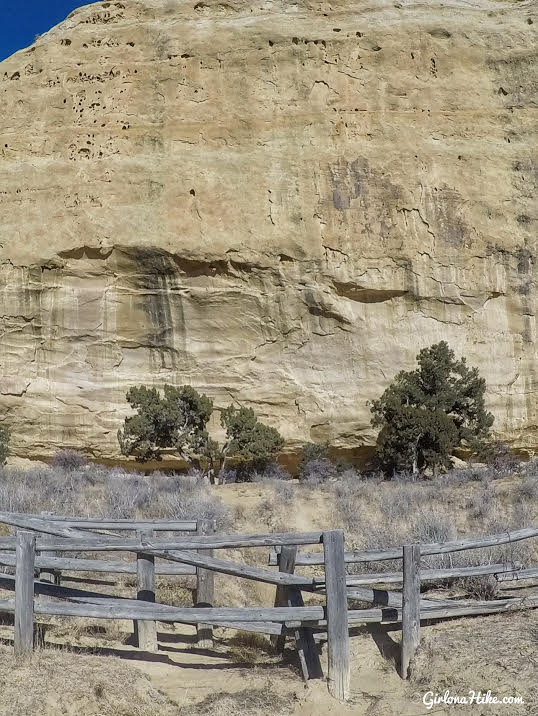
The road ends in a loop, and all you need to do is walk through the fence then look for the images.
Surprisingly, both images are quite high up the rock. I was amazed at how dark these pictographs were compared to it’s neighbor, The Lone Warrior.
No trail map – just drive and see.
Nearby Hike
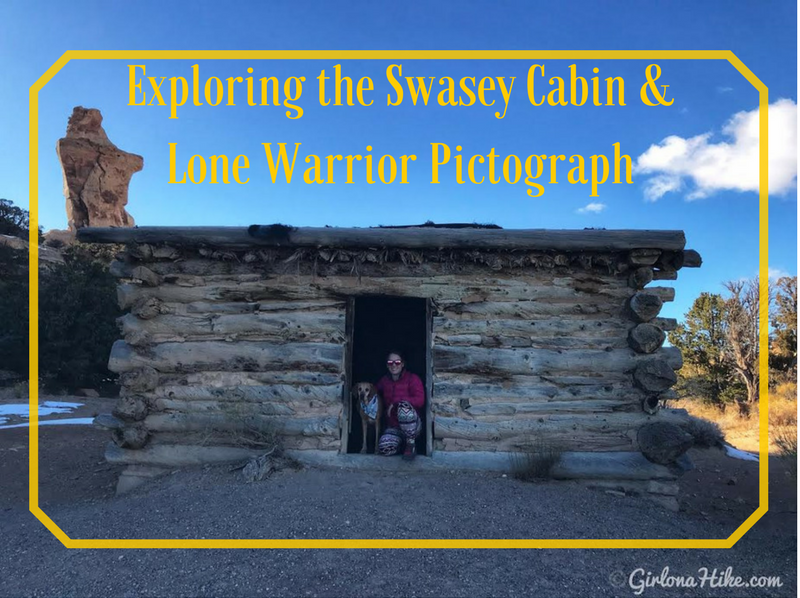
Exploring the Swasey Cabin & Lone Warrior Pictograph


Save me on Pinterest!