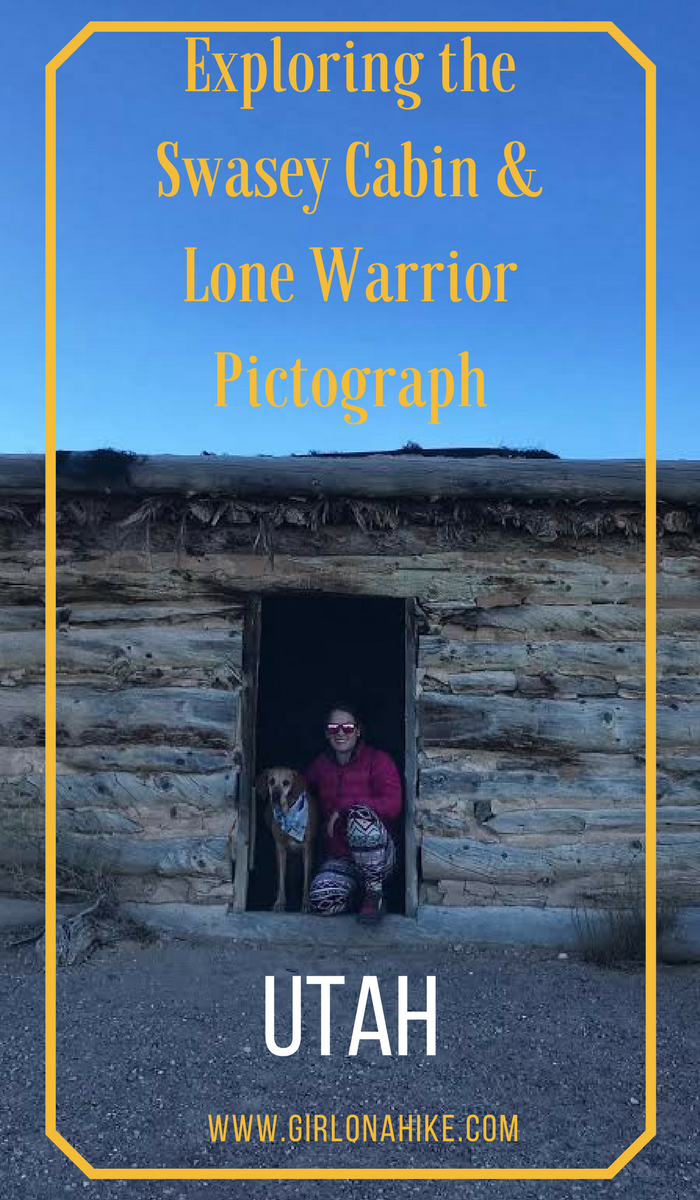

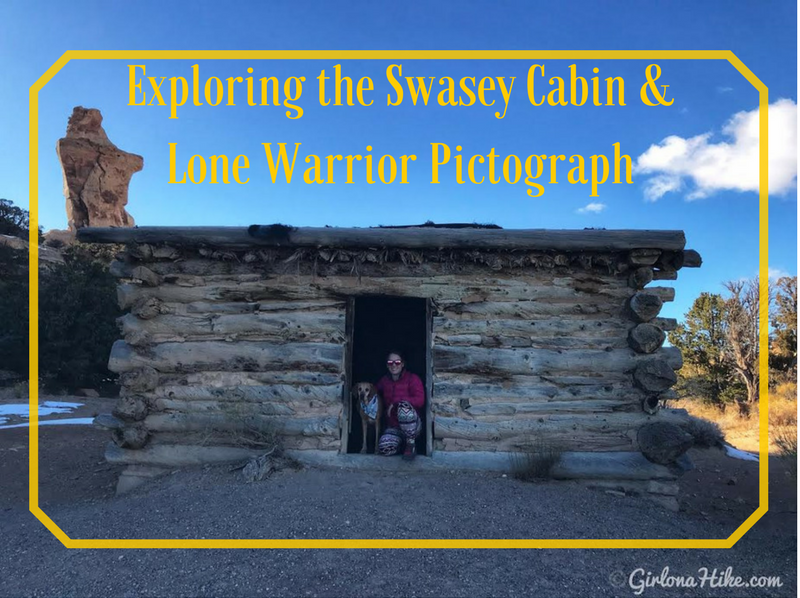
Exploring the Swasey Cabin & Lone Warrior Pictograph – San Rafael Swell, Utah
Located in the San Rafael Swell, just west of Green River, Utah, the Swasey Cabin and Lone Warrior Pictograph are two historical gems worth exploring. This area is rich in both outlaw history and ancient Native American rock art, making it a fascinating stop for hikers, history buffs, and off-road adventurers alike.
A Glimpse into Wild West & Native History
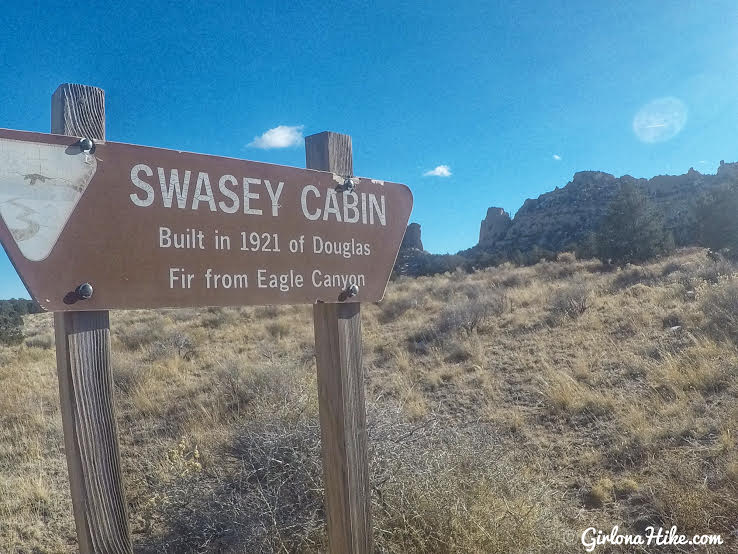
The Swasey Cabin was built in 1921 using Douglas Fir logs and served as a home for Joseph Swasey and his family. They lived and worked in the rugged terrain known as the “Heart of Sinbad Country”, raising livestock and farming the land. The site is maintained by the Bureau of Land Management (BLM) and offers a glimpse into early pioneer life in the Utah desert.
Nearby, you’ll find the Lone Warrior Pictograph, a striking piece of Barrier Canyon-style rock art. The main figure—a single warrior holding a shield—is painted on a sandstone wall not far from the road. While there are a few other faded pictographs in the area, the Lone Warrior stands out clearly, making it a quick but worthwhile stop.
How to Get There
🚗 High-clearance vehicle recommended
📍 Located off Temple Mountain Road in the San Rafael Swell
Step-by-Step Directions:
From I-70, take Exit 131.
Drive under the highway and head east on Temple Mountain Road for 5 miles.
Turn right at the sign for “Head of Sinbad”.
Drive another 1 mile and pass a pond on your right.
At the T-intersection, turn right.
When you reach a Y in the road, stay left—this leads to both the Lone Warrior Pictograph and Swasey Cabin. The cabin parking area will be on your left with a port-a-potty.
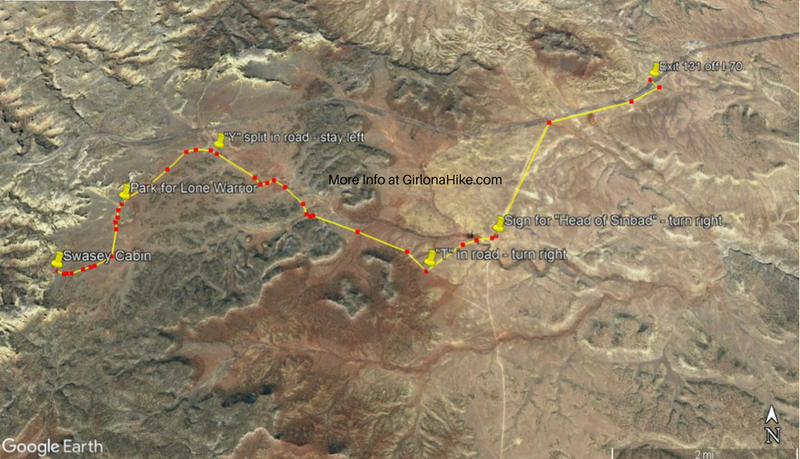
Here’s a screen shot of the map, since Google Maps doesn’t understand how to drive off road. I highly recommend that you get this Utah Benchmark Map – it’s super detailed and accurate. Make sure you have plenty of water, food, and gas – there are no services for miles.
Trail Info
(For Lone Warrior)
Distance: 1 mile RT
Elevation gain: flat
Time: 1 hour
Dog friendly? Yes, off leash
Kid friendly? Yes
Fees/Permits? None
Visiting the Lone Warrior Pictograph
Shortly after staying left at the Y, the road curves south and you’ll spot a brown BLM sign for Lone Warrior on your right. Park here and begin the 1-mile round-trip walk along a sandy, washed-out dirt road. A Razor or ATV might make it through, but most vehicles won’t due to deep sand and erosion.
The pictograph features a solitary warrior figure holding a shield, painted high on a rock face. Although other figures are nearby, they are very faded and difficult to distinguish.
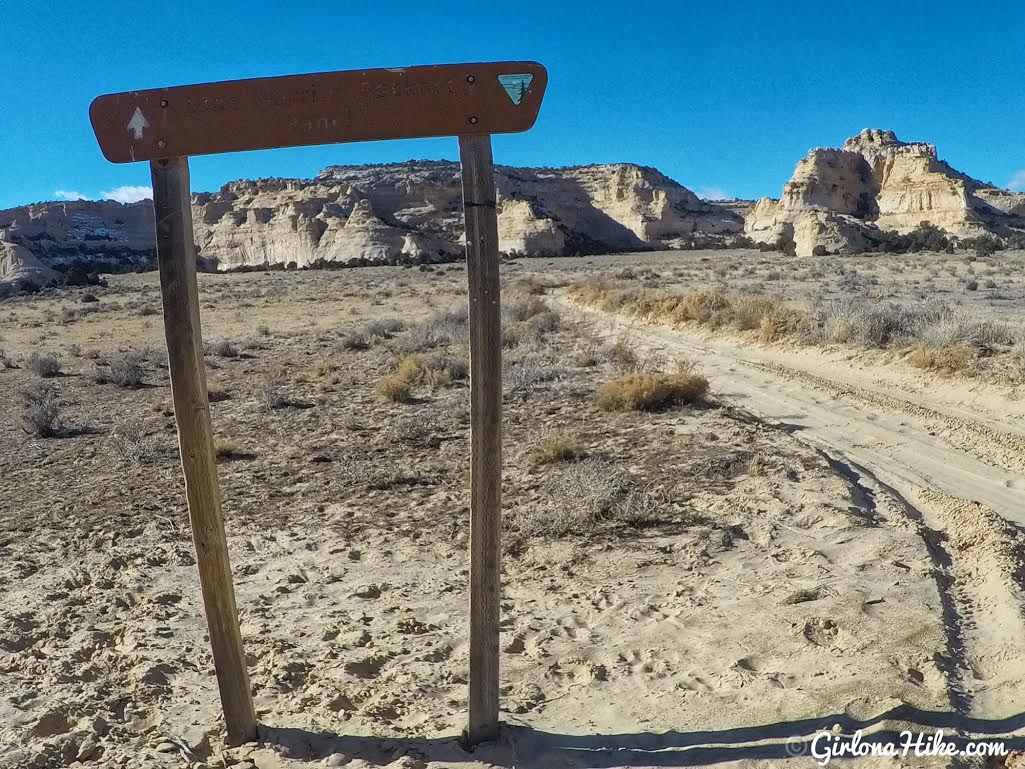
The hike to see Lone Warrior starts off the road on the right side by this tall brown BLM sign. The words are very faded, but this is the right spot. Park here, and begin walking along the road.

It’s really soft sand, but after recent storms could be extremely muddy.
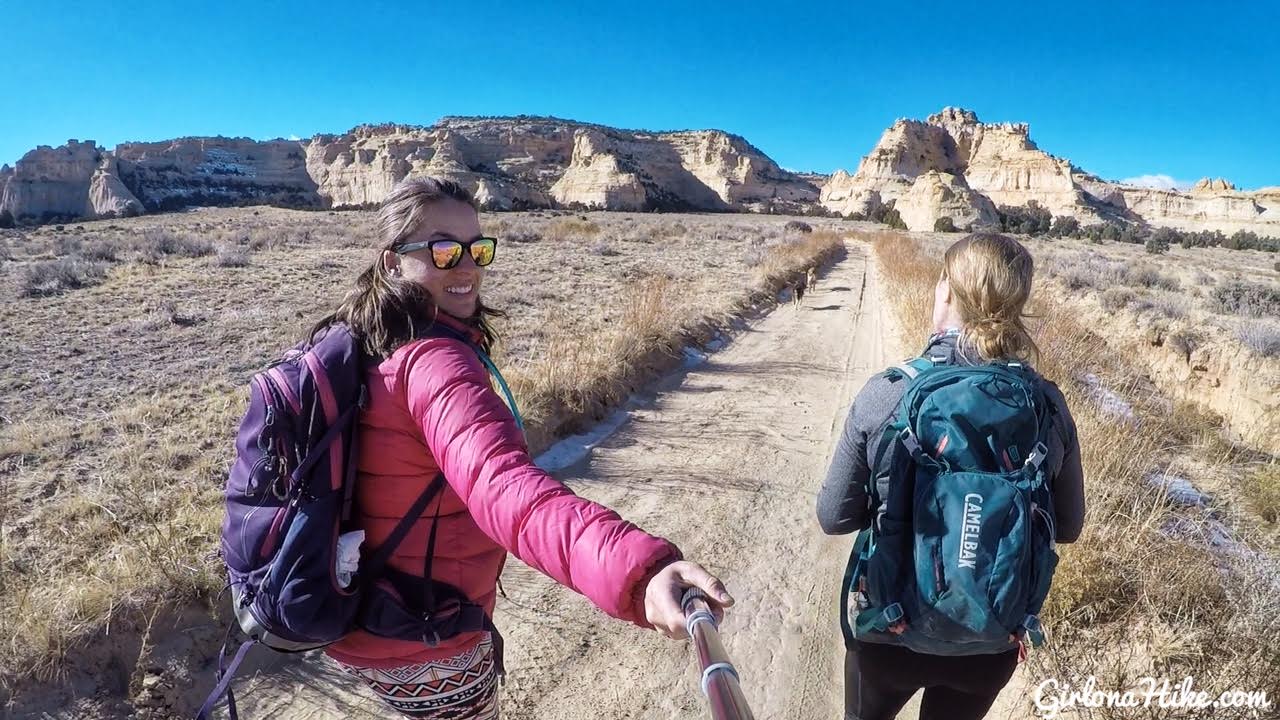
Even though we had blue skies and slightly warmer temps than in SLC, it was still chilly enough to wear a puffy. What a gorgeous day!
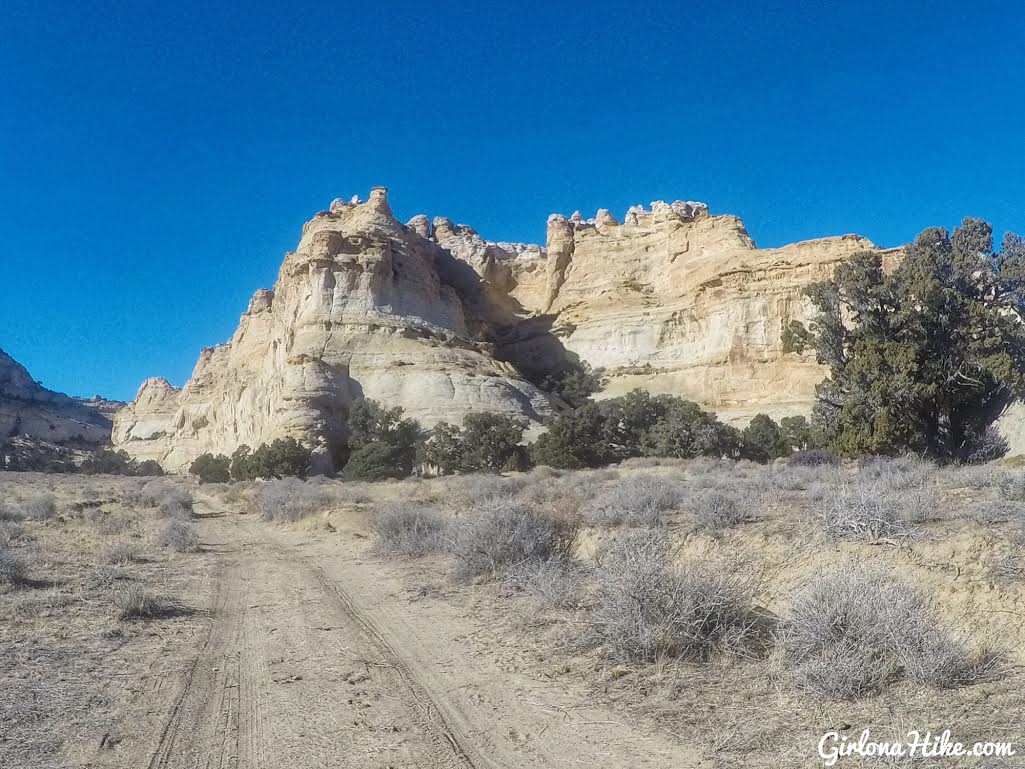
Continue following the road to this temple-like rock.
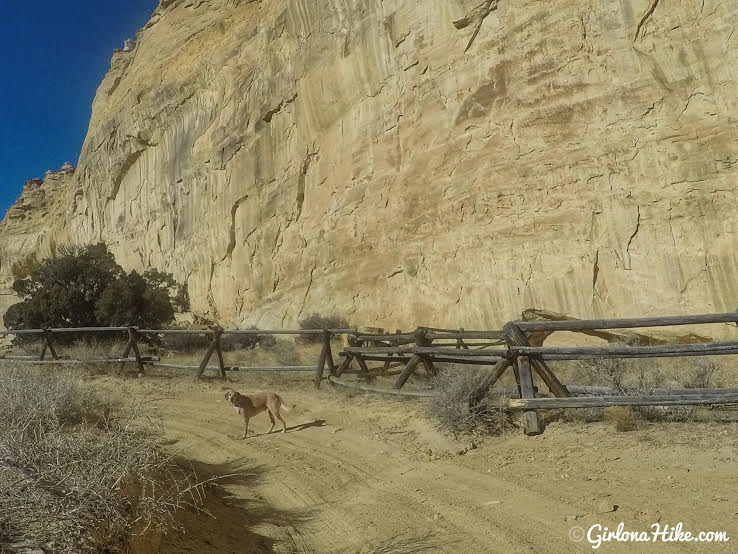
At the end of the dirt road, it makes a loop and the first very faded image is on the right side, beyond this fence.
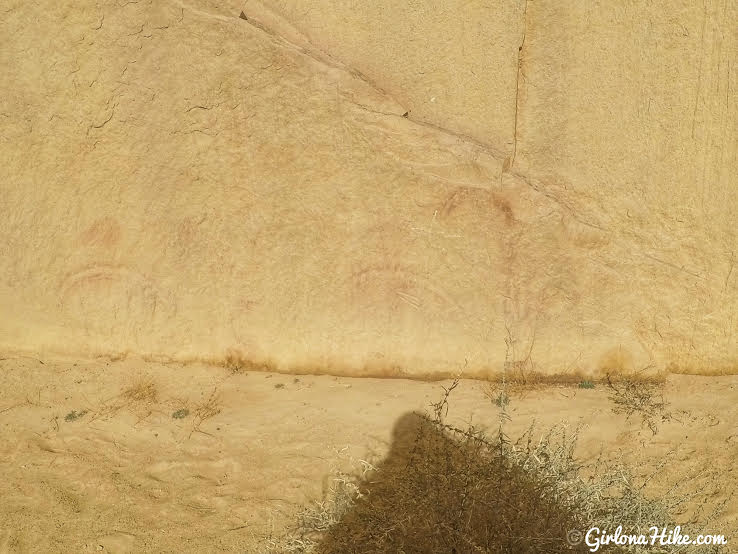
Can you see it? The light red looks like two small half circles, with a head above each.
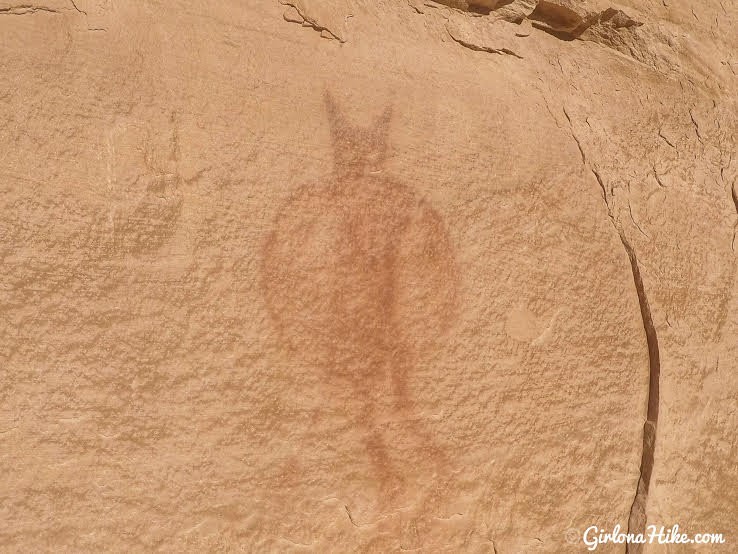
Make your way to the next fence area, just to the West, and you’ll see the Lone Warrior. I had to do some slight editing on this photo to make the image stand out more.
Touring the Swasey Cabin
To reach the Swasey Cabin, continue driving south from the Lone Warrior parking area. Look for a sign marking the turnoff to the cabin and turn right. Drive about 1 mile farther to a small parking area with a port-a-potty.
The cabin is easily accessible and surrounded by scenic views, making it a great spot for photos and a picnic. There’s no hiking involved, and it’s a fun place to explore with kids or dogs.
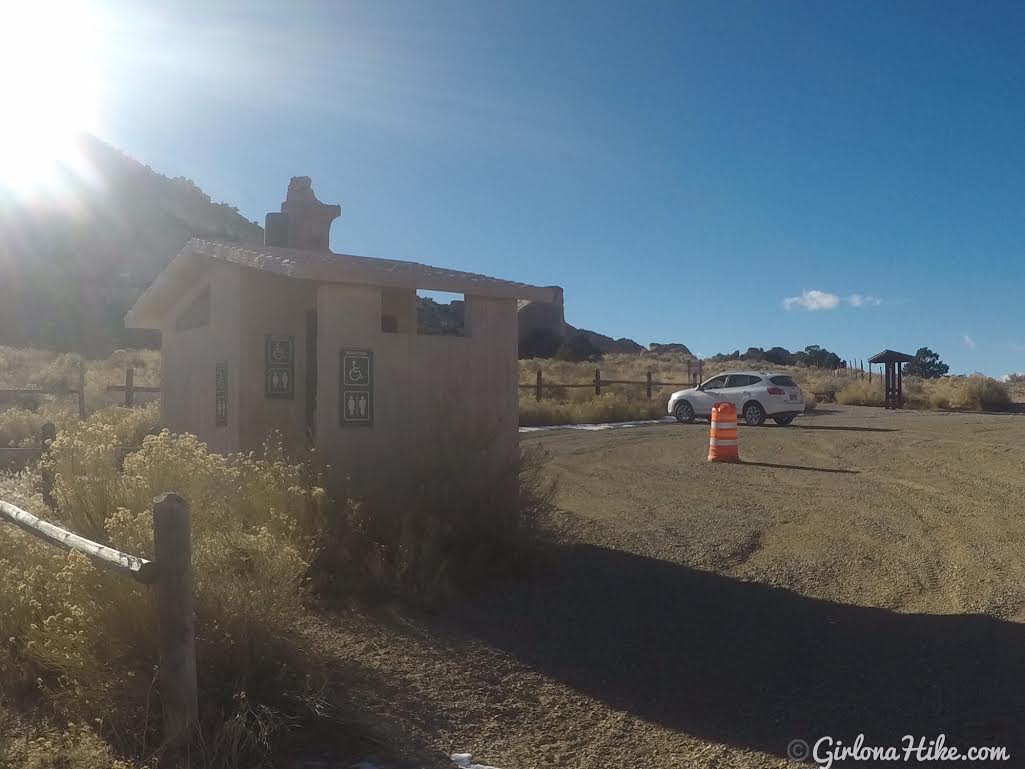
The parking area for the cabin is quite large, and has info signs on the area. If we had more time, we would have liked to hike to Eagle Canyon Arch, but we had other places to visit.
There is a TH register and large sign at the parking lot.

Do you think dogs had previous lives? I could totally imagine Charlie being a ranch dog.
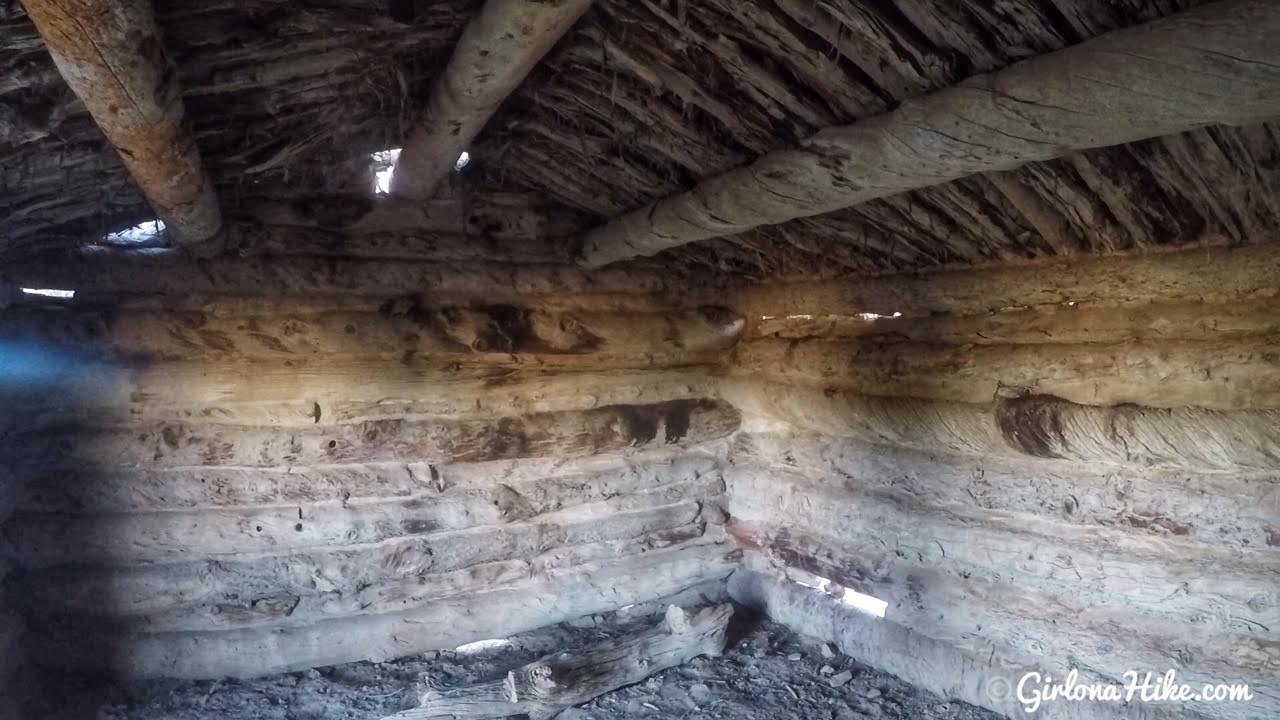
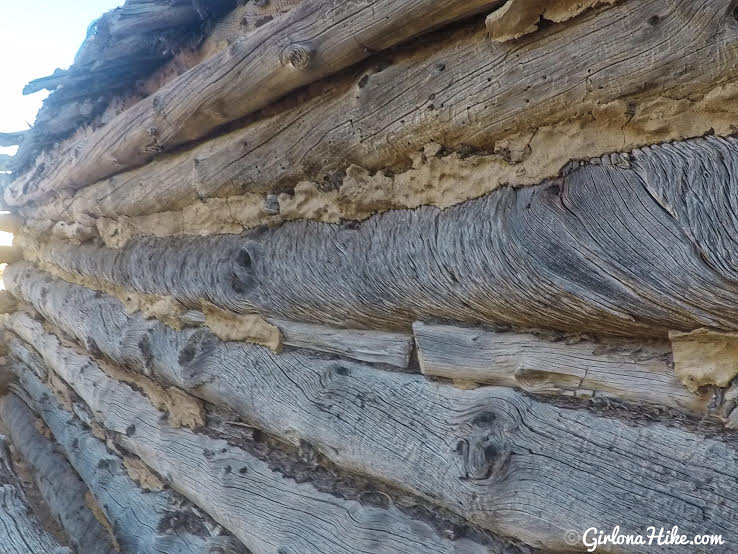
The cabin is the typical 12 X 12 feet size that was required by the Homestead Act. Whether any work has been done to keep it in good condition or not is unknown, but it seems to be doing well for being more than 100 years old. The roof is made from Utah Juniper trees that appear to be more recently placed. The BLM has done a great job of keeping this site clean and accessible to everyone, strollers included.
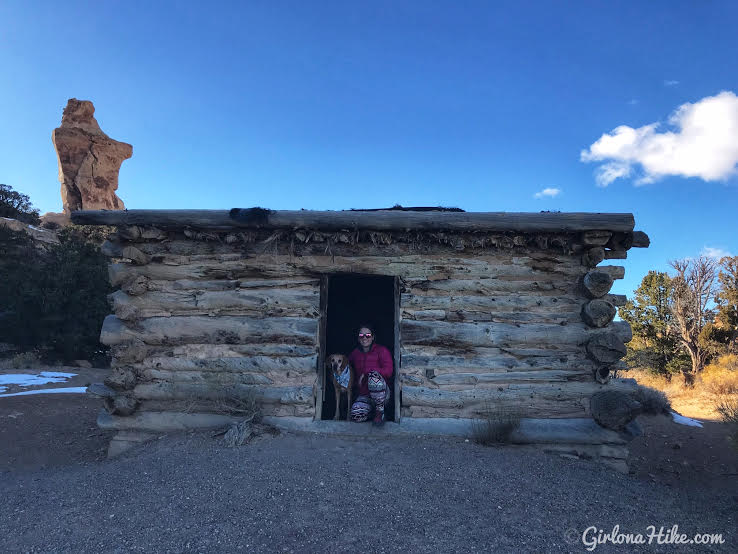
The Swasey Cabin is really cool to explore!
Trail Map

Save me on Pinterest!