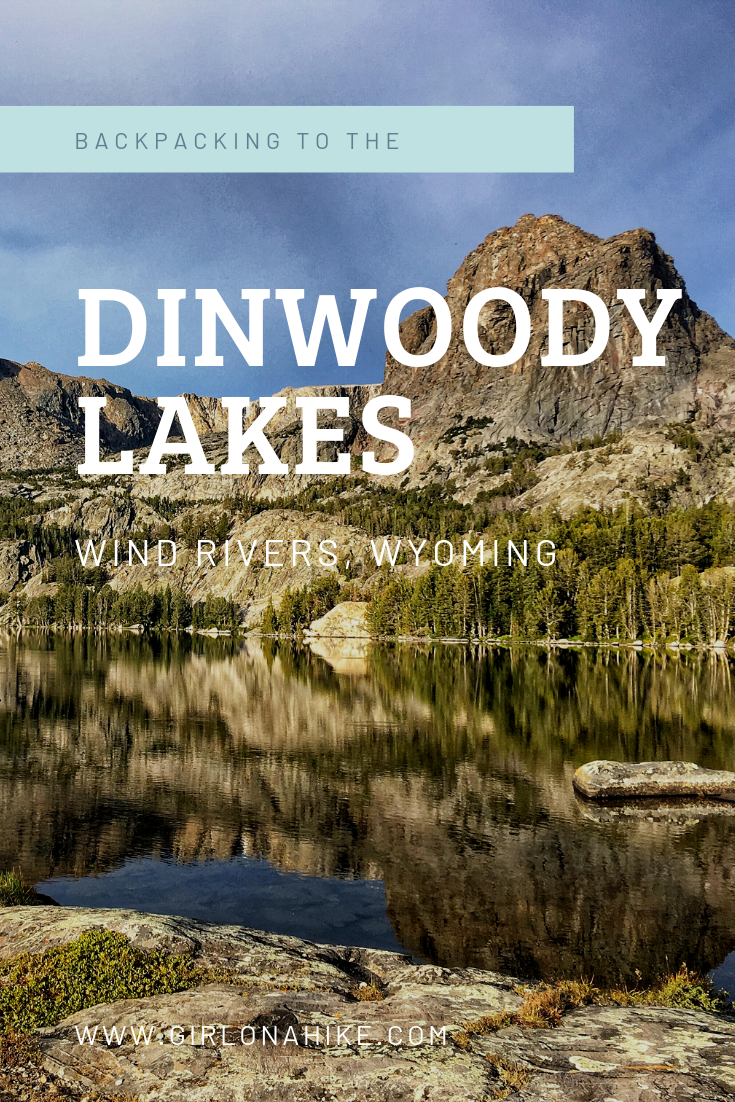

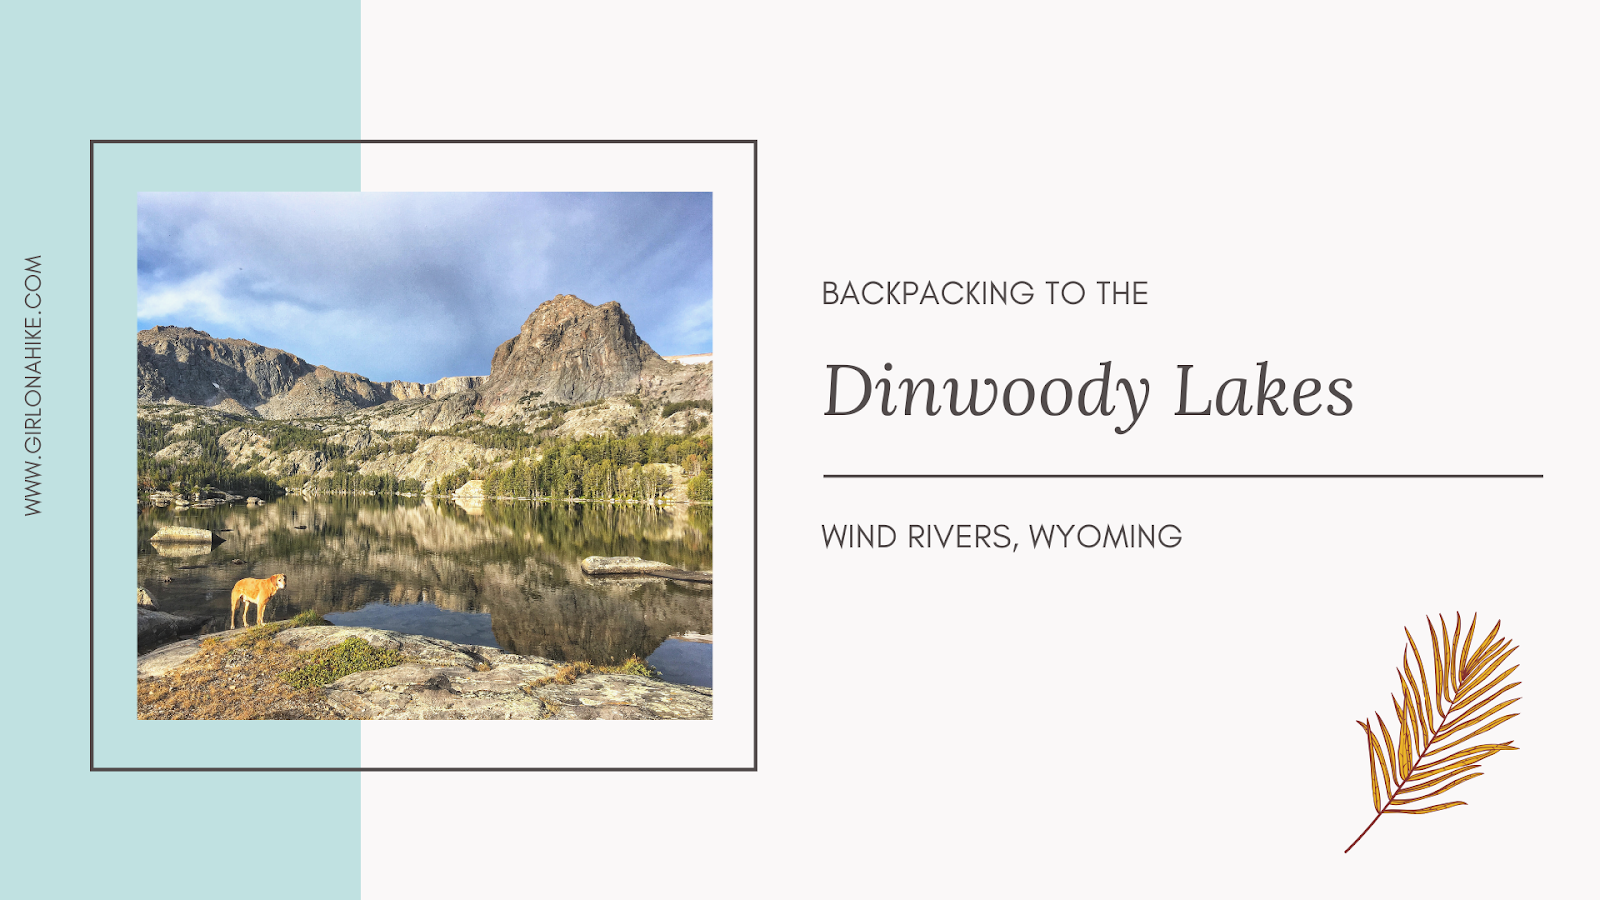

The Dinwoody Lakes area is located in the Wind River Range, and is a popular area for backpackers.
About
Overview of the Glacier Trail and Dinwoody Lakes
The Glacier Trail is a popular route that serves as the trailhead for three significant areas: Bomber Basin, Whiskey Mountain, and Ross Lake, and also provides the Eastern approach to Gannet Peak, the highest point in Wyoming. This trail is the primary starting point for backpackers heading towards the base of Gannet Peak, which lies about 25 miles away. Since the trail to Gannet Peak is long, Dinwoody Lakes makes an excellent spot to camp on the first night, located roughly halfway in at 11 miles from the main trailhead.
Base Camping at Dinwoody Lakes
During our trip, we changed our route and set up a base camp at Double Lake, one of the Dinwoody Lakes. We spent three nights here, enjoying the peaceful surroundings and beautiful scenery. Dinwoody Lakes consists of several lakes, including Double, Lower Phillips, Upper Phillips, Florence, Golden, and a few unnamed lakes. The area is perfect for base camping, offering opportunities for day hikes, fishing, and enjoying the stunning surrounding peaks. At an elevation of 9,900 feet, Double Lake is considered a lower elevation for the Wind River Range, making it warmer than many of the higher-altitude areas in the region.
Exploring the Glacier Trail Routes
The Glacier Trail has two main routes: the New Glacier Trail and the Old Glacier Trail.
-
The New Glacier Trail, established around 2005, includes improvements like a sturdy bridge over Torrey Creek, easier access to Arrow Mountain and the pass, and a longer section along the creek, which provides better water access.
-
The Old Glacier Trail, primarily used for equestrian access, is also open to hikers. It offers a more rugged experience but lacks some of the conveniences found on the newer trail.
Read on for the pros and cons of each trail to decide which one is best for your adventure.
Wildlife and Safety Tips
Although the Glacier Trail area is popular, it is still home to a variety of wildlife. Be sure to follow proper bear safety protocols, including storing food securely and taking necessary precautions to protect yourself in bear country.
Directions
Take I-80 East all the way to Rock Springs, WY. Head North on HWY 191 towards Farson, WY. In Farson, turn right on HWY 28. Near Lander, WY this will turn into HWY 287. About 3 miles before Dubois, WY turn left on Trail Lake Road (you will see a brown sign). Follow this road until you reach the end of the road, which is 9 miles of a well-graded dirt road. Here’s a driving map.
Trail Info
Distance: 20 miles RT
Elevation gain: Roughly 3,000 ft
Time: 2 nights minimum
Dog friendly? Yes, off leash
Kid friendly? No
Fees/Permits? None
Frequently Asked Questions (FAQs)
When is the best time to visit the Wind Rivers?
The best months to visit the Wind Rivers are typically late July, August, and early September. However, snowpack can affect trail accessibility. In high snow years, trails may remain inaccessible until August, while in low snow years, you could start hiking as early as June. To stay informed, contact the Shoshone National Forest Service for updates on snowpack levels and fire alerts. Keep in mind that thunderstorms and afternoon showers are common in summer, and snow is always a possibility at this elevation. Be prepared for rapidly changing weather conditions.
How difficult is backpacking in the Wind Rivers? Is it suitable for kids?
Backpacking in the Wind Rivers can be challenging, depending on your experience, fitness level, pack weight, and weather conditions. While there are no technical sections, the terrain includes climbs over passes, depending on your chosen route. If you’re new to backpacking, it’s best to have a few trips under your belt and be comfortable carrying 30-40 lbs for extended periods. Lighter packs make the hike easier, so remember: More weight = harder hike.
Can I bring my dog?
Yes, dogs are allowed off-leash, but always carry a leash in case you encounter wildlife. Your dog should be fit enough to handle long distances and rocky terrain. While you are not required to pack out dog waste, remember that the Wind Rivers are grizzly bear territory. Food storage regulations apply, including for dog food. Learn how to Get Your Dog Ready for their First Backpacking trip and make sure they have their own Doggie first aid kit.
What is the elevation gain like?
The elevation gain varies depending on your route and daily mileage. The Glacier Trailhead starts at 7,800 feet, and the highest point on our route reached approximately 10,700 feet. Altitude sickness is a real risk, so be sure to understand its symptoms and take precautions.
What are the backpacking regulations in the Wind Rivers?
Here are the key backpacking regulations to keep in mind:
-
Groups of 15 or fewer are allowed.
-
No camping within 200 feet of any water source or trail.
-
No biking or motor vehicles.
-
Fireworks are prohibited.
-
Food storage is mandatory in the backcountry.
-
No permit is required for backpacking.
Are there food storage requirements?
Yes, as of 2017, the Bridger-Teton National Forest has implemented a Bear Safety and Food Storage Order. You must either hang your food properly or use a bear canister. It’s also recommended to carry bear spray at all times for added safety.
How is the water situation along the trail?
The New Glacier Trail has ample water sources from lakes and streams. Bring a reliable water filter like the Sawyer Mini or Platypus Gravity Filter. However, if you take the Old Glacier Trail, be aware that there are no water sources for the first 8 miles.
How bad are the mosquitoes?
Mosquitoes are most problematic until mid-August, with their numbers decreasing after that. The level of mosquitoes depends on the year’s water levels, so be prepared to carry 100% DEET for protection. For extra precaution, apply Permethrin by Sawyer to your clothing (outside, while hanging), allowing two coats to dry before applying the second.
What guidebook or map do you recommend for the Wind Rivers?
We recommend the “Wind Rivers Topographic Map – Northern Half“. It’s a detailed and reliable map for navigating the area.


Driving past Torrey Lake on a well-graded dirt road, offering beautiful views of the surrounding landscape

Last stretch of the road to the Glacier Trail TH! Gorgeous!

We didn’t check the trailhead (TH) signs until after our hike… keep reading to find out why this was a big mistake!

We camped near the trailhead the night before and were ready to hit the trail by 9 a.m. My pack weighed a hefty 45 lbs for a 6-night adventure – I definitely felt the weight!

Make sure to turn left! Going right takes your over Whiskey Mountain to Ross Lake.

Left again.

Entering the Fitzpatrick Wilderness/Shoshone National Forest at mile 0.6!

Cross Torrey Creek on the bridge.

Wow, what a cool view of the creek!

Now the views really open up.

The trail is very easy to follow since this is a popular route to reach Gannet Peak.

Beautiful meadows.

For our initial route, we would turn right towards Bomber Basin. However, for the main trail we would end up coming back and turning left. This split is at mile 3.3.

Why You Should Always Check Trailhead Signs Before Hiking
Our original plan was to hike to Bomber Lake, then explore the area around the north side and return via Ross Lake. We trekked in 6 miles to the point where the “marshes” begin, and encountered a water crossing. At this point, we would leave the trail behind and explore the basin. We were excited for the adventure ahead.
However, just as we reached the water crossing, we noticed smoke. We both looked up and said, “Oh no, this isn’t good.” After filtering water and waiting for about an hour, hoping the smoke was a fluke, we ultimately decided to turn around. It was such a bummer—we had been anticipating this hike for months! We were only two miles away from our destination, yet we had to head back.
We expected it to be a 12-mile day, carrying our 45 lb packs. However, when we returned to the main trail split for the Glacier Trail, we decided to camp for the night at the 3-mile mark. This site was perfect—shaded and located right along a creek. While setting up camp, we met a couple who informed us about a sign at the trailhead regarding the Bomber Basin Fire. “Oh, we didn’t see that,” we admitted, realizing neither of us had checked. It was a rookie mistake, but a valuable lesson learned.
After reviewing the map, we discussed several options. Ultimately, I suggested backpacking to Dinwoody Lakes and base camping there for a few days. This would still allow us to day-hike, launch the pack rafts, and enjoy a much-needed rest day.
Part of me was frustrated because this meant we wouldn’t reach Gannet Peak (which has been on my to-do list for a while). However, I was also excited to scout out the area for a future trip. In the end, we hiked 9 miles with our packs, stopping to camp 3 miles into the trail, just before the main trail split. While I didn’t snap a photo of our campsite, it worked out perfectly.
Pro Tip: After the Glacier Trail split, reset your GPS to match the mileage stats for accurate tracking.

So the next day we started to make our way to the Dinwoody Lakes. But first, we would have to hike up close to 40 switchbacks!

It was sooo tiring. I was exhausted from our first big day with packs on and haven’t really backpacked that much this year to train for this, so my hips were screaming in pain from carrying that much weight. Let’s just say I hiked a pretty slow pace and my partner was always ahead of me.

At mile 2.7 leave the forested switchbacks and you’ll now be below Arrow Mountain.

You will now be hiking directly South, up and over the pass for the next 5 miles.

If you get the trail map I suggest, their mileage is off by 1.3 miles. It says that in between the Glacier Trail split to this intersection with the “Old Glacier Trail #801.1” is only 2.5 miles but I tracked 3.8 miles!

Looking back to where we hiked up from! It’s a very gradual uphill for that whole 5 miles.

And exactly at 5 miles past the Glacier Trail Split, you’ll reach the pass at 10,700 ft. It’s only marked by a large cairn and stick, but no signs.

Next, you’ll drop down to Burro Flat.

At 6.4 miles you’ll reach the Dinwoody Trail split on your left, which is again marked only by a large cairn and stick, no signs. This trail would take you all the way down to the main Dinwoody Creek and Lake, roughly 15 miles away. This could be another approach to reach the same area we were going to. Keep going straight

Cross a bridge, then you’ll hike downhill through a burned area (the ugliest part of the hike, and hence, no photos).

At 7.2 miles (10.2 miles from the parking lot) from the trail split, we reached Phillips Lake. Even though I was in pain and wanted badly to stop, the views weren’t the best here due to the fire so we kept pushing further. The only area for campsites were on the East side as well.

And finally at 8.0 miles exactly, we came upon Double Lake, and would call this home for 3 nights.

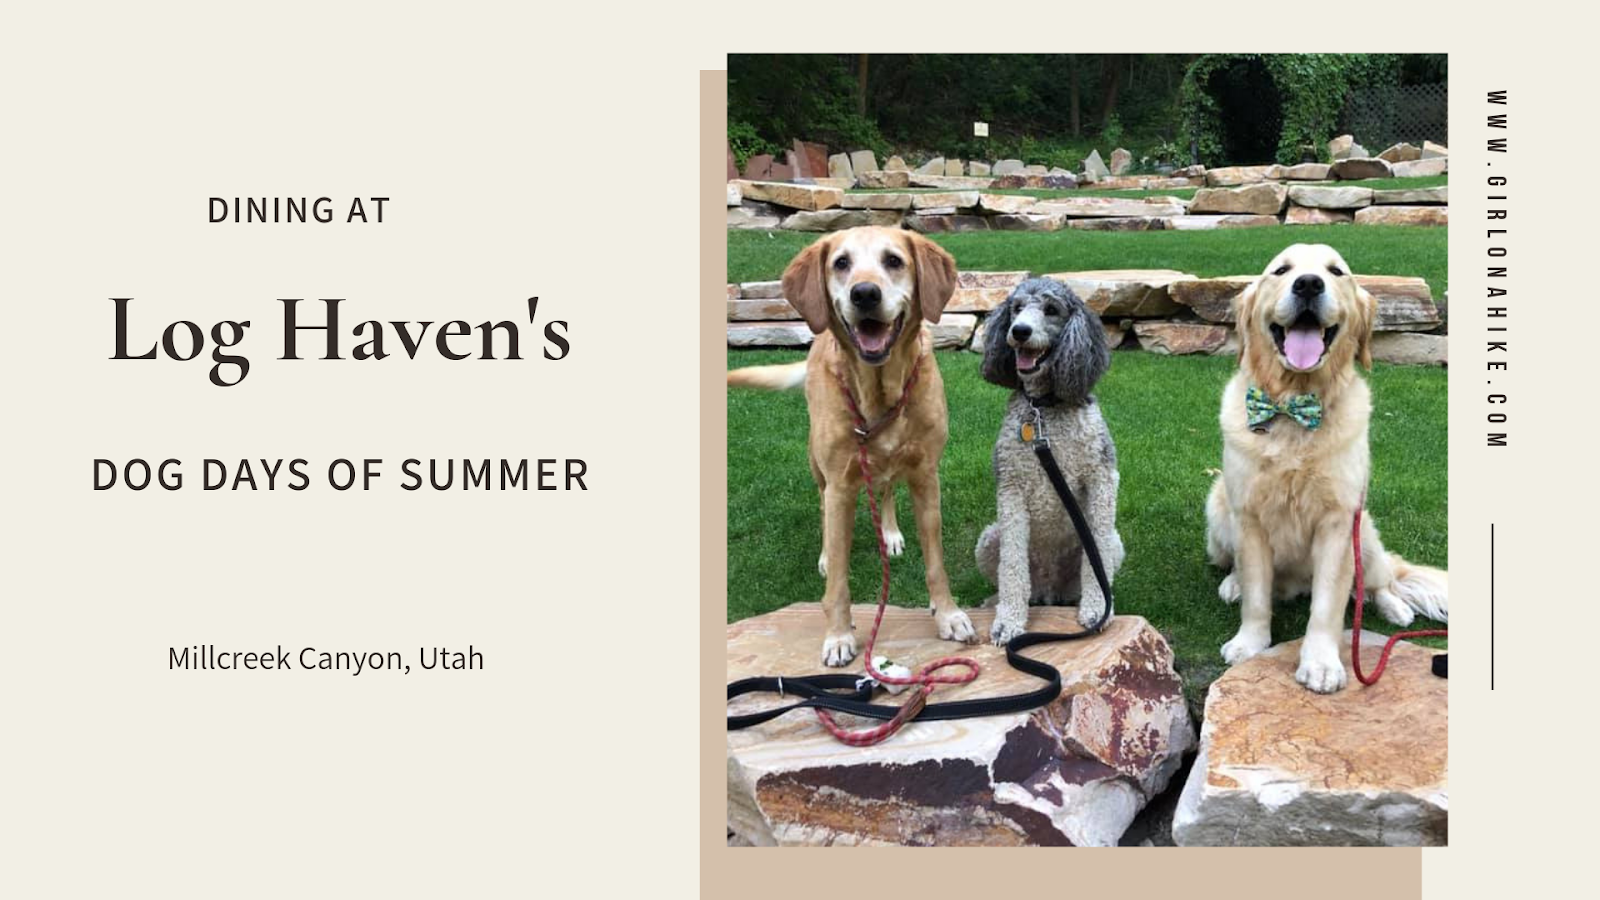
We set up camp and Charlie zonked out on his new backpacking bed, the K9 Sport Sack. The L/XL weighs 13.7 oz, and is about the size of a smaller Nalgene bottle. It’s pretty light & compact for a dog bed, he can carry it himself in his pack, and gives him a soft place to sleep for his aging joints. The other nice thing was that we could use our same command at home for his bed as this bed, and he would go right to it. The only thing I think they should improve is the air port. It was a little difficult to remove all air when deflating it. But overall I definitely give this 4 out of 5 stars!

We quickly hung one of the packs with all of our food in in to keep bears away. Neither of us have ever liked using bear canisters – they just take up too much space in a pack, so we prefer hanging food.

Great spot for a base camp.

We set up the pack rafts and did a quick tour of the lake.

I also tested out my new Nomad 7 Plus solar charger. If you live in the SLC area, I highly recommend going to the Goal Zero outlet in Draper, where you can pick up one of these used, but brand new panels for half price! Otherwise you can get on one Amazon. It worked really well and weighs 16.2 oz. Great for long trips!

One of the days we paddled across the lake then hiked around the other side. Charlie loves rafting with us, and sits right between my legs. We don’t let him jump in and out, he has learned to stay put.

I really wanted to day hike up to one of the lakes in the upper basin, so after paddling across we found our way with no trail. Nice view of Double Lake below!

After only 1.2 miles of hiking we found ourselves at Florence Lake. Gorgeous! We simply followed the creek up the whole way and it was pretty easy, just boulders to hike over.

Paddling back across to our camp.
It was a great lake to base camp at – we had plenty of rest time, fit in a day hike, did plenty of fishing, and just hung out. It was perfect!

On the way back to the car we decided to take the “Old Glacier Trail” to switch things up and see something different.

From this point, you can actually see the parking lot and dirt road below.
There were a few pros/cons to this Old route:
PROS – amazing views, 1.5 miles shorter, feels more direct, and less chance of running into a bear
CONS – no water, shade, or campsites for 7 miles, and is typically only for equestrian and outfitter use, except during late summer and early Autumn months while the creek crossing is safe (so basically don’t use this route June, July, and early August).
I would only do this route going back down to the car, not up, which is what we did.

Finally, 7 miles after leaving Double Lake, we reached out first switchback down. Great views of Whiskey Mountain to the right!

We hiked through about two small sections of forested area, but overall this route is very exposed.

Finally, we reached Torrey Creek.

In early September the water was knee deep. I could see how earlier in the year it would probably be closer to hip deep and dangerous, which is why it’s advised to not use this route during or after spring melt, and even into Mid-summer. But it sure felt super refreshing to end our hike in water!

Whew, what a long haul out! We parked in the main TH parking lot, so we just had to walk another 0.2 miles to the car. So tired and ready to be done!
Trail Map
My track via Gaia GPS – the best tracking app! Get your app here for a discount.
Nearby Hikes
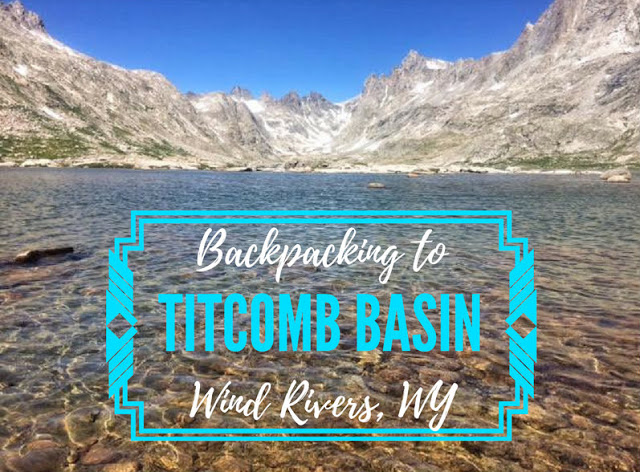
Backpacking to Titcomb Basin, Wind Rivers
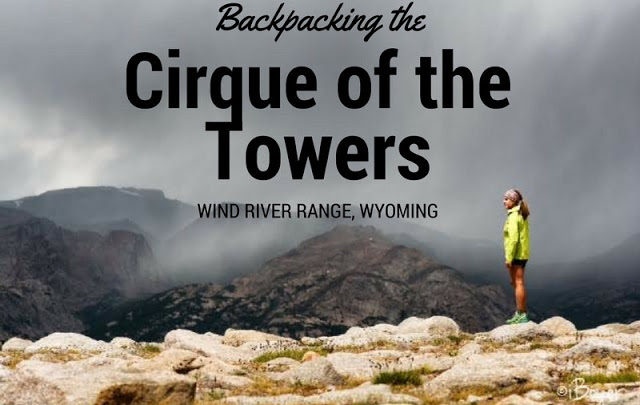
Backpacking to the Cirque of the Towers, Wind Rivers
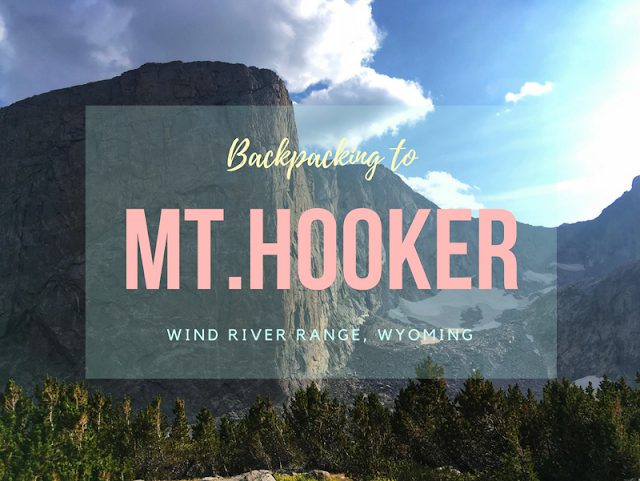
Backpacking to Mt.Hooker, Wind River Range

Save me on Pinterest!