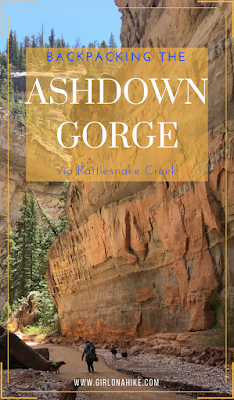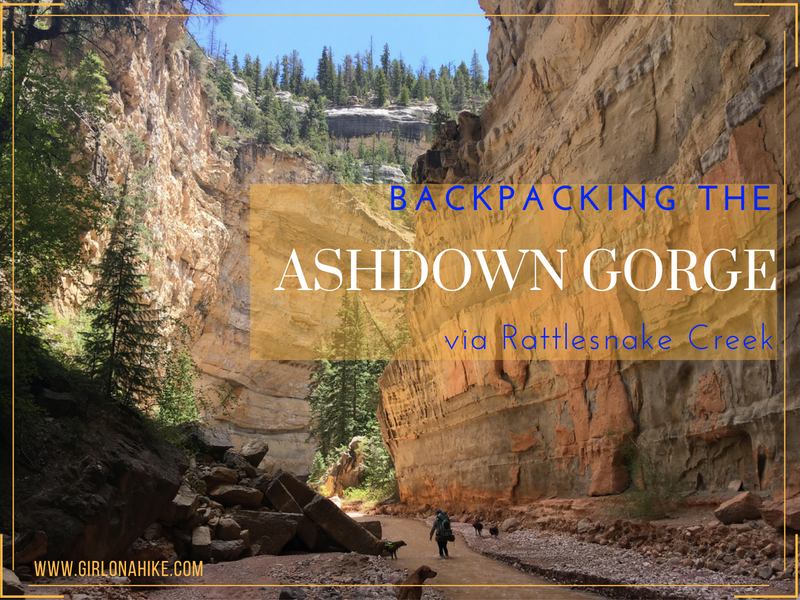

The Ashdown Gorge is located on the boundary line of Cedar Breaks National Monument, and lies within the Ashdown Gorge Wilderness near Cedar City, Utah. The trail starts by following the Rattlesnake Creek Trail at 10,500 ft, and eventually drops into the gorge descending a total of 4,100 ft. This route is best done point-to-point, with 1 over night backpacking. You can definitely do this in one day, but to really experience the canyon and take your time, backpacking this trail is perfect.
About
It’s a great beginner hike because it’s all downhill and only 12 miles point-to-point, making each day a doable 6 miles. The Ashdown Gorge Wilderness gets you the best of both worlds – forested mountains mixed with red, orange, and yellow rock. Think of it as a combo of the Uintas and Bryce! Because this trail is not located in Cedar Breaks, dogs are also allowed on this trail. There are also no fees or permits. Be prepared for a wet hike – once you are in the gorge you simply follow the river until your exit point. Water shoes are necessary, as there are lots of rocks and silt to maneuver.
Directions
Here is a driving map from Cedar City, UT to the first endpoint TH, where you’ll drop a car.
Here is a driving map in between the two Trail heads. Drop your other car at Rattlesnake Creek TH.
Trail Info
Distance: 12 miles point-to-point
Elevation gain: –4,149 descent
Time: 6-8 hours OR 1 overnight
Dog Friendly? Yes, off leash
Kid Friendly? Yes, see notes below
Fees/Permits? None
FAQs
When is the best time to backpack here?
Late May through October, or whenever the winter gates open/close. Winter 2017 was incredibly dry, so the gate opened May 15th, and it typically closes towards the end of October. Call the forest ranger to make sure the gate is open at 435.633.7066. You can also check the Ashdown Gorge Wilderness website.
Do I need a permit?
No permits are needed, and there are no fees.
Can I bring my dog here? Is this a good trail for them?
Yes, dogs are allowed off leash. It is a good idea to always have a leash handy, in case you come near wildlife. Dogs should be able to hike for long distances and over rocky and sandy terrain, and should be comfortable with water. Dog poop is not required to be packed out. I recommend bring dog booties just in case there is an emergency.
Is this kid friendly?
Not for younger kids, but teenagers who have backpacking experience and can carry their own weight & water should be fine.
How deep is the water? Is there a good water source to filter from?
Water levels will vary each year due to snow pack levels in higher elevations, but typically the water levels range from ankle to knee deep. The water flowing from Rattlesnake Creek is very clear and can be filtered easily. The water in Ashdown Gorge was brown, but we also hiked this early-season. Later in the season it might be clear.
Can I hike this in either direction?
Yes, definitely. The easiest route is the way we went – downhill and downstream. However, if you want more of a workout then by all means, feel free to hike uphill!
How hard is the trail?
This depends on your experience, fitness level, pack weight and weather. There are no technical areas of the route, but hiking through sand, brush, and a rocky stream are required. You should have a few backpacking trips under your belt, and be comfortable carrying up to 30-40 lbs for hours on end. As always, the lighter your pack, the easier your hike will be.
More weight = harder hike.
Will I need a shuttle?
Yes, you will need to shuttle cars if hiking this point-to-point like we did. There aren’t many shuttle services nearby, so we used our own cars.
GPS location of your end point TH (off HWY 14):
37.6347661,-112.944585,222
GPS location of your starting point TH (at Rattlesnake Creek TH):
37.6627839,-112.8381276
Day 1
Distance: 5.5 miles
Elevation: -2,793 descent

The girl gang is ready to go! Just beyond the boards you’ll see the official Rattlesnake Creek sign.

You’ll also quickly pass the Ashdown Gorge Wilderness sign. Keep in mind that you are starting at 10,500 ft and the temperatures can be much cooler, even in the Summer. From here you’ll follow the Cedar Breaks NM boundary fence for a little bit and come to what looks like a trail split.

At the trail split, go left to see the first overlook into Cedar Breaks.

Go back to the trail split, and stay straight/right. You’ll immediately start descending into the forest.

There were lots of tree obstacles – I called the ranger after our trip to let them know the trail needs some maintenance so hopefully it will be better soon. There were more trees down than I could count, but fairly easy to maneuver around.

Love these tall trees! Plenty of shade.

At a second trail split, go left again and you will come to another overlook.

Continue down the main trail.

More tree crossings – this one provided for a quick break of the pack weight!
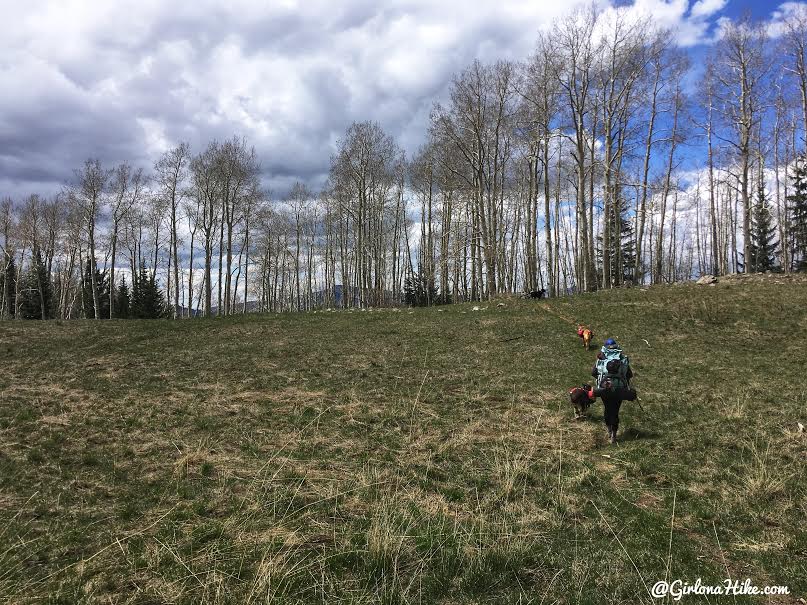
You’ll reach a small, open meadow with a lot of Aspen trees.
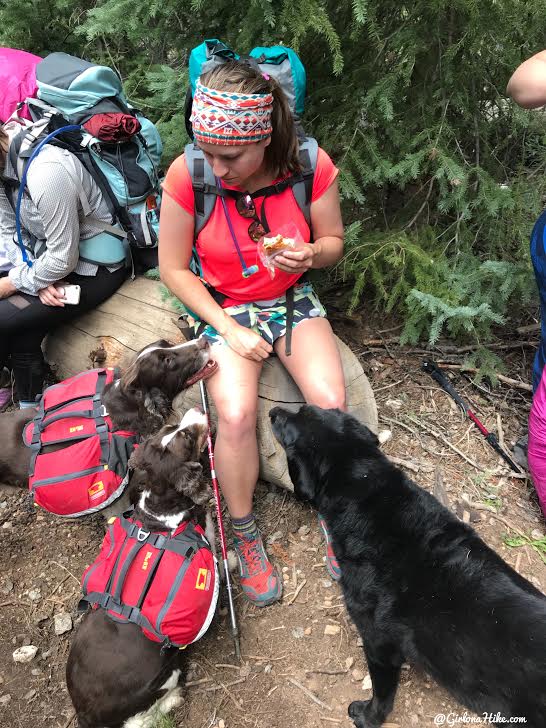
A few hours into the hike we take our first break. The dogs obviously never get fed, so they tried to sneak some bites.
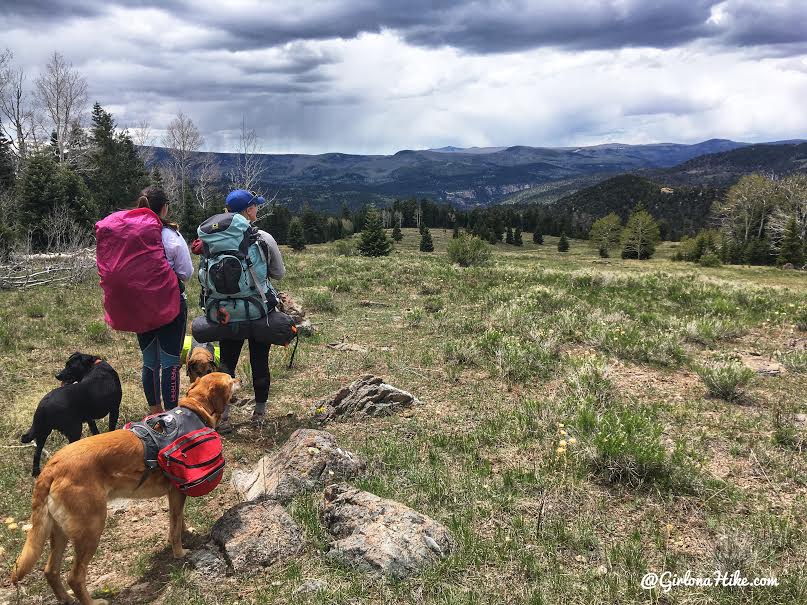
Around 3 miles you’ll reach Stud Flat, which is just above Rattlesnake Creek. It’s a very large open meadow, but cairns lead the way.
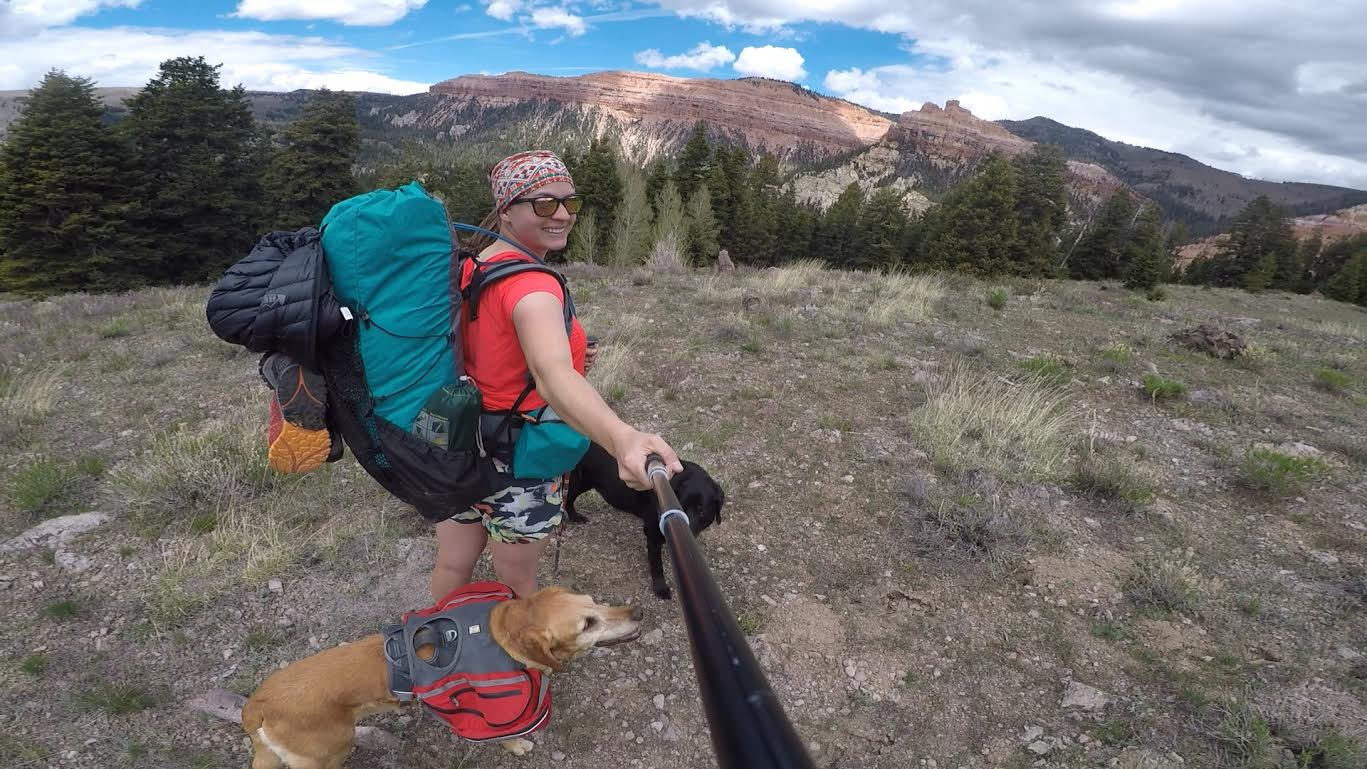
Don’t forget to look back through Stud Flat – a band of red rocks can be seen to the NE.
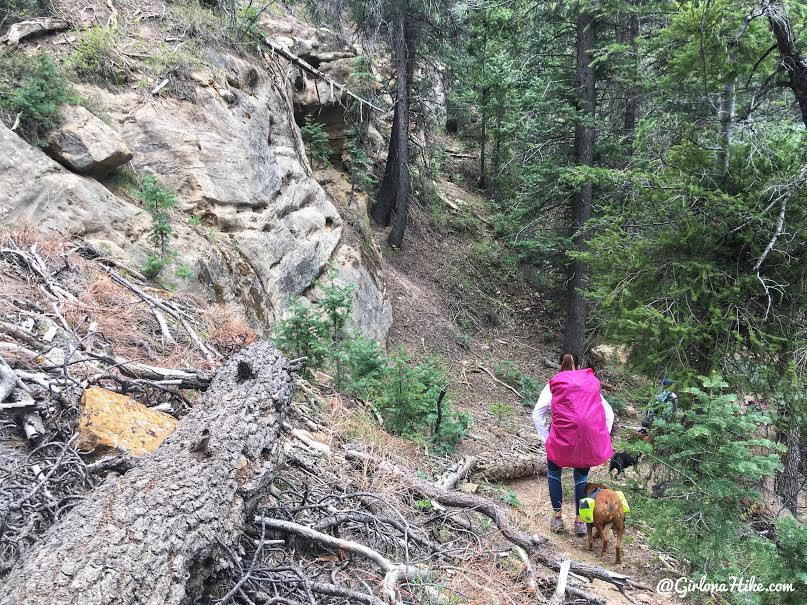
After Stud Flat you’ll hike down several long switchbacks, and will start to hear the creek below.
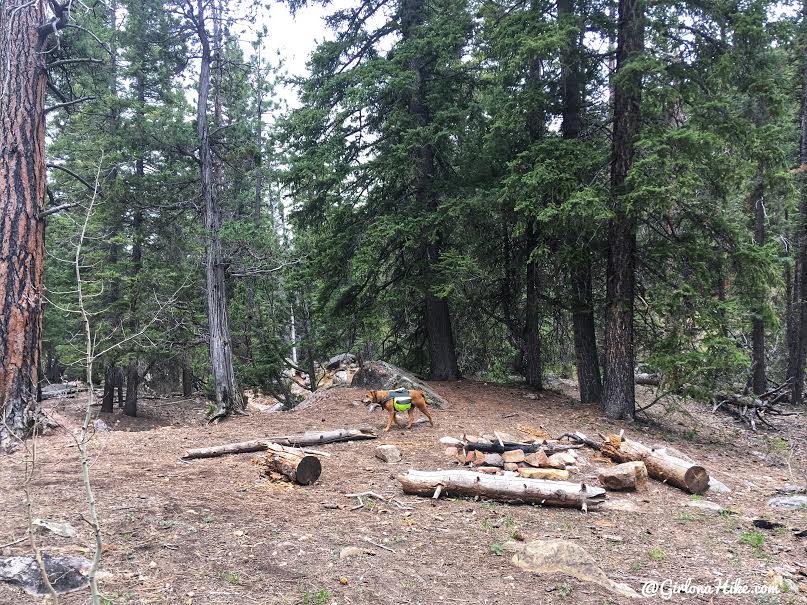
We reached the first campsite at mile 4.5. We were still feeling pretty good, so we skipped this one and kept hiking. This would be an excellent site though if you wanted a shorter first day.
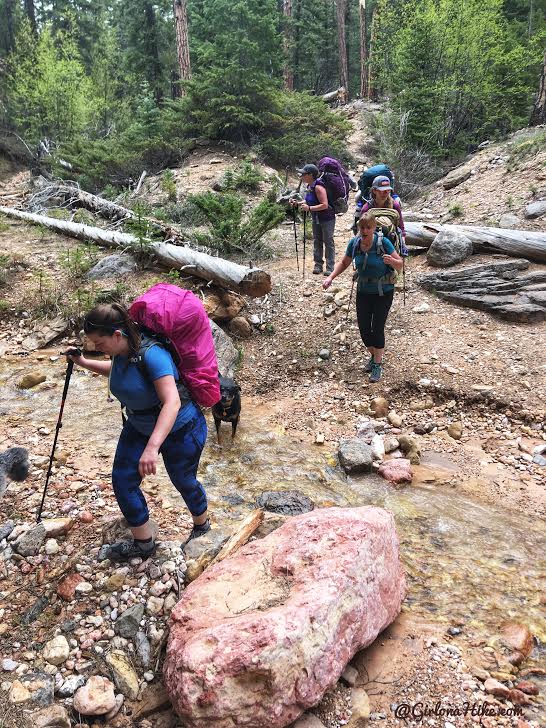
Just after the first campsite you’ll cross Rattlesnake Creek for the first time. You don’t need water shoes yet though.
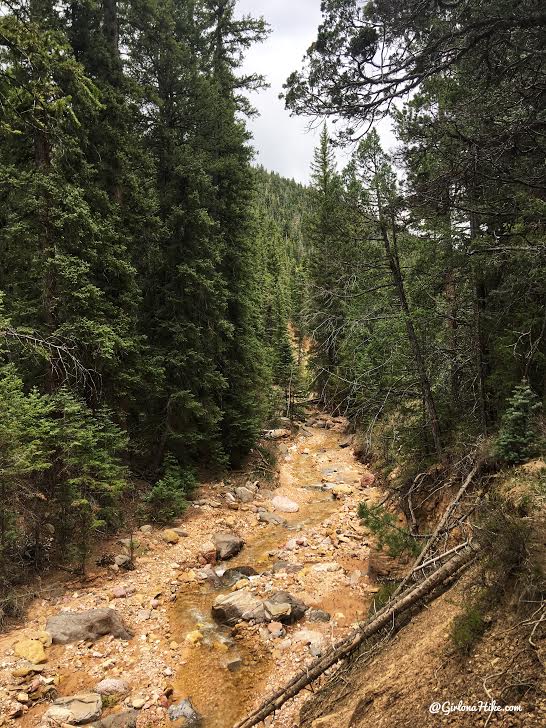
Wow! The first real view of the creek was so pretty!
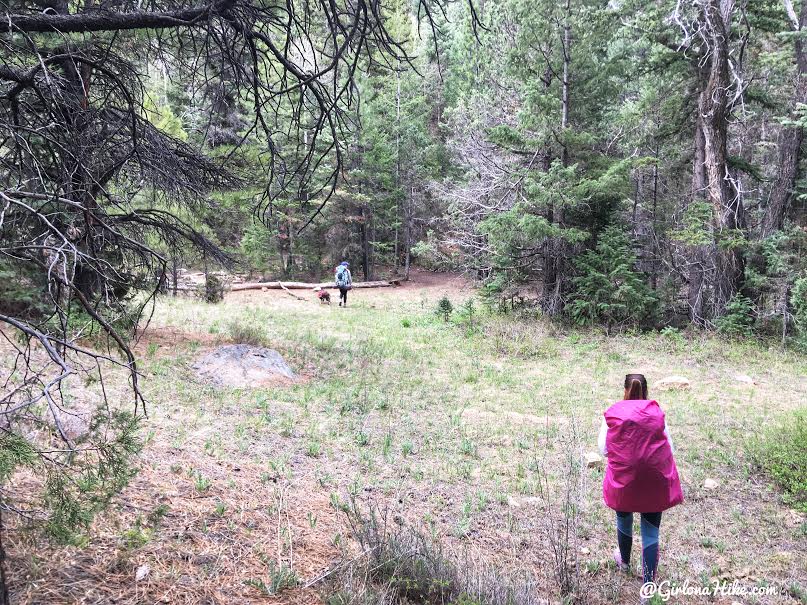
The girls check out a possible 2nd campsite only 15 minutes past the first campsite. However, we still wanted to keep going just a little more. We all decided that the next best campsite after this would be home.
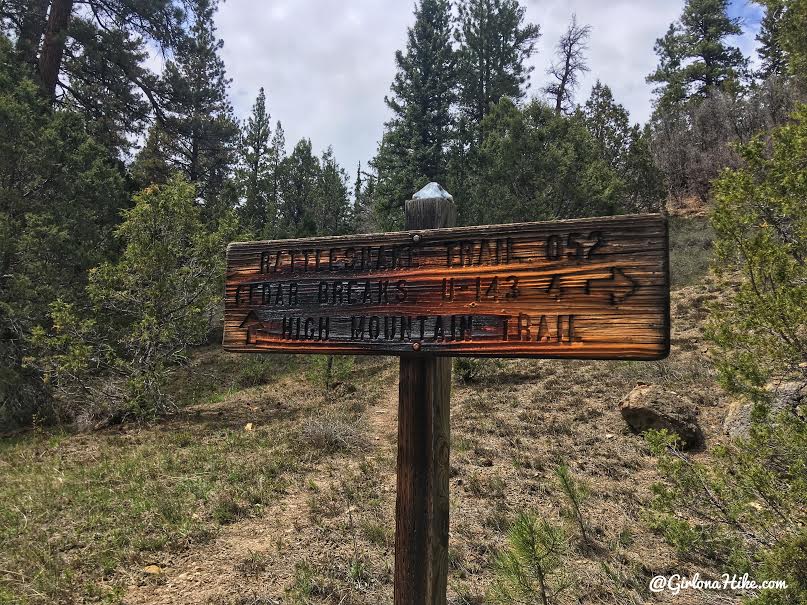
And only another 15 minutes we reached the first trail split. You do NOT want to turn right here. The trail continues left, across the creek.
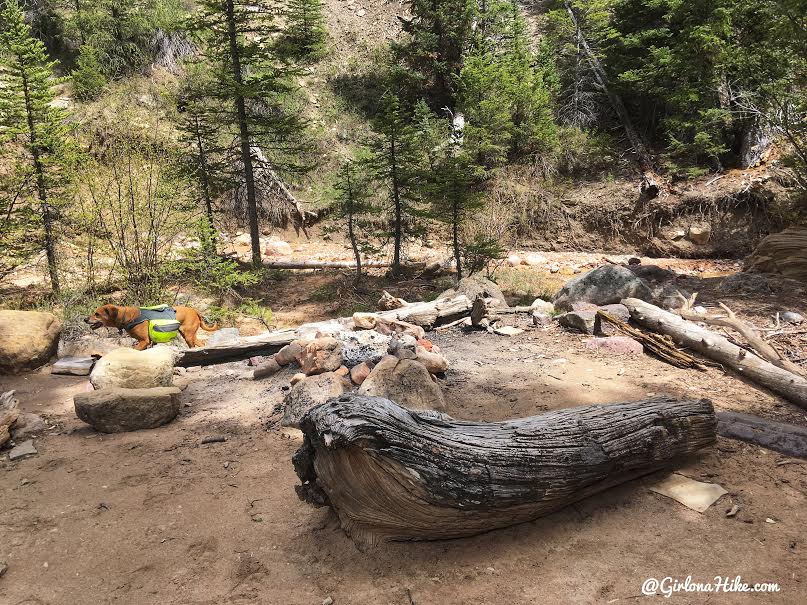
And of course, we found the next best campsite that we would make home right at the trail split. It was perfect – plenty of room for 6 tents, right next to the creek, plenty of shade, logs to sit on, and a fire ring already built. We were glad we took this one because we would later find out this is the last best area to camp before crossing the creek on Day 2.
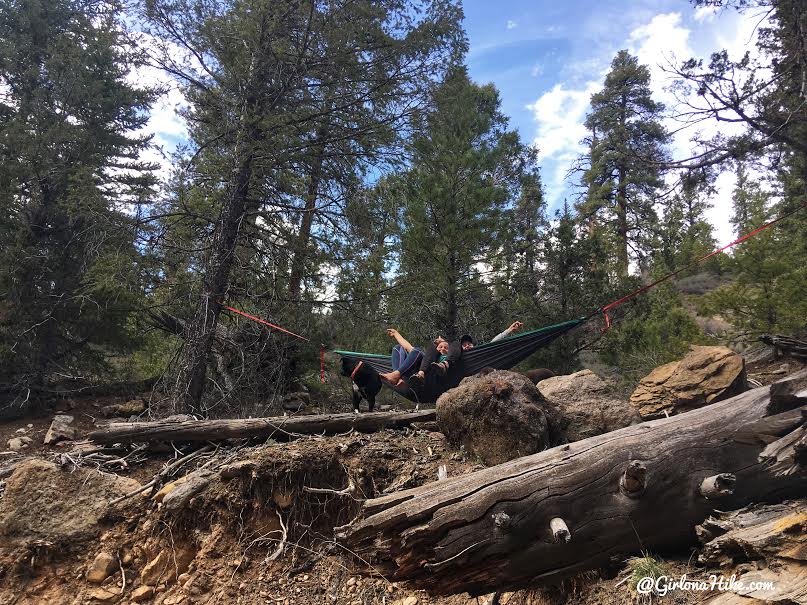
There was also some perfect hammock spots to set up and hang out.
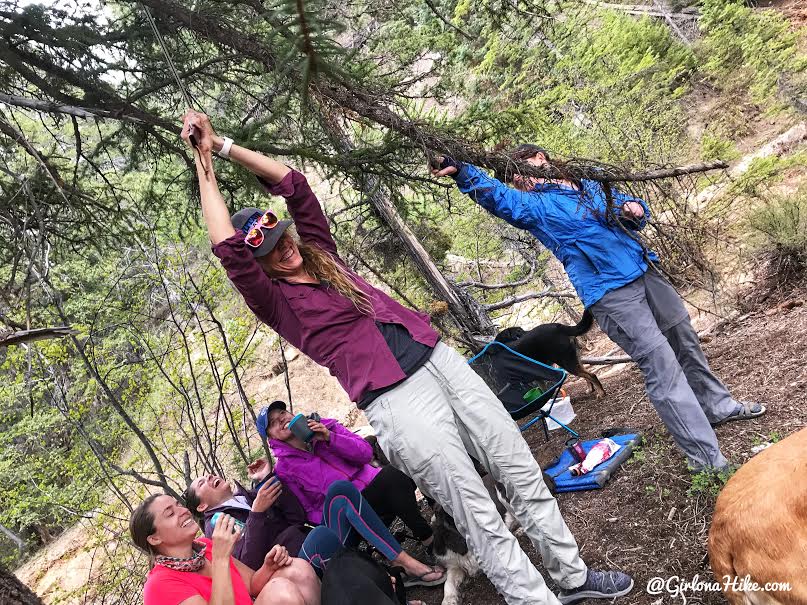
After a little drinking, and other umm….extracurricular activities, the giggles came. We needed to get some firewood, so Cindy broke out her camp saw while we drank some more and watched her. Denise was the only one trying to help. It was hilarious!
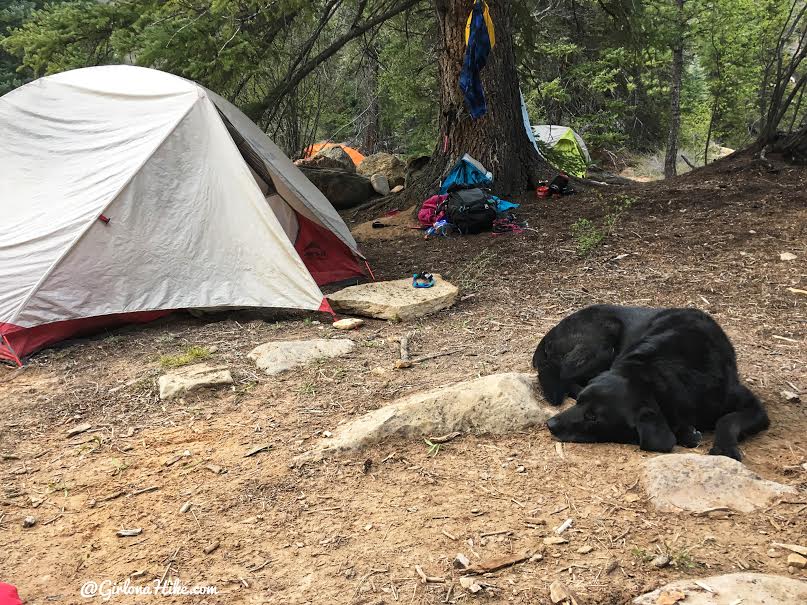
Bear takes a nap at camp.
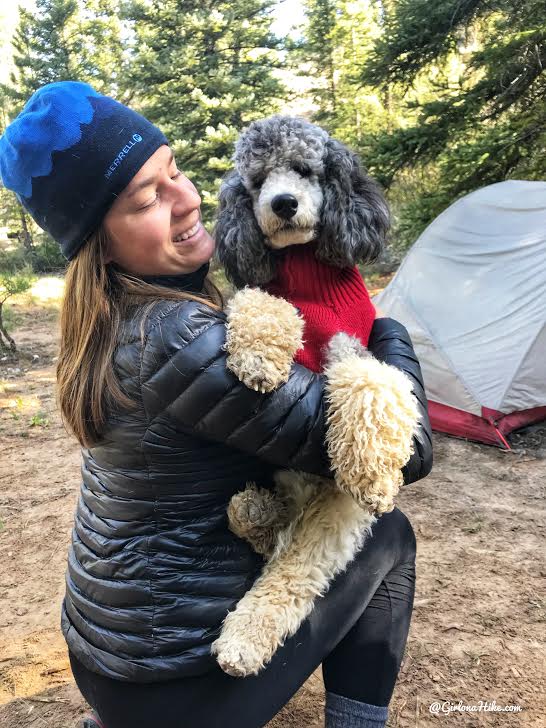
I hold the other Charlie, Julie’s dog. Charlie is a Standard Poodle, though he’s kinda small! He fit perfectly in my lap, and was a great guard dog at camp.
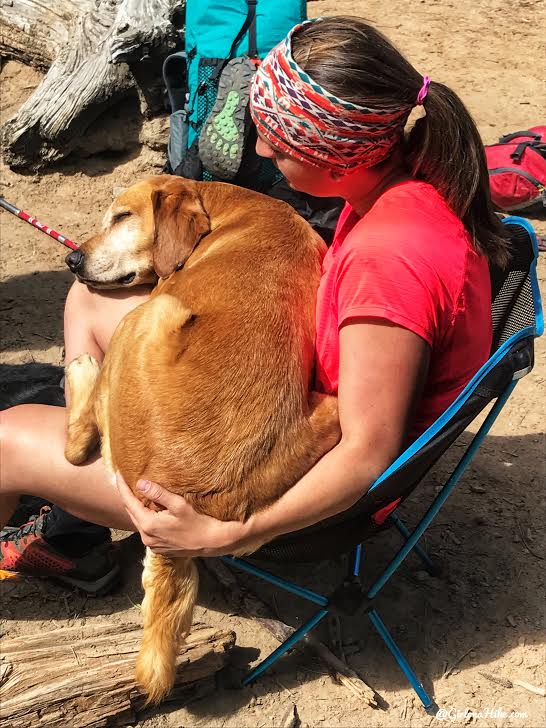
My Charlie, on the other hand, is 70 lbs and still believes he too, is a lap dog! He takes a nap to rest up before our big day tomorrow.
Day 2
Distance: 6.3 miles
Elevation: -1,356 descent
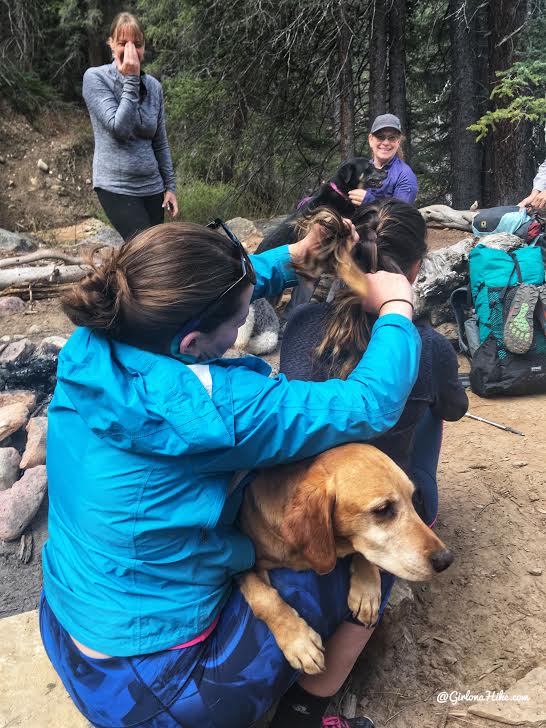
Christa helps braid Sarah’s hair for the day, and Charlie thinks its once again, lap time. He crawled right up in between them!
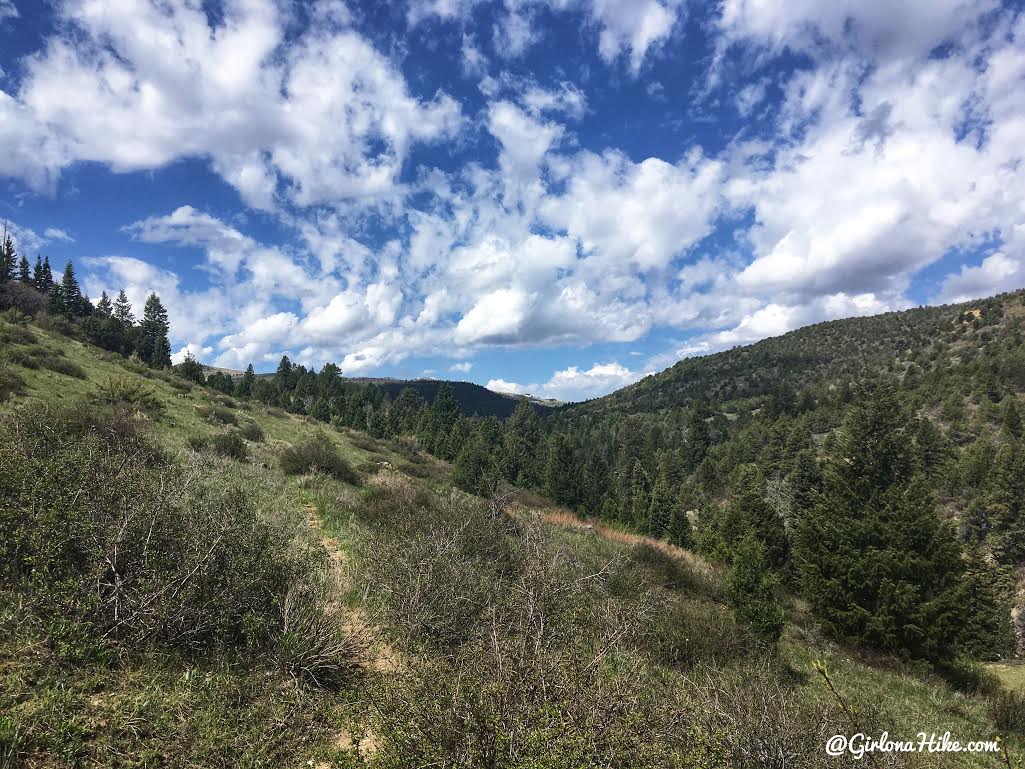
It’s easiest to start out by just wearing your water shoes from camp. You’ll immediately cross the creek, then walk up a short steep section. You should be hiking on a grassy hillside, that will eventually curve around the Western end of this hill. From camp to the Ashdown Gorge is only 1 mile.
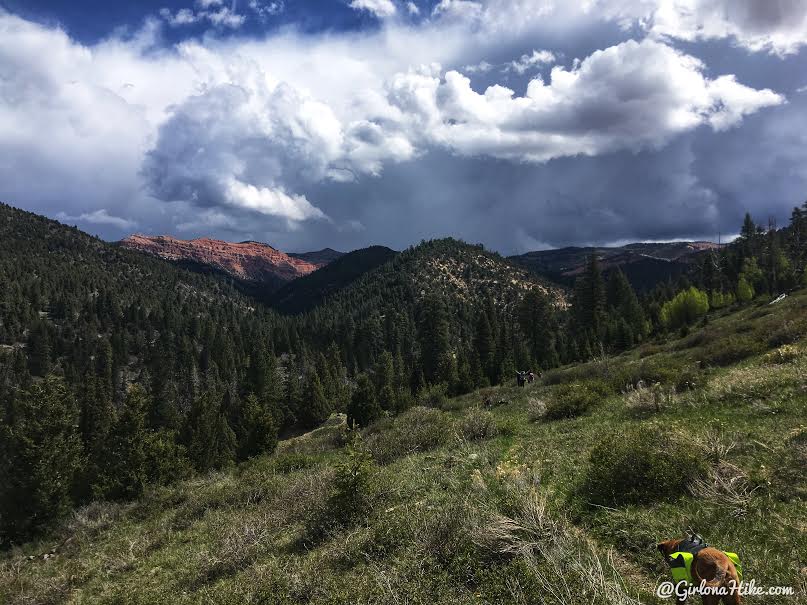
Don’t forget to look back! This is your last view of the red rock band, and view from where you hiked yesterday. All day thunder clouds threatened us, but we only got a few sprinkles on us.
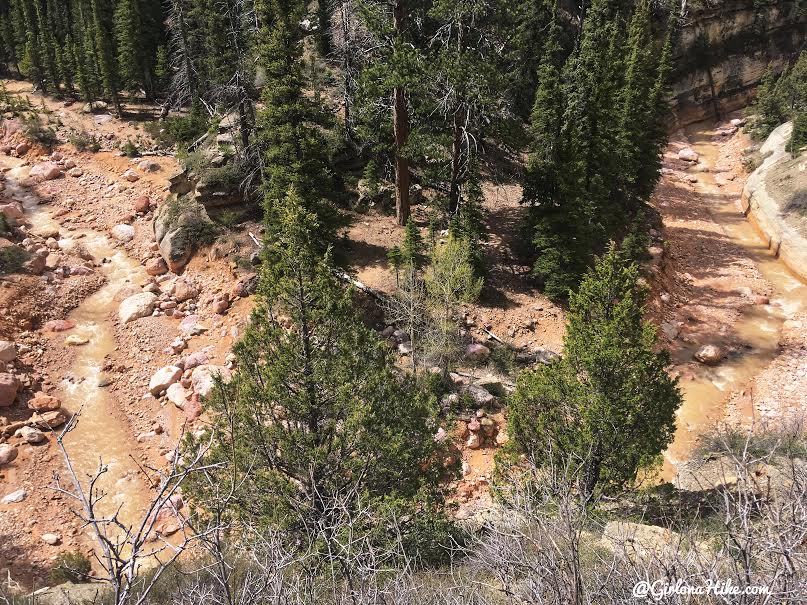
When you get close to getting in the river you’ll have a great view down into the beginnings of the gorge.
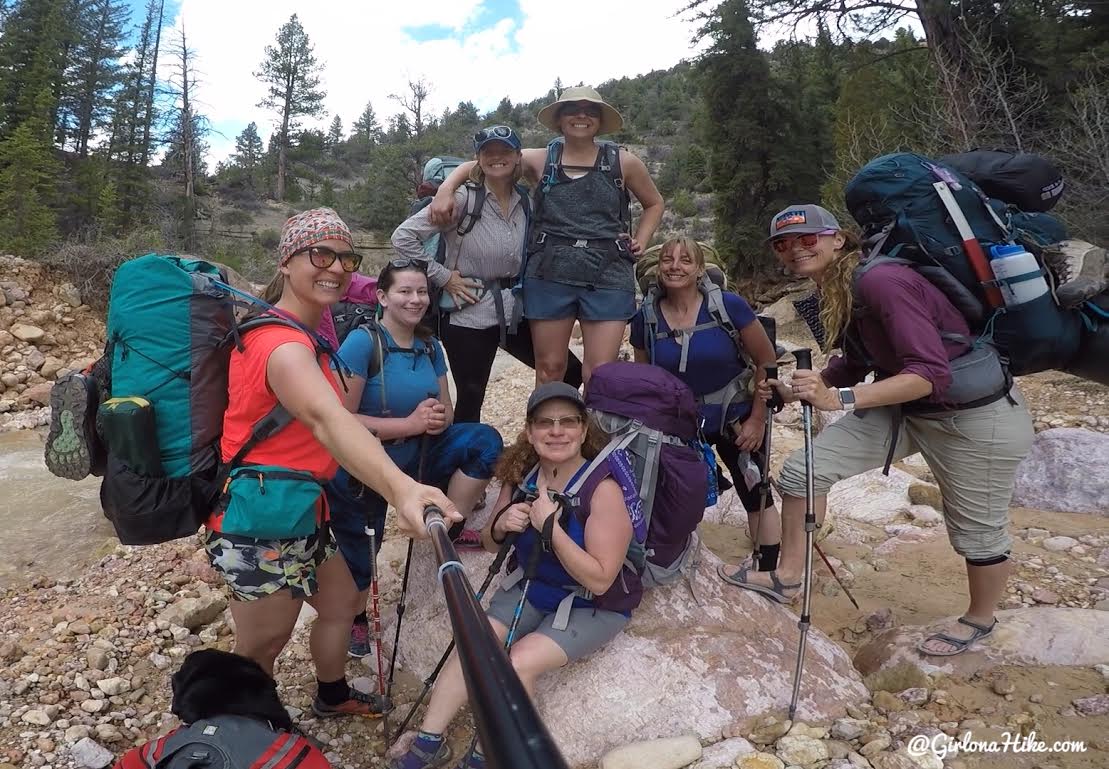
Ready to hit the river! By this point you should be prepared for an all day water hike. Make sure you wear sturdy, closed toe water shoes. I highly recommend water shoes that don’t let rocks in and drains quickly.
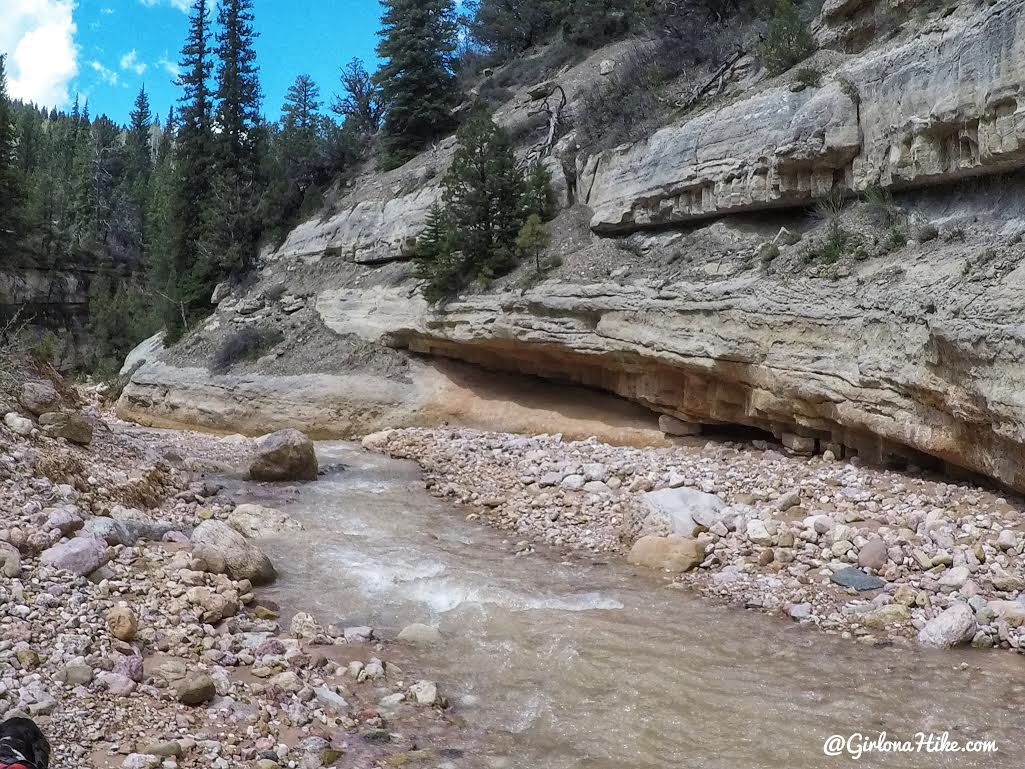
Since we hiked here “early season” (Mid-May), the water was flowing pretty fast. However, it was never more than knee deep max, so crossing the creek wasn’t too bad. Hiking poles were very helpful to gauge the water depth and rocks.
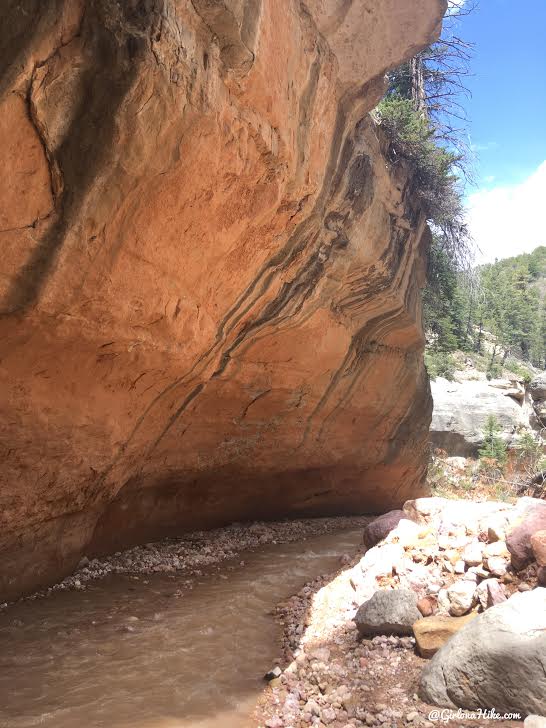
Amazing rock!
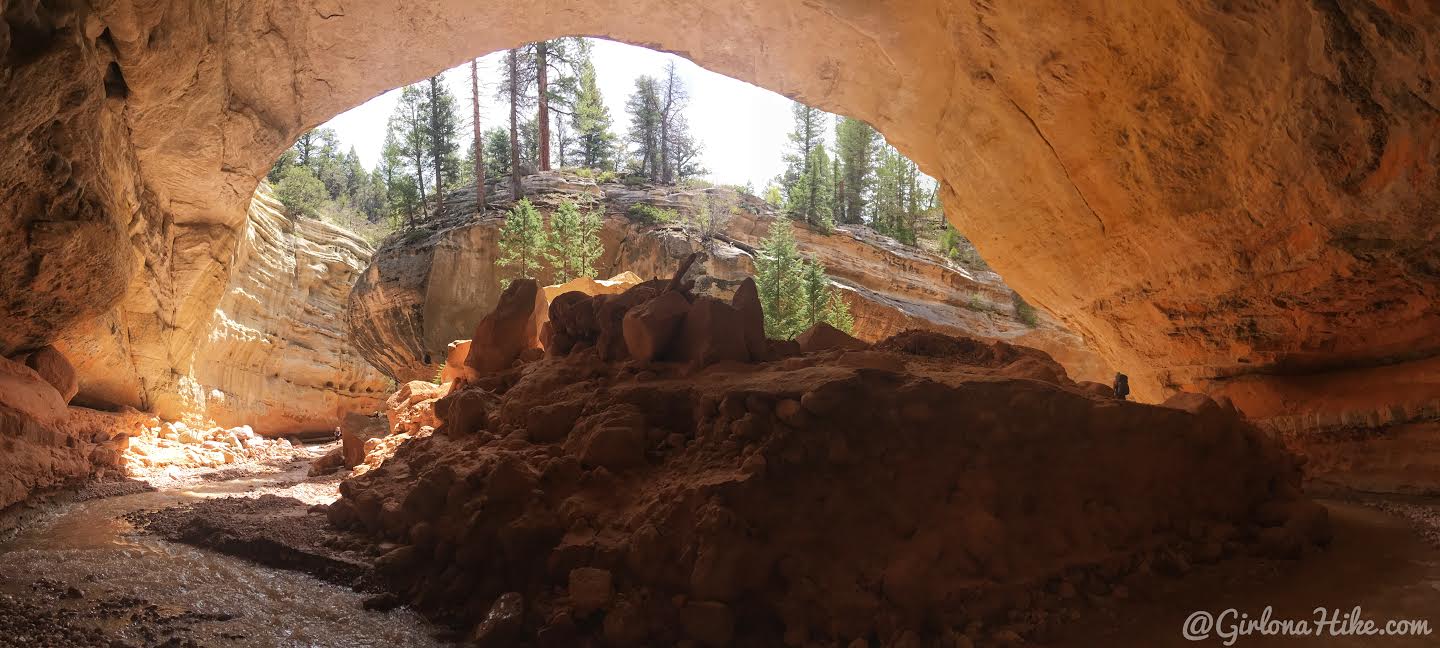
In the first large alcove!
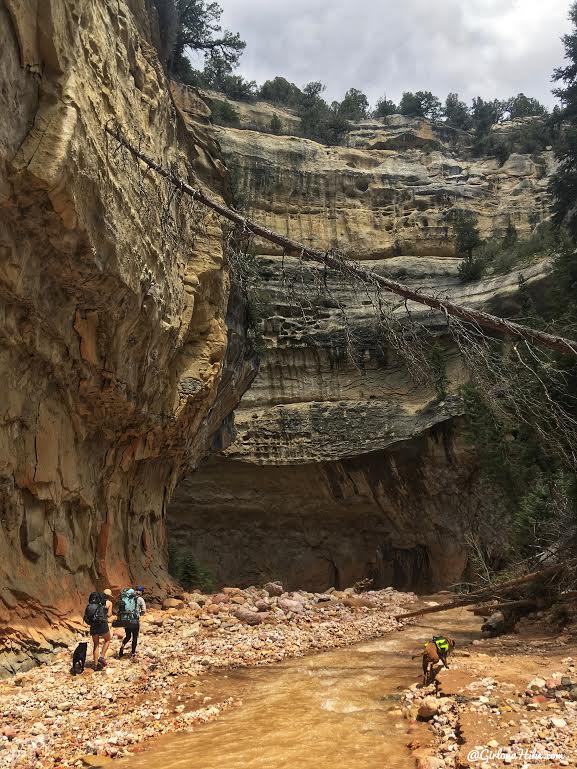
The Ashdown Gorge was a mix of red, yellow, and black rock with very interesting features as well. Look at the large tree above us!
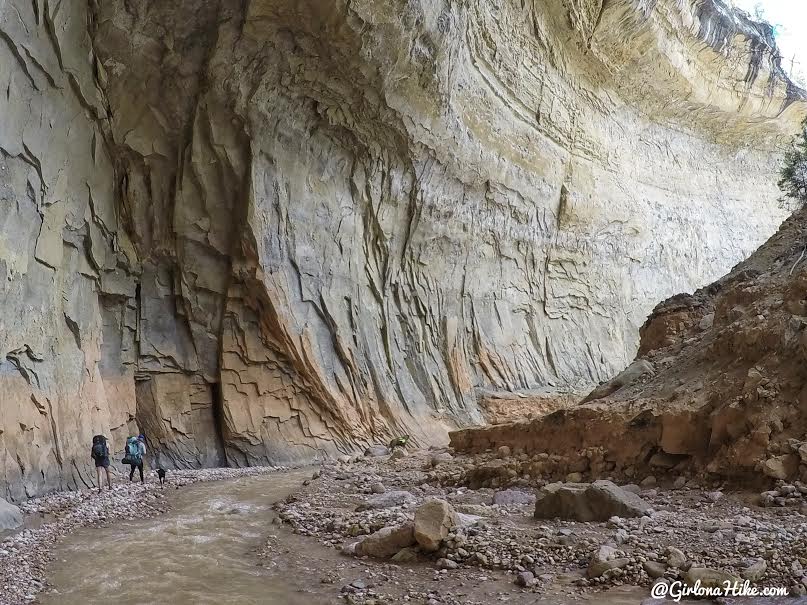
Hiking around another alcove. This rock in this one was even more impressive.
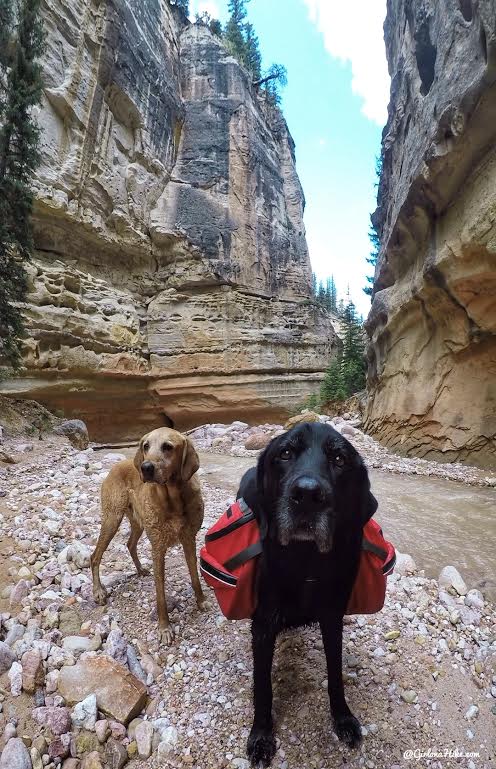
Bear’s turn to wear the dog pack. This is our pal we get to watch for one month at a time while his dad is overseas. He loves hiking with us!
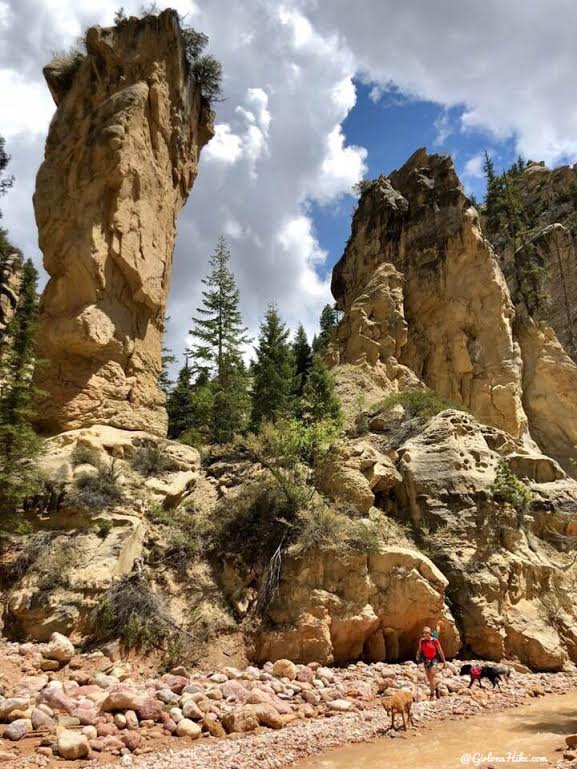
“Tom’s Head” – a prominent, solo sandstone rock that marks the confluence with Rattlesnake Creek and the Ashdown Gorge.
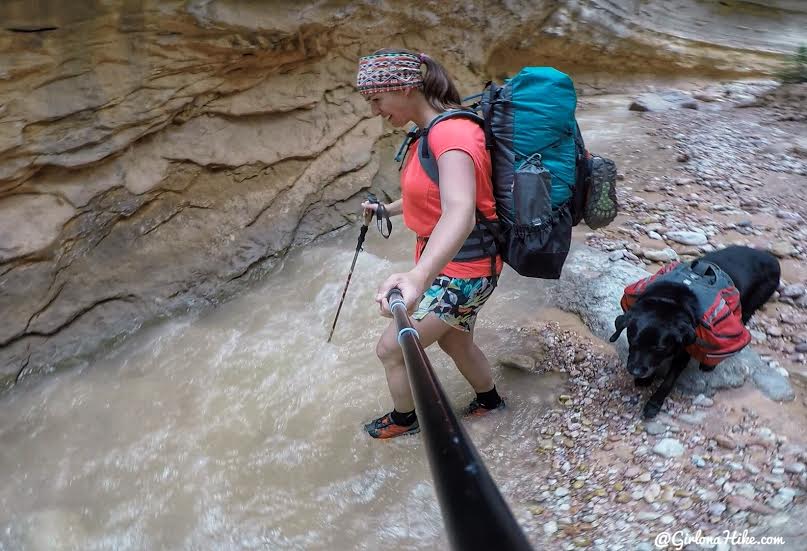
Lots and lots of water crossings. Sometimes the water was a bit too fast for Bear, so he needed help across. I would just grab his harness and assist him across it.
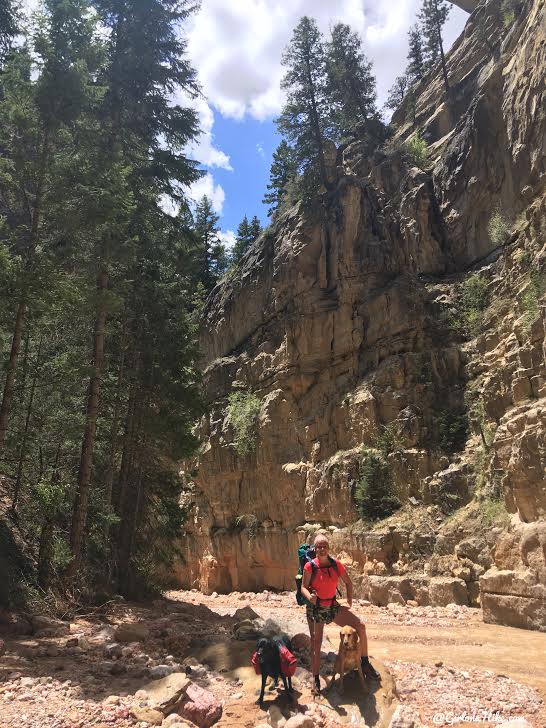
Loving this canyon with the pups!
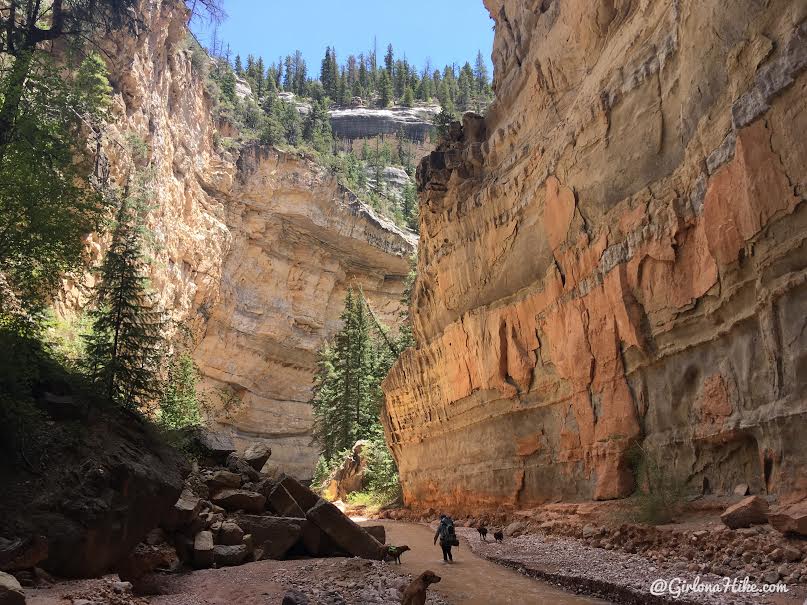
The afternoon light in the gorge was gorge-ous!
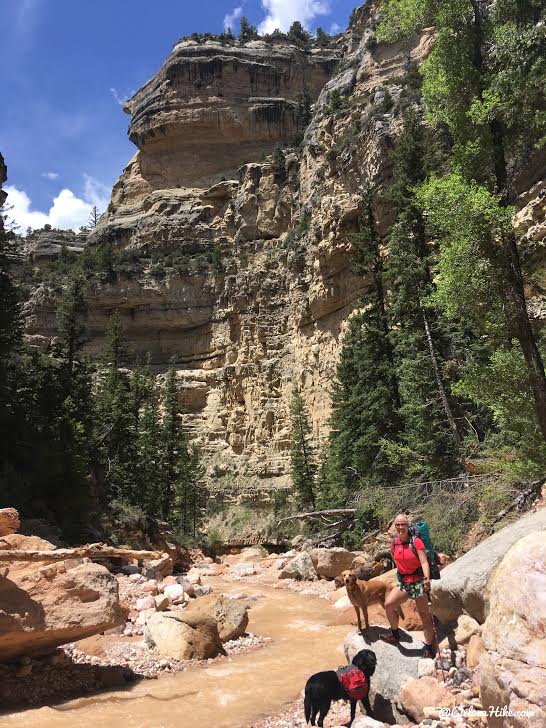
More pics with the dogs.
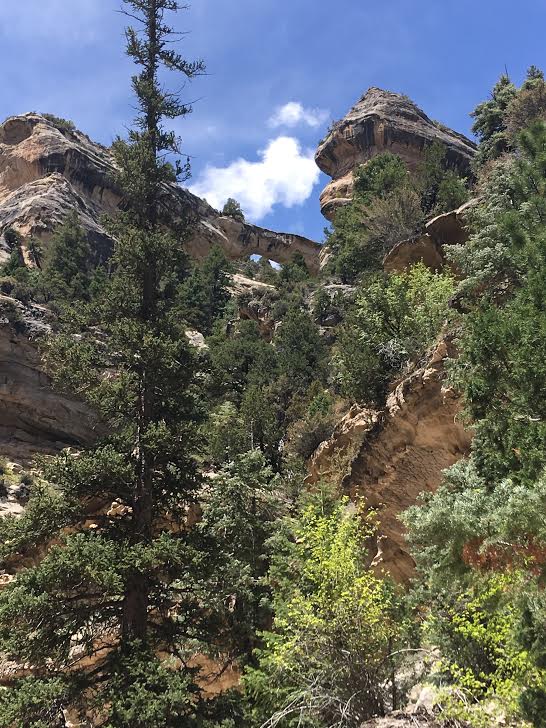
Keep an eye out for Flanigan Arch, only 1.5 miles from the end of the hike. It’s high up on the right side of the river.
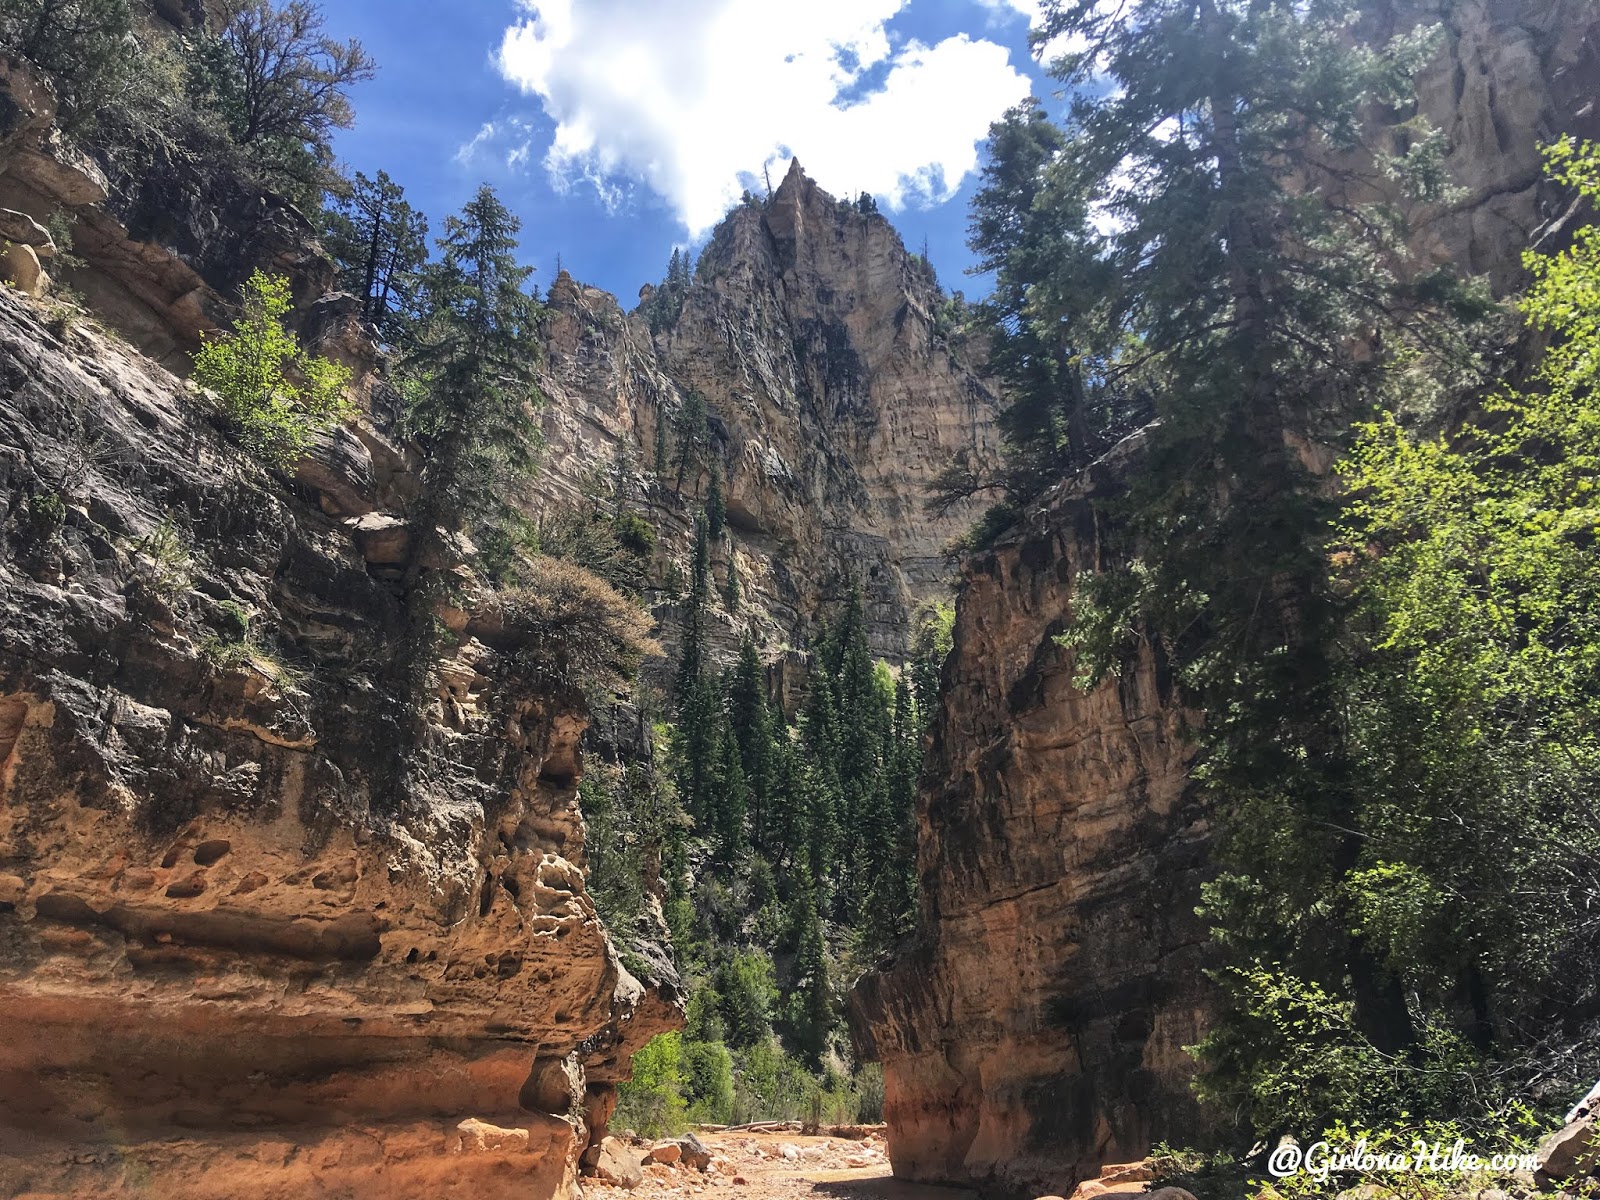
You know you are close to being done hiking when you see this large Game of Thrones/castle-type rocky feature. From here it’s only another 3/4 mile or so until the Dam.
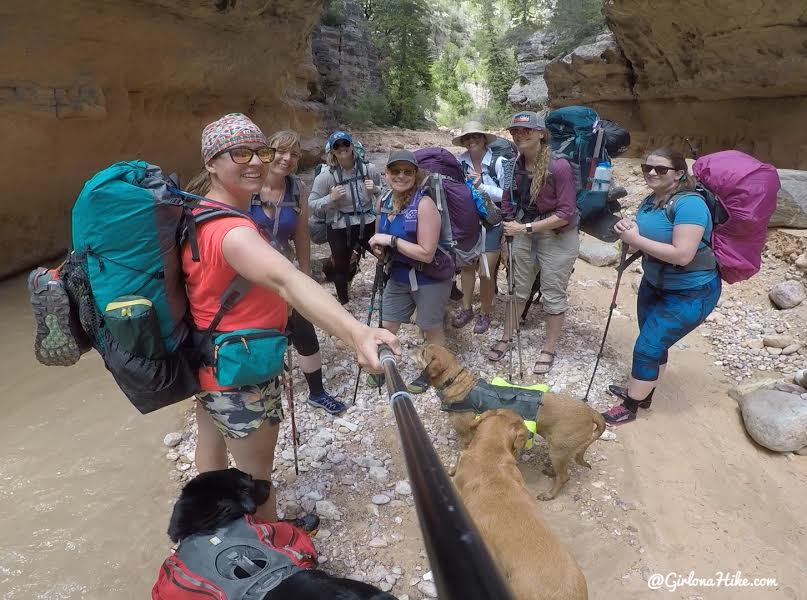
Almost done!
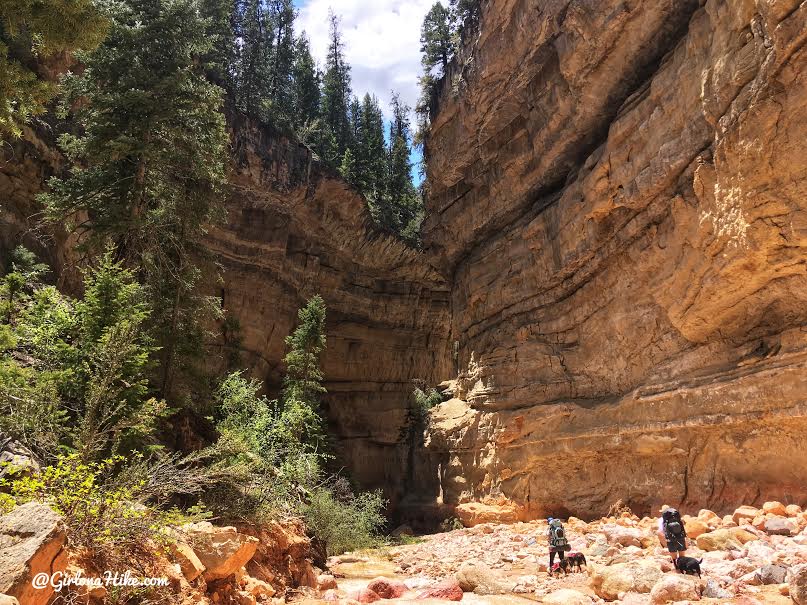
A few more bends in the gorge before we exit.
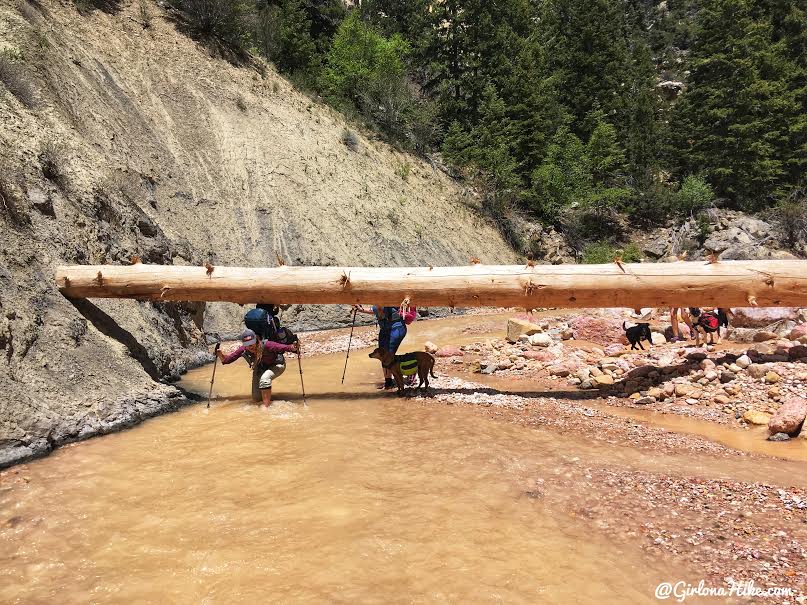
And more tree obstacles!
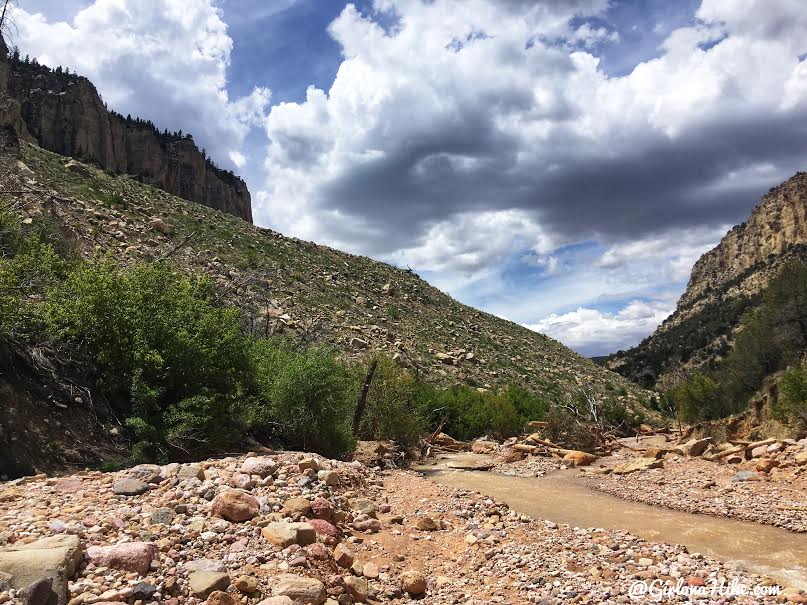
The canyon immediately opens up, however, don’t exit right away! Keep hiking until you reach the Dam.
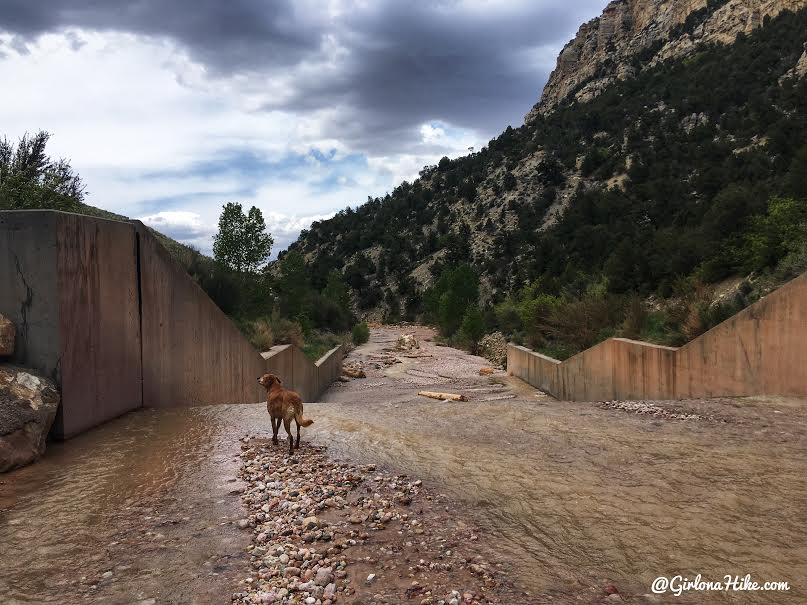
Once you reach the Dam, you’ll know to exit out of the canyon.
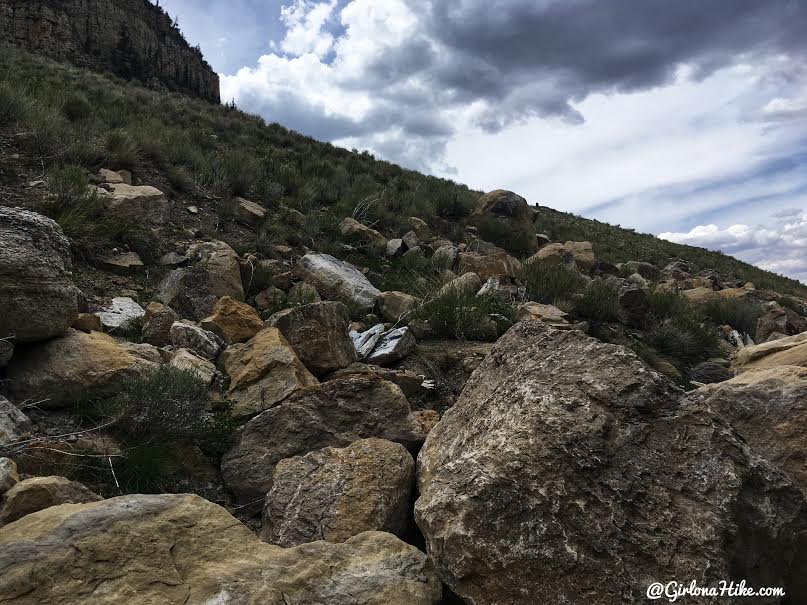
There’s no trail to exit, simply hike up the steep hillside at a diagonal and you’ll be back to your car.
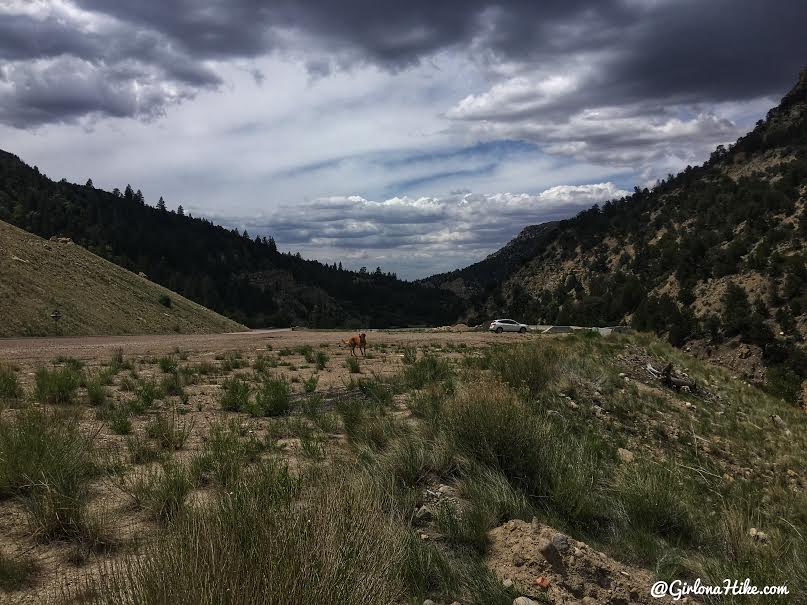
Hooray, the car is still there!
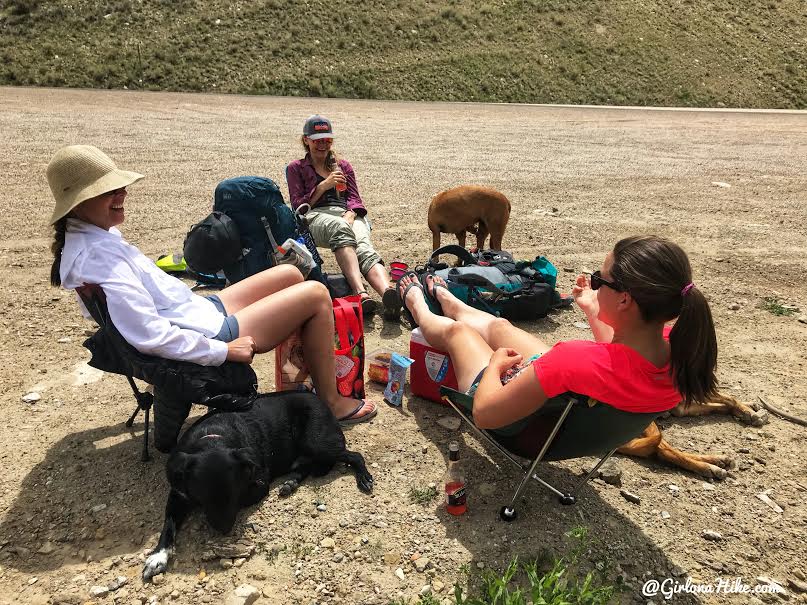
Hanging out drinking ice cold beers while we wait for our shuttle cars to come back to get us. What a wonderful trip! I would love to do this one again in the Fall. We were also really glad we backpacked this instead of doing it in a day. We were all tired and sore from hiking over the rocky river all day. I couldn’t be live how sore my legs and hips felt, and I hike a lot! LOL! I would definitely backpack this route again.
Trail Map
You can see that we hiked up Rattlesnake Creek a little ways (on the orange track). We heard there was a waterfall, but we never found it. Technically you could hike all the way down Rattlesnake Creek to meet the confluence of the gorge, but then you miss out on some of the best sections of the Ashdown Gorge. Following our route will provide the best views.

Save me on Pinterest!
