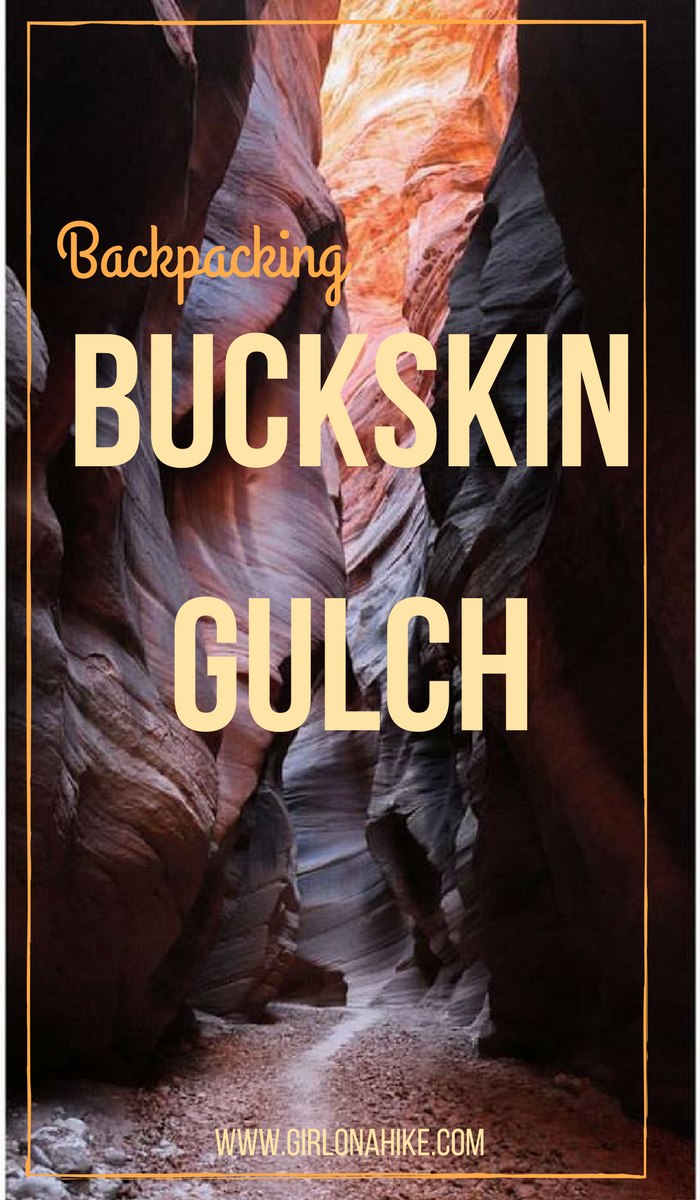

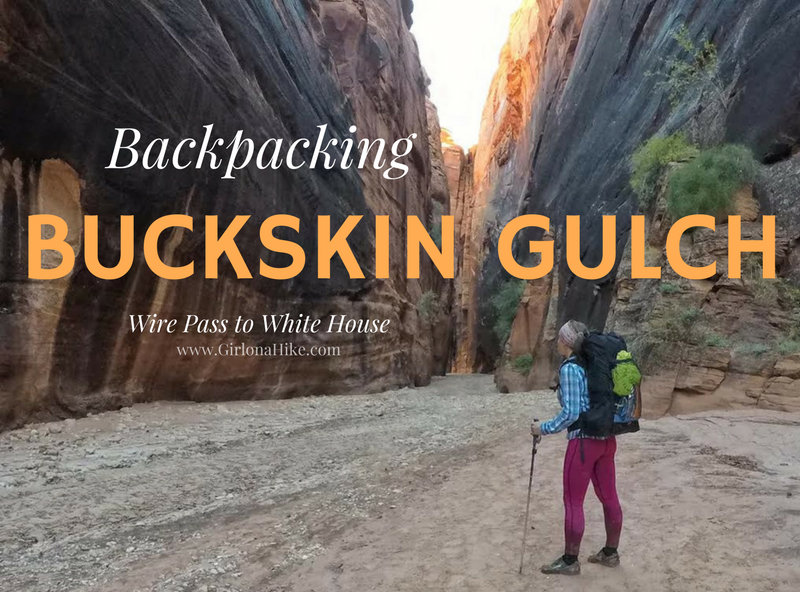
Buckskin Gulch: The World’s Longest and Narrowest Slot Canyon
Buckskin Gulch holds the title as the longest and narrowest slot canyon in the world. This serpentine wonder stretches for 45 miles, with towering rock walls reaching heights of 100 to 300 feet. At its tightest point, the canyon narrows to just 2 feet wide, creating a stunning yet intimidating path where the sky is barely visible.
Hiking Buckskin Gulch: A Unique Adventure
You can explore Buckskin Gulch in a single day or make it a multi-day adventure by carrying a full pack and camping inside the canyon. However, be prepared, as only 20 people per night are permitted to camp within this remote and incredible landscape.
Flash Floods, Muddy Pools, and Challenges
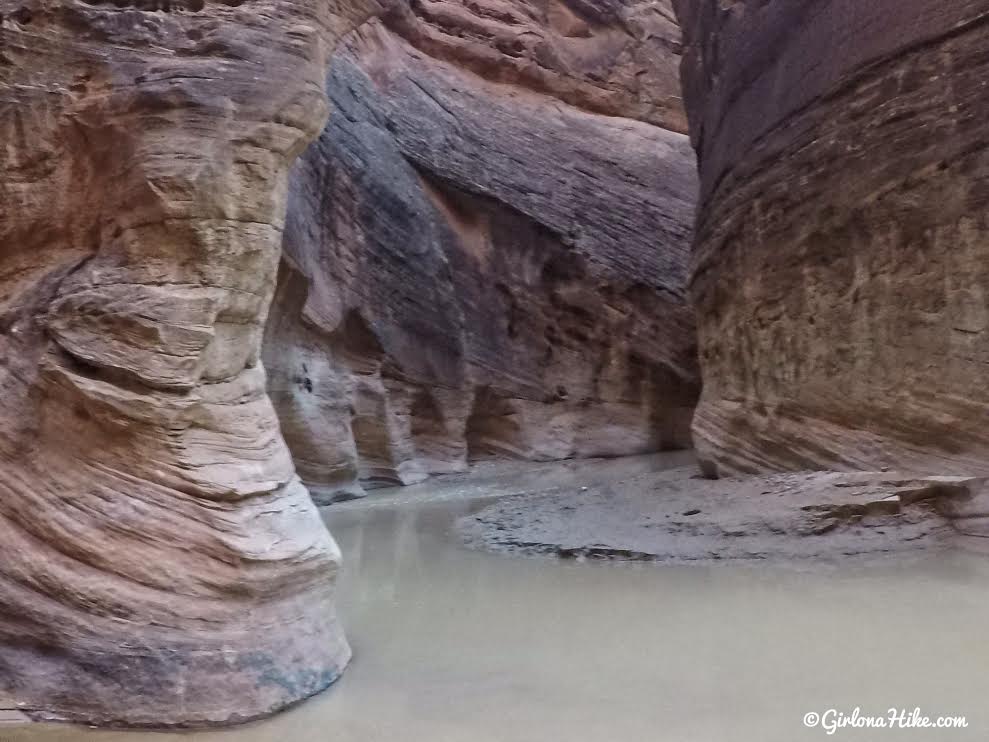
Buckskin Gulch is notorious for its flash floods and stagnant pools that rarely dry out. The pools are filled with thick, frigid, and muddy water that can be knee-deep or more, often with a texture like wet cement. These pools can be putrid and difficult to traverse, requiring hikers to wade or even swim through them. The thick mud sticks to everything, leaving you wet, dirty, and less than fragrant.
A Rewarding, Unique Hike
Despite the challenging conditions, hiking through Buckskin Gulch is an unforgettable experience. The ever-changing colors of the canyon walls shift throughout the day, adding a magical quality to each turn you take. The rugged beauty and narrow corridors make Buckskin Gulch one of the most unique slot canyons you’ll ever encounter.
This adventure is worth the effort—it’s a once-in-a-lifetime experience that will leave you in awe of nature’s beauty and power.
Directions
Directions are from Kanab, Utah
Trail Info
Distance: 21 miles point-to-point
Elevation gain: 720 ft (loss), 100 ft (gain)
Time: Day Hike – All day (12-14 hours)
Backpack – 1 night minimum
FAQs
How do I get a permit?
If you want to backpack you must apply in advance for permits online HERE. Permits cost $5/person and $5/dog – the fee is the same for both day hiking and overnight. You can pick up day permits at any of the four trailheads (Wire Pass, White House, Lee’s Ferry, and Buckskin TH).
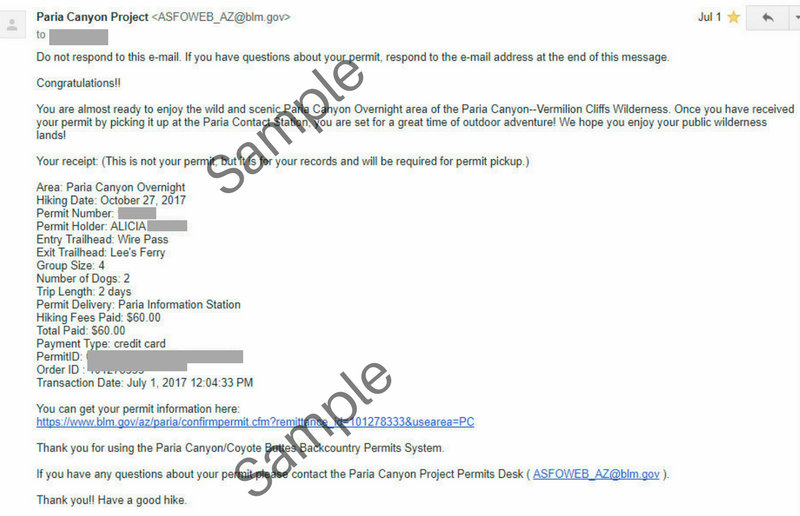
Make sure you read the rules on how to get the overnight permit towards the bottom of the BLM website. Since we wanted to hike in October, I had to apply for the permit on July 1st, and I found out right away that I got the dates we wanted. You do pay right when you apply. Overnight permits are limited to 20 people per day (dogs don’t count against the total), and is a cumulative total from all four trailheads.
Once you get your permit, you should get an email like this:
Planning Your Trip: Buckskin Gulch to Lee’s Ferry or White House
I made a big mistake when I first got my Buckskin Gulch permit: I didn’t fully research the canyon’s length and difficulty. Buckskin Gulch actually extends 44 miles one-way, merging into Paria Canyon. Most hikers take about 4-5 days to complete the trek from Wire Pass to Lee’s Ferry. However, I mistakenly thought I could finish it in a single night, which was impossible. As a result, I had to change my exit to White House, which isn’t technically allowed, but I informed the rangers ahead of time.
Lesson learned: Always research the canyon thoroughly and plan how many nights you’ll need. You can choose from 1 night (Wire Pass to White House) or 4-5 nights (Wire Pass to Lee’s Ferry). Make sure you know what route works best for your skill level and timeframe.
Picking Up Your Permit and Gear
You must pick up your Buckskin Gulch permit the day before your entry. Here, you’ll receive essential items like WAG bags, maps, and information on current trail conditions.
Best Time to Hike Buckskin Gulch
The best times to visit Buckskin Gulch are summer and fall, but each season has its pros and cons:
Summer: Temperatures can be extremely hot, even within the canyon. Monsoon season increases the risk of flash floods, making this a potentially dangerous time to visit. If flash floods are a risk, hikers are not allowed to enter the canyon.
Fall: Cooler temperatures and less chance of flash floods make fall ideal for hiking. However, flash floods can still occur, so it’s important to stay informed. The water remains cold, so layering is key.
Winter & Spring: These seasons are cold with shorter days, so completing the hike in daylight can be challenging. Expect to wade through frigid water, making these months less ideal.
Dog-Friendly Hiking in Buckskin Gulch
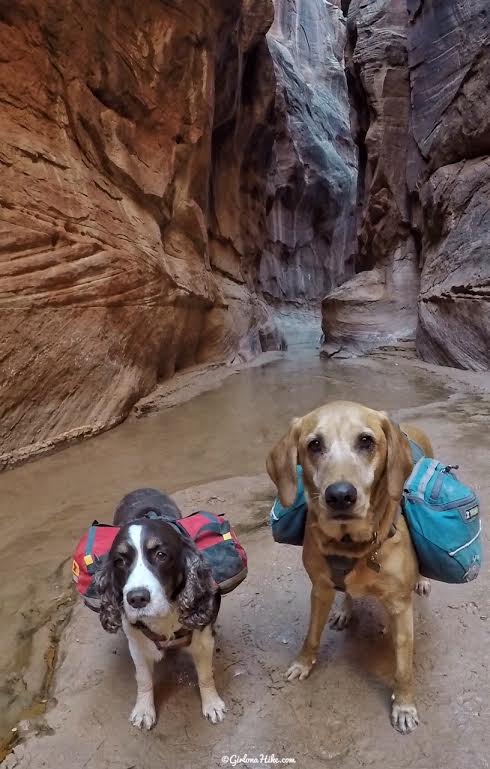
Dogs are allowed off-leash in Buckskin Gulch, but it’s important to always have a leash handy for safety, especially around wildlife. Your dog should be able to handle long distances, rocky terrain, and narrow canyon sections that may require swimming. Dog poop must be packed out.
Dogs also need their own permit, which costs $5 per dog. Be sure to get the dog permit at the same time you get your human permit. There are 3 obstacles where dogs will need assistance to descend, but ropes are only necessary for dogs over 70 lbs.
Is Buckskin Gulch Suitable for Kids?
Buckskin Gulch can be a great backpacking trip for kids, provided they have the necessary fitness level, experience, and ability to hike long distances. The trail is 21 miles point-to-point, so kids need to be able to carry their own pack, whether you’re doing a day hike or a multi-day backpacking trip.
Water Sources in Buckskin Gulch
Water is scarce in Buckskin Gulch, but you can typically find a water source at the Paria River confluence, about 14 miles into the canyon. There may also be a small, shallow spring near the first campsites, but we found it too mucky to filter. We waited until we reached the confluence for clearer, flowing water.
What to Wear for Buckskin Gulch Hiking
Clothing choices depend on the season:
Warm weather: Hike in swim shorts or neoprene socks and pants to retain warmth in the cold water. Wear trail shoes that you don’t mind getting soaked. For your upper body, wear layers: a tank top as your base, a long sleeve, and a puffy jacket or other warm layer.
Cold weather: In cooler months, consider neoprene socks and pants for warmth, and make sure you have plenty of layers for the upper body.
For my October trip, I wore normal hiking clothes on top and neoprene socks and pants for the lower half, which worked well for both days.
Buckskin Gulch Regulations
Make sure to read the full BLM Paria Canyon Permit website for regulations. Be aware of all rules to ensure a safe and legal adventure.
Recommended Guidebooks and Maps
I recommend using the following guidebook and a map for your Buckskin Gulch hike:
Guidebook: “From Here to Wow: Utah Canyon Country“
Maps: Ensure you also have a digital map, such as the Gaia GPS app, to track your route and create waypoints. You can download the map in advance and use it on the trail.
The ranger station provides a small map of the area as well.

Day 1 – 14 miles
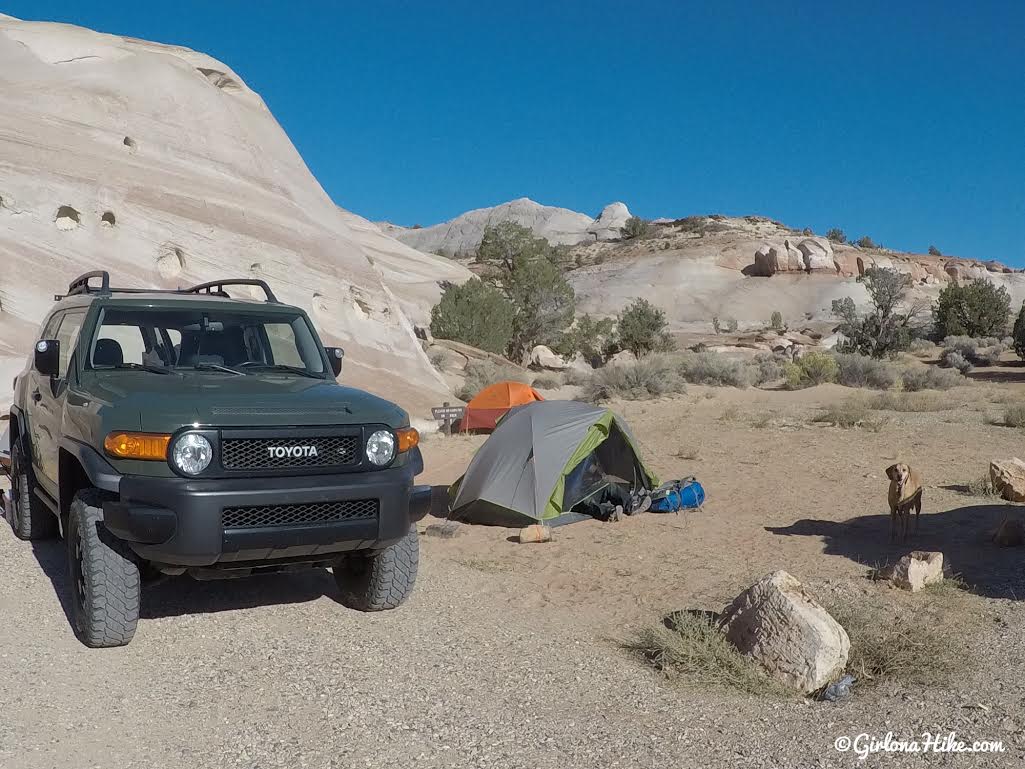
The first night we camped at the White House Campground/TH since we would need to leave a car there and this is where our hike would end on the way out. It’s a nice, small campground with about 6 campsites that even RVs can fit into. There is one port-a-potty, and a fire ring and table at each site. When we camped here there was a sign saying the BLM was doing improvements on the campground, so it was free to camp (there was no sign of construction or improvements being done, but we didn’t care!).
Wire Pass Trailhead 
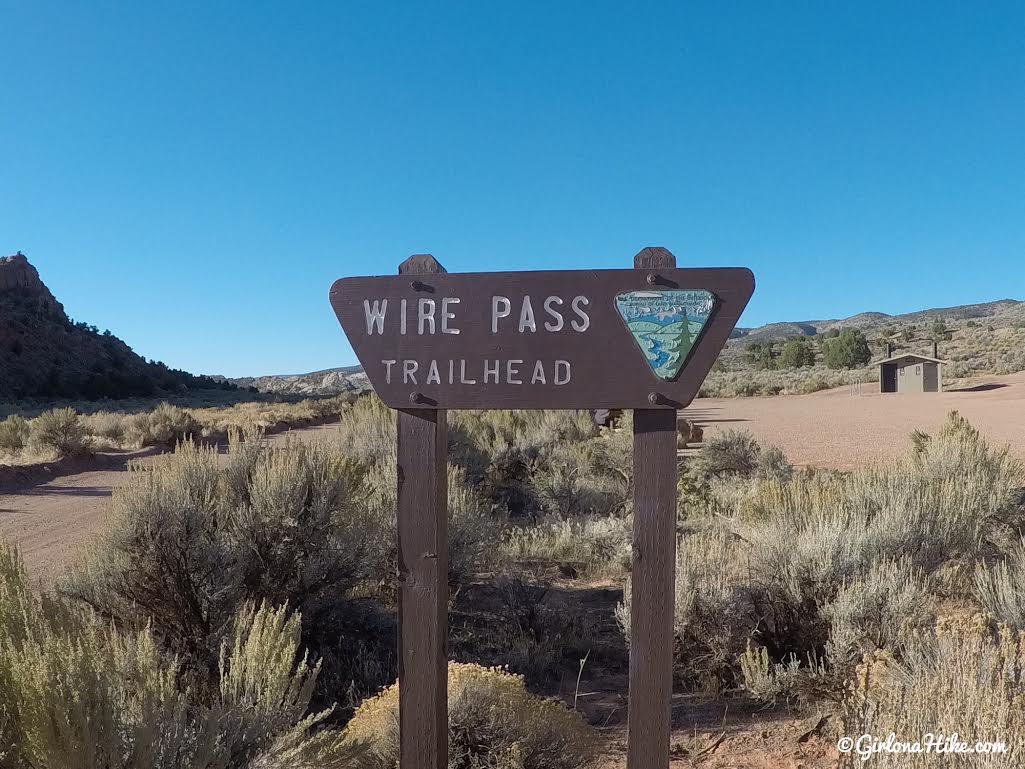
The next morning we headed over to the start of our route, Wire Pass. It’s the most popular starting point for Buckskin Gulch. There’s a huge parking lot (60-80 cars could probably fit there). This is where you can also pick up and pay for a day hike permit. You do need at least a mini SUV (or even better 4×4 drive) to reach the Wire Pass TH. Small cars won’t be able to make it since the road can be very rutted out, extremely sandy, or even washed out.
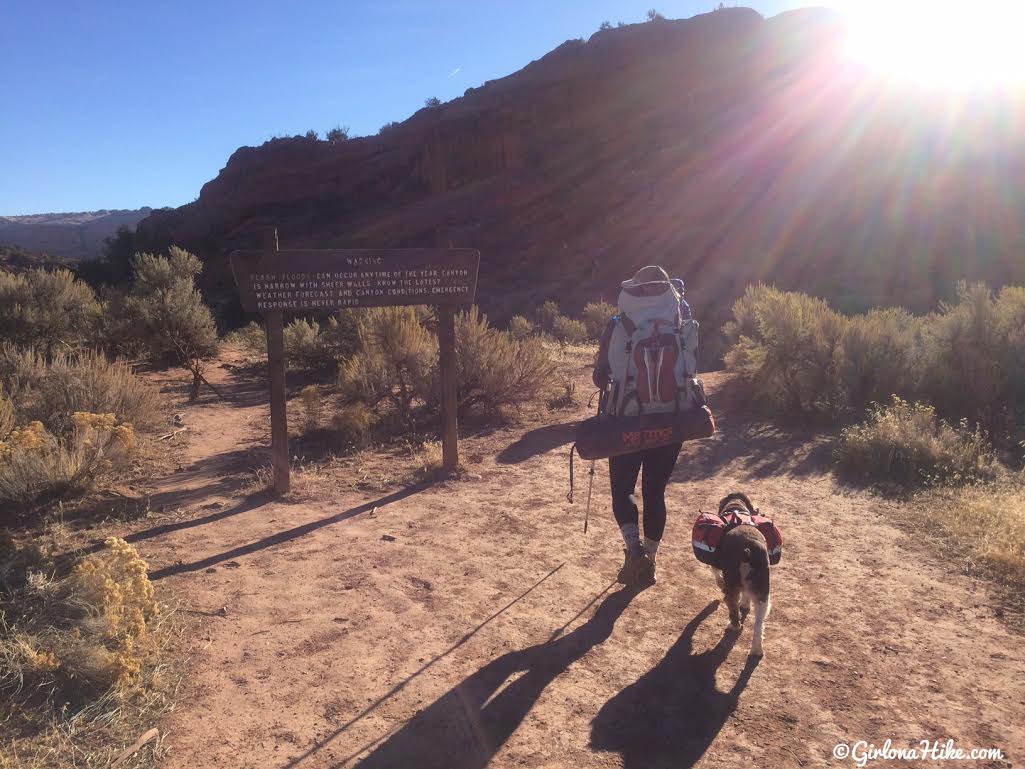
To start the hike, cross the road, hike past this big brown sign, and follow the wash to the left.
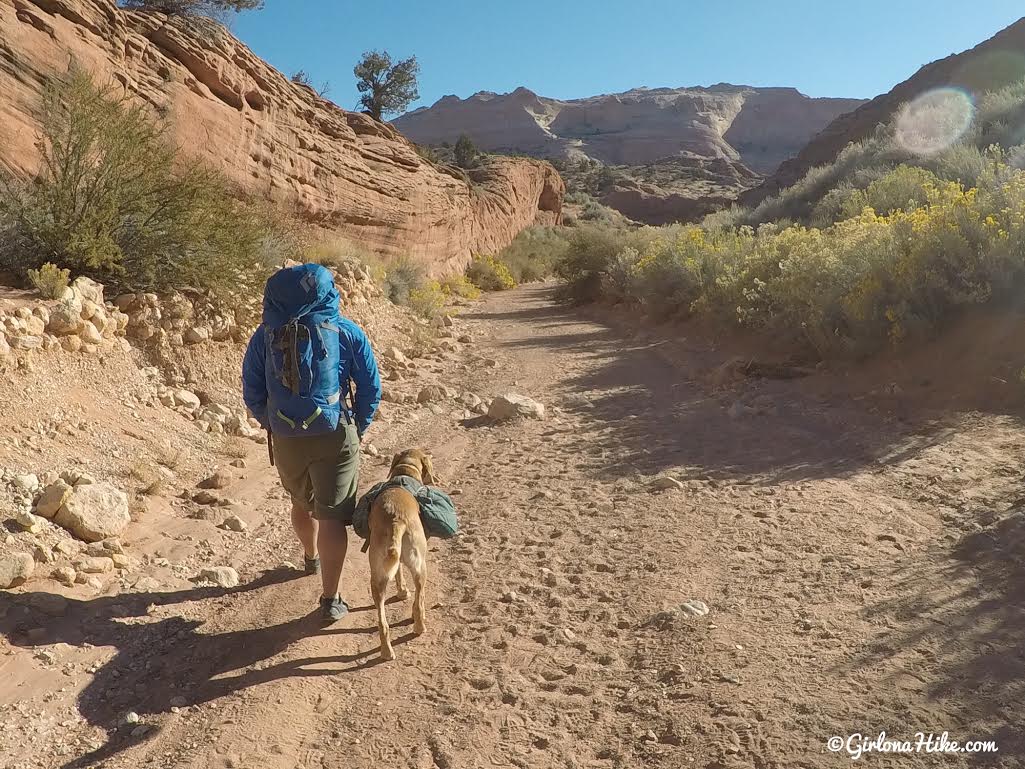
Hike in the wash for about 3/4 mile.
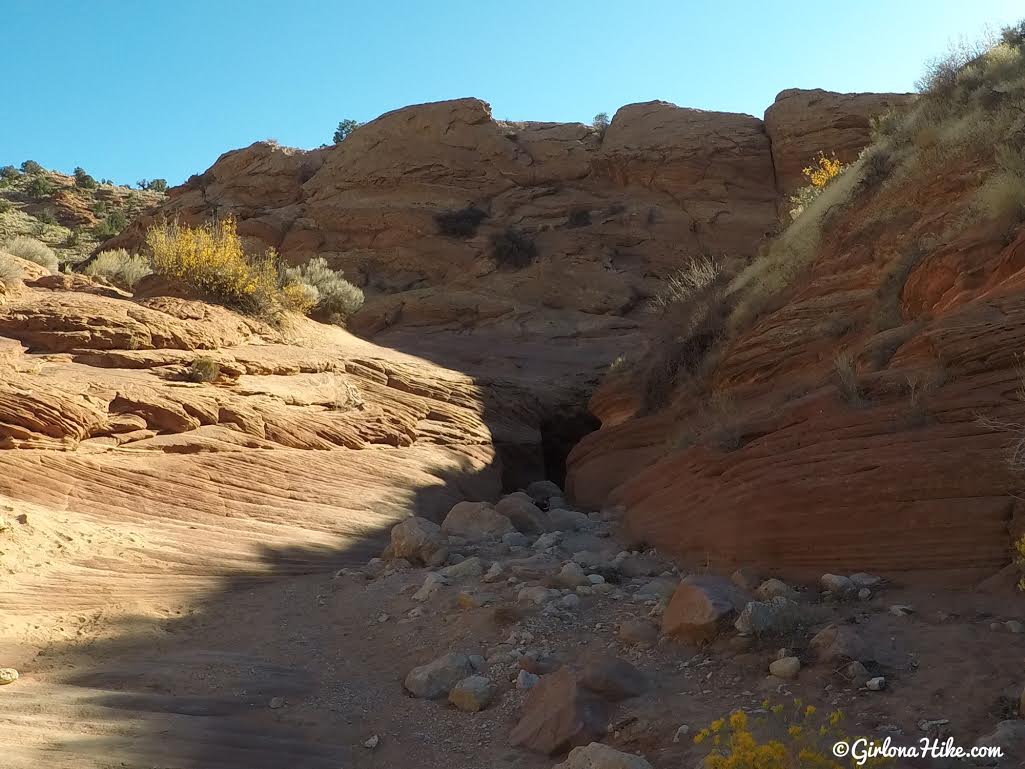
The start of the slot canyon! It looks so small now, but just wait!
You’ll reach the first obstacle within just a few mintues of entering the slot canyon. It’s a 10 foot drop that is actually fairly easy to get down. One person climbed down, we dropped all the packs down, then lowered the dogs by their harnesses, then everyone in the group got down.
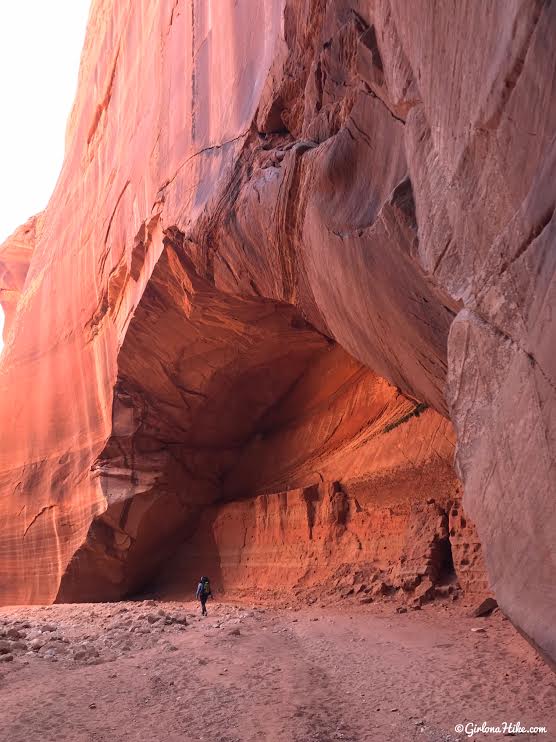
Just before the first confluence, you’ll pass this large alcove on your right. There’s a few petroglyphs here as well. Once you reach the confluence, turn right, and you’ll now be in Buckskin Gulch proper.
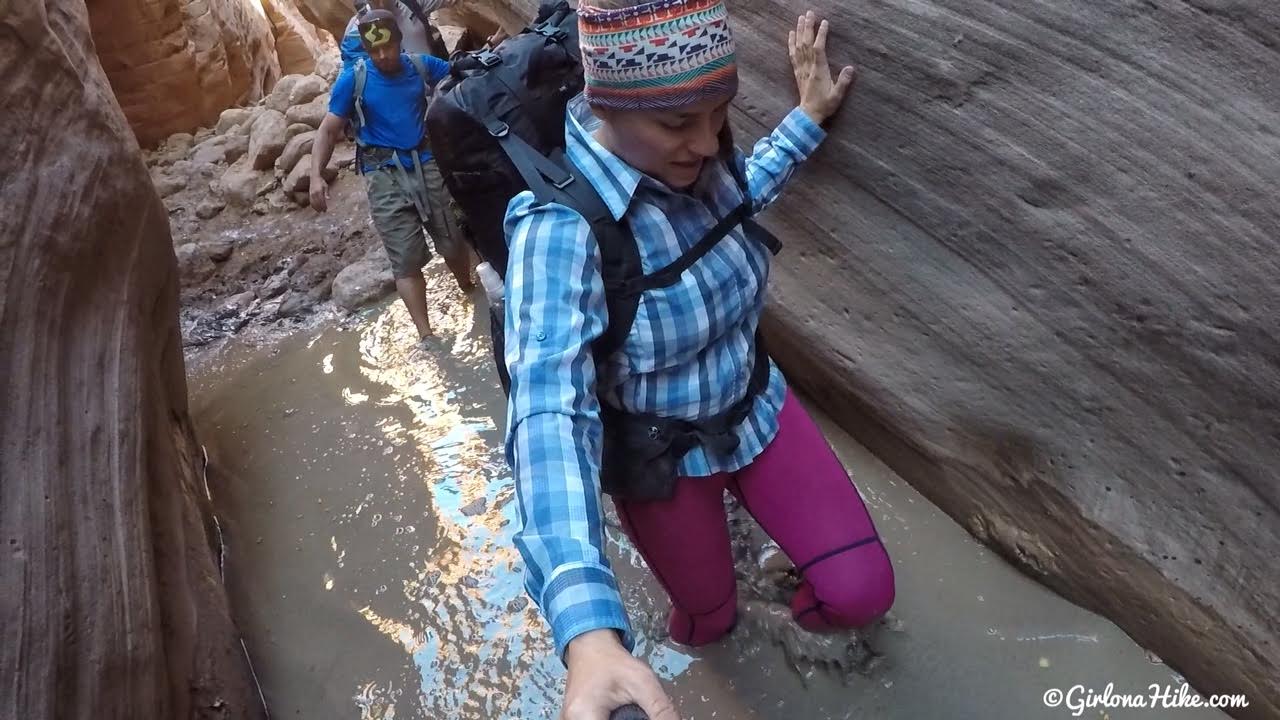
Within the first few minutes of turning at the confluence, we were met with our first mud pool, yay! Most of the pools we waded through were only knee deep. Head over to my Instagram (@girlonahike) to watch the video for this section!
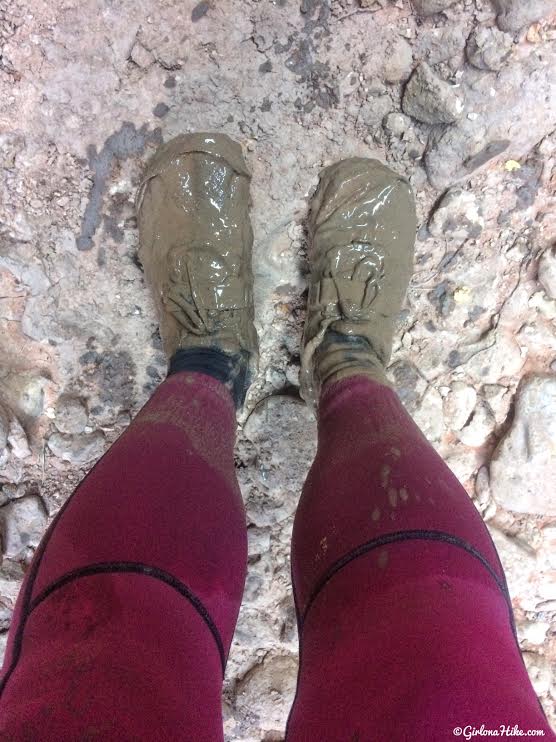
Now you can see why I don’t recommend wearing your “good” hiking shoes! Wear old shoes you don’t mind getting totally muddy, stinky, slimy, and gross and that you are ok with just trashing when you get done with the hike. There was no way I’d be able to save my trail runners, so I already planned out that I’d (sadly) be throwing these away. I also don’t recommend wearing shoes with holes like Keens or Chacos – there’s some nasty ass junk in this water that would be creepy between your toes, not to mention you’d be stopping to get mud and rocks out of your shoes after each pool.
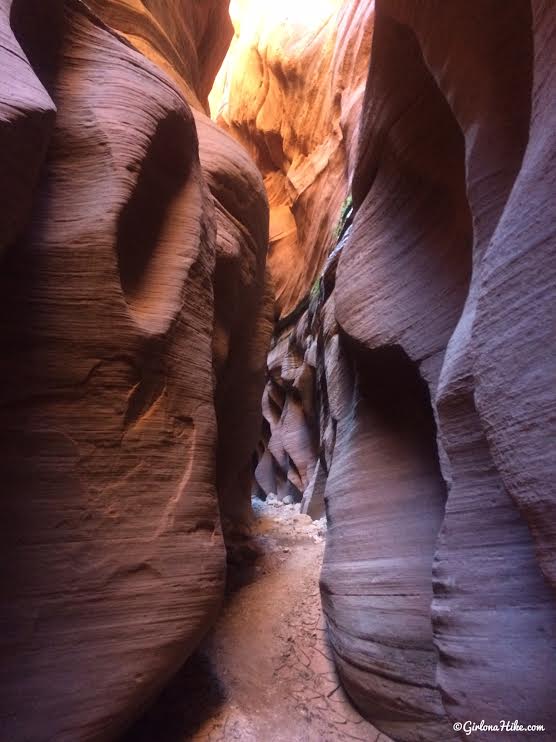
In between pools of water, you get to enjoy the molded canyon and varying colors. It really is one of the coolest slot canyons I’ve been in.
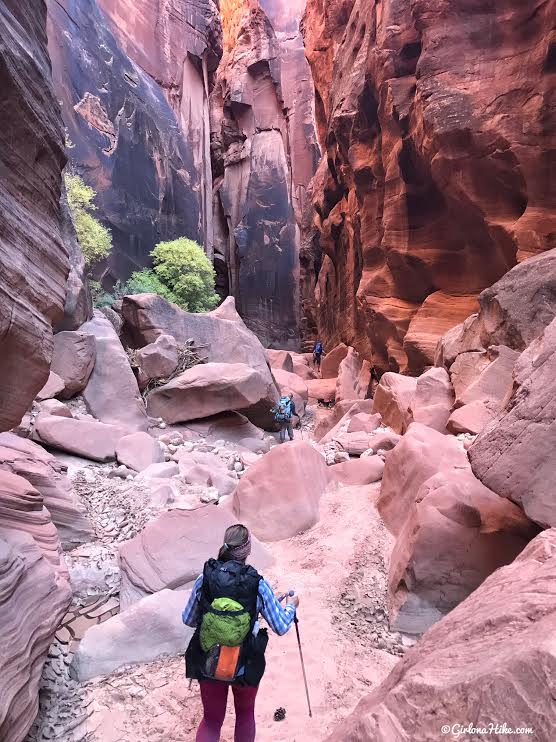
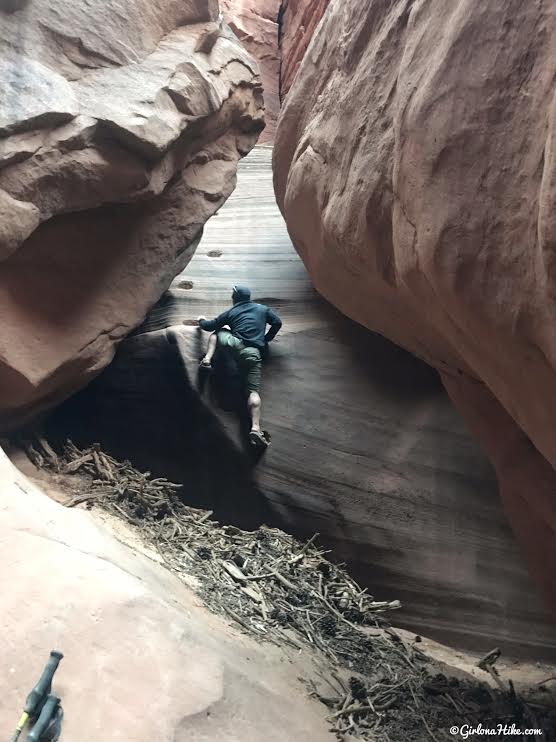
There are a few sections of hiking through large boulders, but it’s not hard to maneuver around.
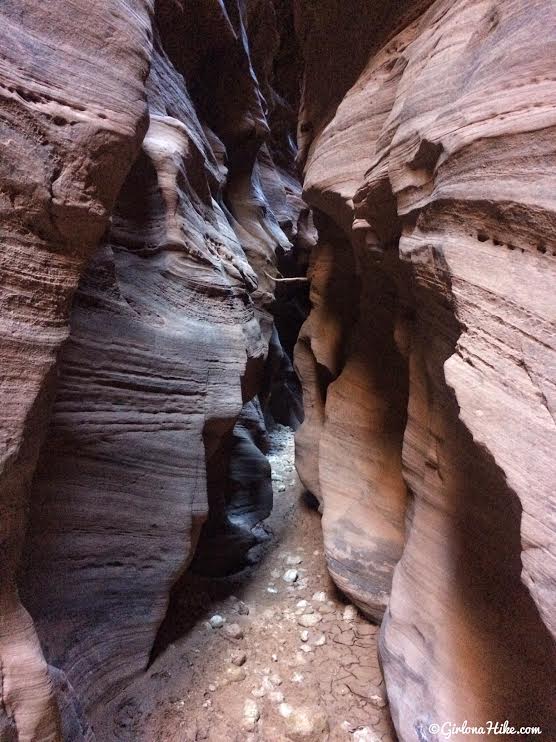
More slot canyon goodness!
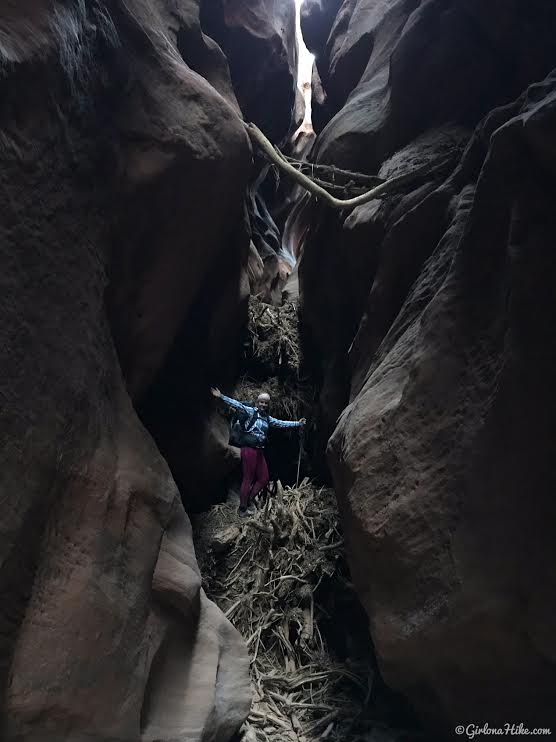
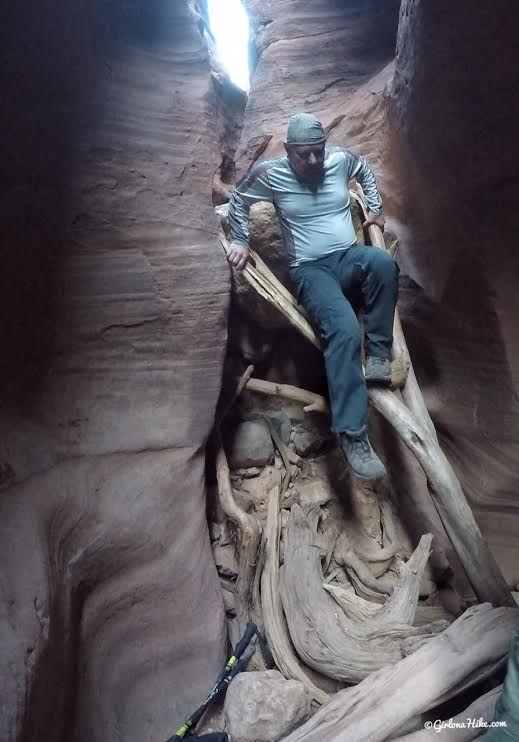
Another obstacle is climbing over this 10 foot tall built up wall of logs and debris. Charlie needed a boost over this, but it’s not hard for people to climb over, even with packs on. You can see there’s another large debris pile above my head but you hike underneath that one.
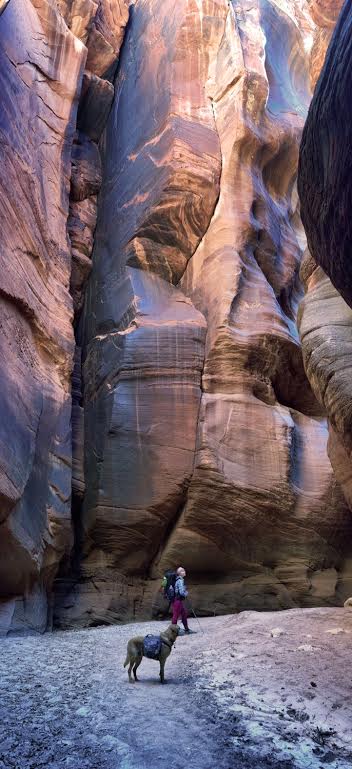
Photo by @iboyer
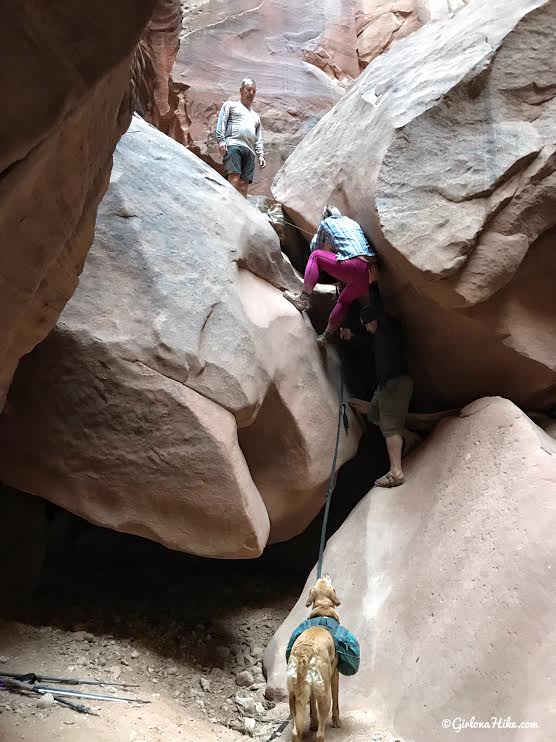
The last obstacle – getting down either the moqui steps or if a rope is available, a short down climb over boulders. Just like the very first obstacle, one person got down first, we lowered the dogs and packs, then the rest of us followed. I was SO glad there was a rope to get down, there was no way I (or Charlie) would be able to get down the moqui steps.
Ian tried to climb up this just to see what it was like, and because the wall is vertical, there’s no way we could have either lowered or held onto Charlie as we got down. You can also see how far apart the moqui steps are from each other. His lowest foot is also the first (or last depending on how you look at it) step to get up, which is about 3-4 feet off the ground. Supposedly the BLM comes through and removes any human-placed ropes in the entire canyon (I don’t know how often), so it might not be a bad idea to bring a rope to lower the dogs down with their harness, or even just your packs. Don’t expect to see a rope for any obstacles to help you down. Once you reach this obstacle, you are only about 1 mile or so away from the first campsite.
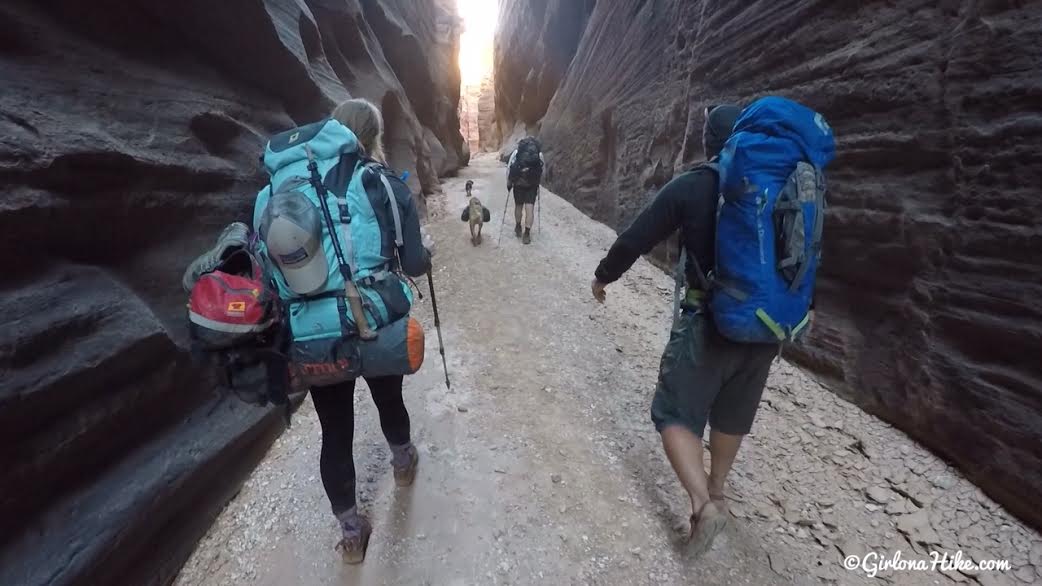
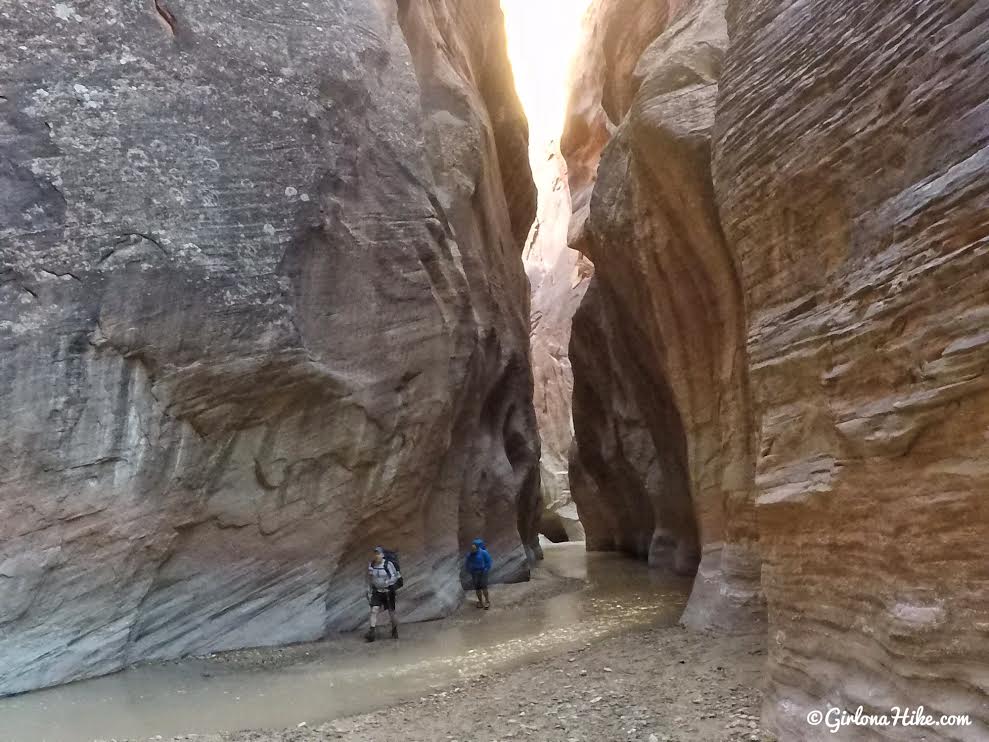
Some of my favorite sections of the canyon where the long, straight, hallways of rock.

My first WAG Bag experience!
This was the first time I’ve ever had to carry pee and poop out of the canyon, and let’s just say it isn’t as easy for women to pee into this thing! The trash bag unfolds itself to about half the size of a normal trash bag (that would be alot of poop, just sayin’), and they also give you one hand wipe (mine was dry), and a small roll of TP. Inside the trash bag is some loose silicone to ward away smells. You do your thing into the bag, then tie it and roll it up back into the grey ziplock. Then you have to carry it around with you for the rest of the hike. It’s not the best nor most appealing thing in the world, but it must be done in Buckskin Gulch.
You also have to carry out dog poop and pee. Now, there’s no possible way to quickly get the WAG bag out of your pack, open it, and catch your dogs pee every 100 ft but, it’s easy to clean up the poop. Each time the dogs pooped, I would open up the main trash bag, and try to scoop it up but my problem was that their old poop would fall out! Here’s what I should have done – bring regular dog poop bags, then put those inside the WAG bag. No mess or clean up. Done.
That was a lot of talk about poop, let’s move on!
Gear Dogs Should Have
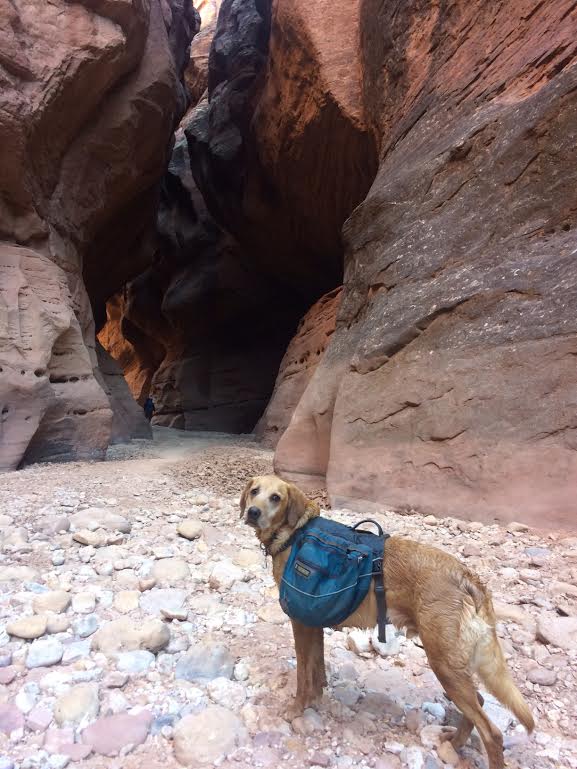
Charlie is ready to keep hiking.
Here’s what he carried in his pack
Dog food
small leash
I carry a lightweight down blanket (the one from Costco) for him to sleep on at night for warmth and insulation.
Check out my post on Backpacking with Dogs!
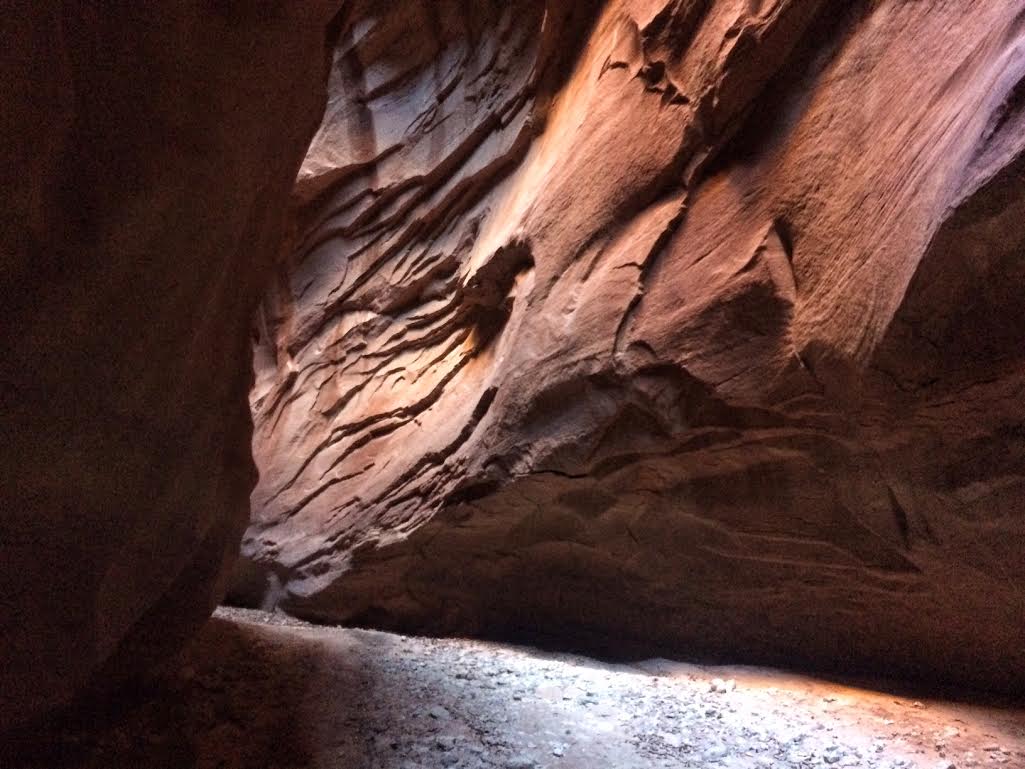
More dark passageways.
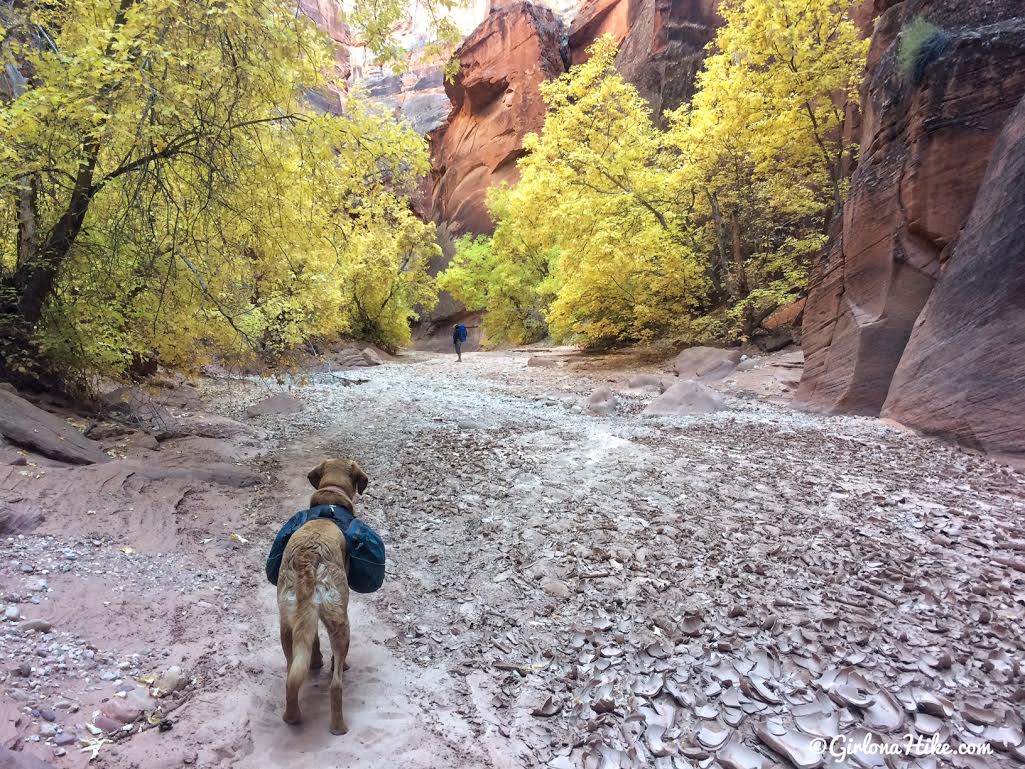
I thought late October was the perfect time to hike through Buckskin Gulch because the Fall colors were amazing!
The Cesspool
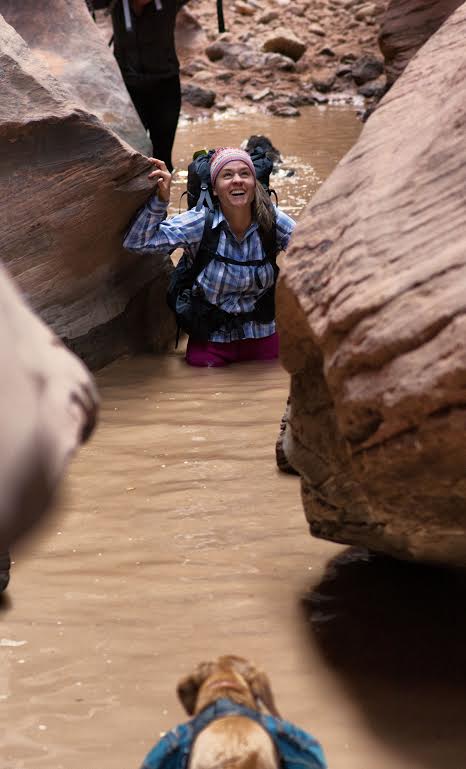
Photo by @iboyer
The famous “cesspool” of Buckskin Gulch could be your worst nightmare, not so bad, or some years totally dry. I was expecting the worst like in this video, but it actually wasn’t bad. For us it was only hip deep, and even though it did stink, it was nothing like I had imagined or read about. While mentally prepping for this trip I kept telling myself, “this will be just like doing the Mud Run!”
Ian was wearing Chacos, and said he felt some really odd/nasty things in his feet and I was once again SO glad I wore my old trail runners with neoprene socks so I wouldn’t feel any of that. He’s very good at catching my reactions to things in photos, and when he showed this to me, I would have never thought I’d be smiling through the cesspool! I’m pretty sure I just said something like, “Oh sh!t, I just sunk down to my hips in this crap!”
And as long as you swear a lot, don’t think about the e.Coli or dead mice in the pool, you’ll be ok!
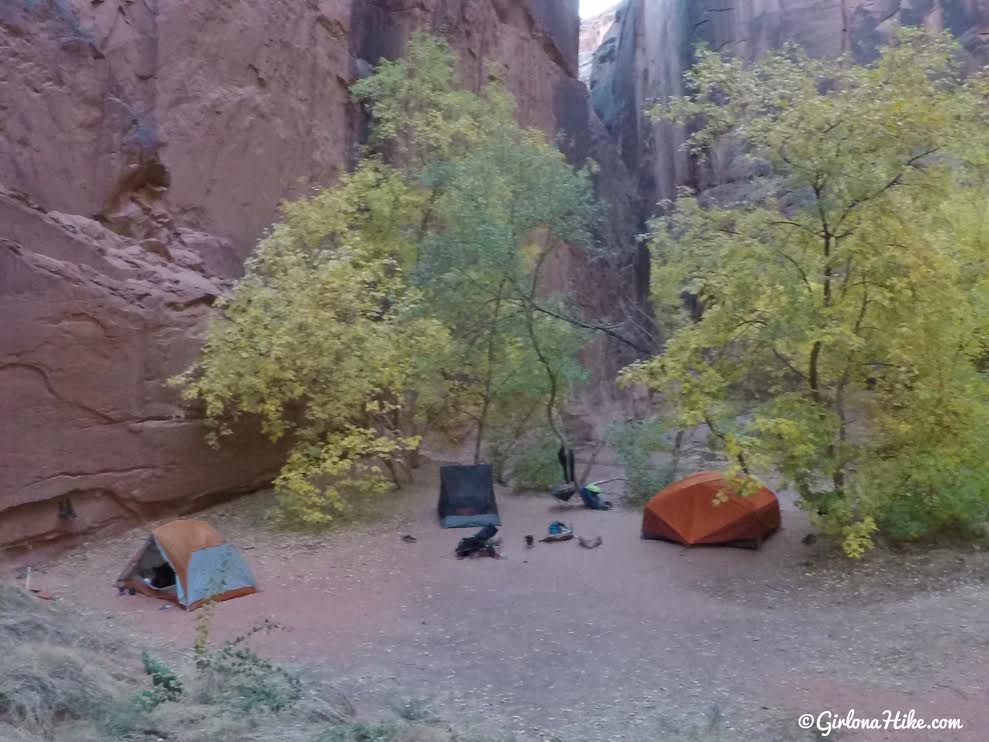
Finally, after 7 hours, we set up camp at the first viable campsite 14 miles in. I would highly suggest bringing a lightweight camp chair, since there are no rocks or logs to sit on.
Day 2 – 7 miles
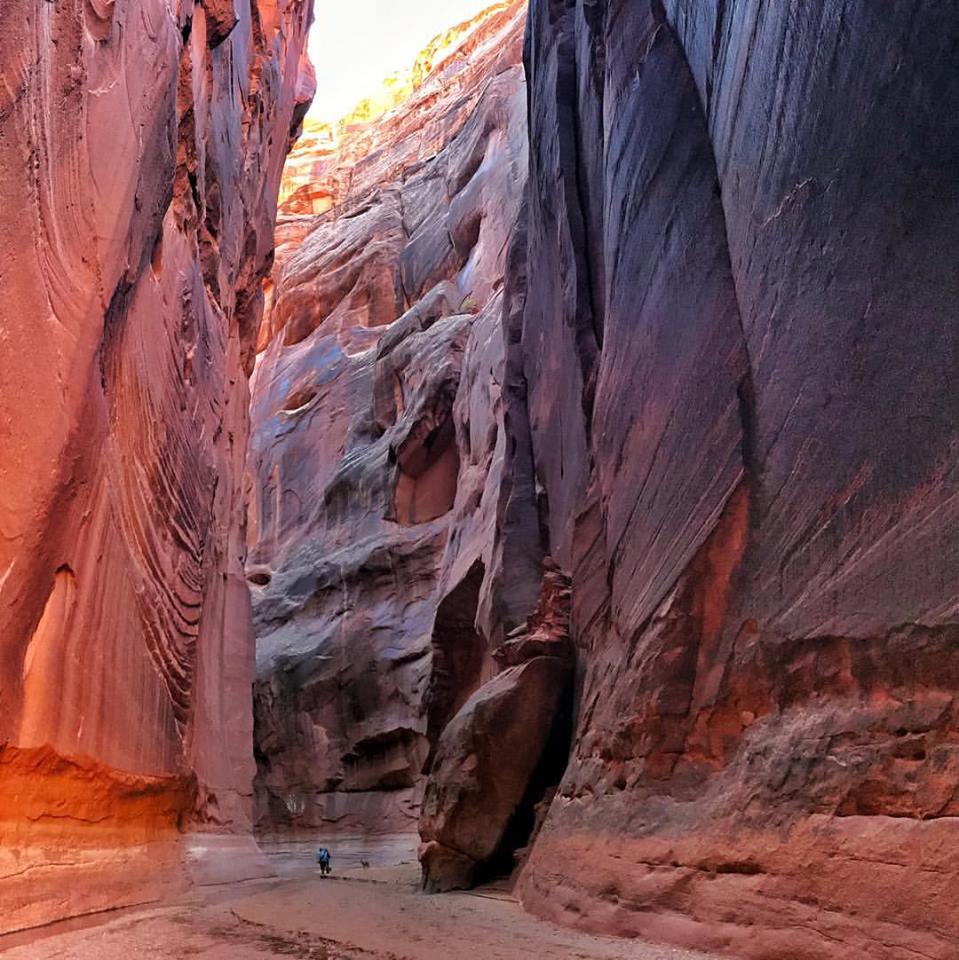
Photo by @iboyer
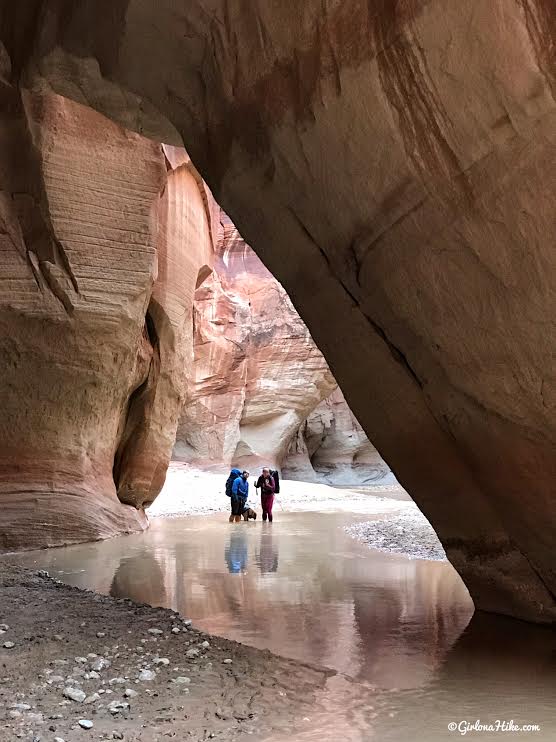
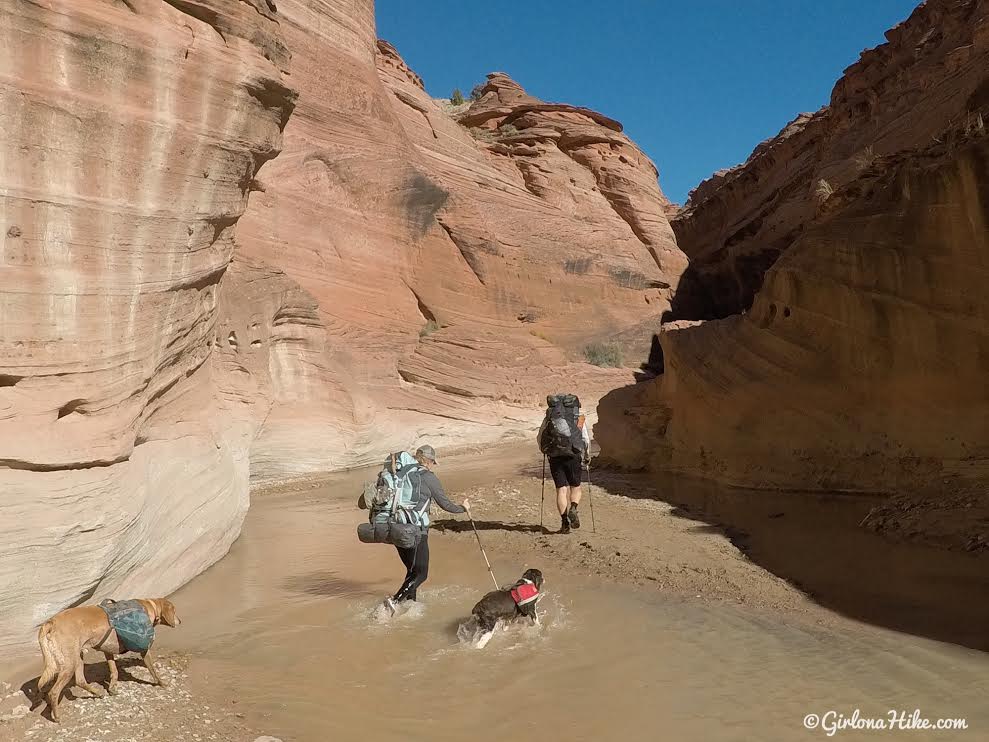
Once you leave the campsite, you’ll once again be among really large canyon walls.
Within 10 minutes of the campsite, you’ll reach the Paria River confluence – the exit for White House TH. This is also the first best place to filter water.
The dogs were sad to be leaving Buckskin Gulch! They did such a good job!
Once you reach the Paria River, you’ll be walking in and out of water for the next 7 miles.
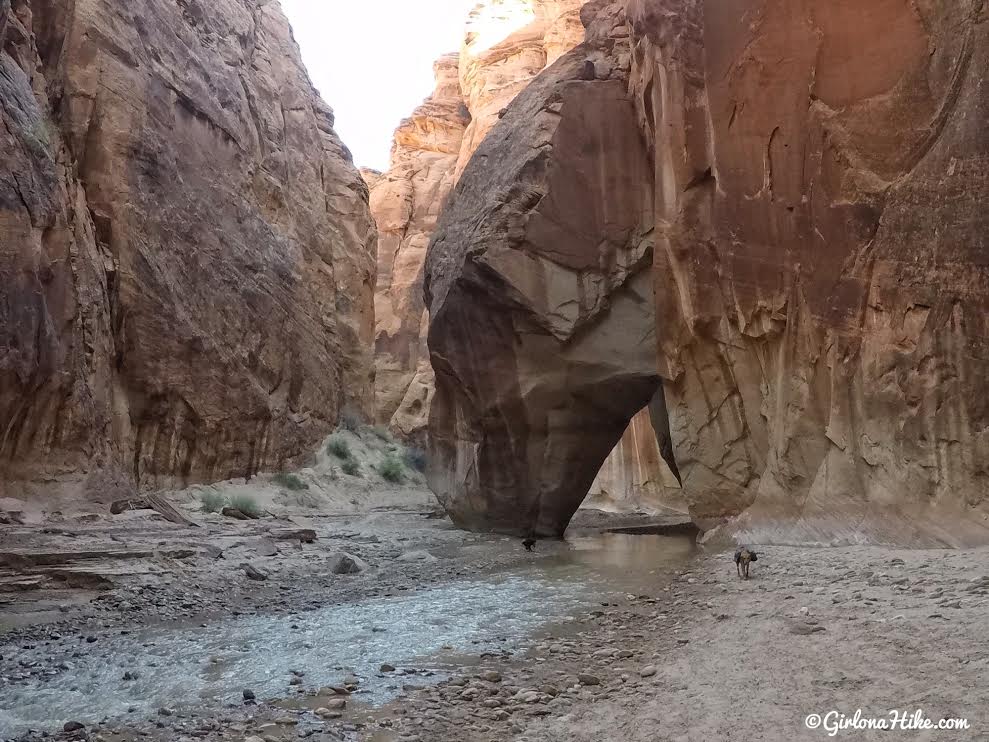
The famous, large boulder in the middle of the Paria River.
It makes for cool photos!
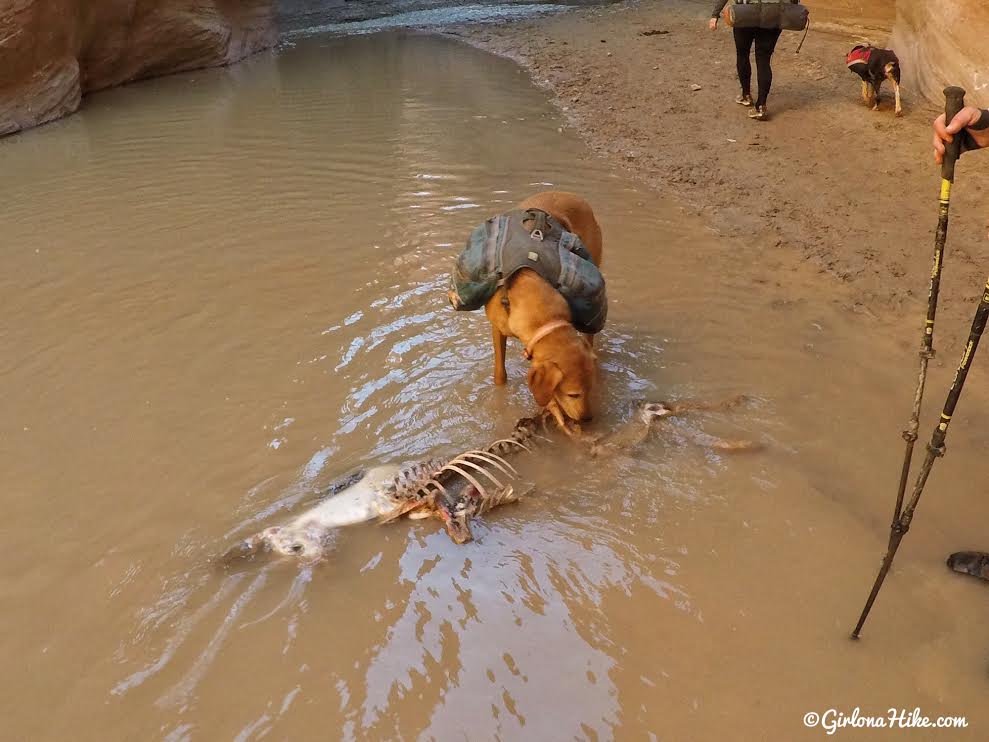
Charlie inspects a dead deer in the Paria River. We also saw a tiny fox in the canyon that appeared to have broken its front paw.
About halfway, the canyons drastically get lower on each side.
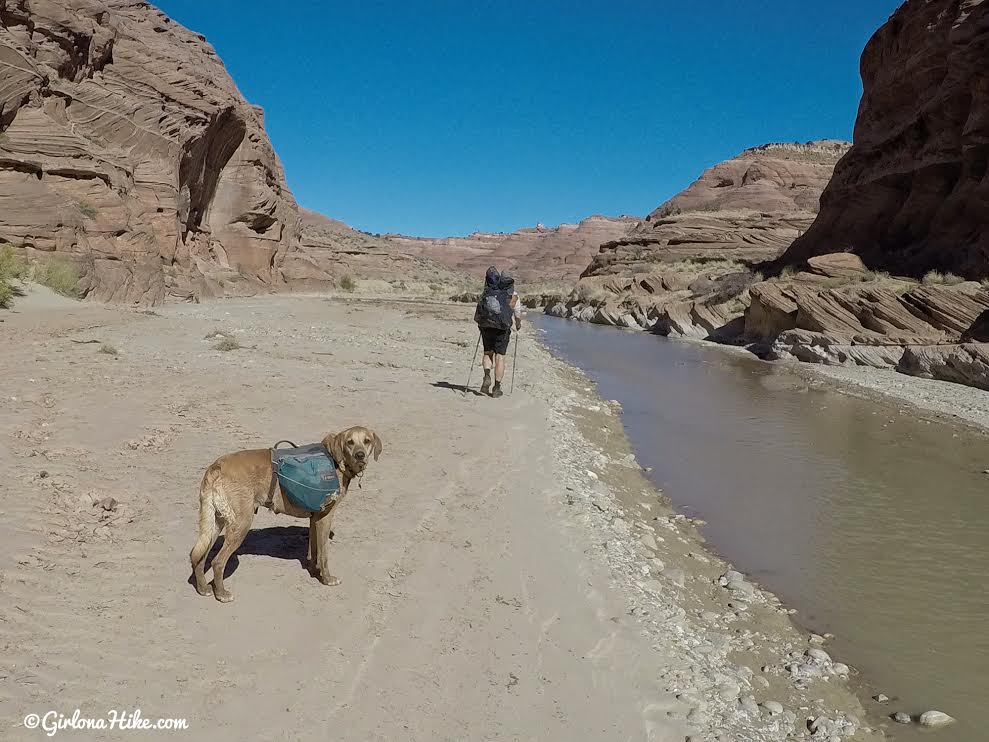
Charlie was starting to look tired. We still had about 3 miles to go!
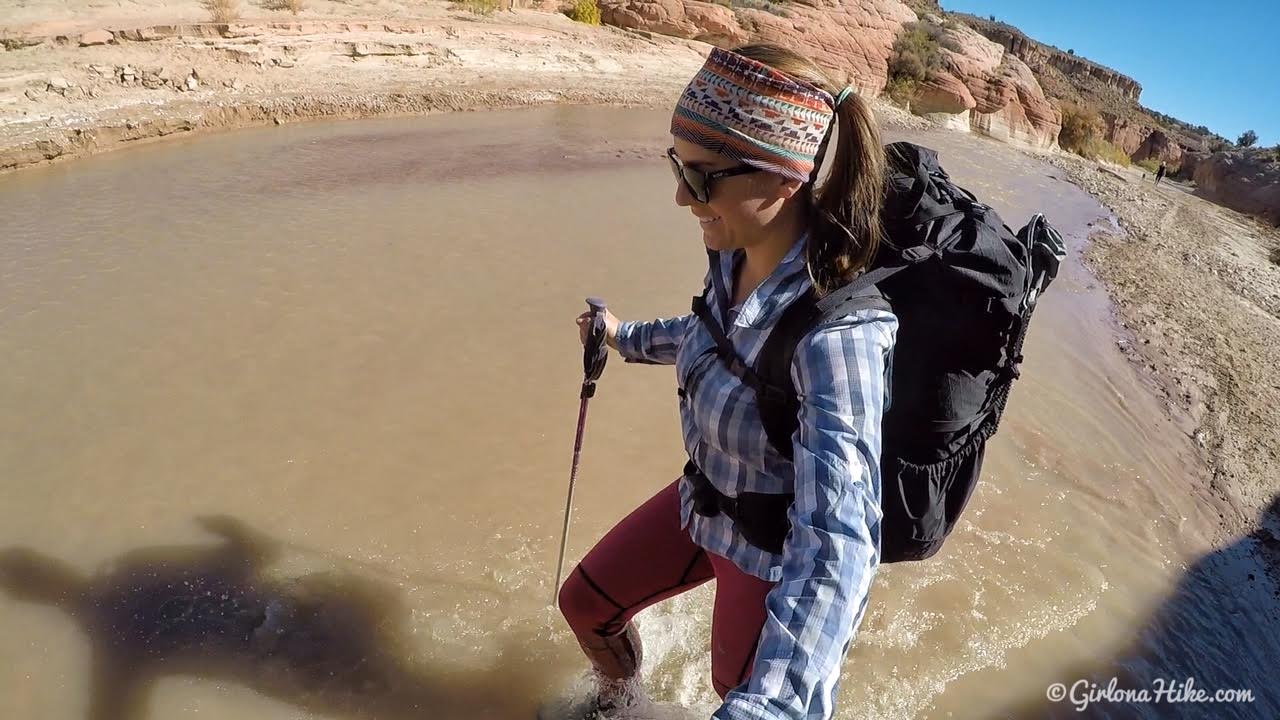
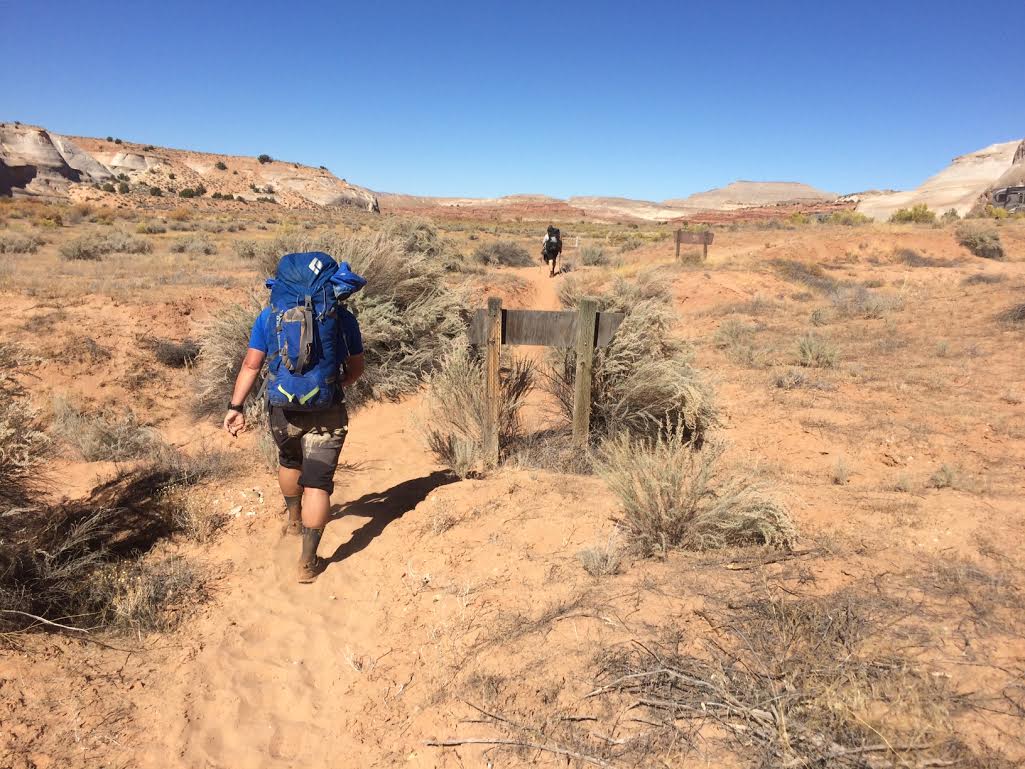
Huge shoutout to Waymark Gear for letting me use their heavy-duty, ultralight 50 liter backpack! At only 34.6 ounces, this pack was put through the test during this trip and excelled in all aspects – plus the packs are made in Salt Lake! Gotta love local.
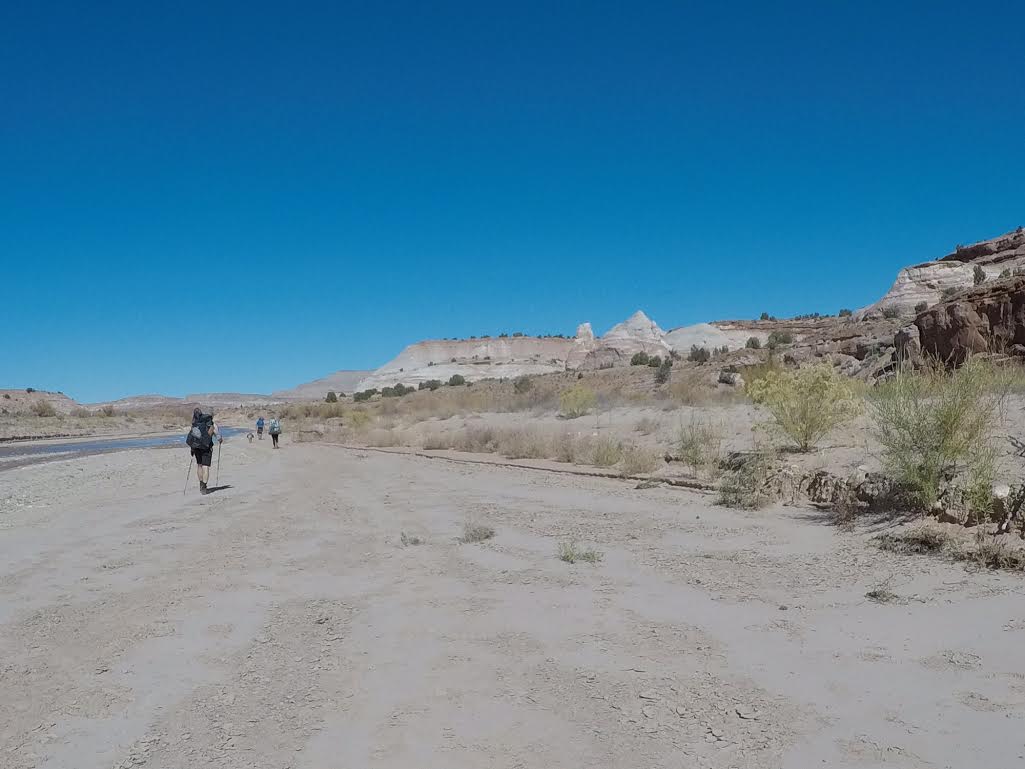
You’ll hike through a very large, open dry wash as you get closer to the White House Campground/TH. When you see the white wall ahead of you, you know you’re close.
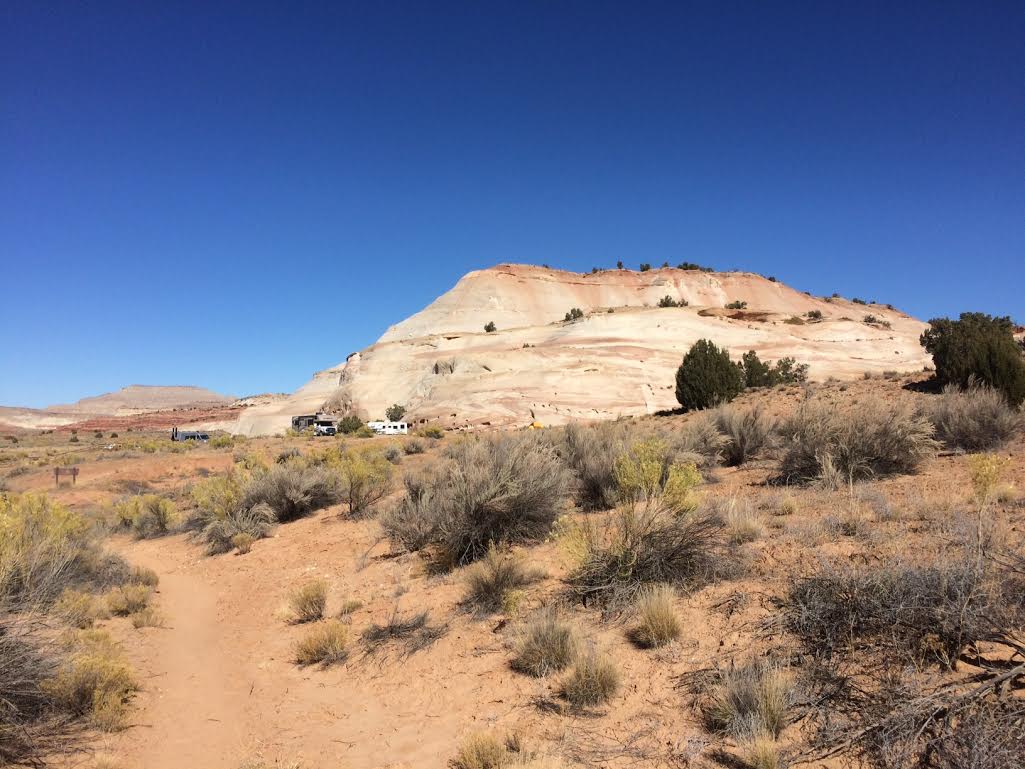
Approaching the campground.
Almost back to the cars! You can see Ian was pretty dirty – we were all hot and ready to be done after only 7 miles. We got back to the car, and while the drivers went back to Wire Pass to pick up our other car, we sat in the shade of someones car, drank beer, and ate some snacks we had kept in one of the coolers.
Trail Map
You can see that my Gaia GPS stopped tracking for one section, and at times there are straight lines. Most trackers have a hard time getting exact coordinates in deep/narrow canyons, but it shows the general route. The yellow pin is for the campsite.
Also Check Out
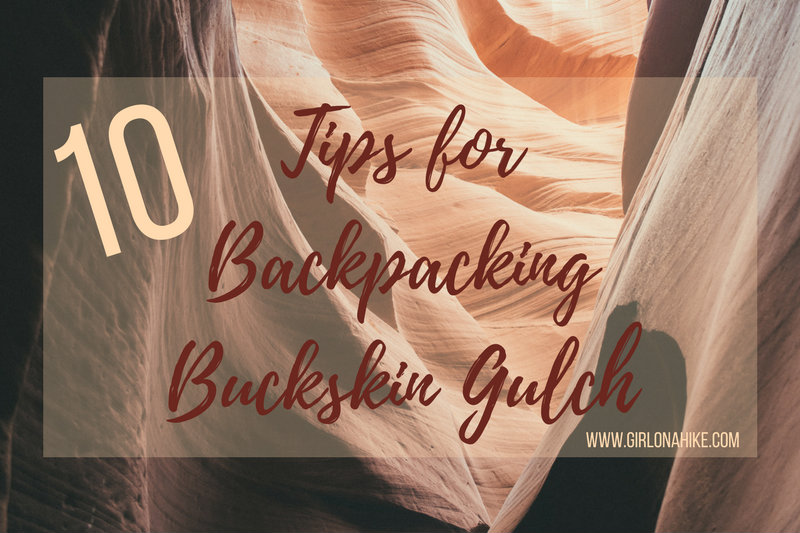
Top 10 Tips for Backpacking Buckskin Gulch!

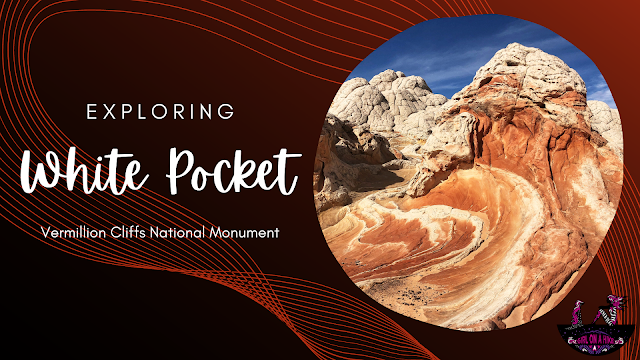
Exploring White Pocket, Vermillion Cliffs National Monument

Save me on Pinterest!