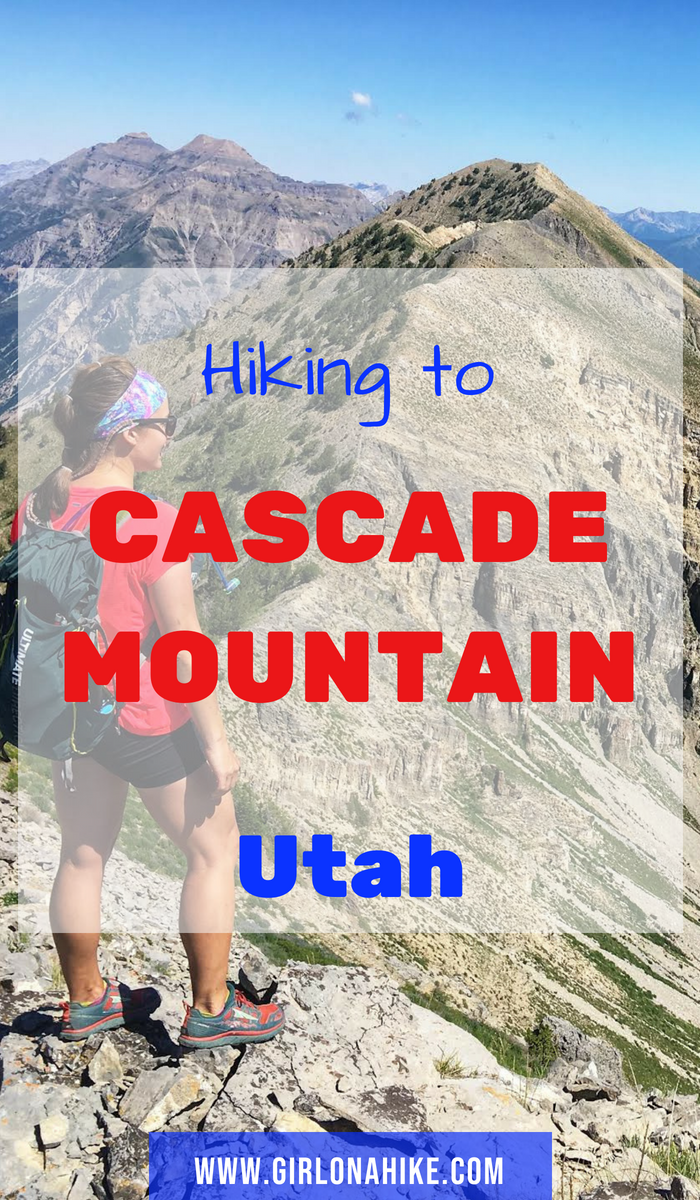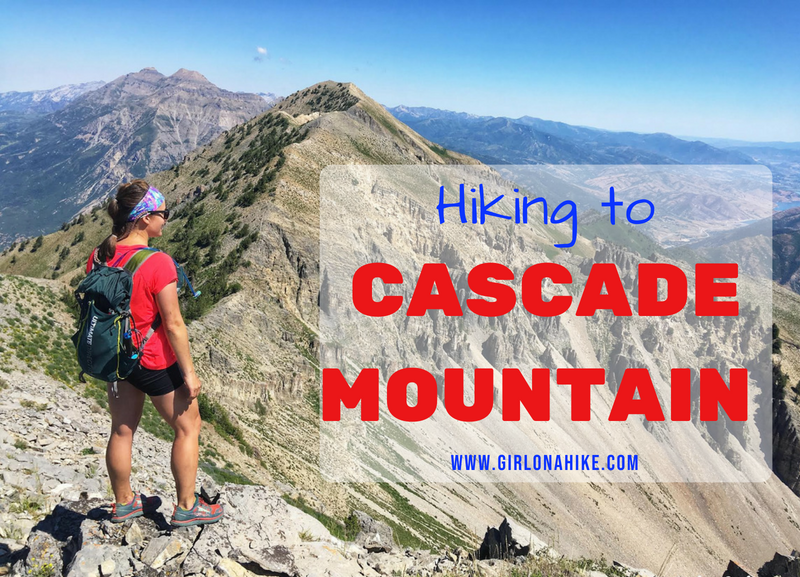

Cascade Mountain (10,908 ft) is the large mountain located directly above Orem, Utah and is one of the “Wasatch 7” Peaks. Not many people hike to summit, as it requires a full day and all routes are difficult. However, for Peak Baggers it’s a must. It’s crazy how just to the north of Provo Canyon is one of the most popular summits – Mt. Timpanogos. It’s also interesting how different the terrain is compared to each other, and how much more difficult Cascade is.
About
There are several routes to reach the summit
Upper Pole Couloir
This is the most popular route, as it is the shortest in distance. It’s 2.2 miles to the summit, however it gains 3,600 ft. There’s no trail, and it requires some route finding. You should be comfortable with very steep inclines, as well as bushwhacking. This is the route we down back down to the car.
Dry Fork Trail #060
This is the 2nd most popular route, as it follows a trail for most of the way. You begin by hiking up Dry Fork, where you’ll hike near the base of Freedom Peak, then reach the saddle. From the saddle, the trail turns into a climbers route, requiring more route finding, some light scrambling, and a lot of up and down hiking. This route is 6.75 miles to the summit with 3,800 ft elevation gain. This is the route I will be describing for our hike up.
Big Springs
The least popular route is via Big Springs Park, beginning on the East side of Cascade Mountain. This route is roughly 6 miles to the summit and closer to 4,000 ft elevation gain, though I’ve heard this trail has the most downed trees and overgrowth.
Whichever route you choose, start early (no later than 6am in summer). This is a long, dry, and hot trail. Be prepared with plenty of water and food. On big peaks I like to carry a separate water bottle that I can drop a Nuun Hydration Electrolyte in to help ward off dehydration and headaches on the summit. Cascade Mountain is one of the most avalanche prone mountains, and therefore the best time to do this hike is sometime between July – October when the road is open, and the trail is free of snow.
Directions
From SLC head south on I-15 and take exit 272 for 800 S. Use the left lane to curve onto HWY 189 to enter Provo Canyon. Drive 4.1 miles and turn right at the brown sign for Squaw Peak Overlook. From here, reset your odometer. At 4.1 miles turn left at the “T”, and the road becomes a well-graded dirt road. Drive another 6 miles exactly, until you see a small pullout on both side of the now rough dirt road for Trail 060 on the East side of the road, and the Rock Canyon TH on the West side of the road. Park here if there’s room, or find parking long the dirt road nearby. Small cars will not have enough clearance to reach the TH, but SUVs or larger will be fine driving slowly. Even though it’s only 10 miles total from the Provo Canyon turn off, driving this road will take closer to 30-45 minutes.
Here’s a driving map.
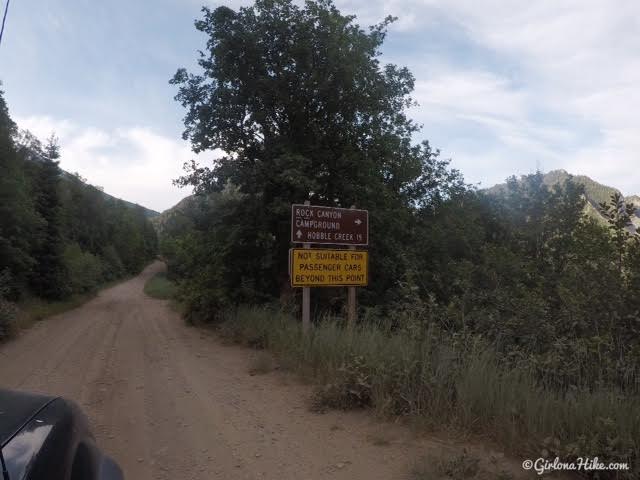
Just want to emphasize that small cars will not do well past this sign. Make sure you have an SUV or larger to reach the TH.
Trail Info
Distance:
6.75 miles up to the summit via Dry Fork
2.2 miles down via the Upper Pole Couloir
8.9 miles total
Elevation gain: 3,861 ft
Time:
It took us almost 6 hours to summit, and about 2 hours down the couloir, so roughly 8-10 hours
Dog friendly? Dogs are technically allowed, however I would highly discourage you from bringing them due to the exposure on the ridge, steepness, hot temps, and long day. If you do decide to bring a dog, carry a minimum of 3 liters of water per dog.
Kid friendly? No
Fees/Permits? None
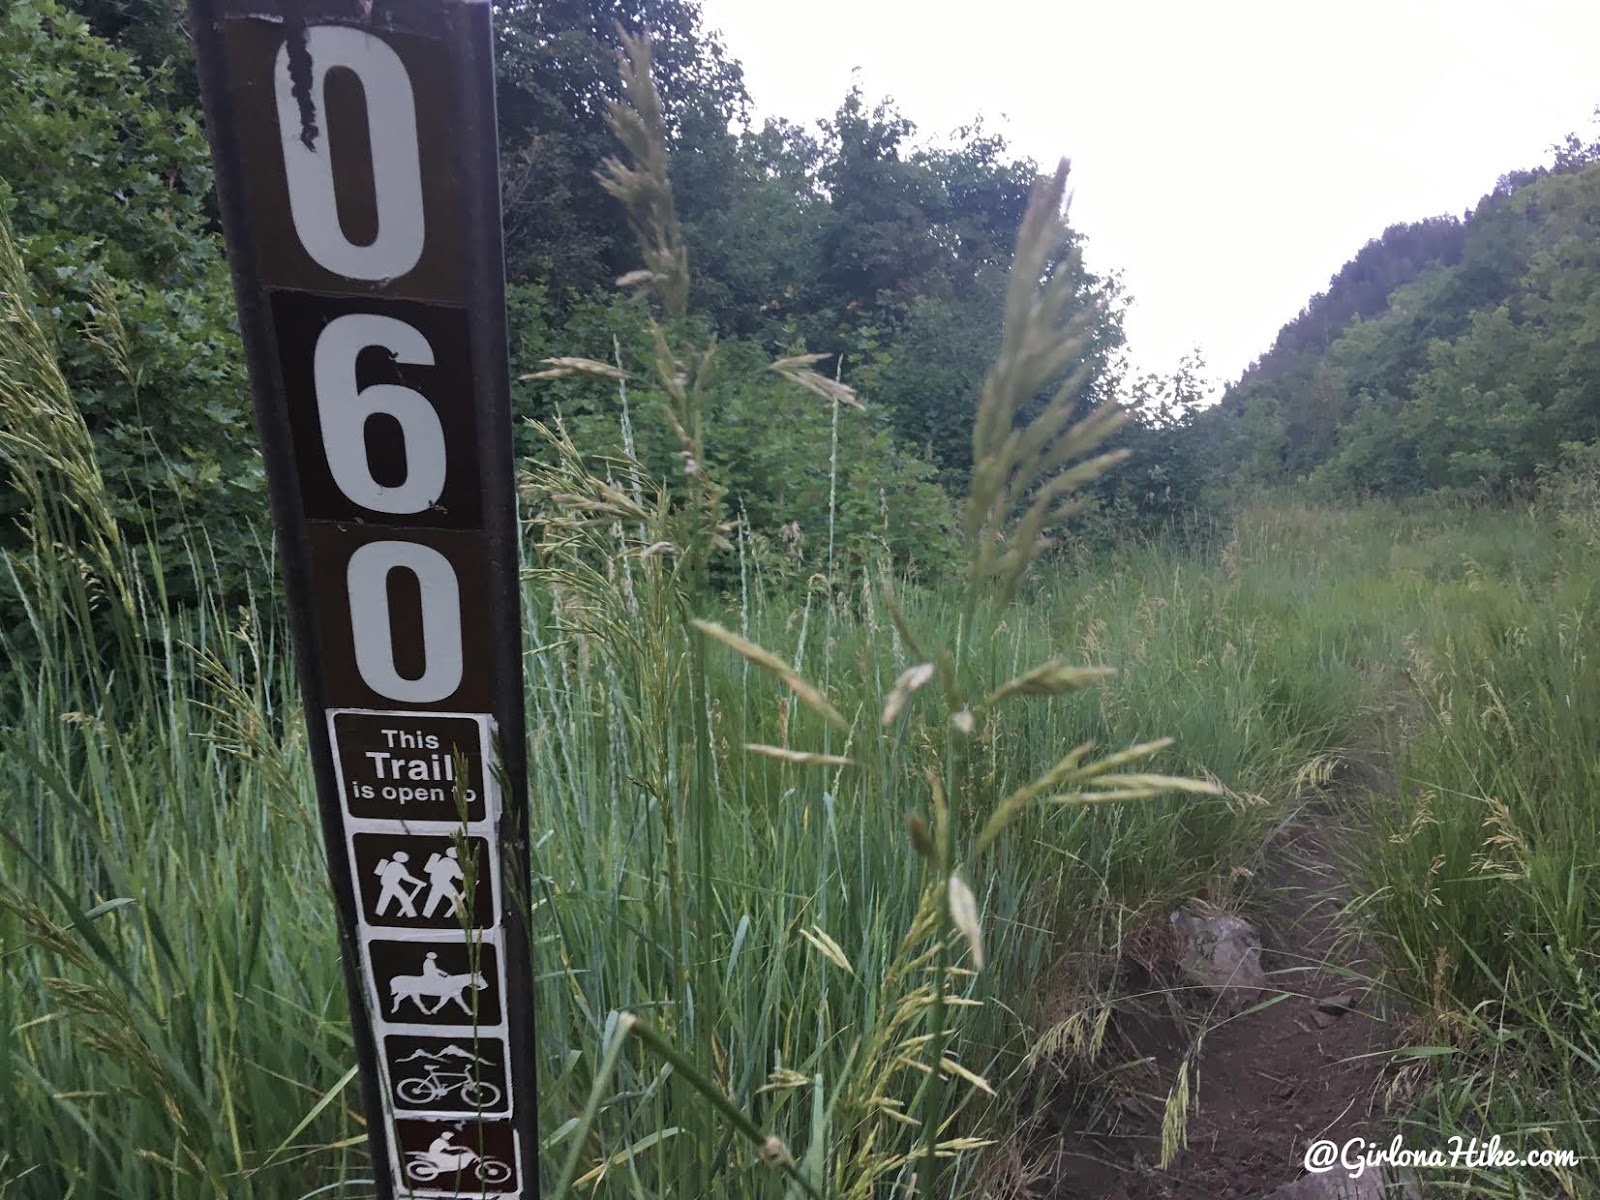
We started up the Dry Fork Trail by 6:20am. The temperatures were much cooler and there was a nice breeze.
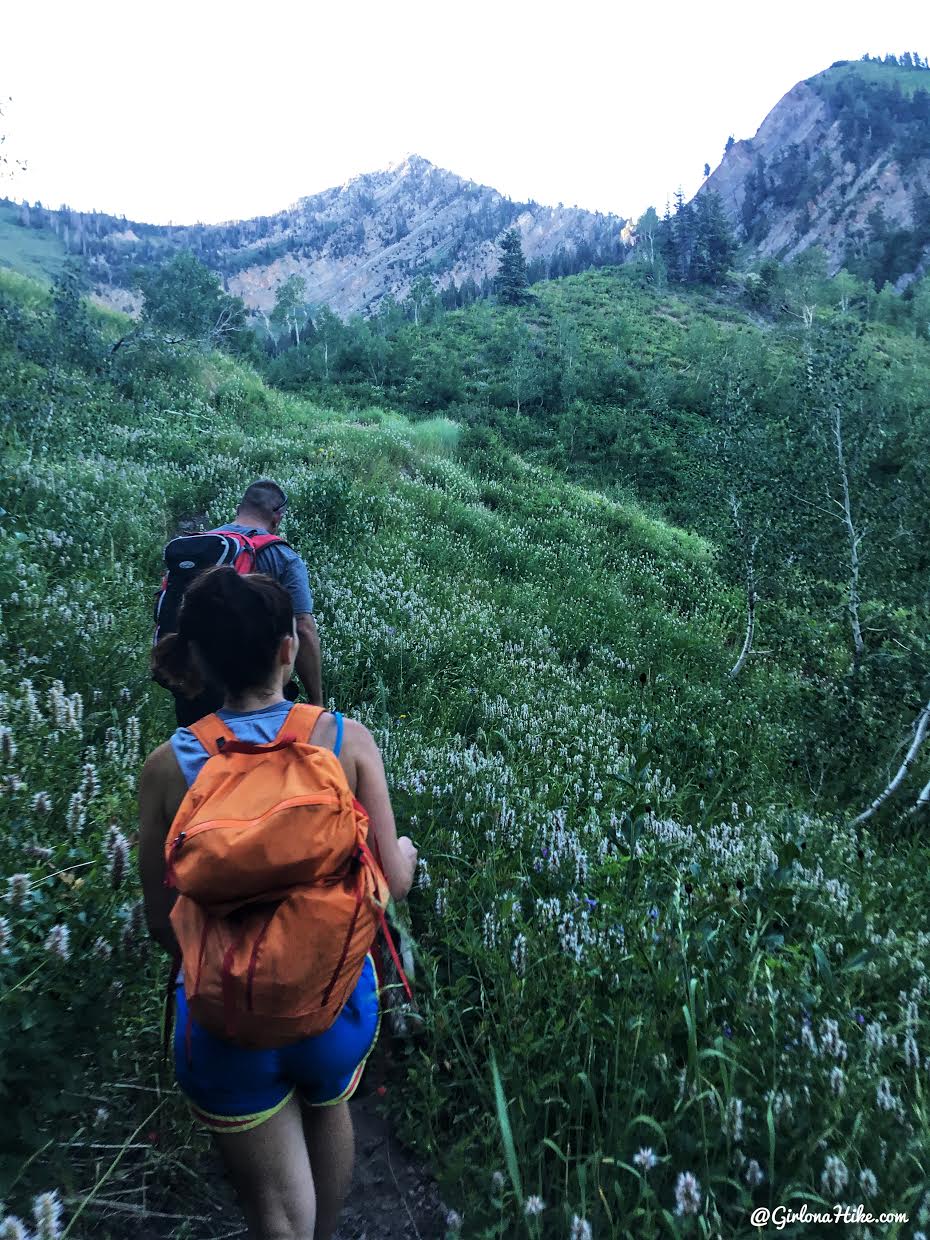
The first 3 miles are pretty uneventful. You just work your way up the basin until you reach the saddle. We started out with 4 people and 2 dogs in the group.
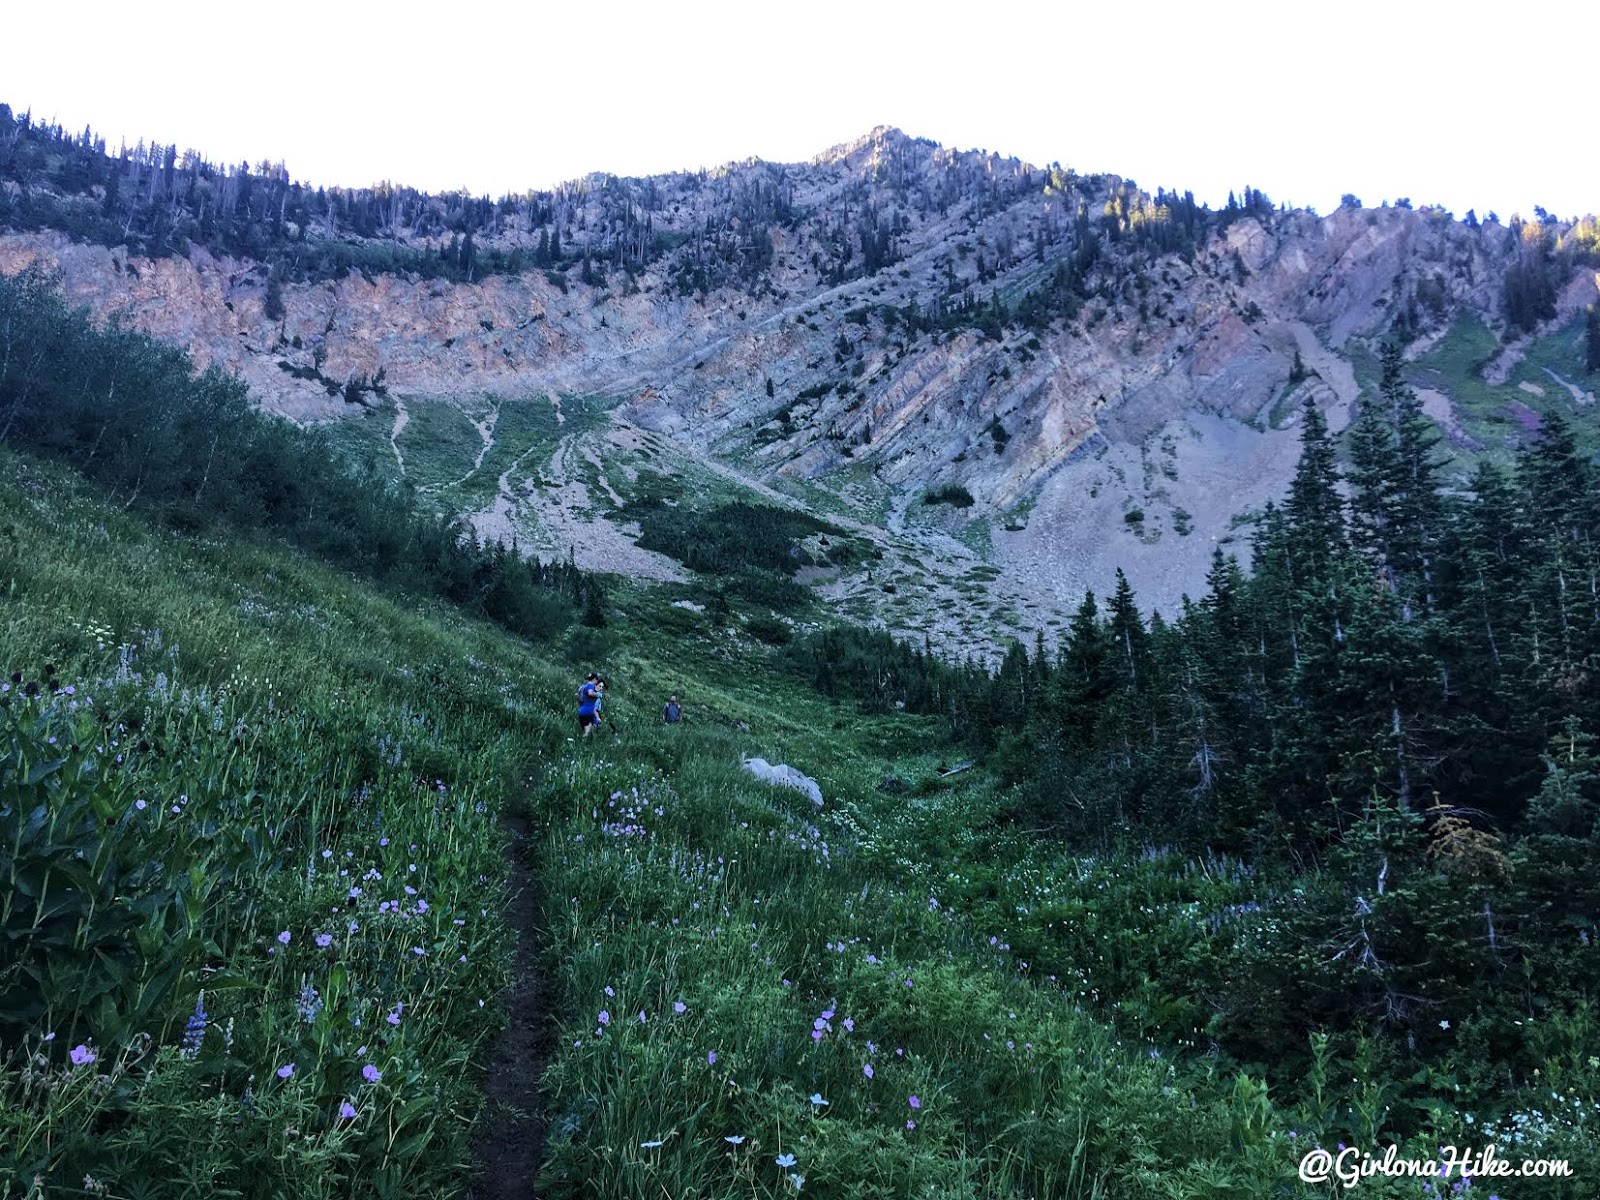
Below Freedom Peak the trail will curve back North.
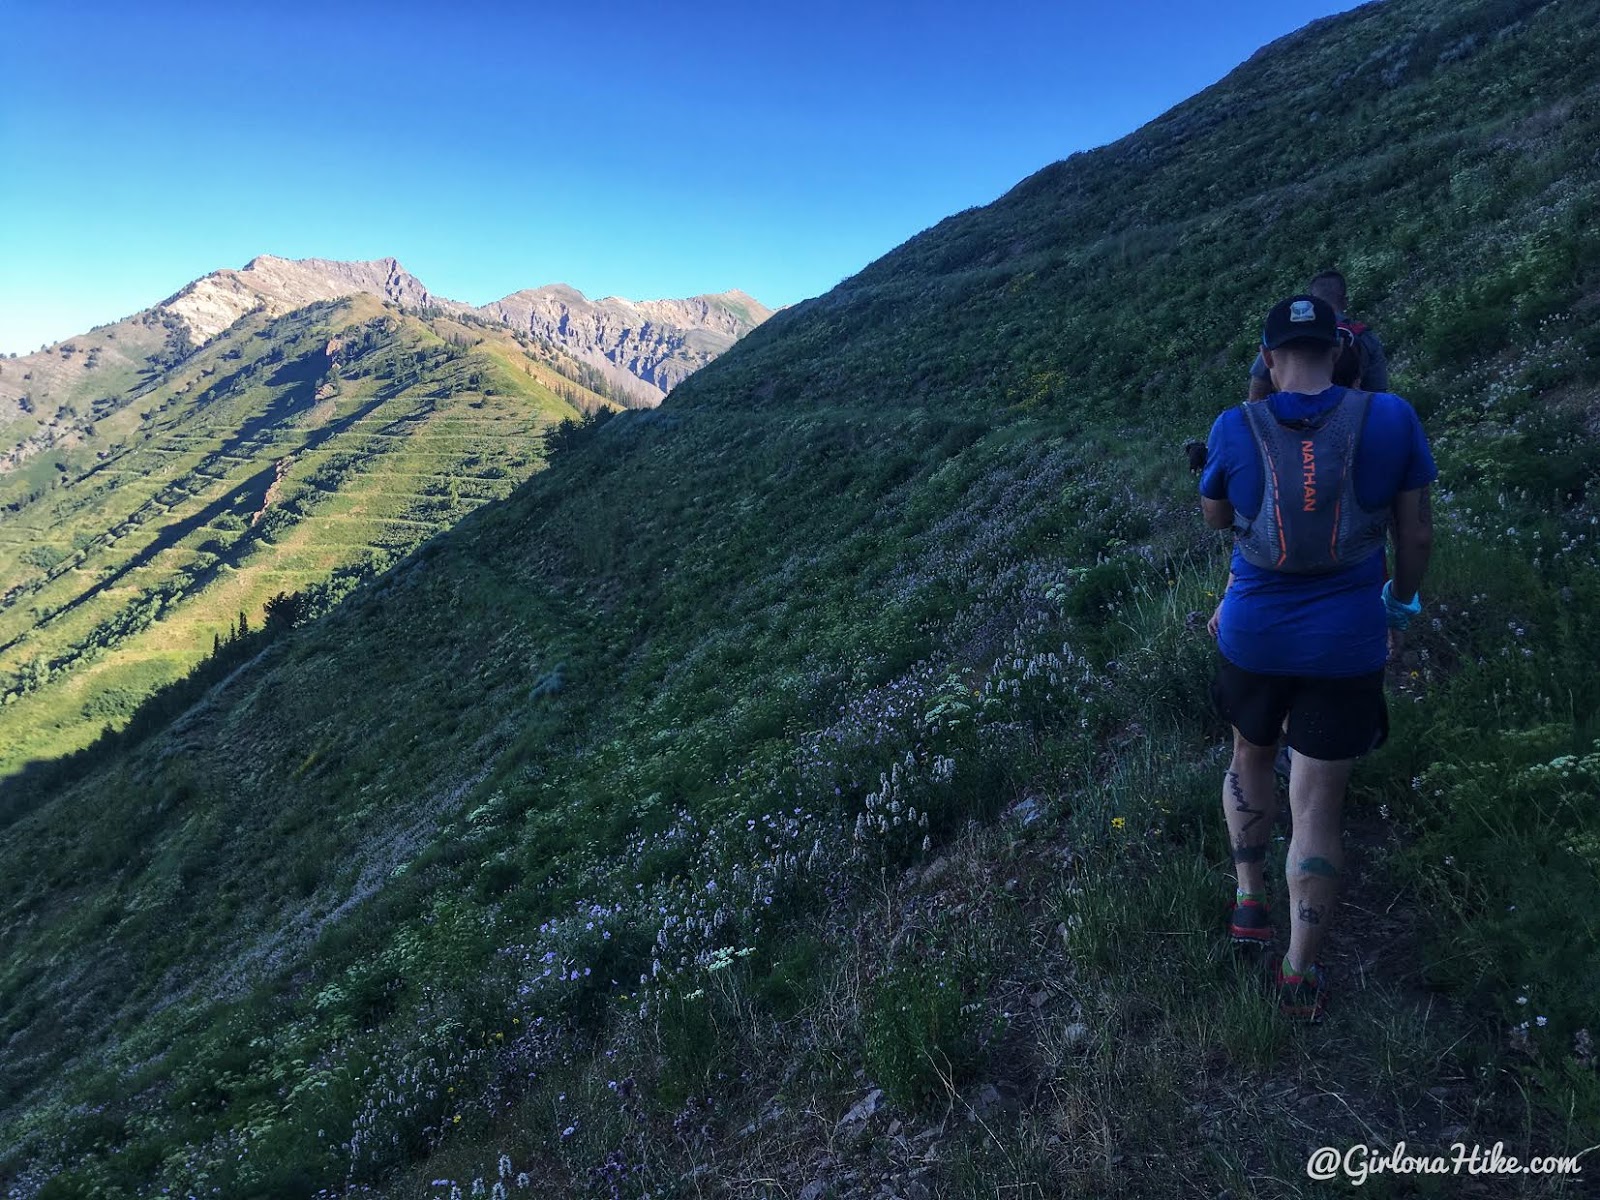
At 2.8 miles you’ll see a faint trail split, go left, and traverse along one of the old erosion flats. If you go right, you will hike uphill, and you want to reach the saddle in front of you.
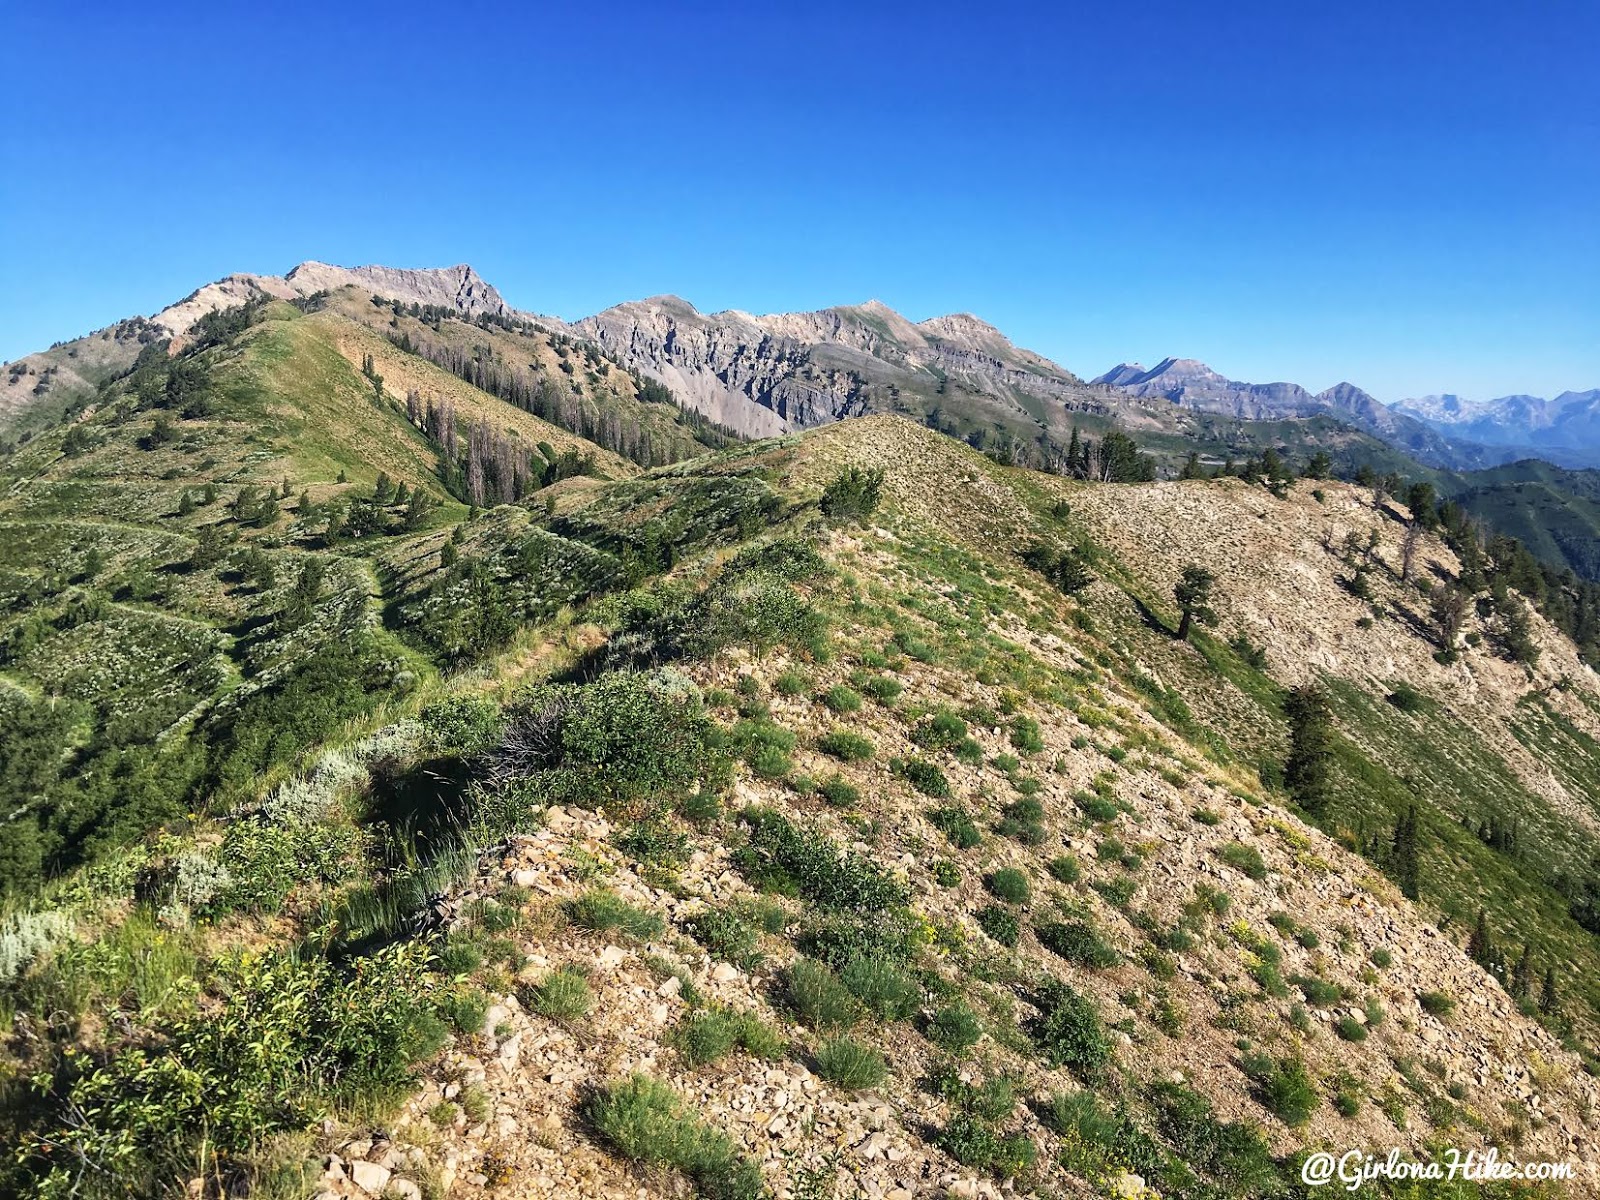
At the saddle – 3.3 miles. From here the trail turns into a “climbers route” – the trail fades in and out. Always stay close to the ridge from here on out – if you drop down you’ll have to hike that much more uphill. And trust me – it gets tiring just following the ridge.
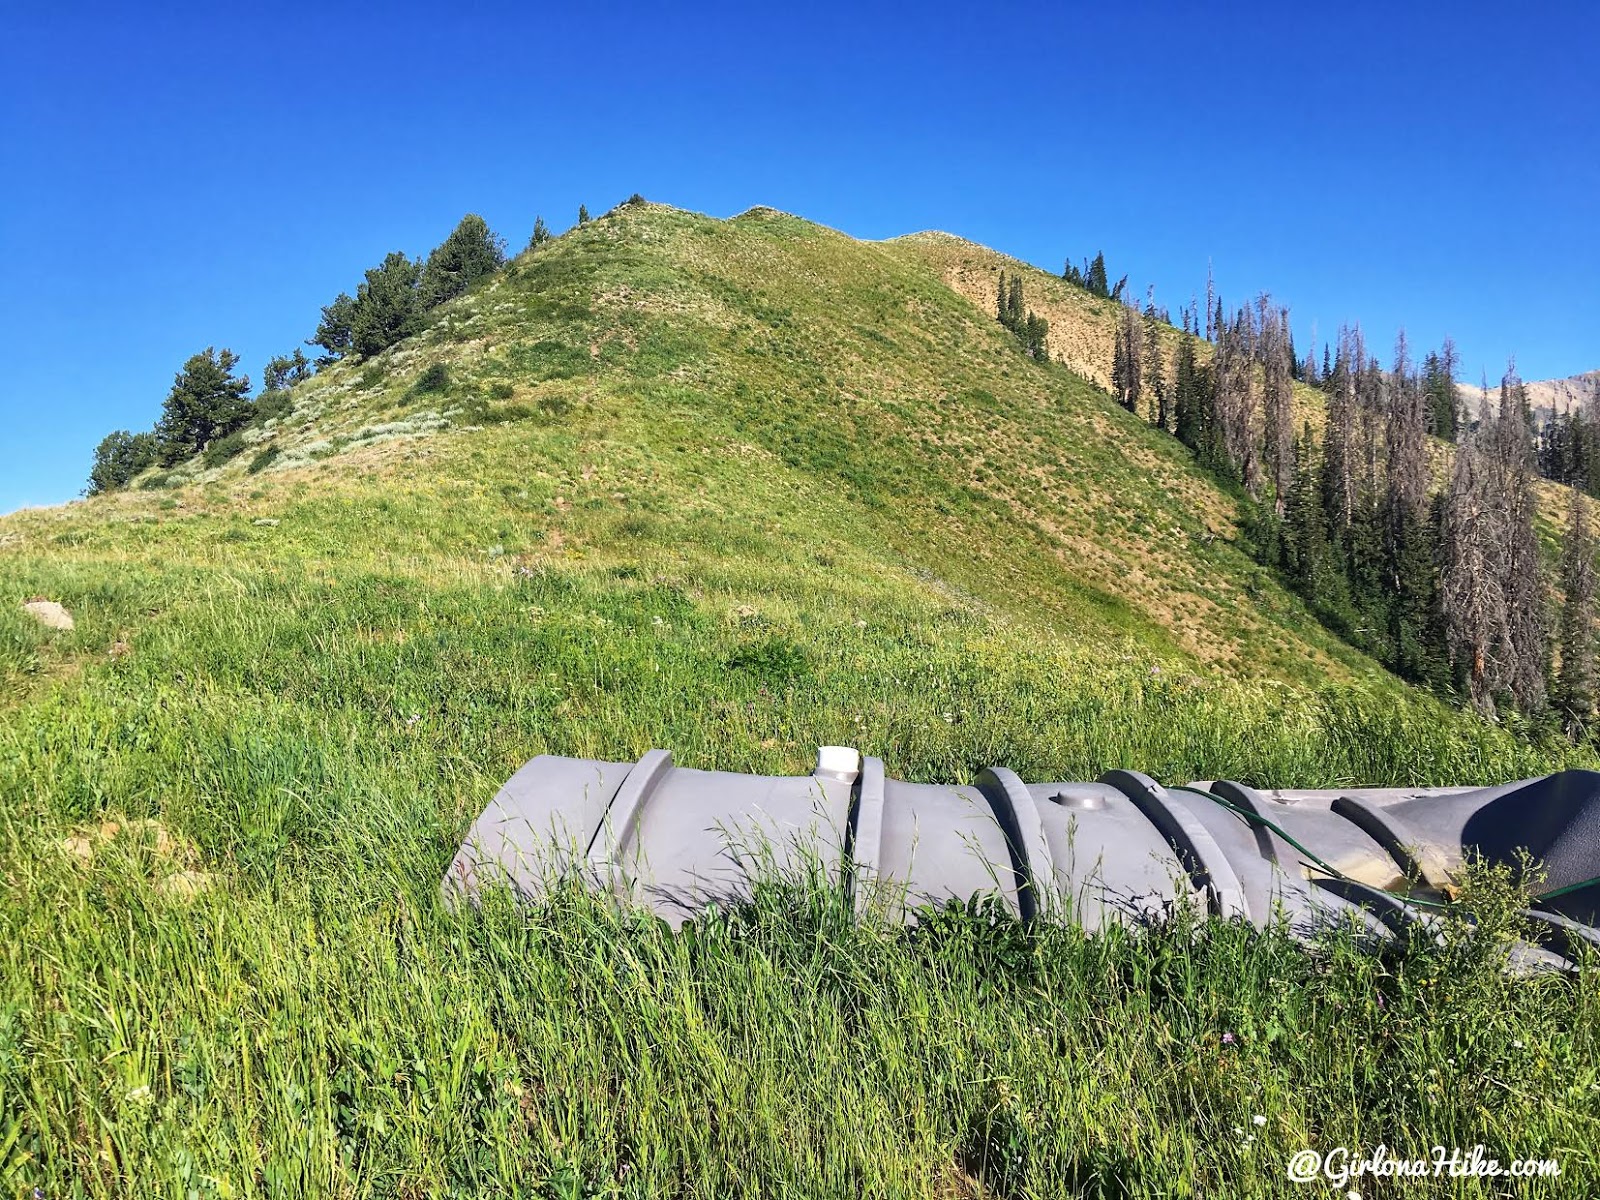
Pass this structure on your right – it looked like some kind of trough with a hose in it. Remember – stay on the ridge! We though it might be easier to go around this hill and we were wrong! We had to hike straight uphill to get back on the ridge.
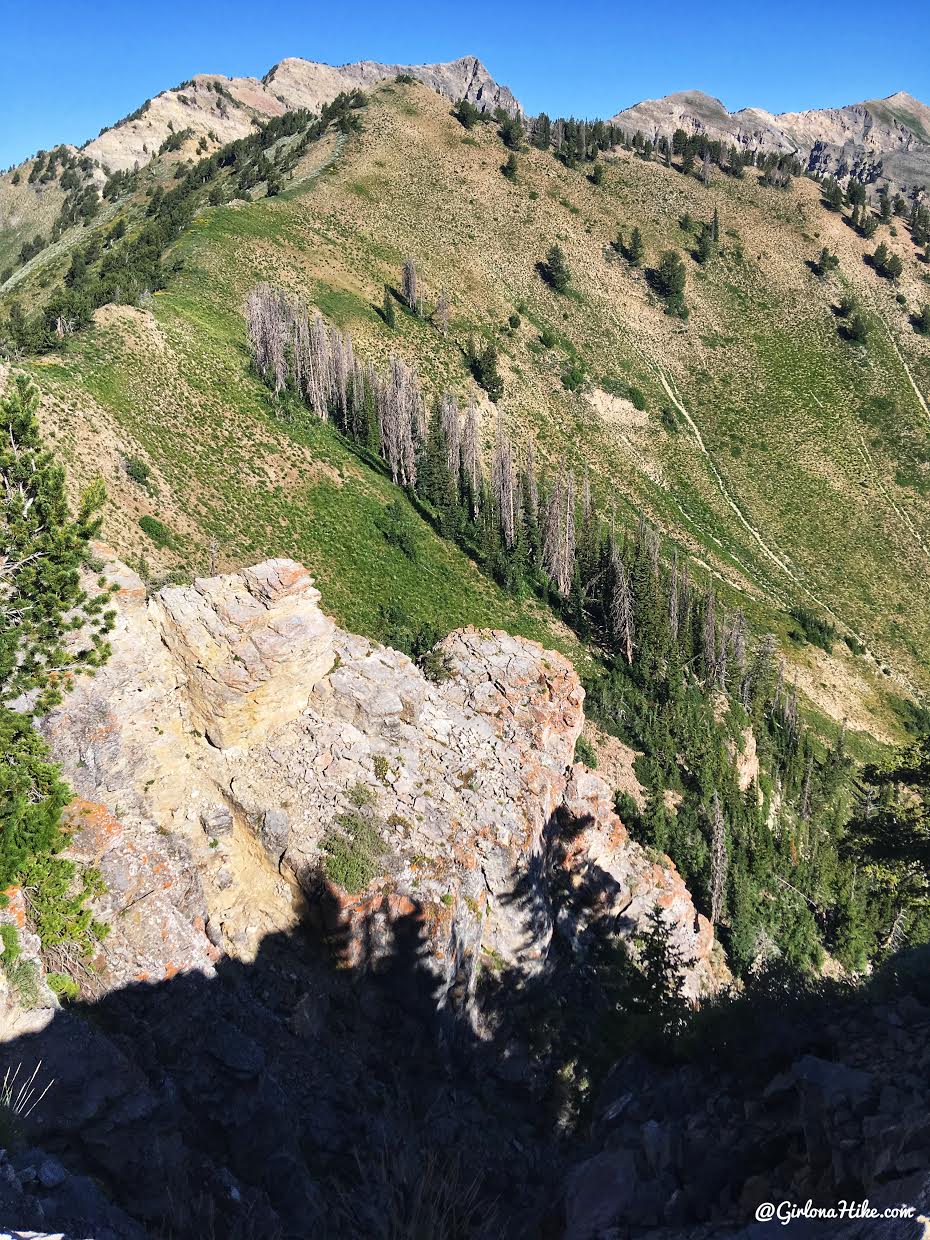
There are A LOT of ups and downs on this route.
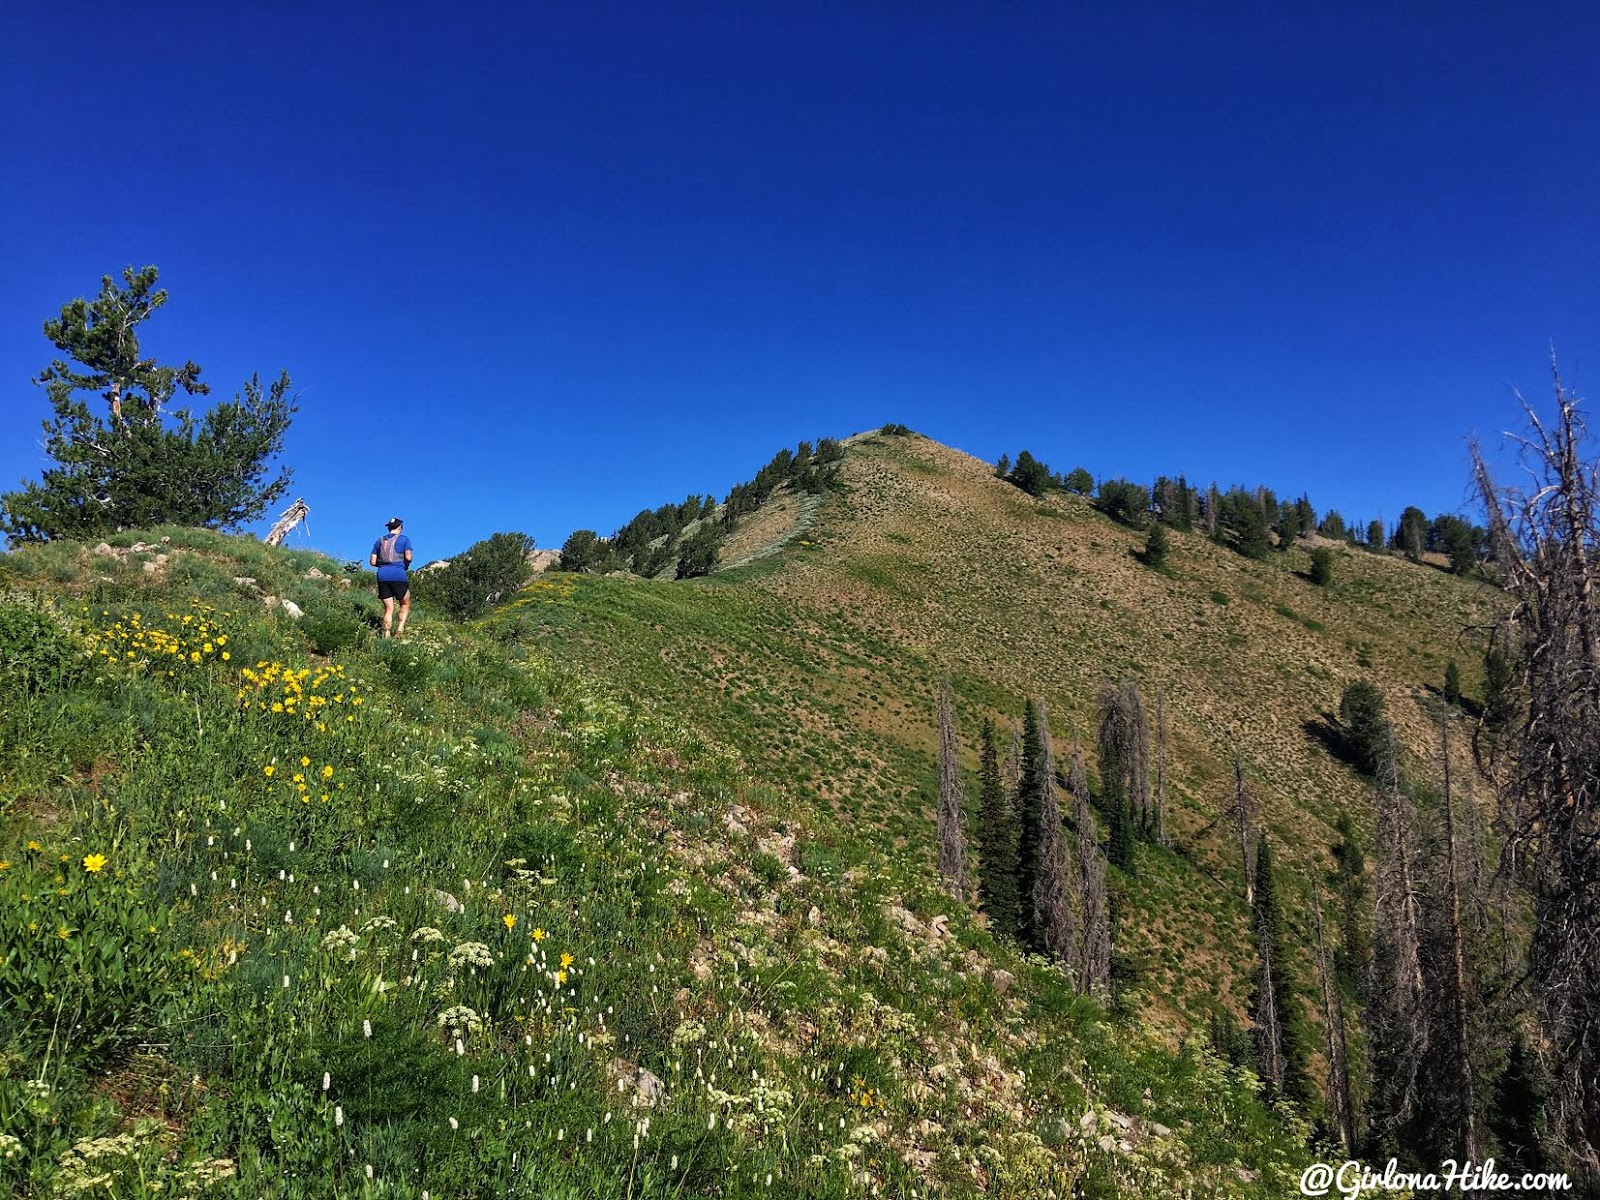
Chris leads the way – he is a beast!
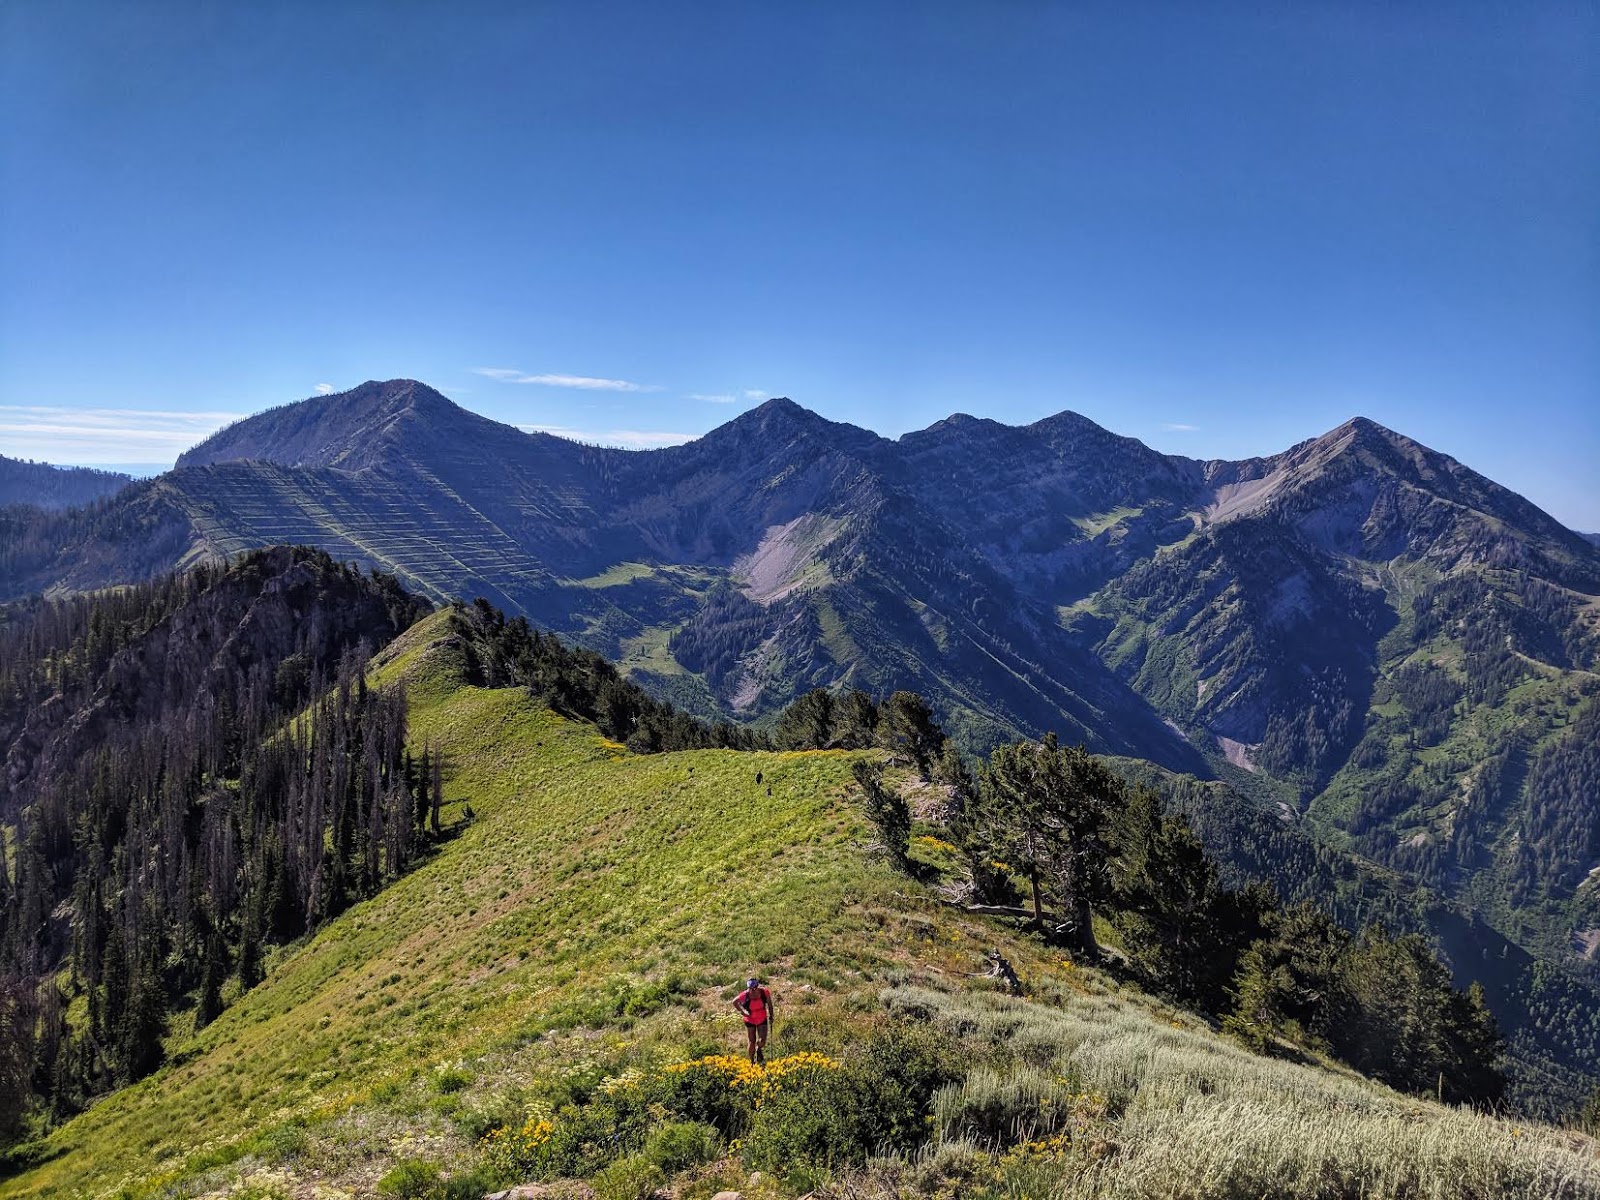
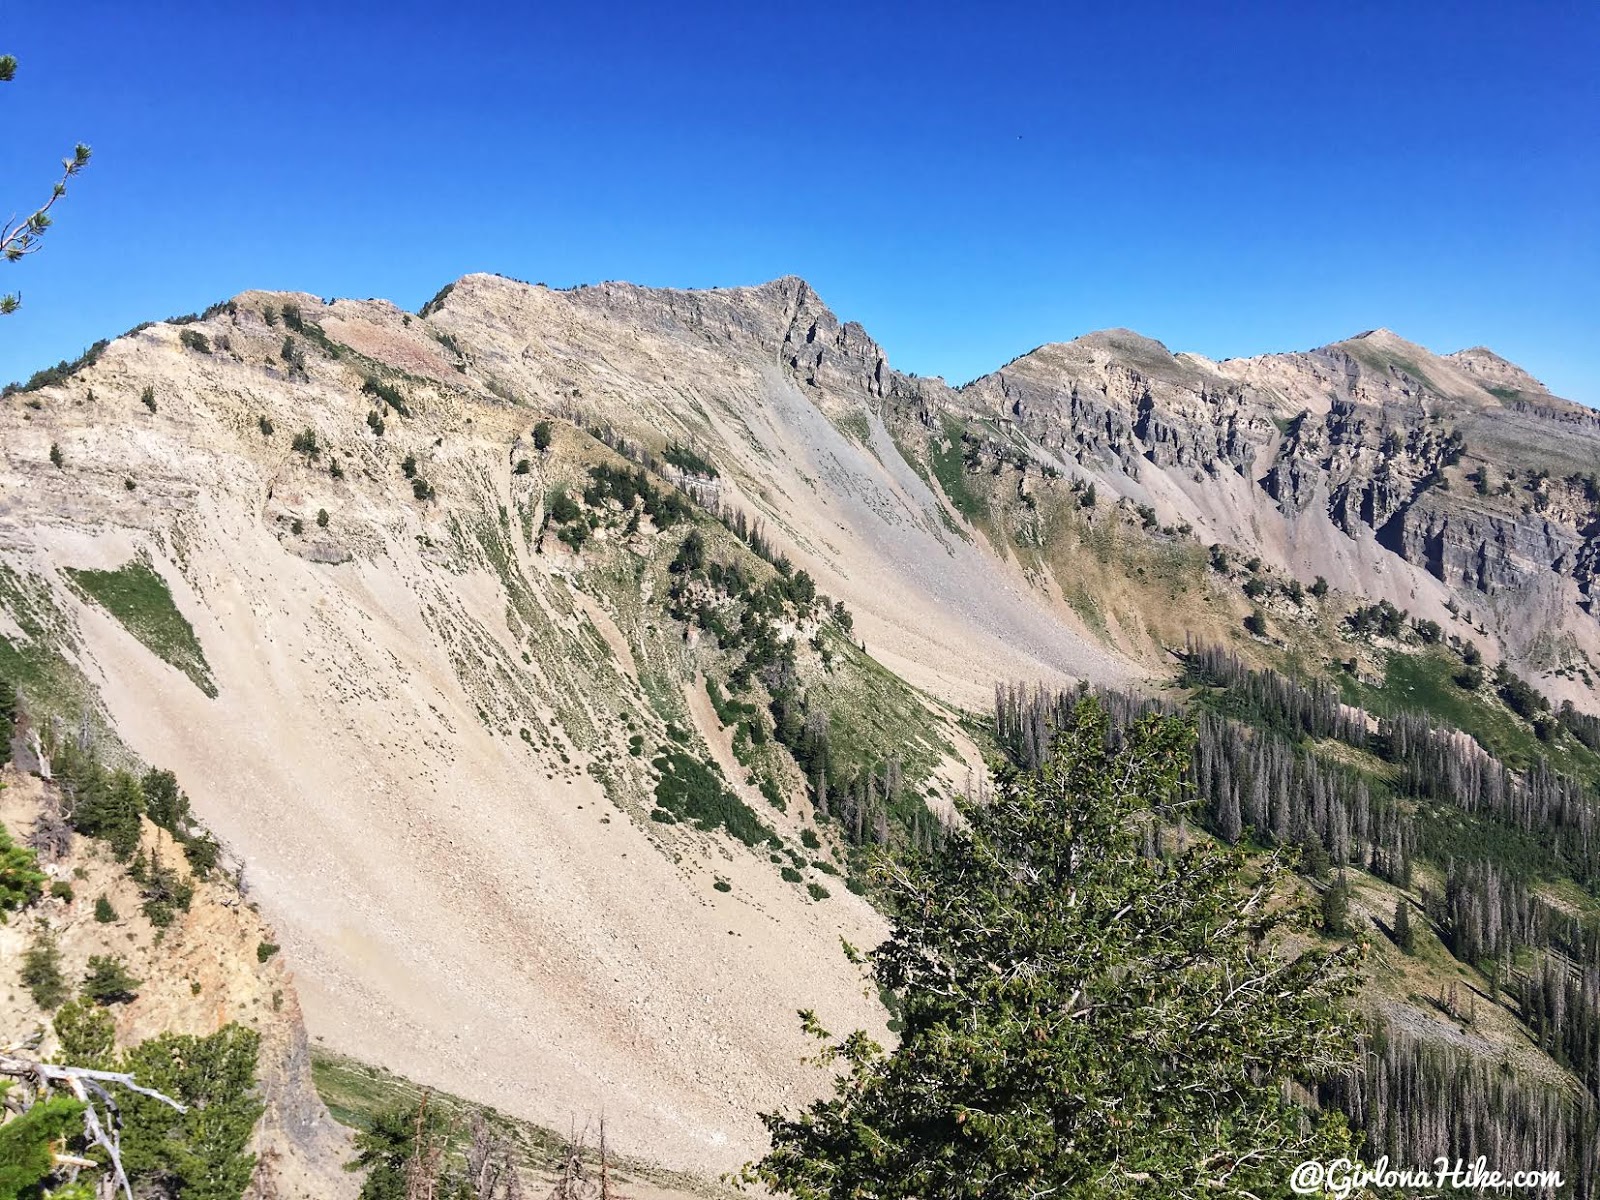
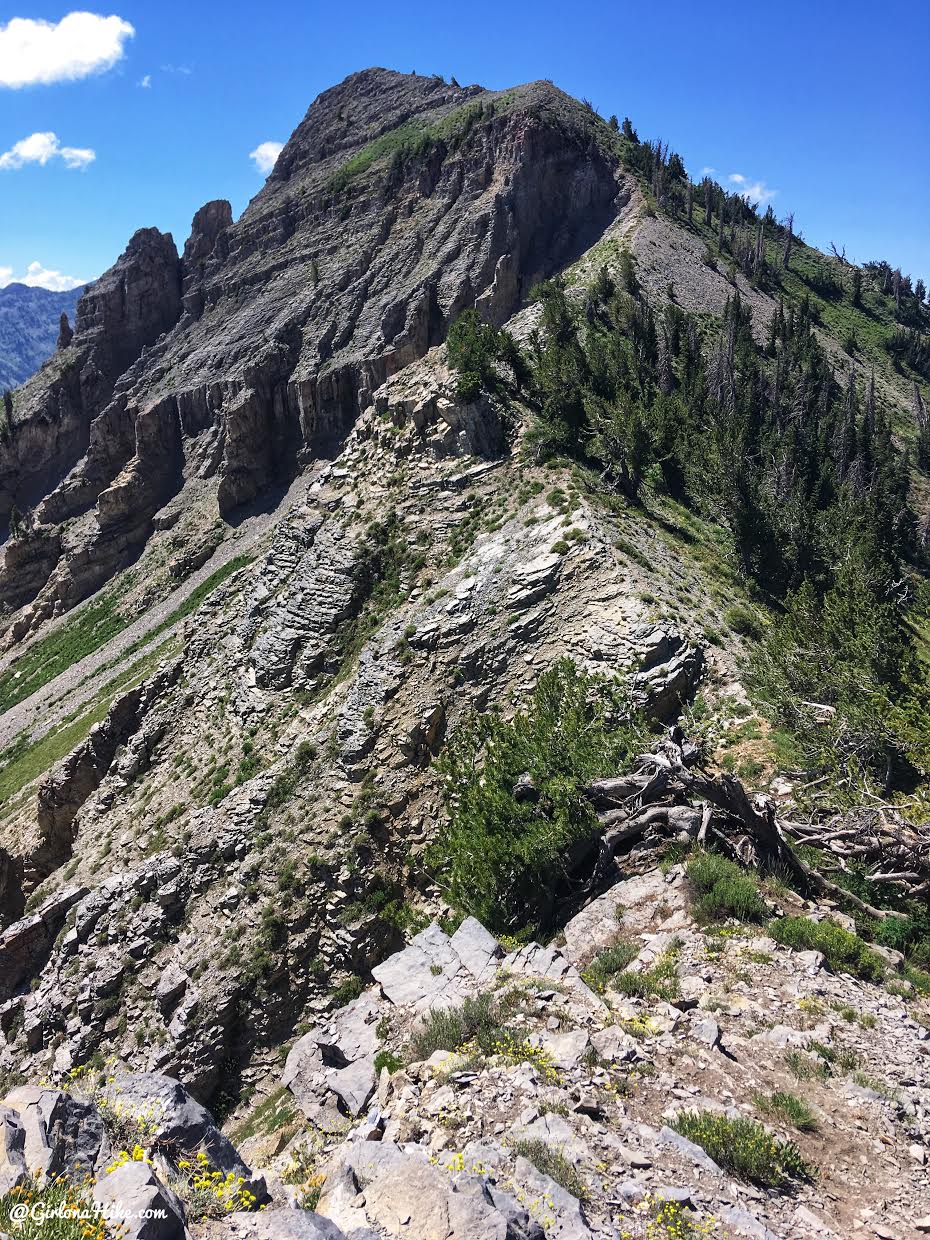
Wow…that ridge, though!
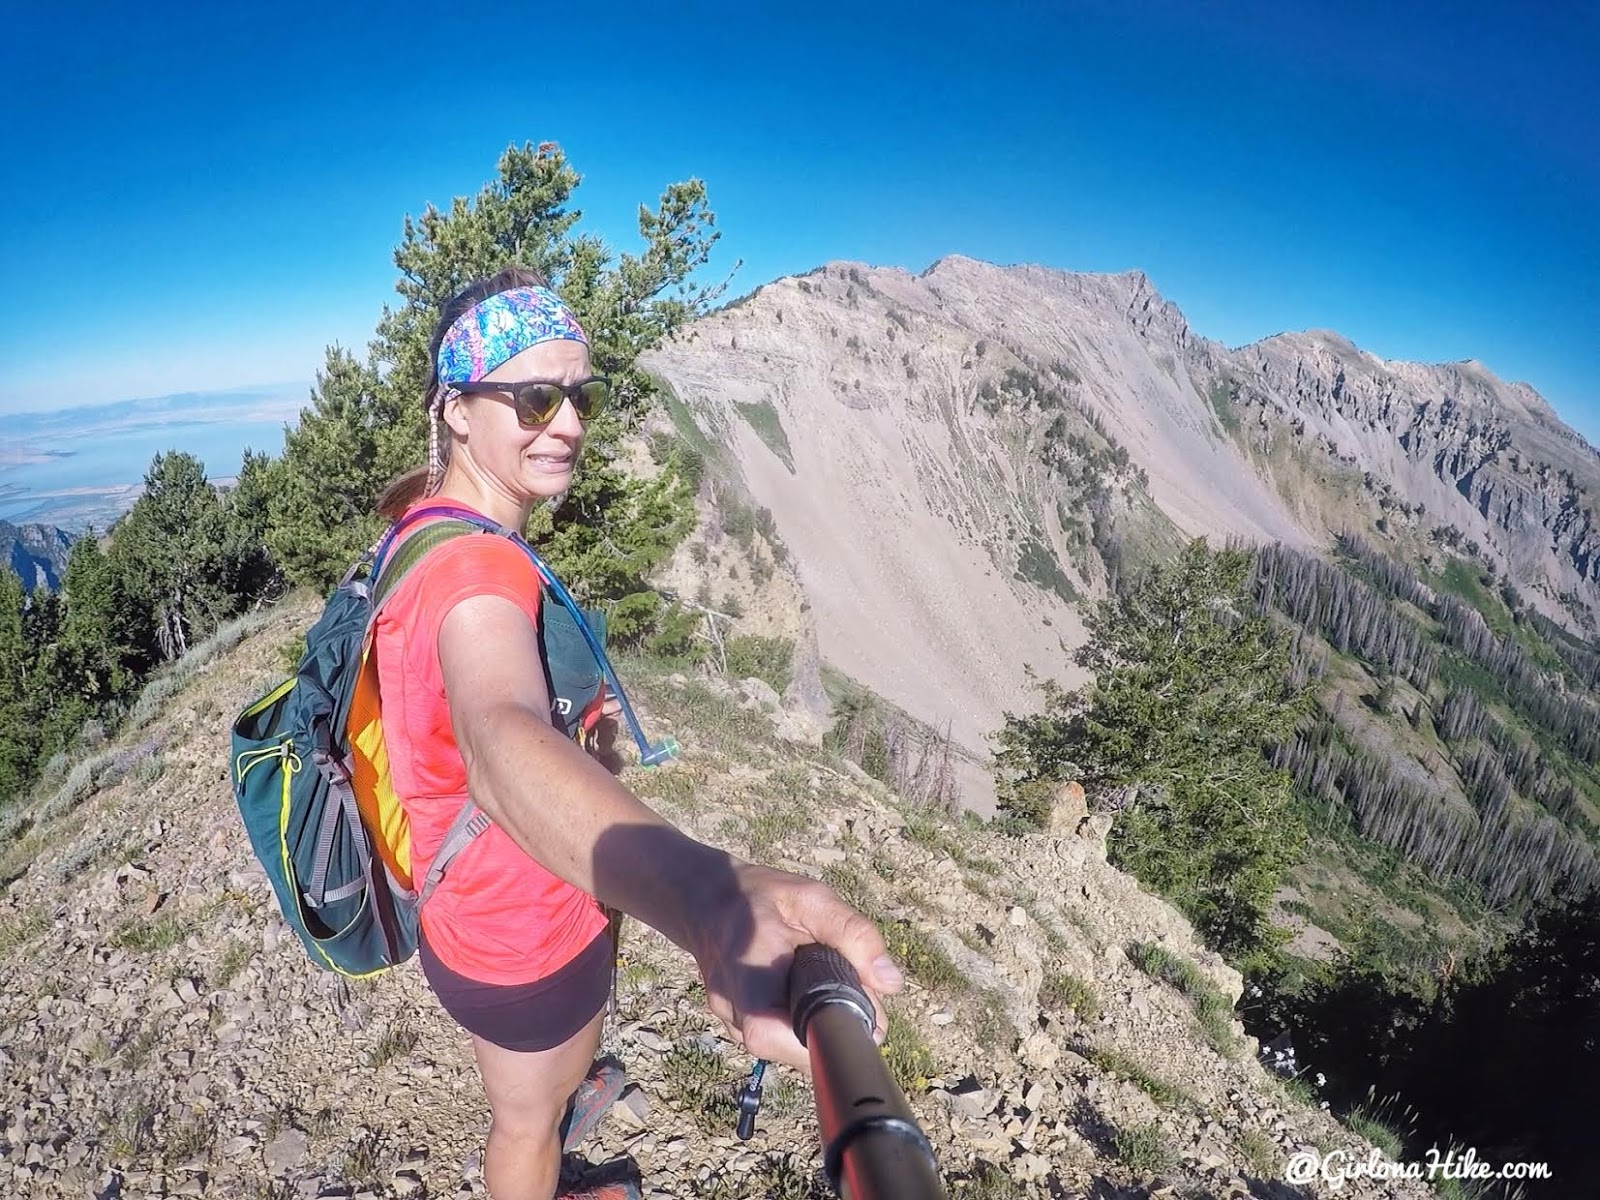
Ummm…we’re going all the way over there?! Yikes. Not even joking, this ridge was pretty intimidating for me and I’ve done a lot of ridges! It just seemed soooo far! Gotta be on top of your mental game for this summit. By this point we already lost one of our friends and his dog to getting spooked out along the ridge. It would later be a blessing that he turned around….keep reading.
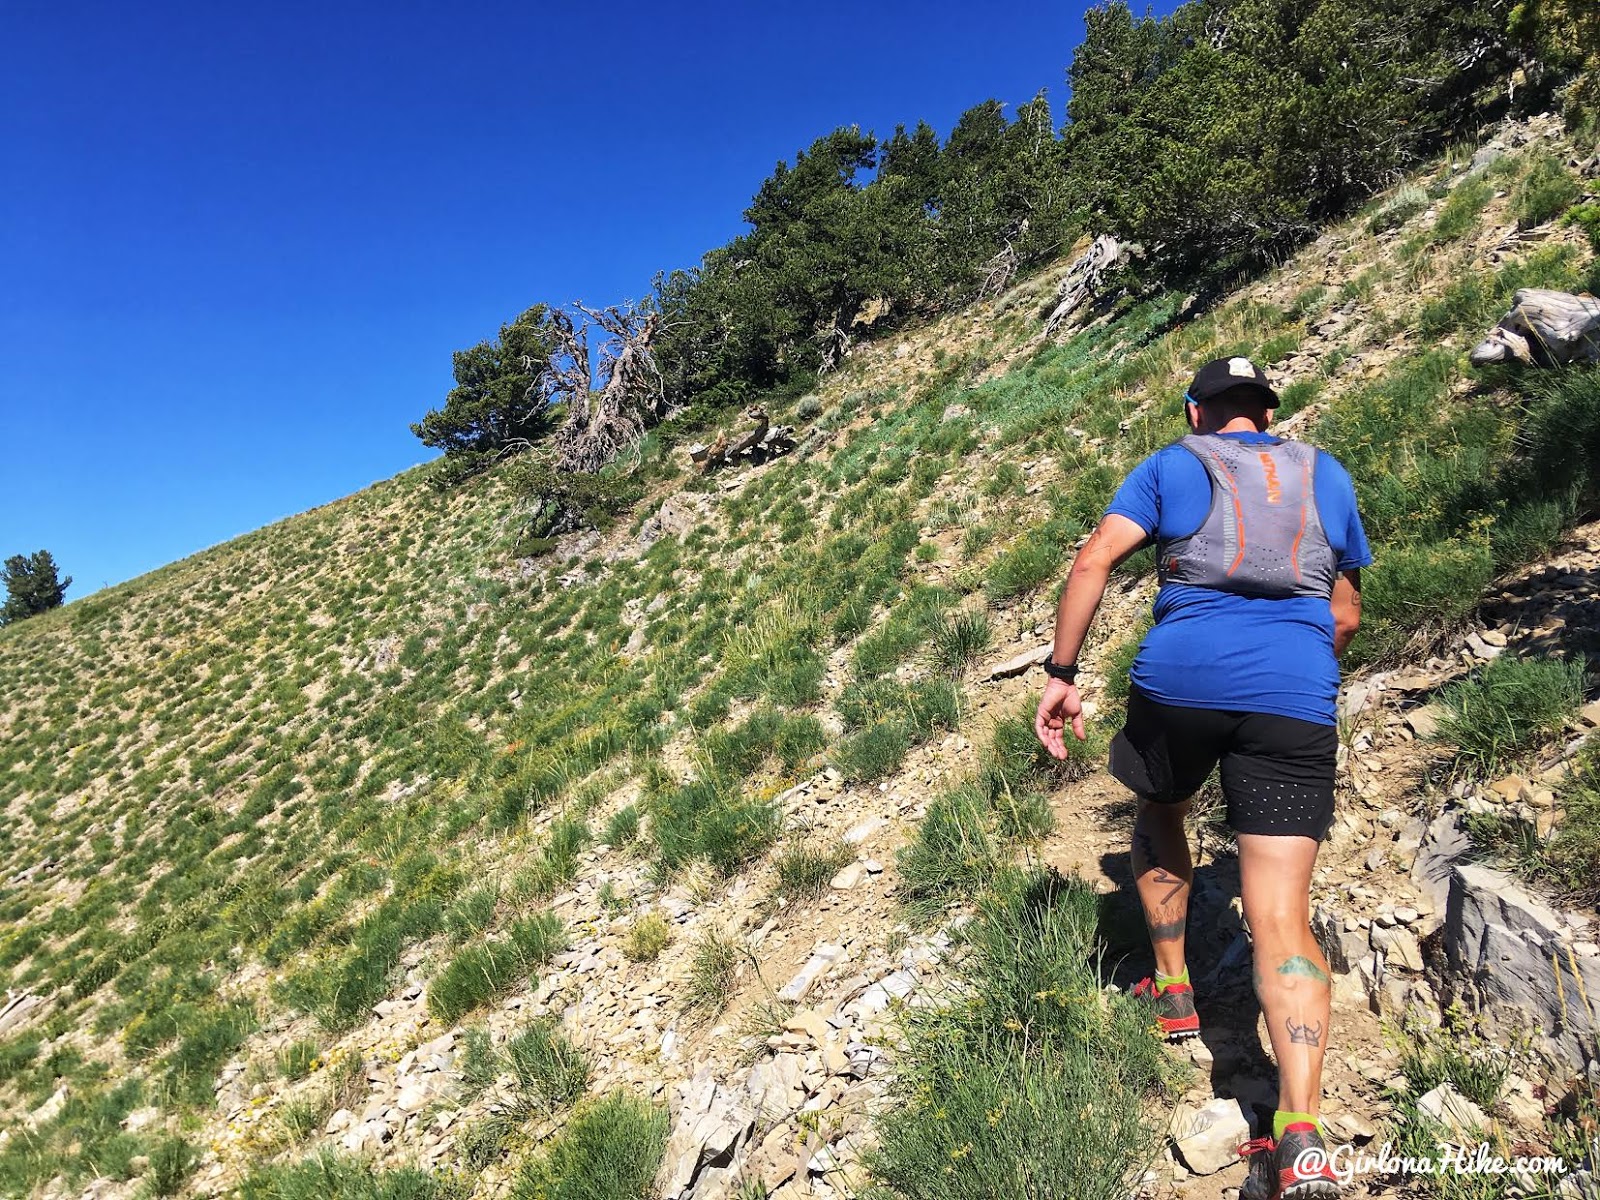
You can tell that there is barely a trail in some spots. Once you are on it it’s fairly easy to follow, it just fades in/out a lot.
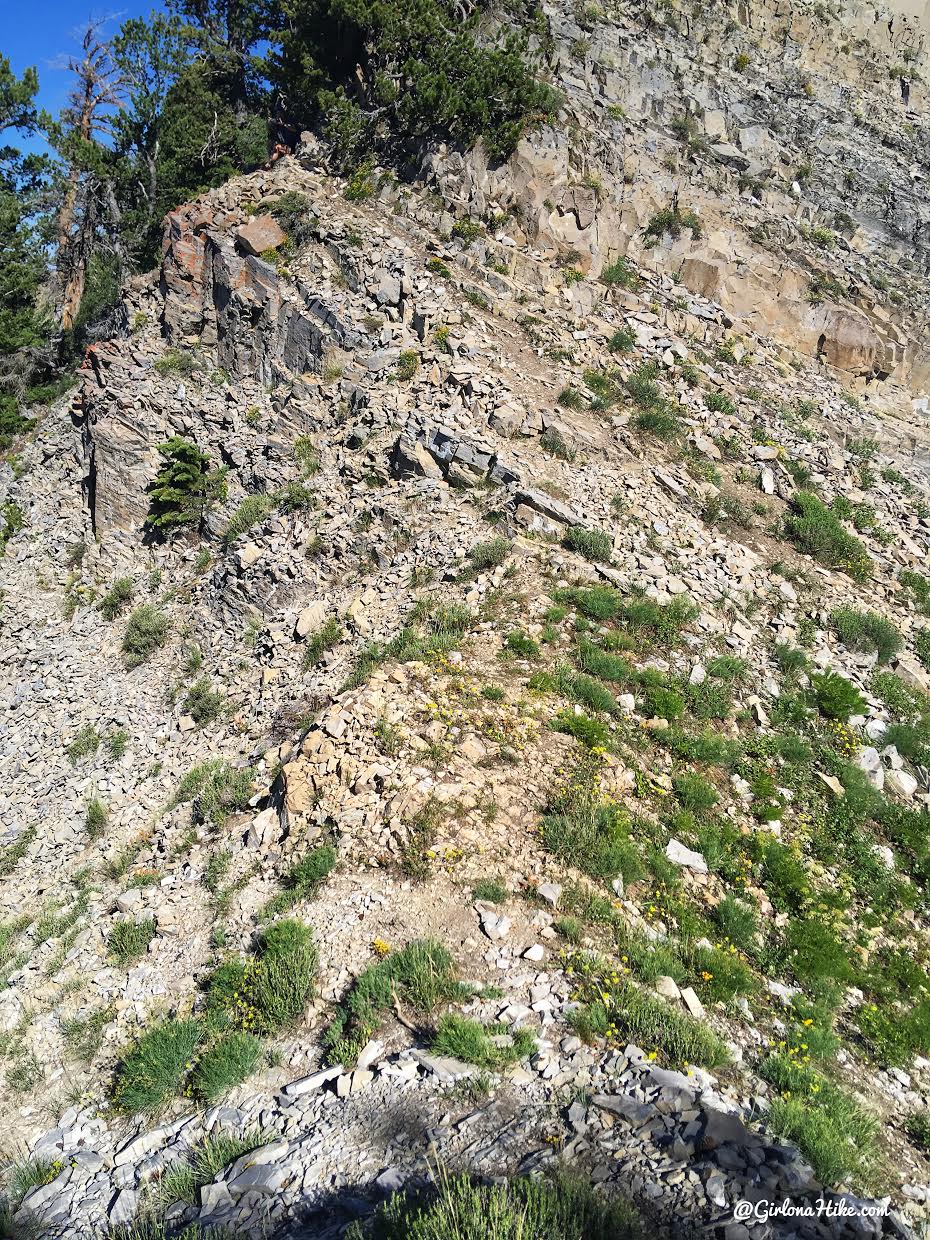
This is the first section I almost bailed out. Hiking around the edge to this section was super loose talus and pretty steep. I had Chris get ahead to scope it out for us, and he called it good so we continued on. You can barely see him in this photo.
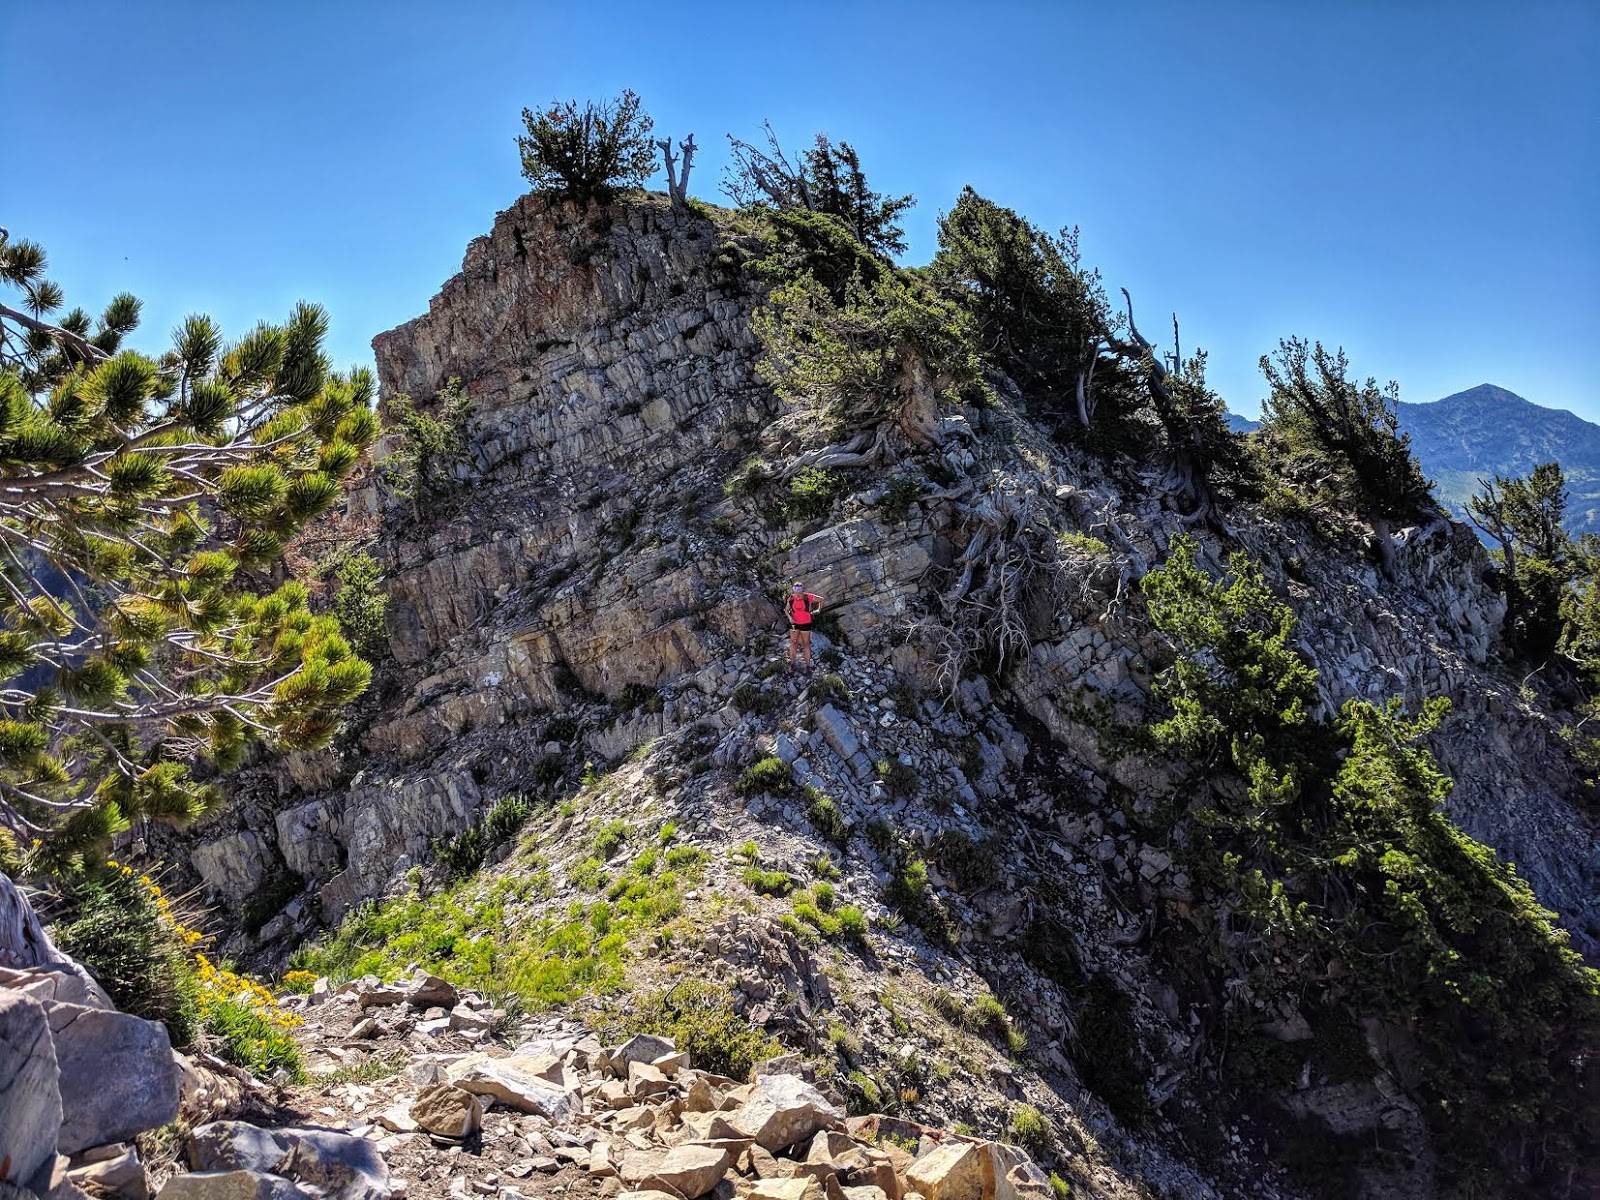
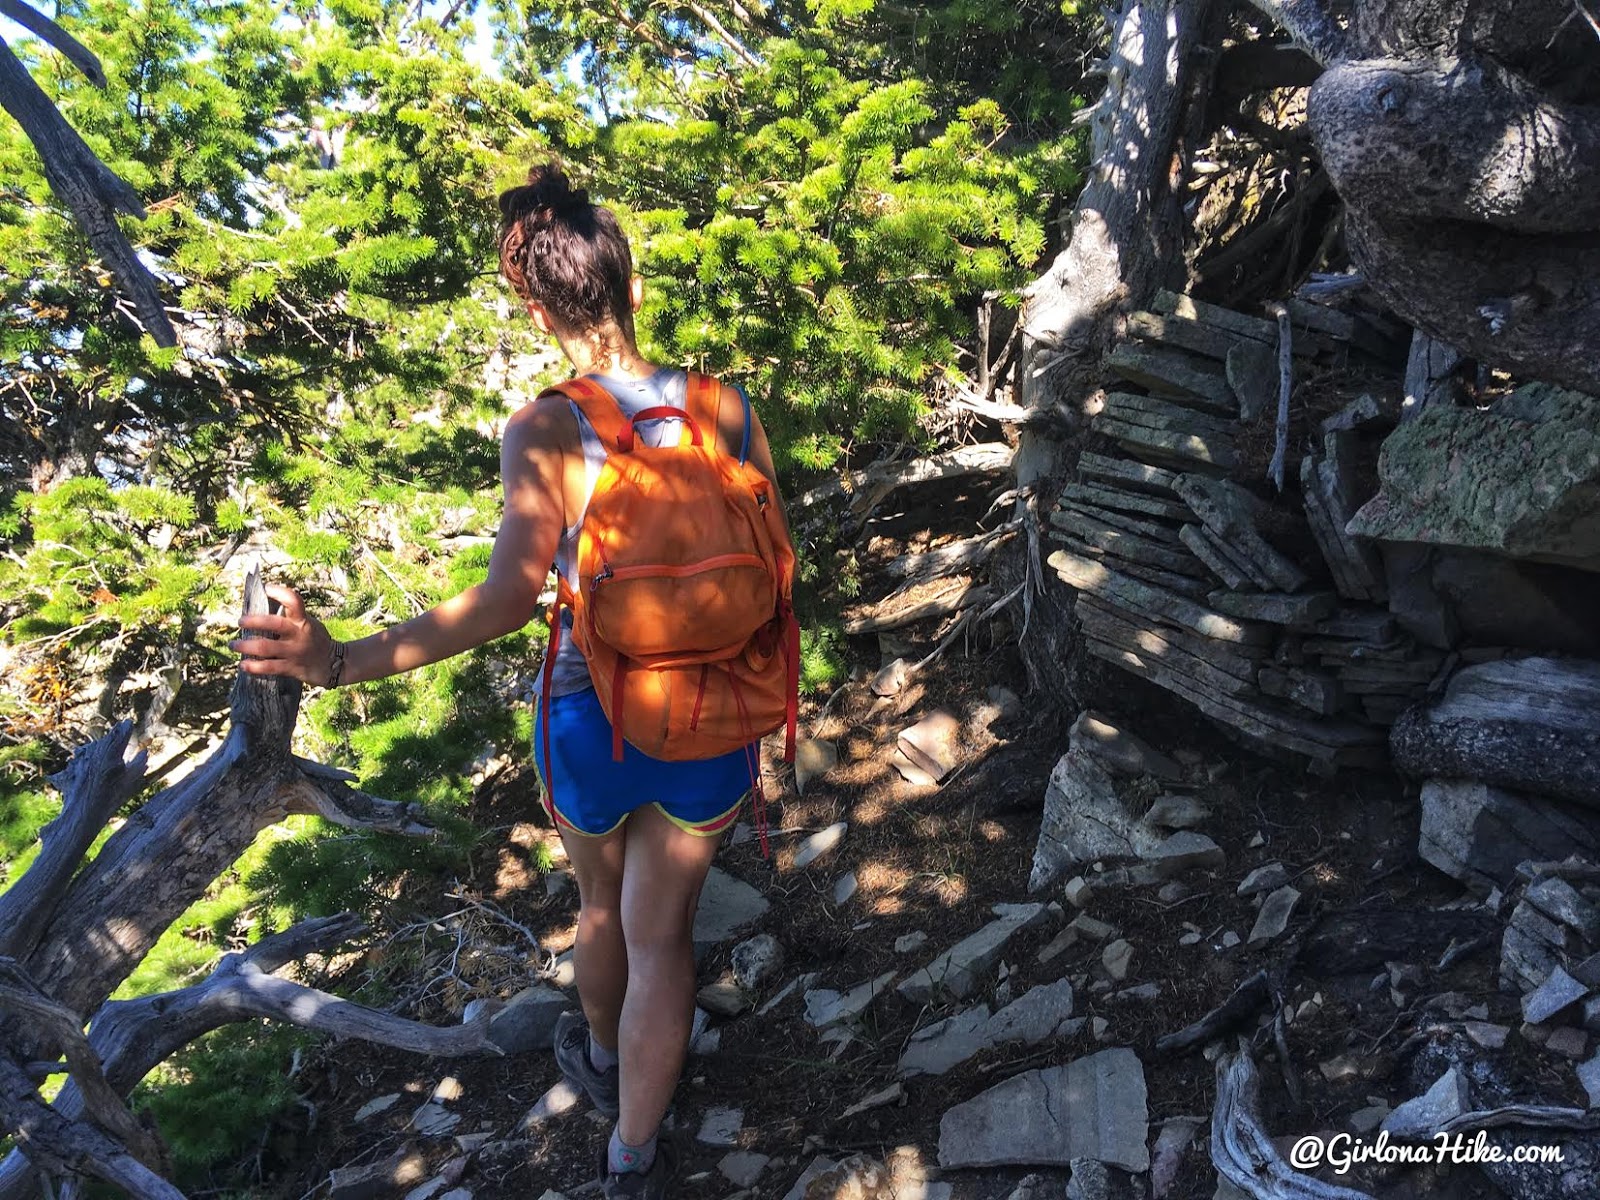
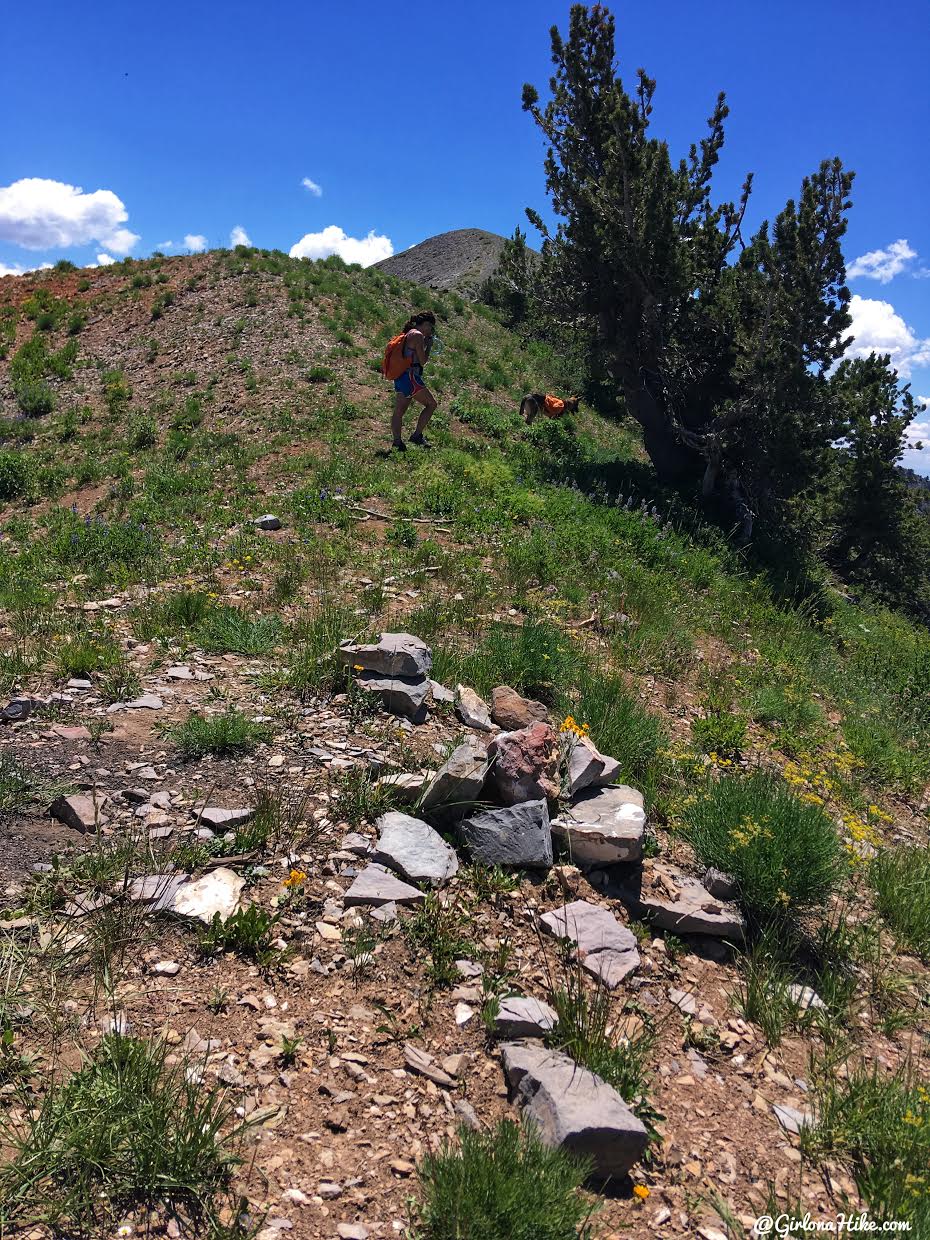
You’ll also have to duck or hop over lots of fallen trees. We thought these stacked rocks were pretty cool.
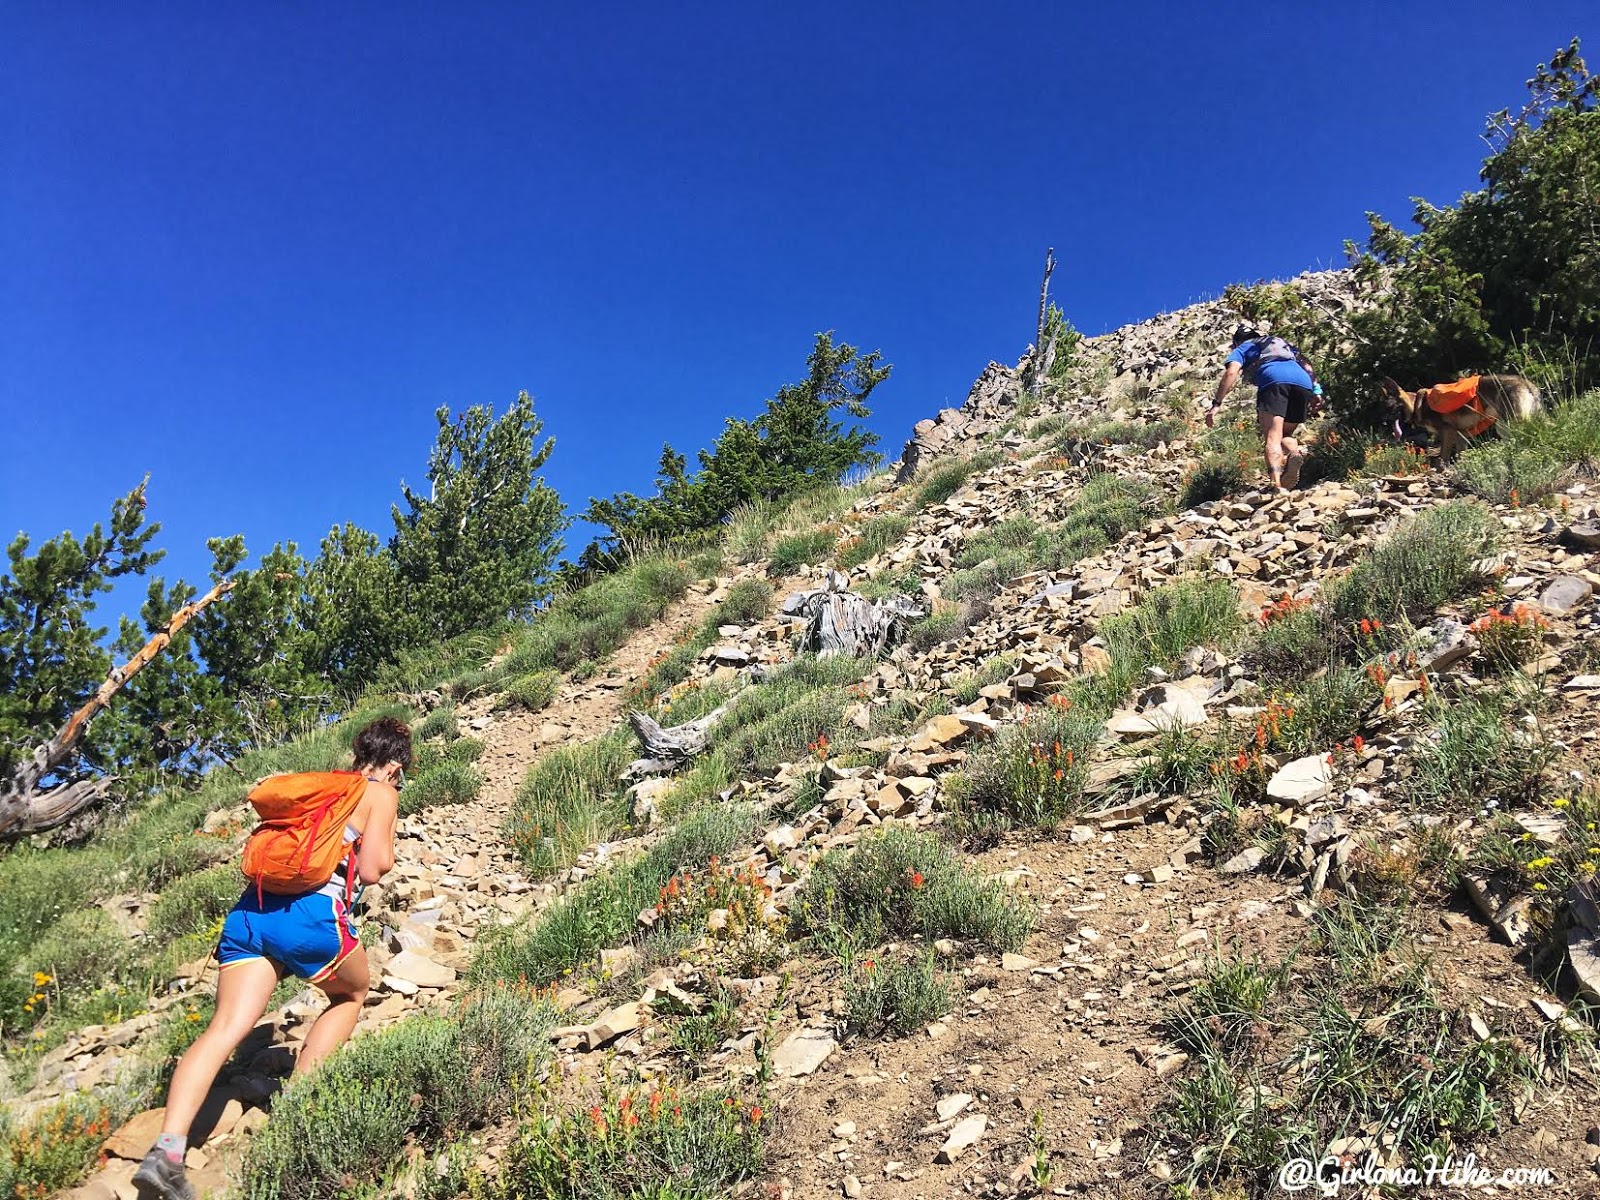
Only one more super steep loose section, right?
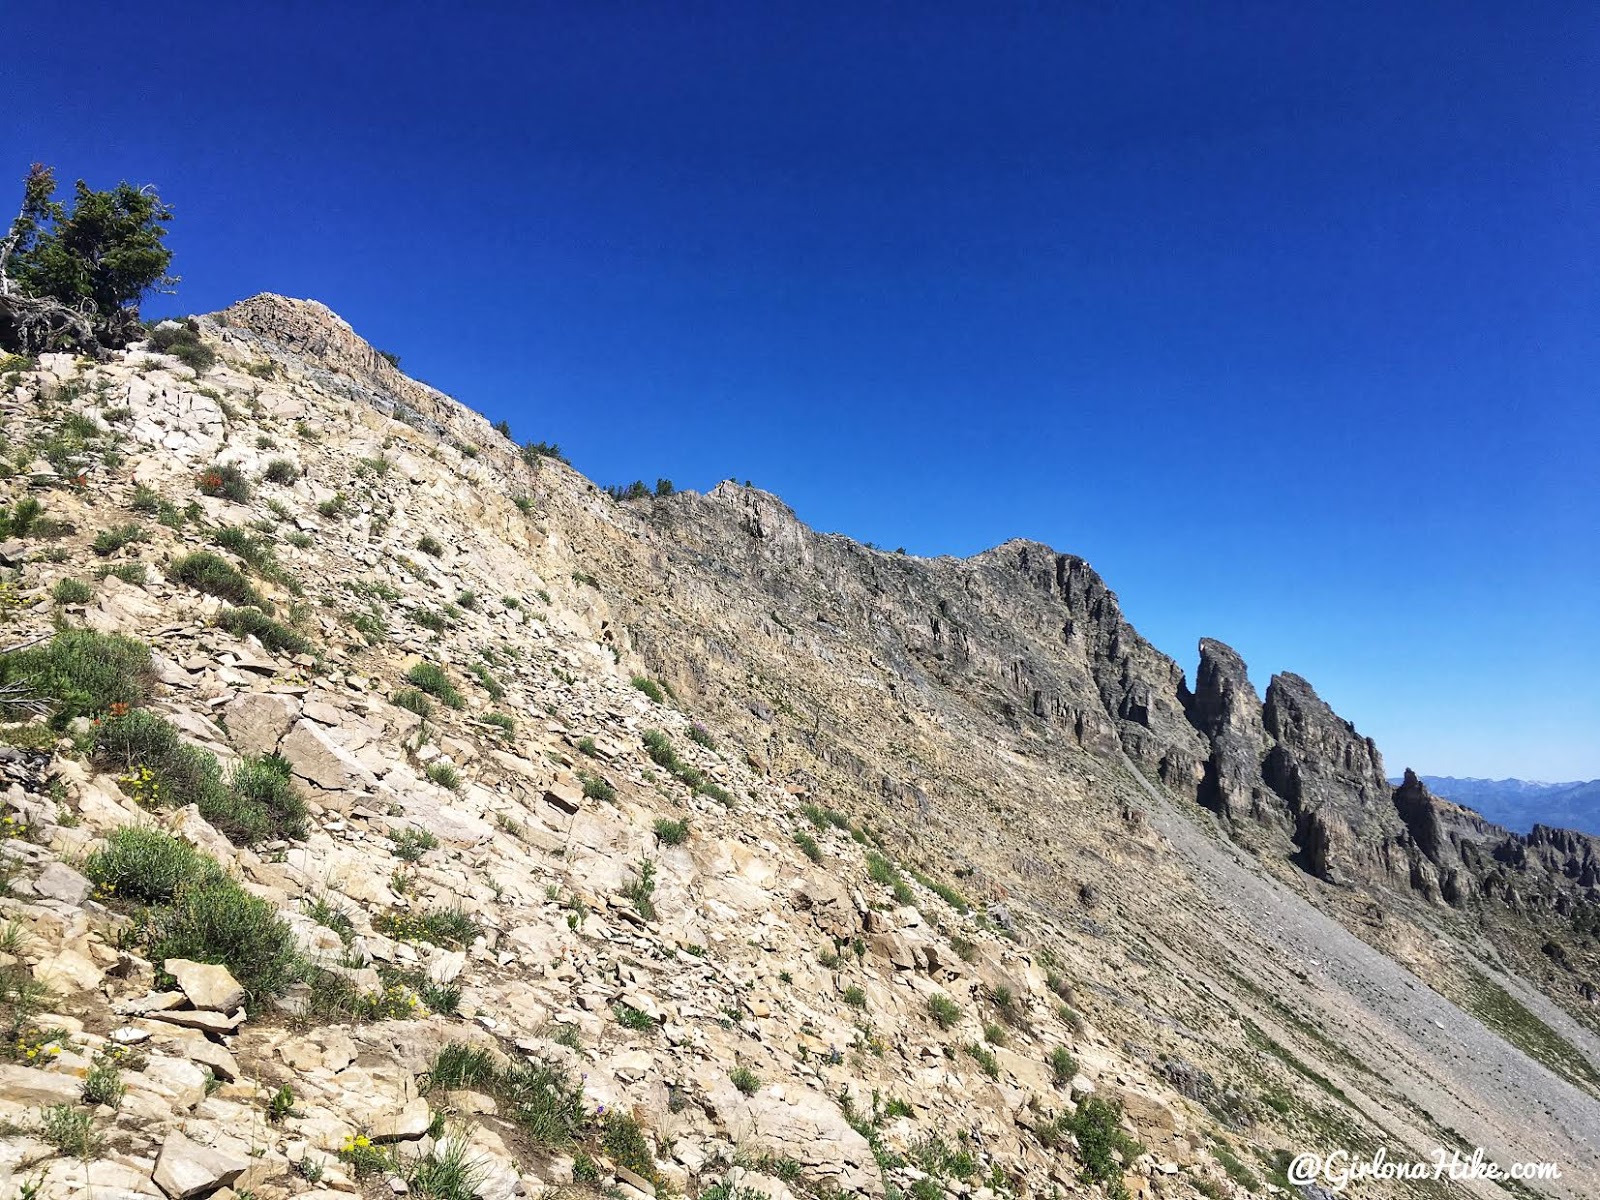
5 minute break to enjoy the views.
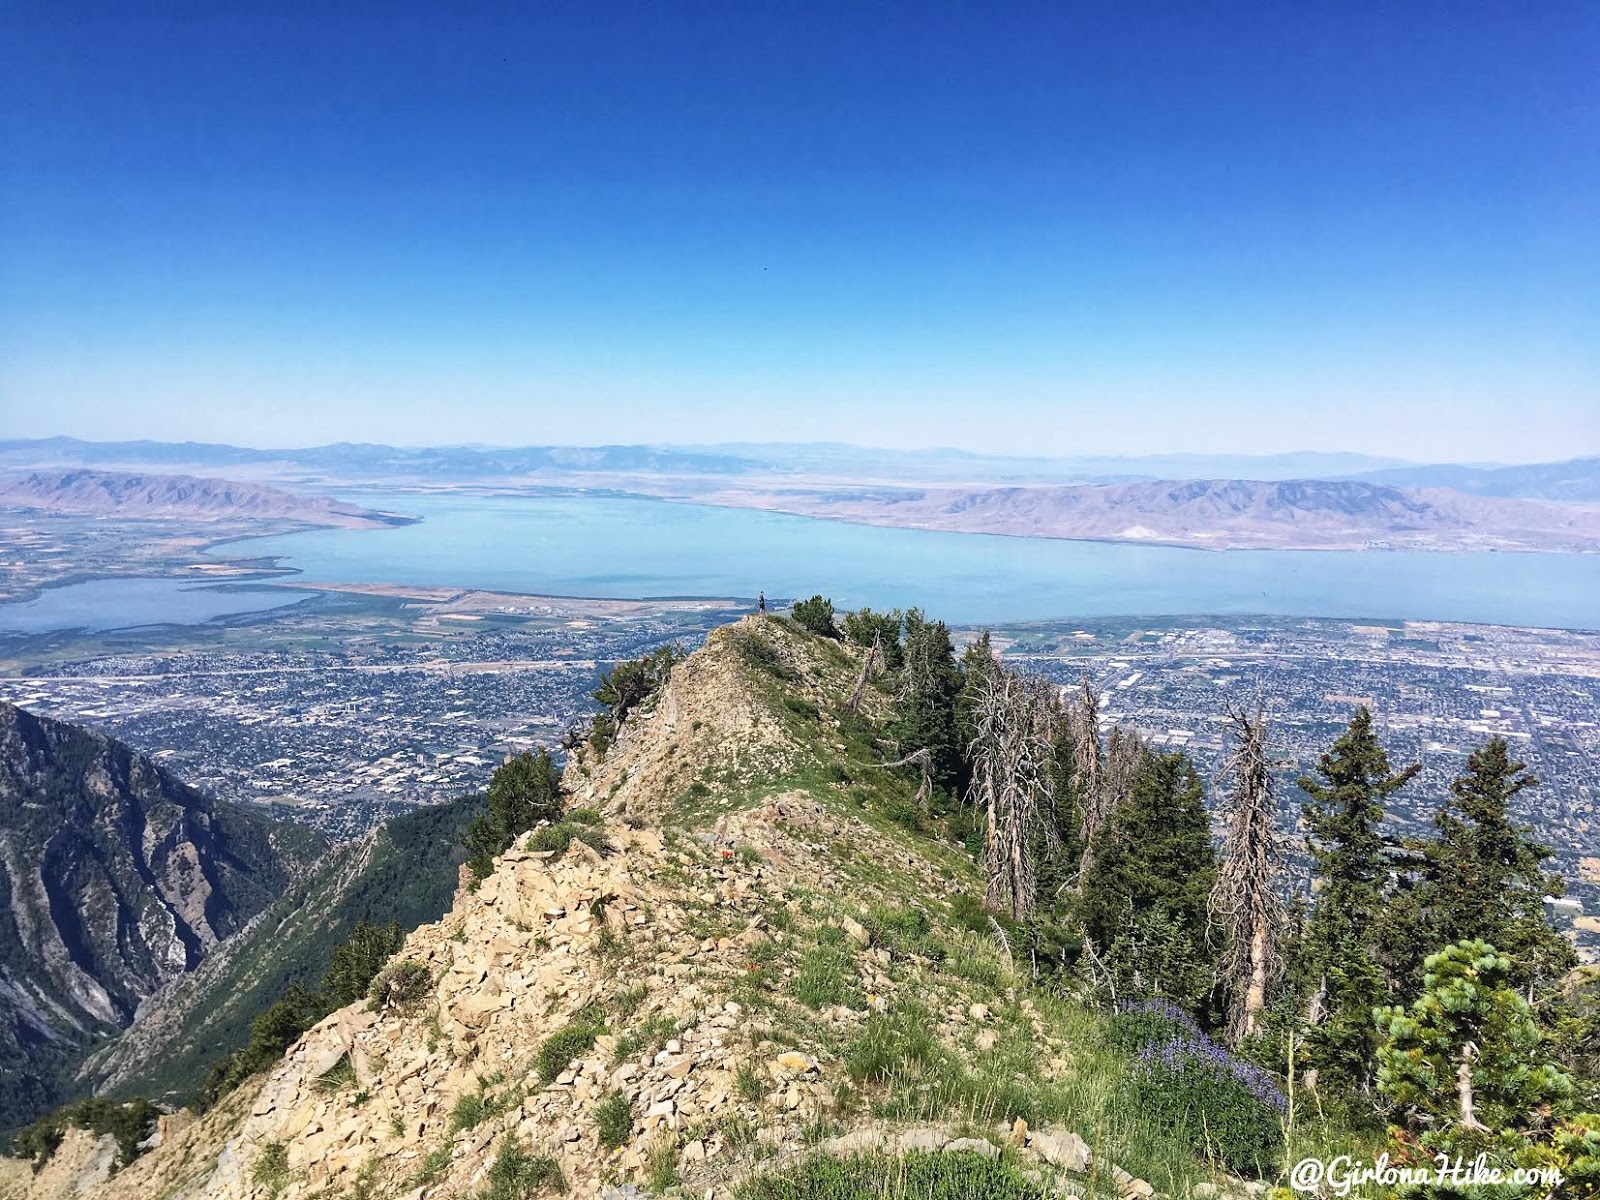
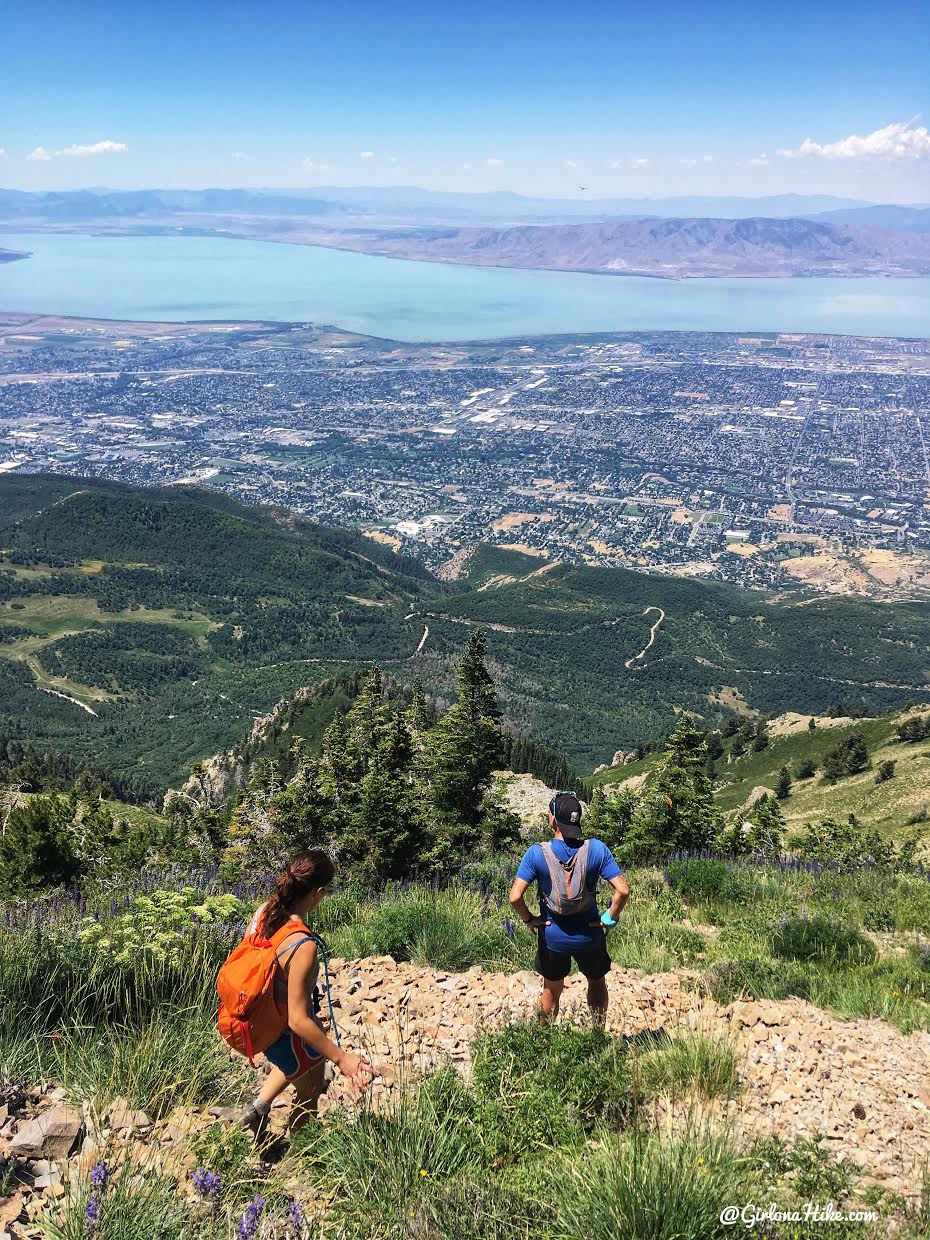
Miles 4-5 are definitely the worst. If you can make it past that section and reach this amazing view of Utah Lake, then you can make it the rest of the way. I feel like those last 2 miles are where most people, like me, probably want to bail, but it gets easier from there. Us girls took another quick break while Chris wanted some extra mileage and went out to the point.
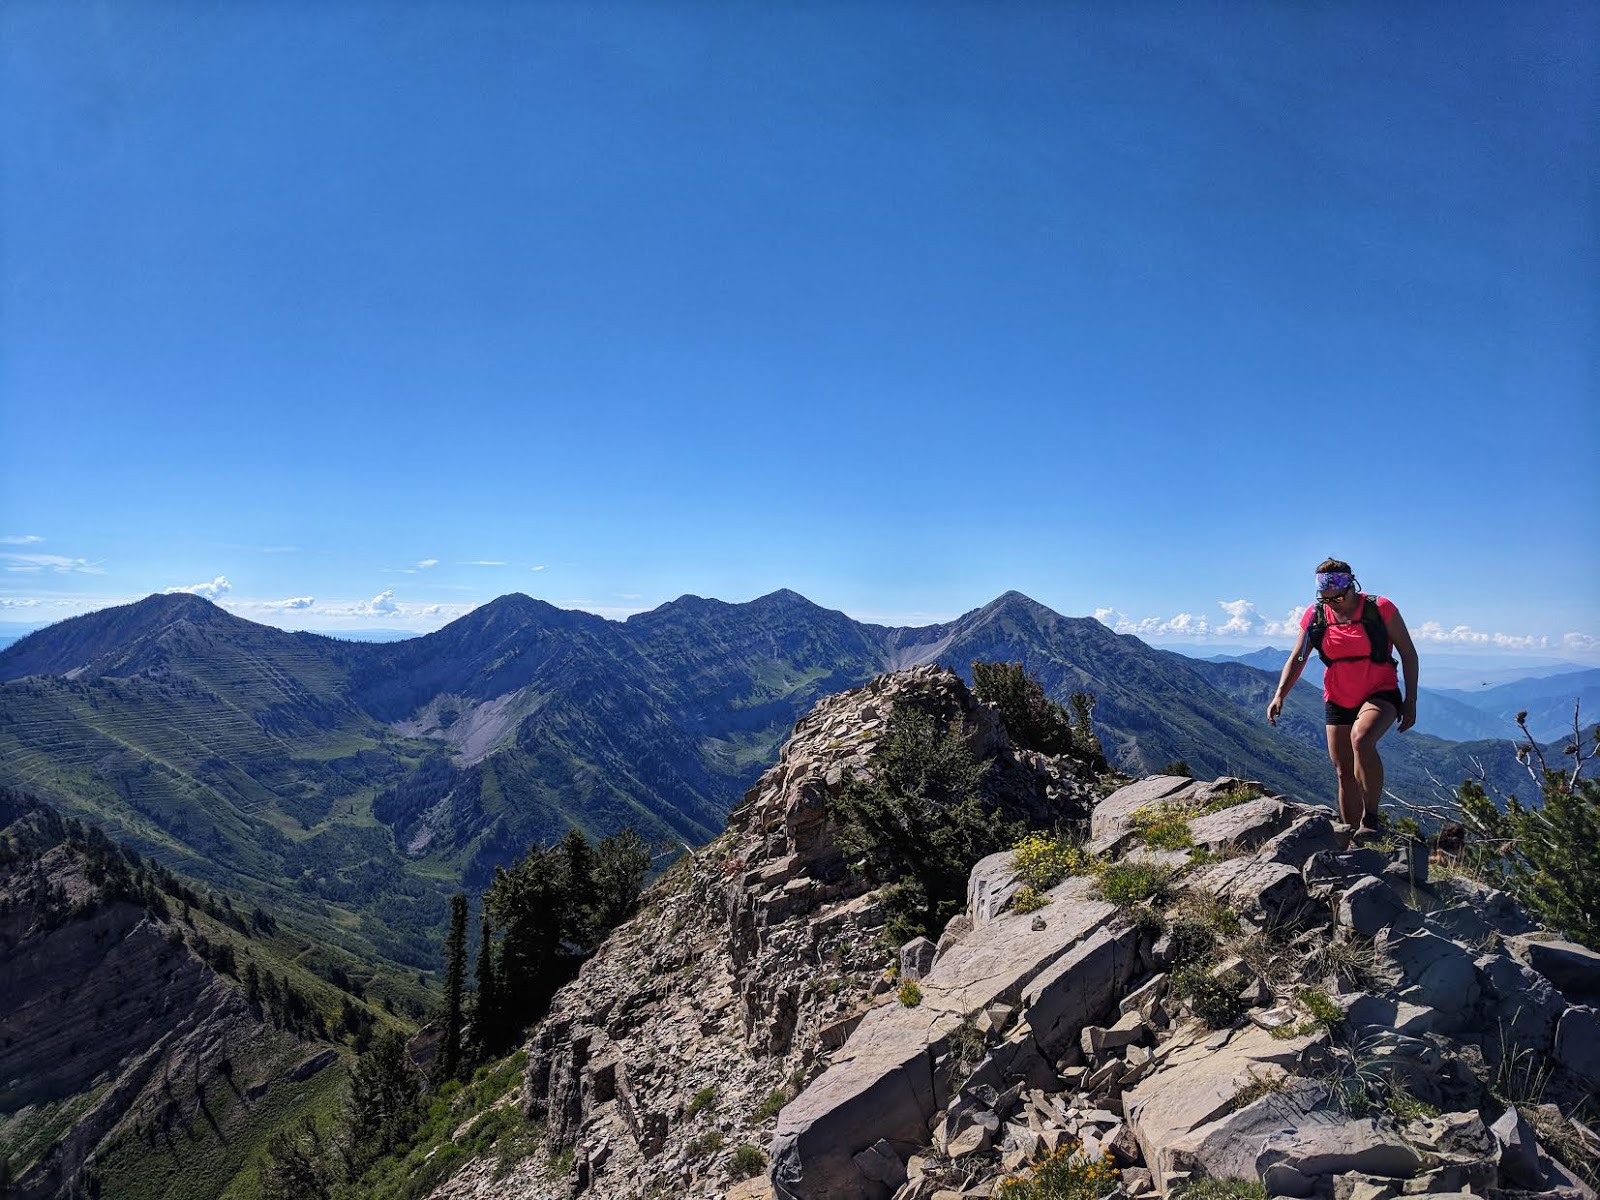
I love ridges – when they are level!
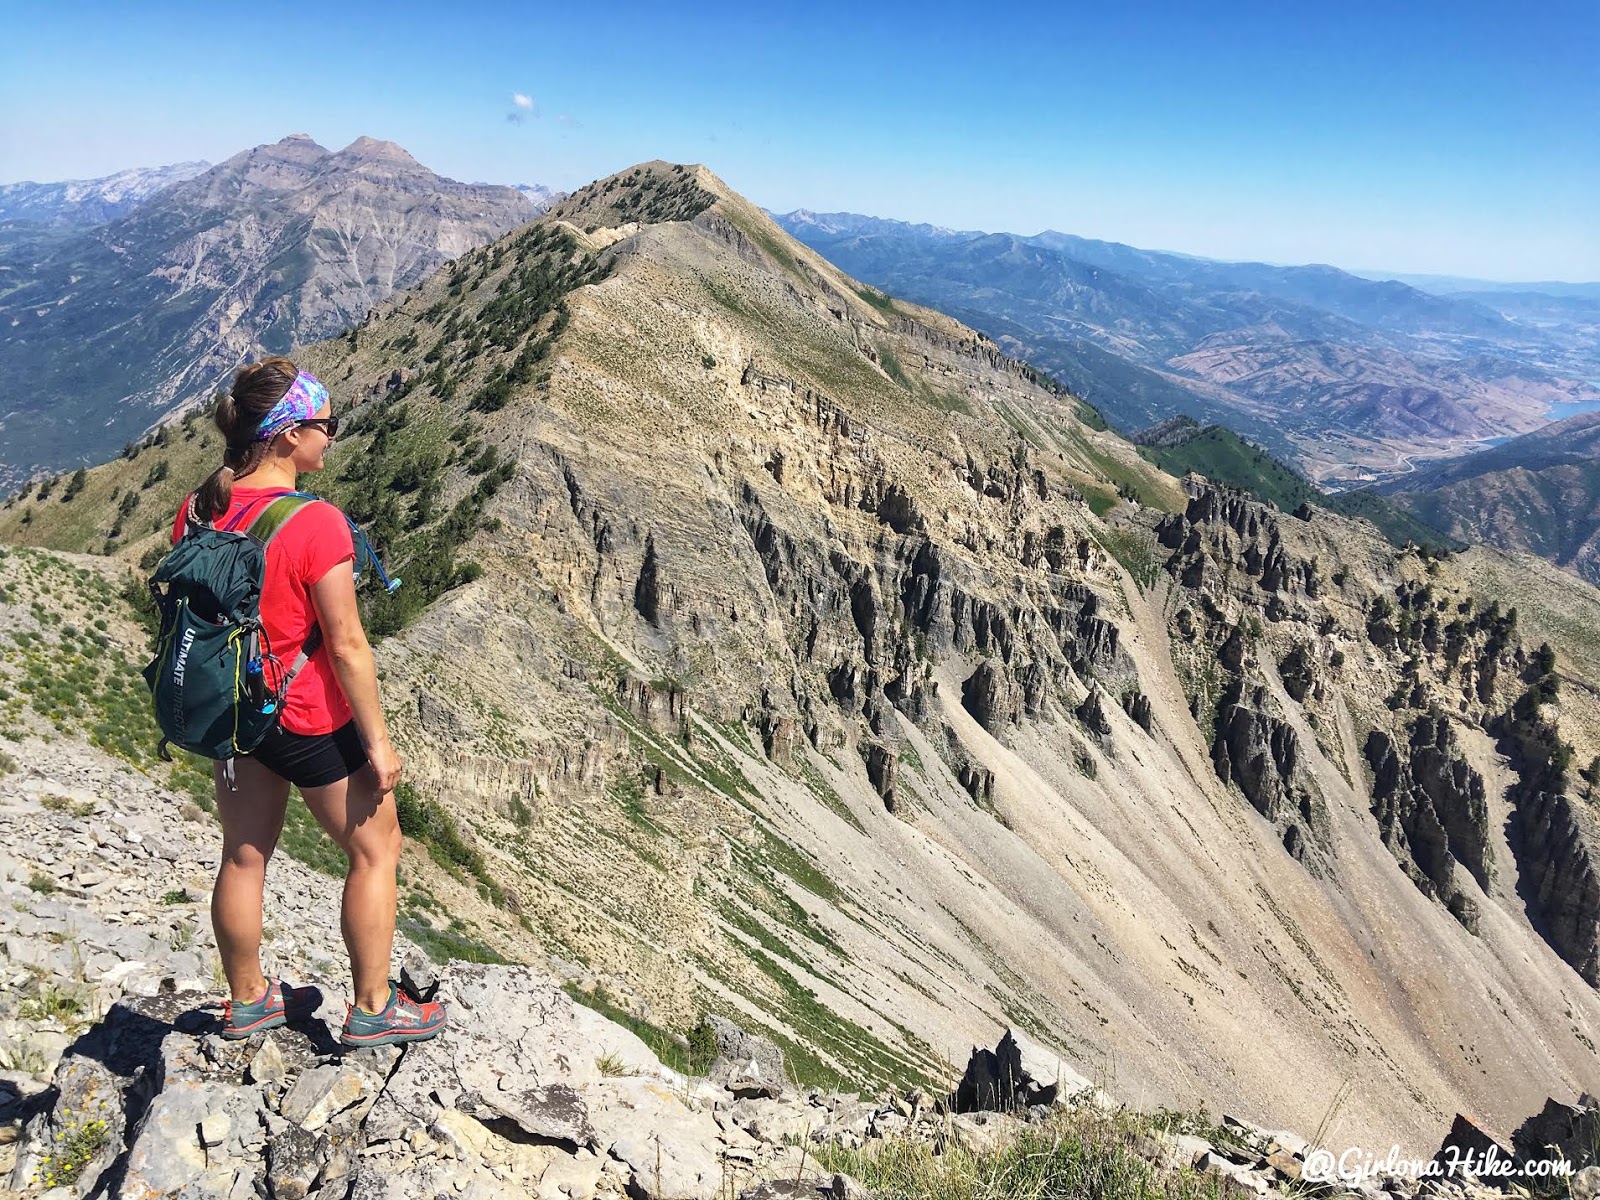
I thought the best view was from point 10,760 ft. I just loved the sharp edges, the view of Cascade Mountain, Mt. Timpanogos in the far distance, and overall relief that we were almost there.
When I said you need to be prepared mentally for this, it’s so true. I knew I had the energy to keep going but I was getting mentally beat down.
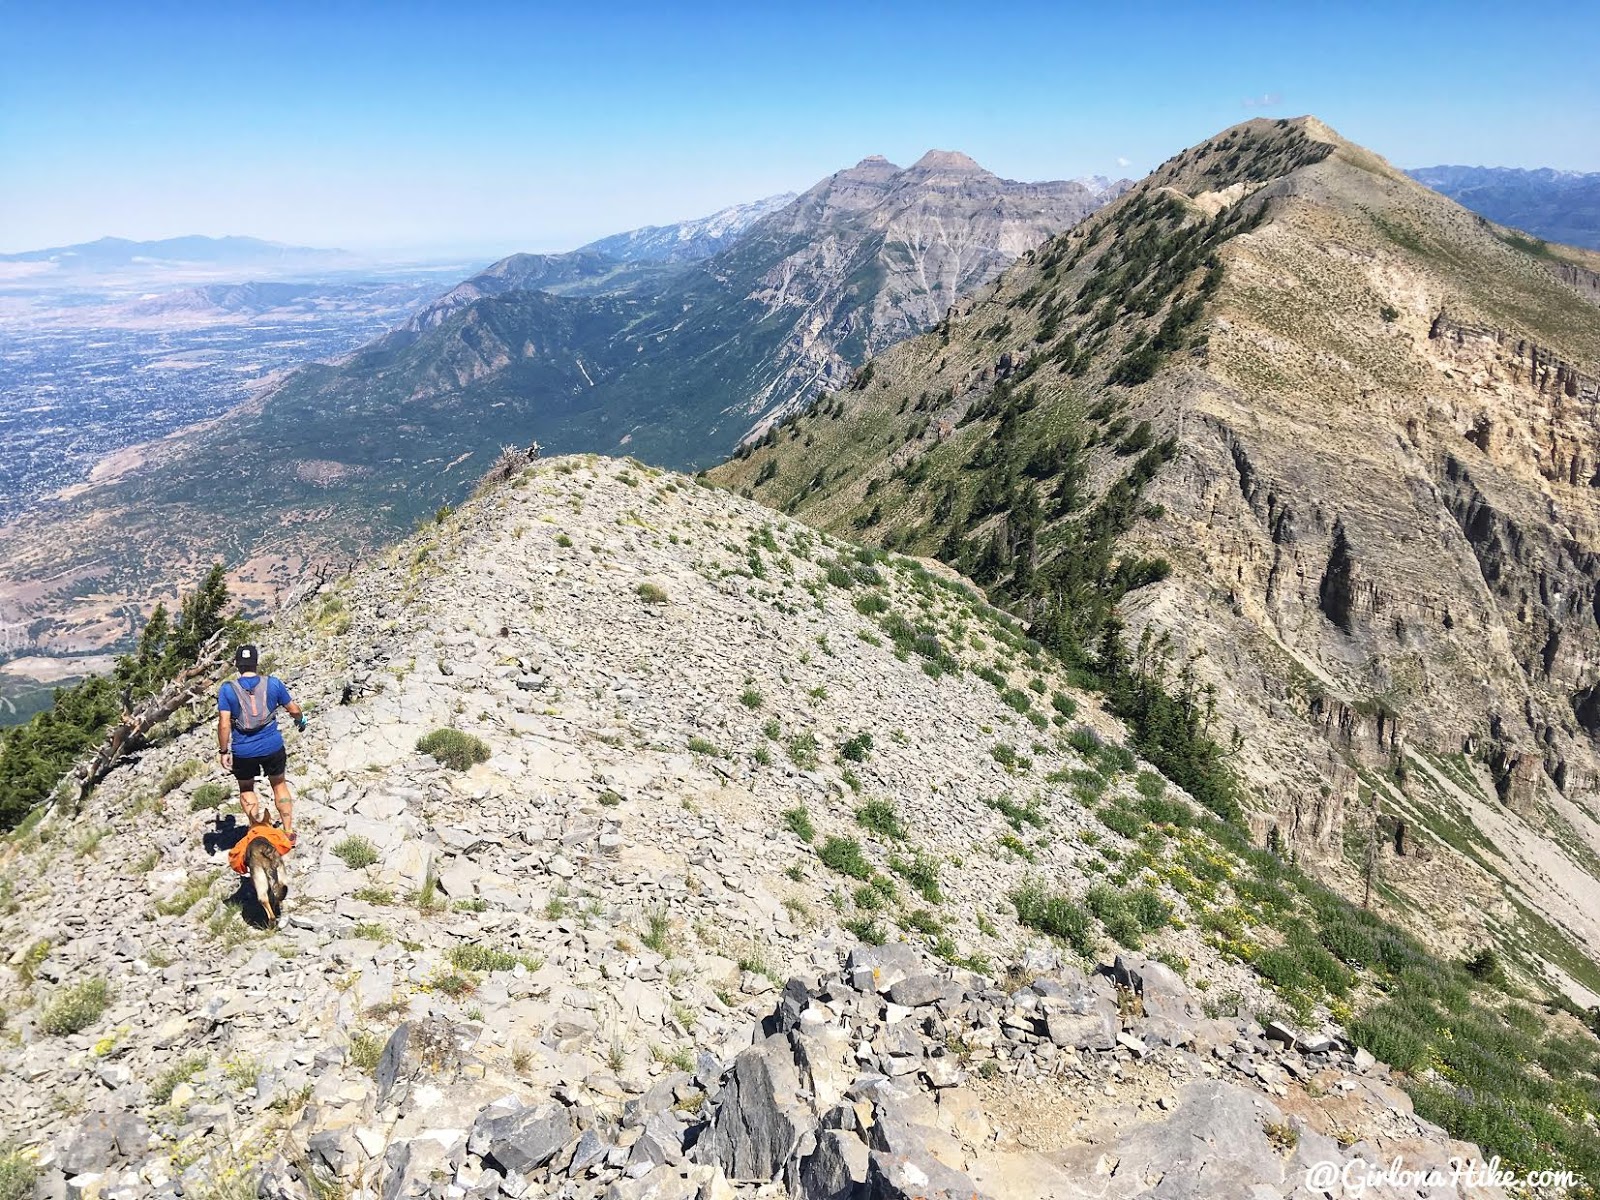
Continuing on!
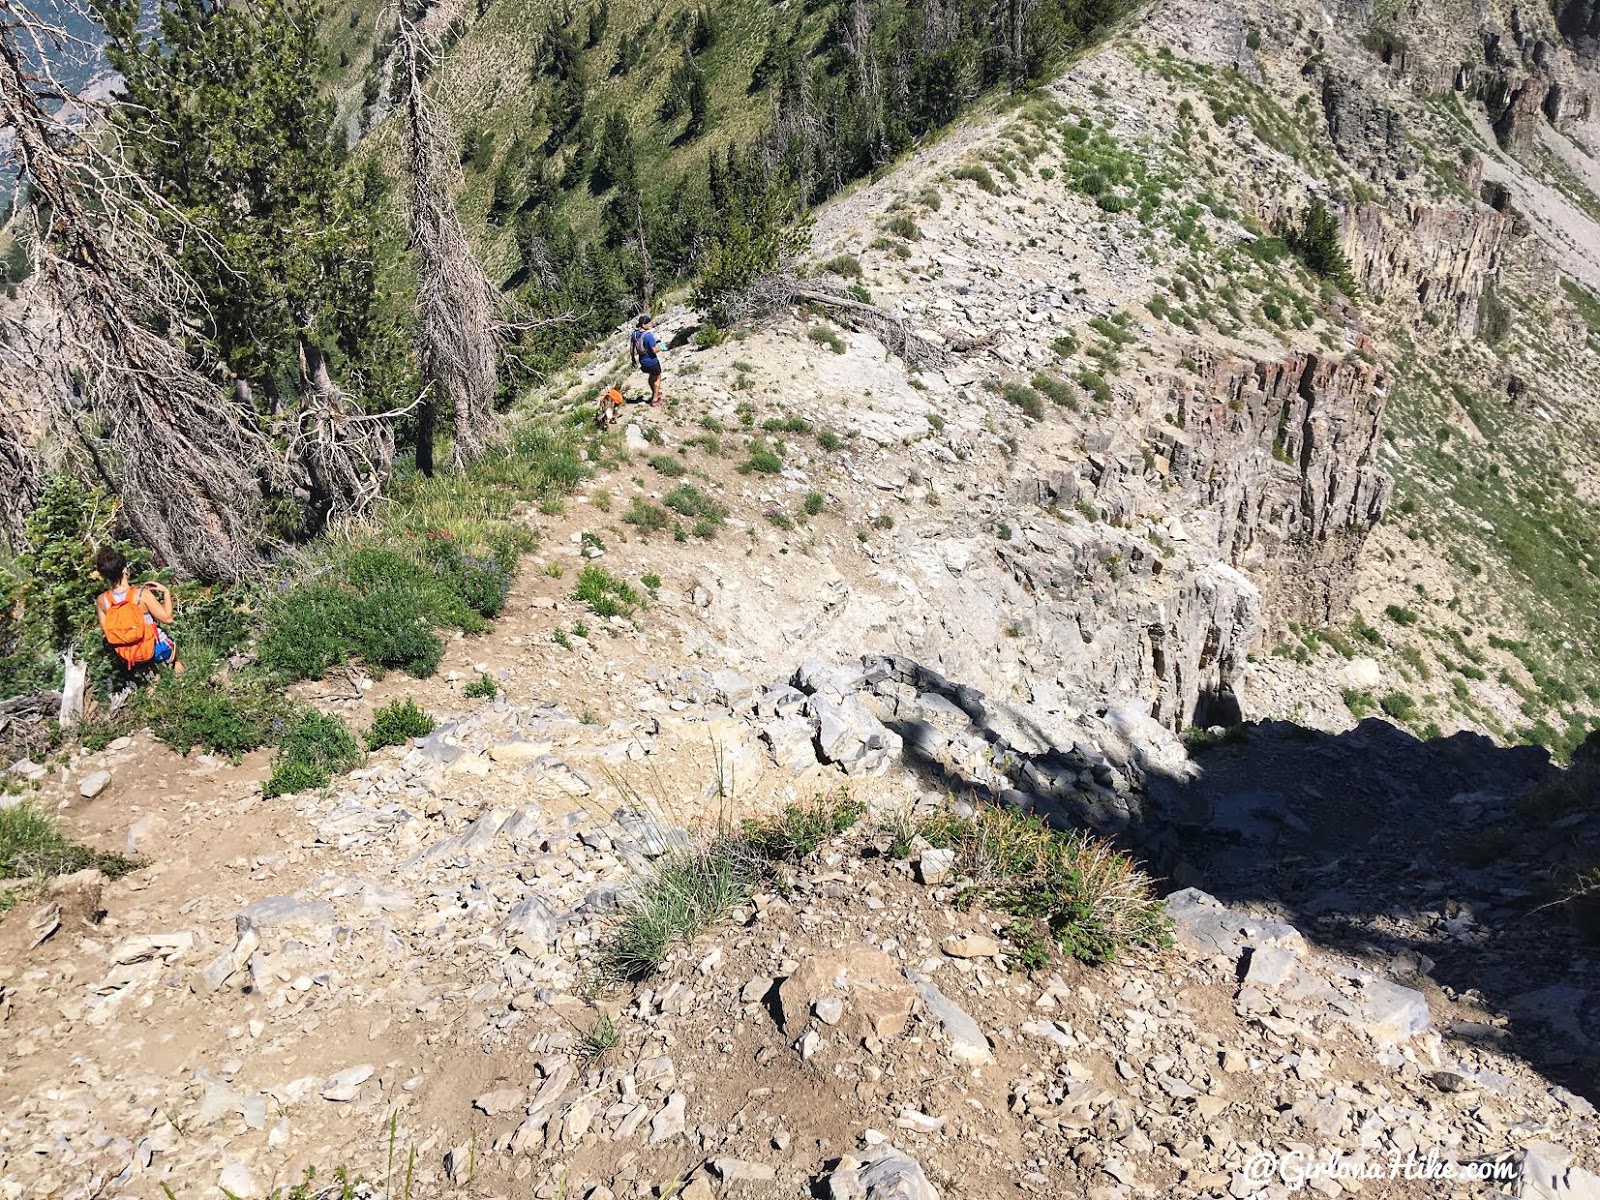
The ridge is a little steep after the 10,760 ft peak, but totally doable to get down.
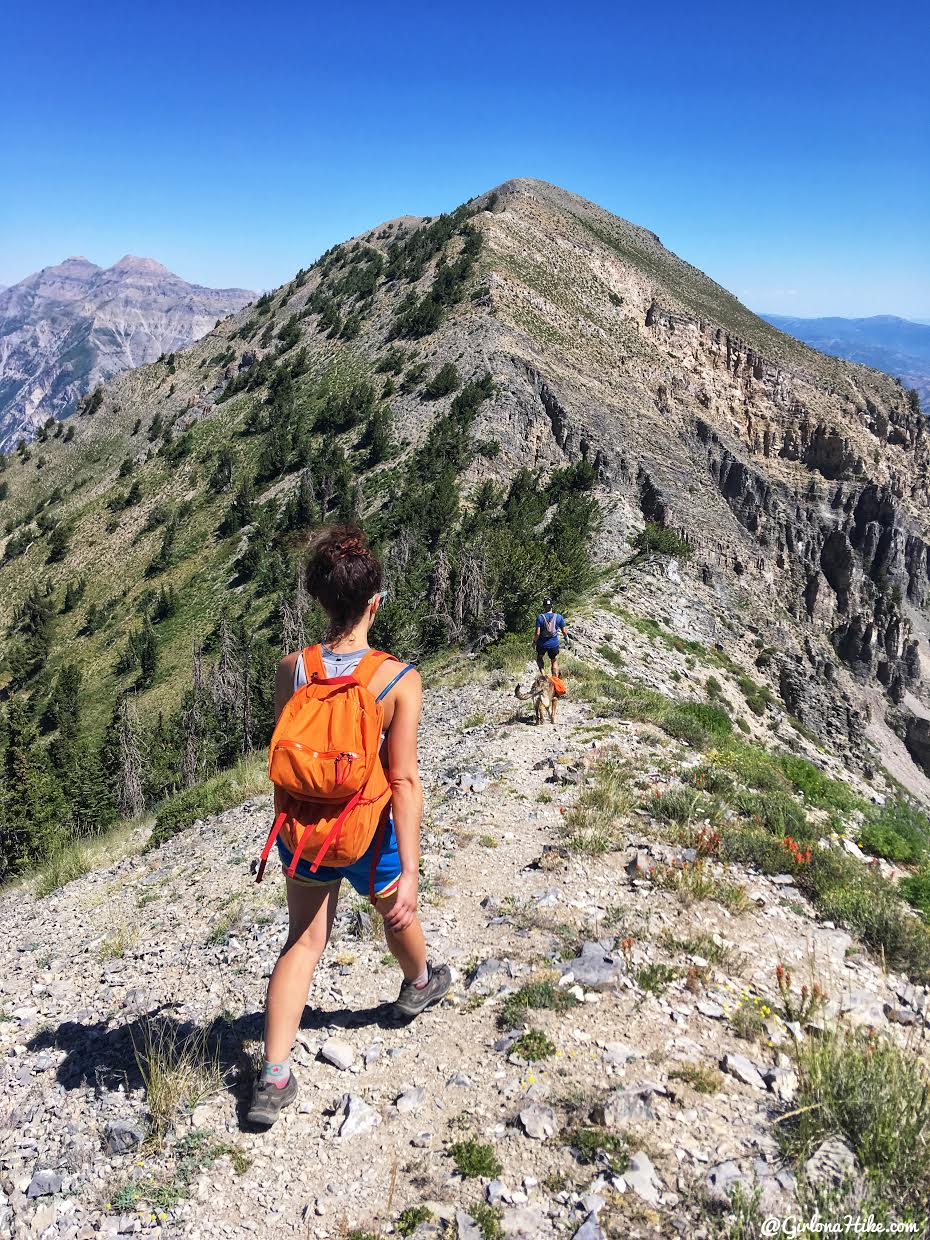
Hiking down hill for just a few minutes felt so much better for my legs. I started to perk up when I realized how close we actually were.
Looking back at where we just camp from. Wow! It felt like it only took 5 minutes to reach this saddle.
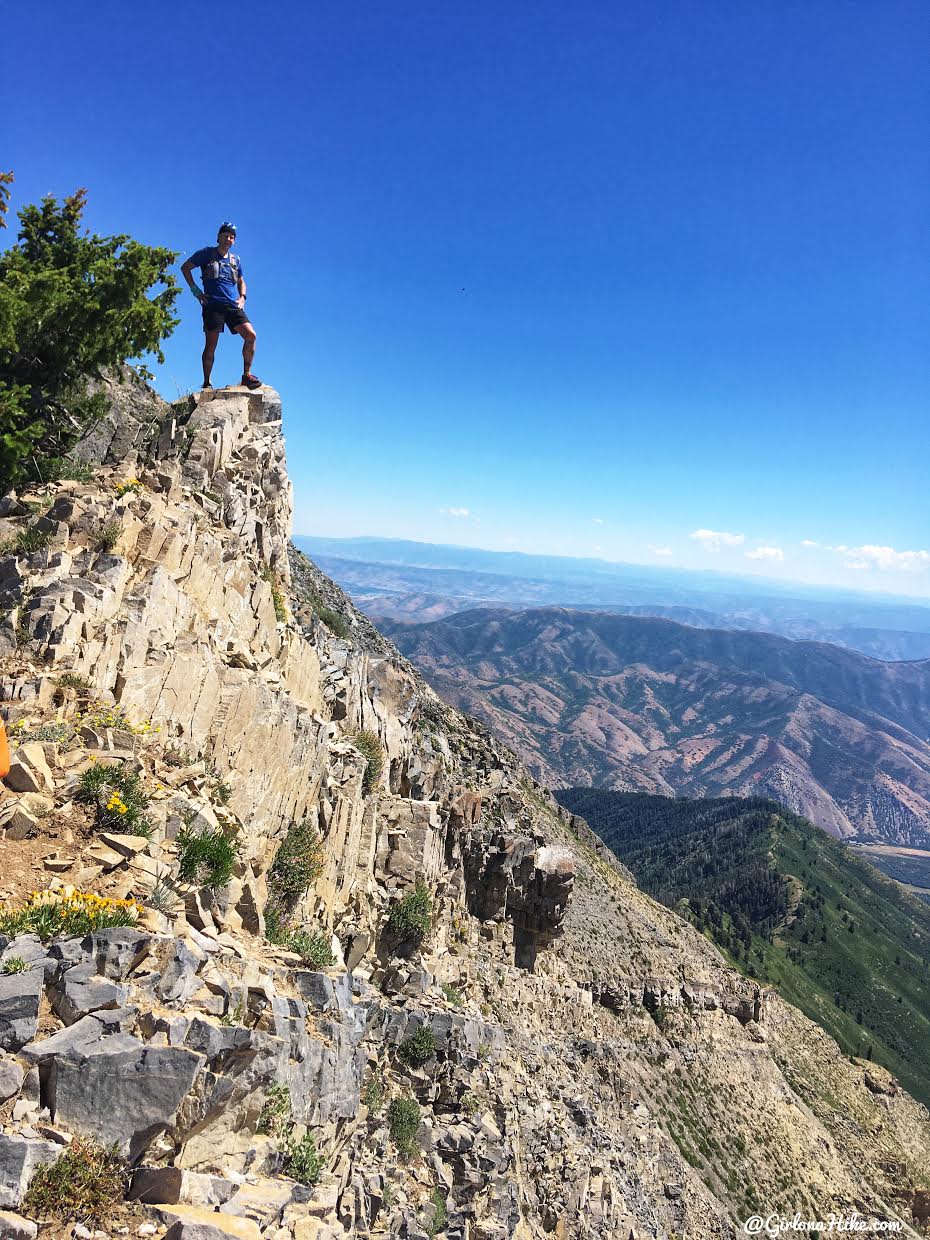
Ok Chris, stop showing off!
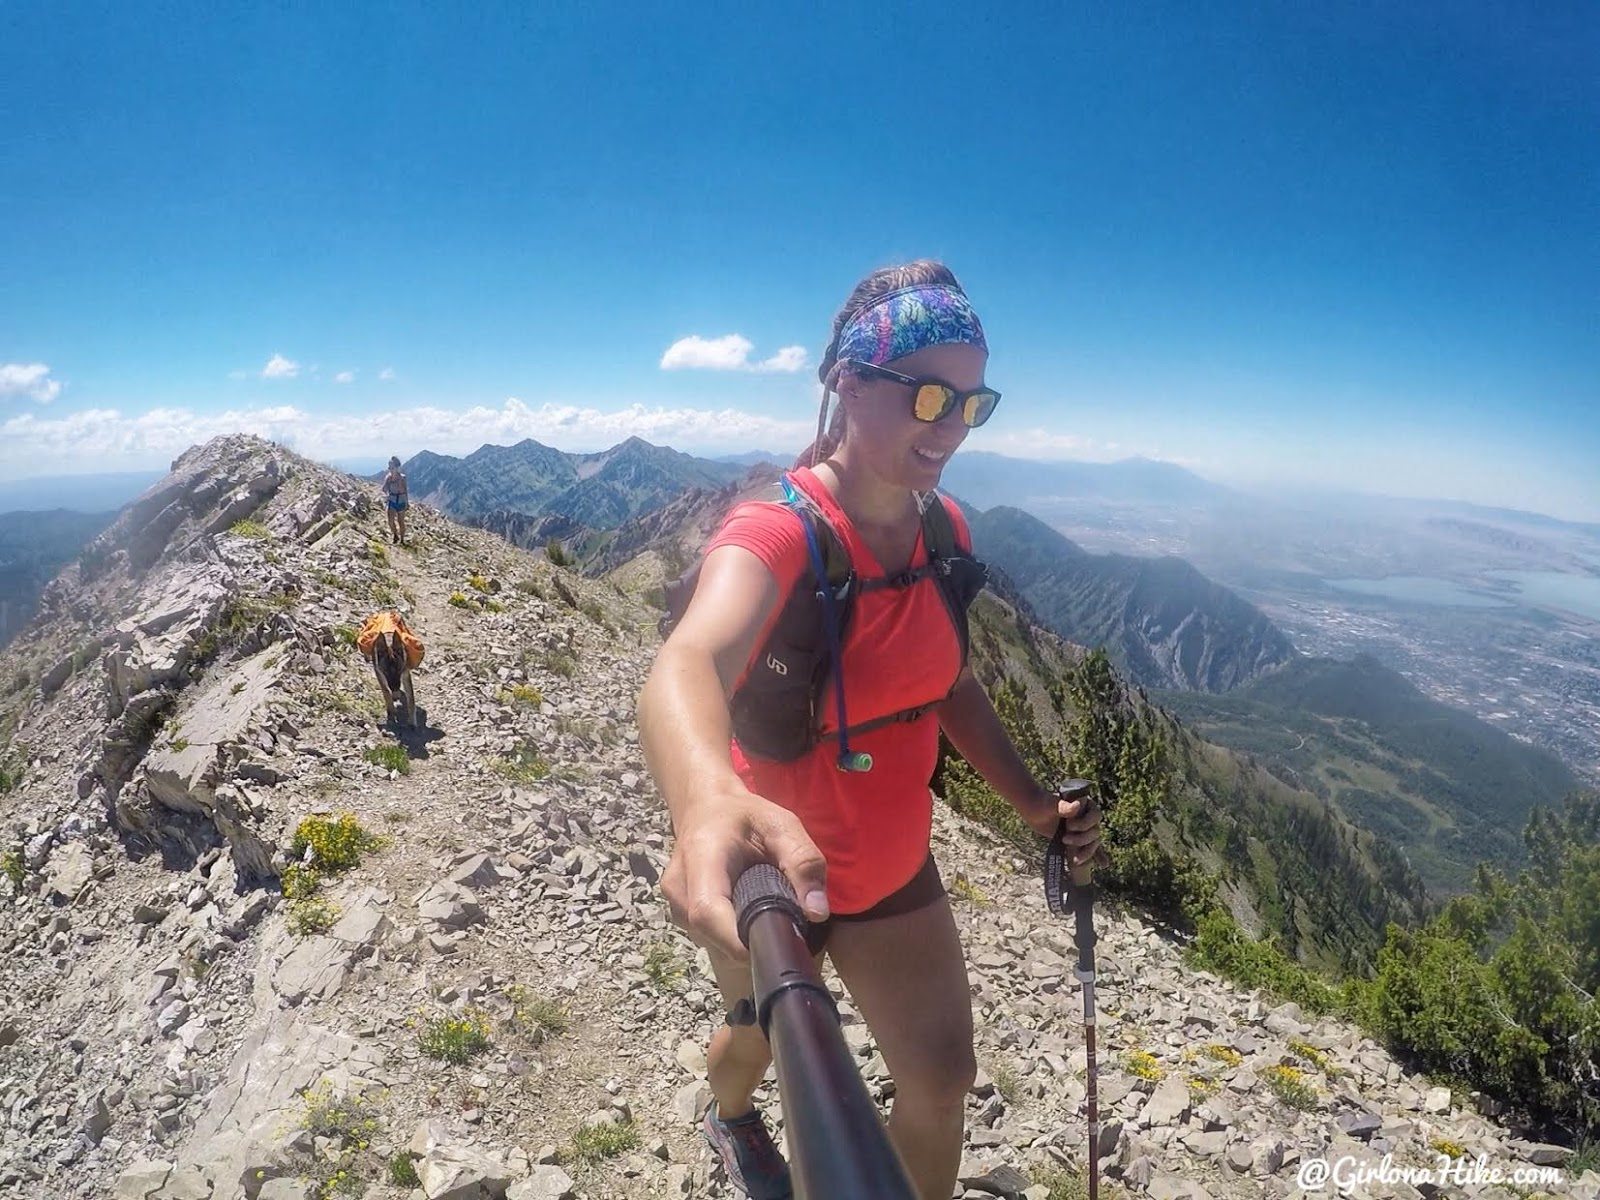
Almost there…
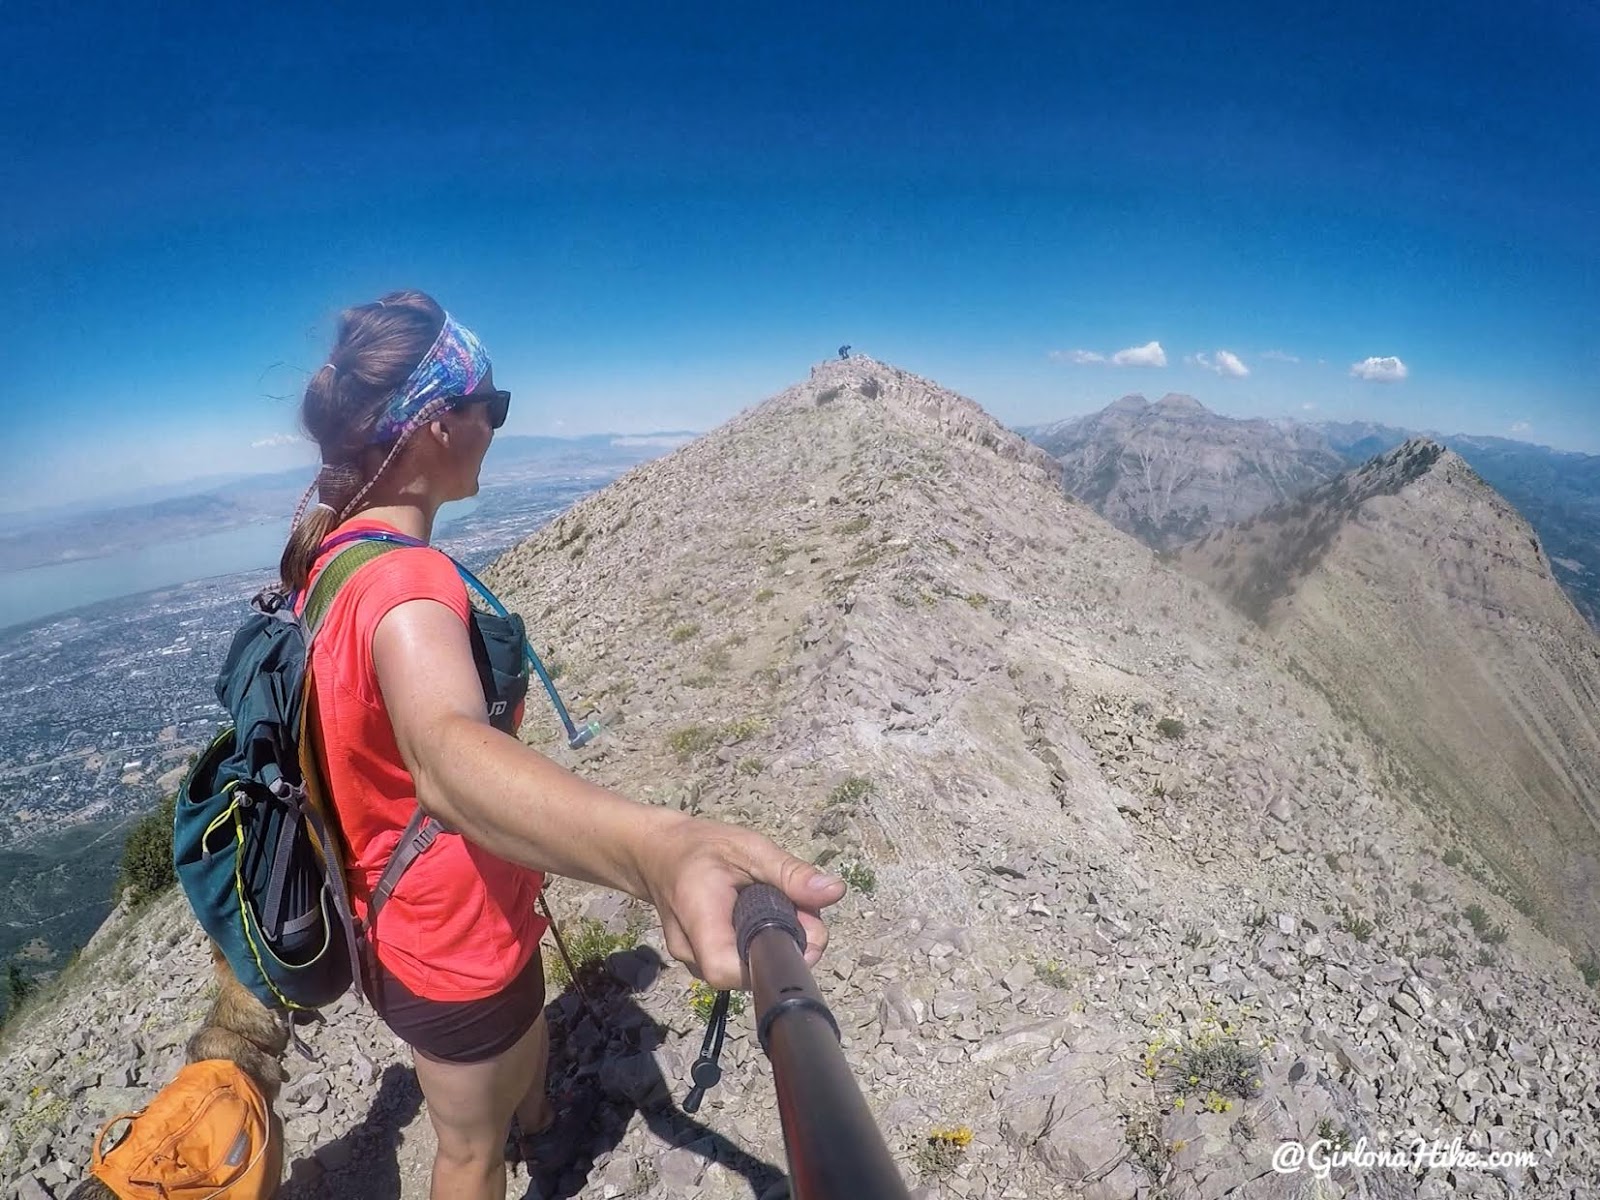
Dang it, I knew Chris would beat me to the summit!
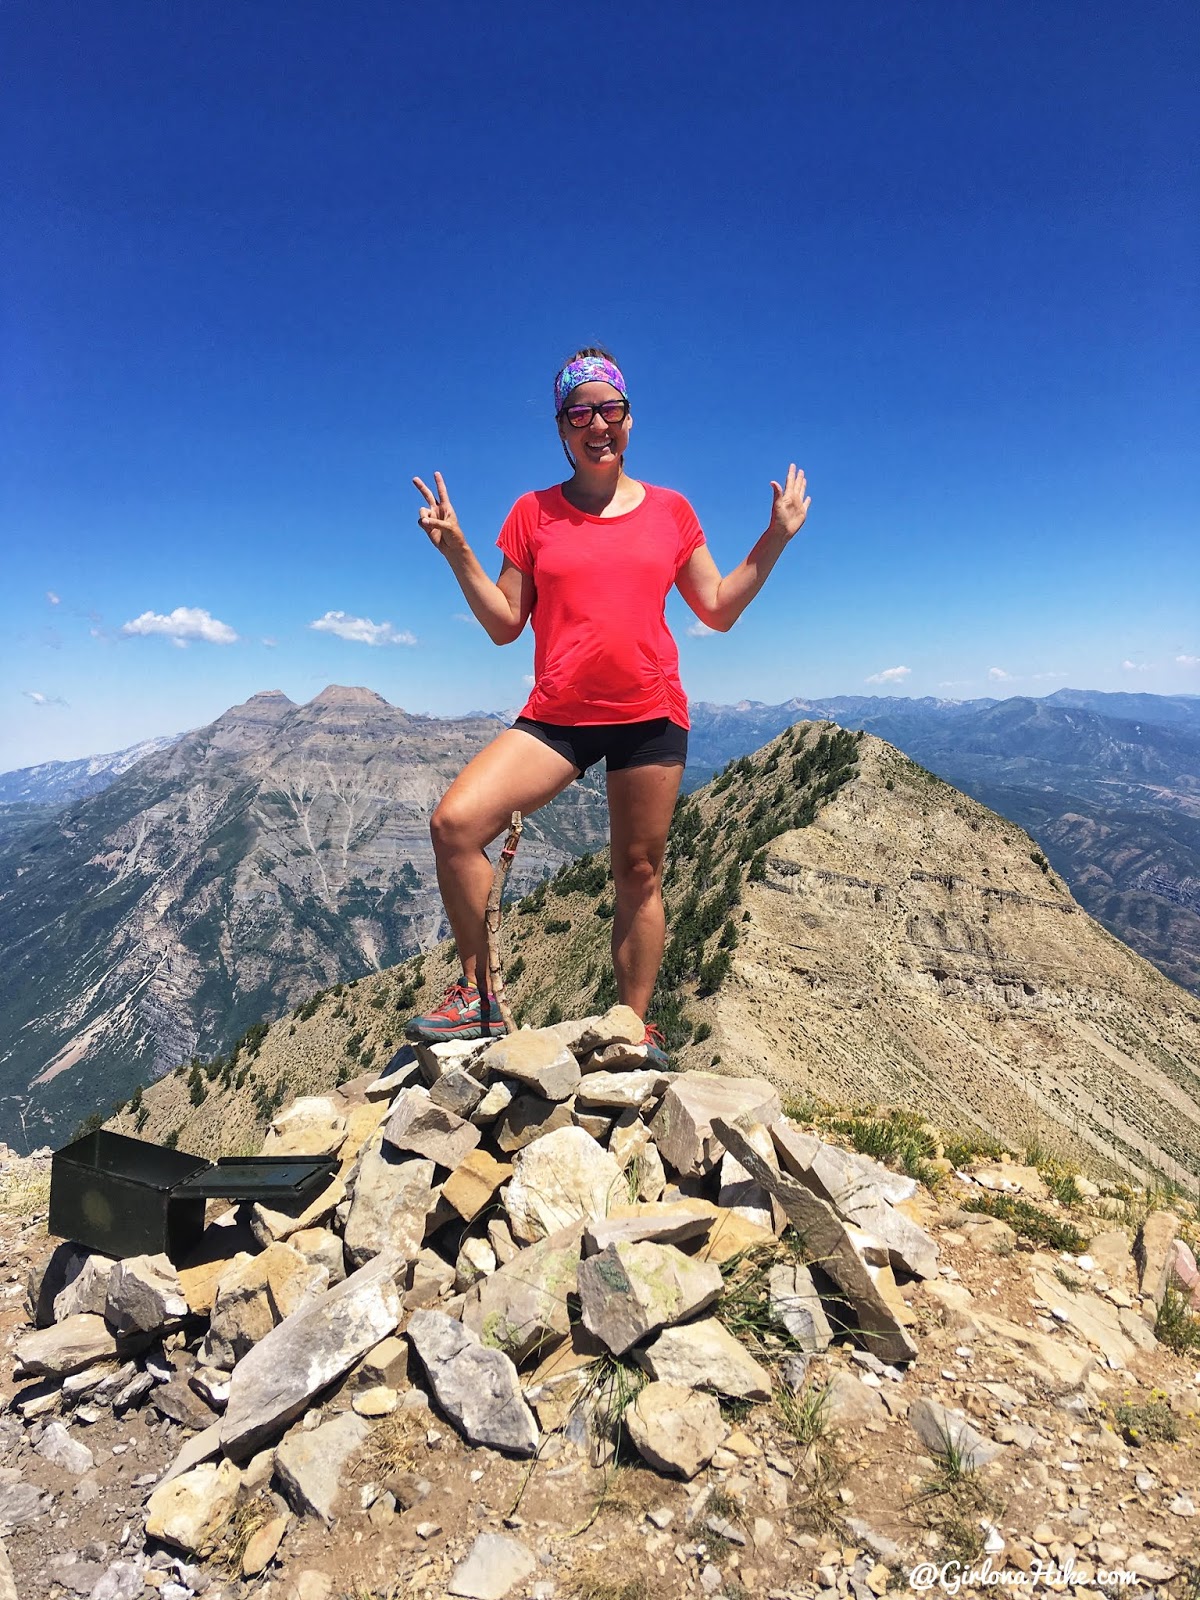
I made it! I completed the “Wasatch 7” Peaks!!! So happy to be done!
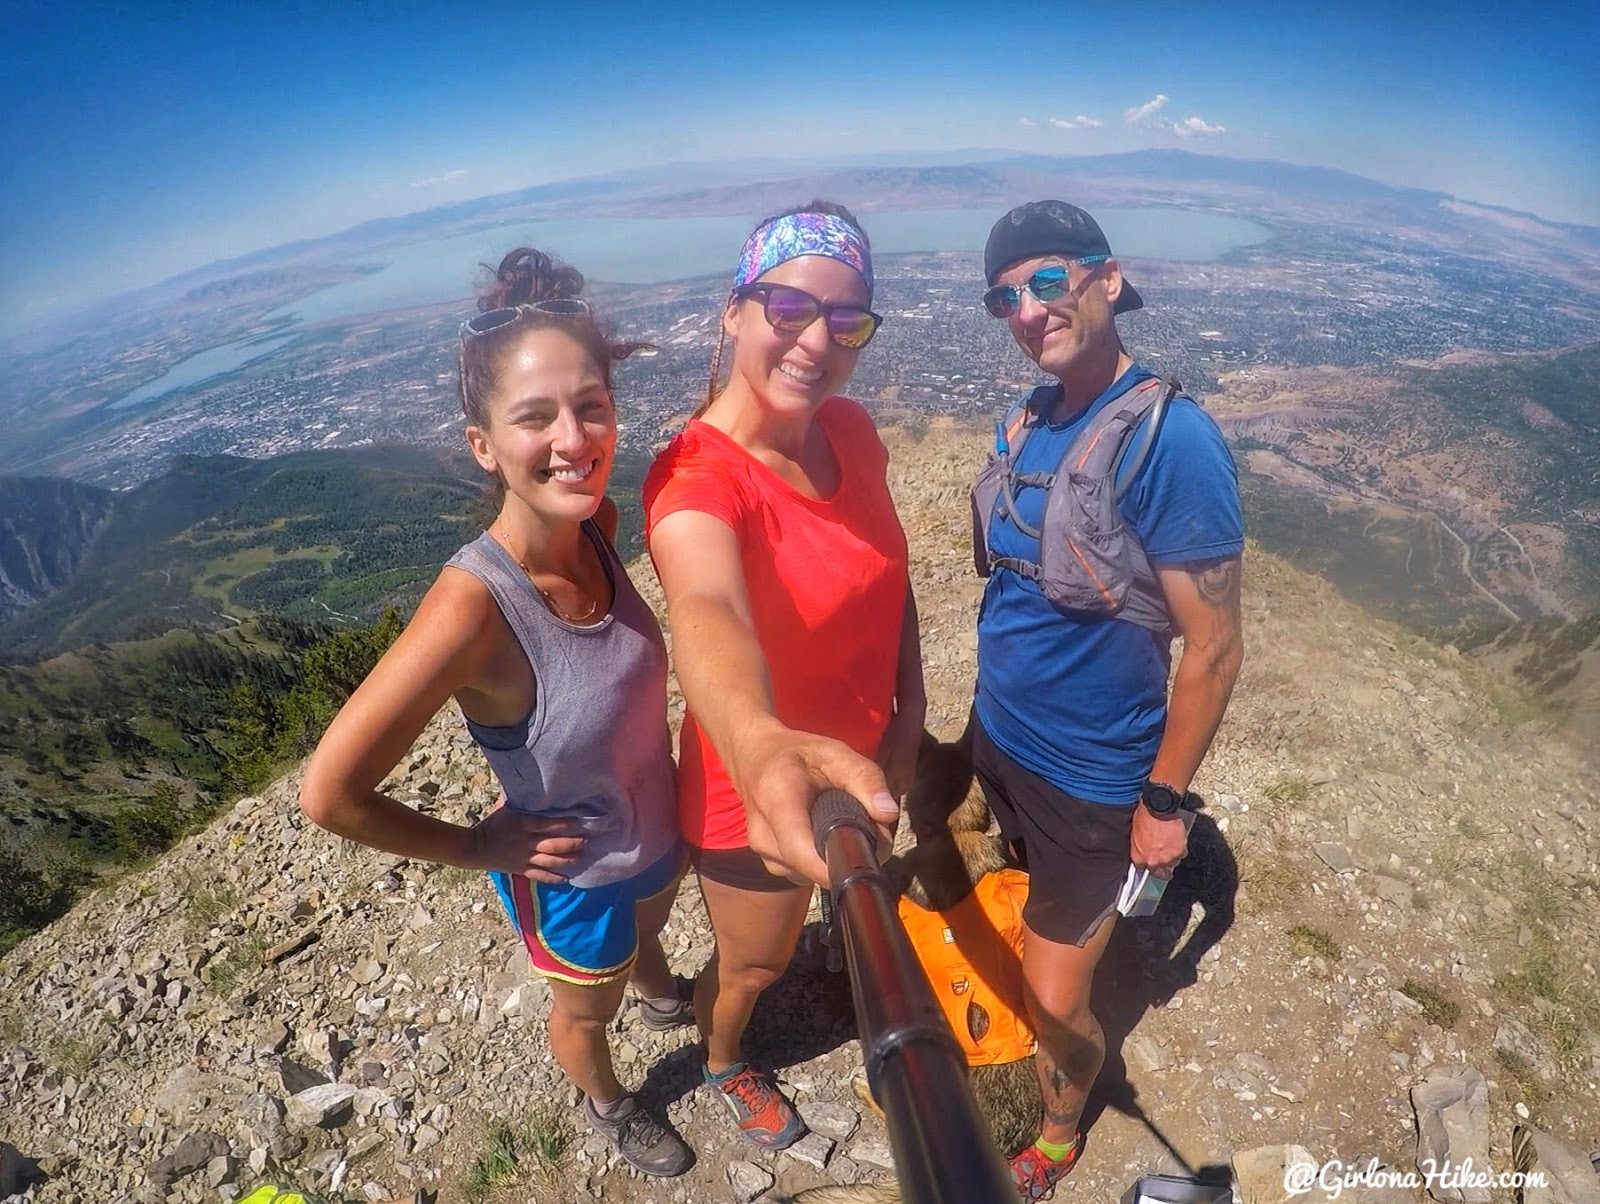
Be sure to follow these amazing people on Instagram @meet_mo and @kcgladden – They sure kept motivating me!
The whole time we kept debating which route we wanted to take back – go back the same way along the ridge OR down the Upper Pole Couloir. We got to the summit, and right before we started to head down I was like, “Let’s do it – let’s take the couloir. I don’t think my legs can handle hiking up any more steep hills.” Another reason I agreed to it was because Chris had done it before, and we followed his old GPS track down.
I would highly suggest that if you have never hiked the Couloir before to not do it unless someone who goes with you has gone before. There was no way we could have done it without Chris’ guidance and knowing exactly where to go. There are several areas where you could easily get cliffed out.
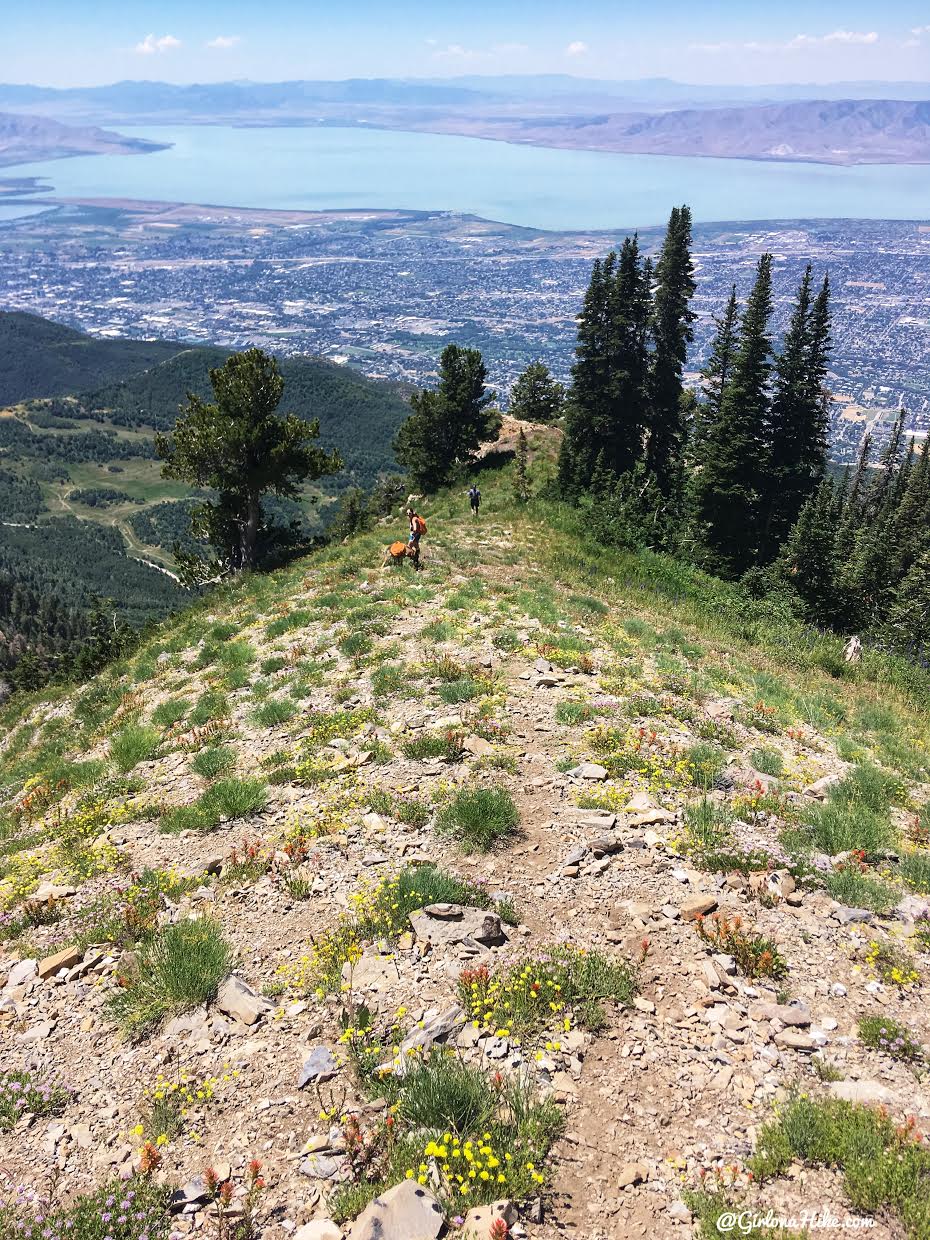
You mainly follow the ridge down on the North edge of the couloir but there are a few sections that definitely do not have a trail, and most of the time, because its so steep, are doing a lot of side-stepping and holding onto branches to get down.
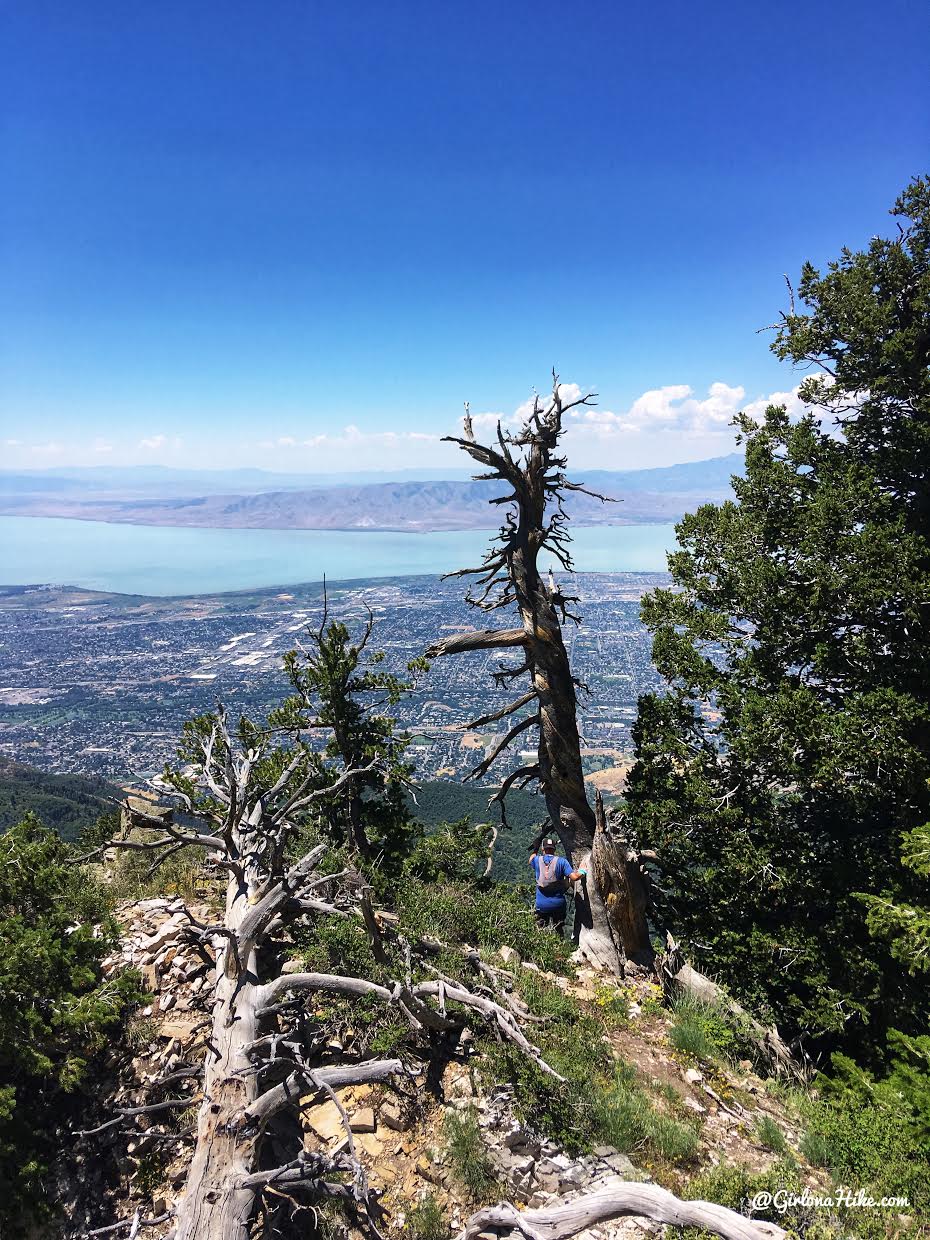
Hiking around small obstacles. Just below this tree was about a 6 foot drop.
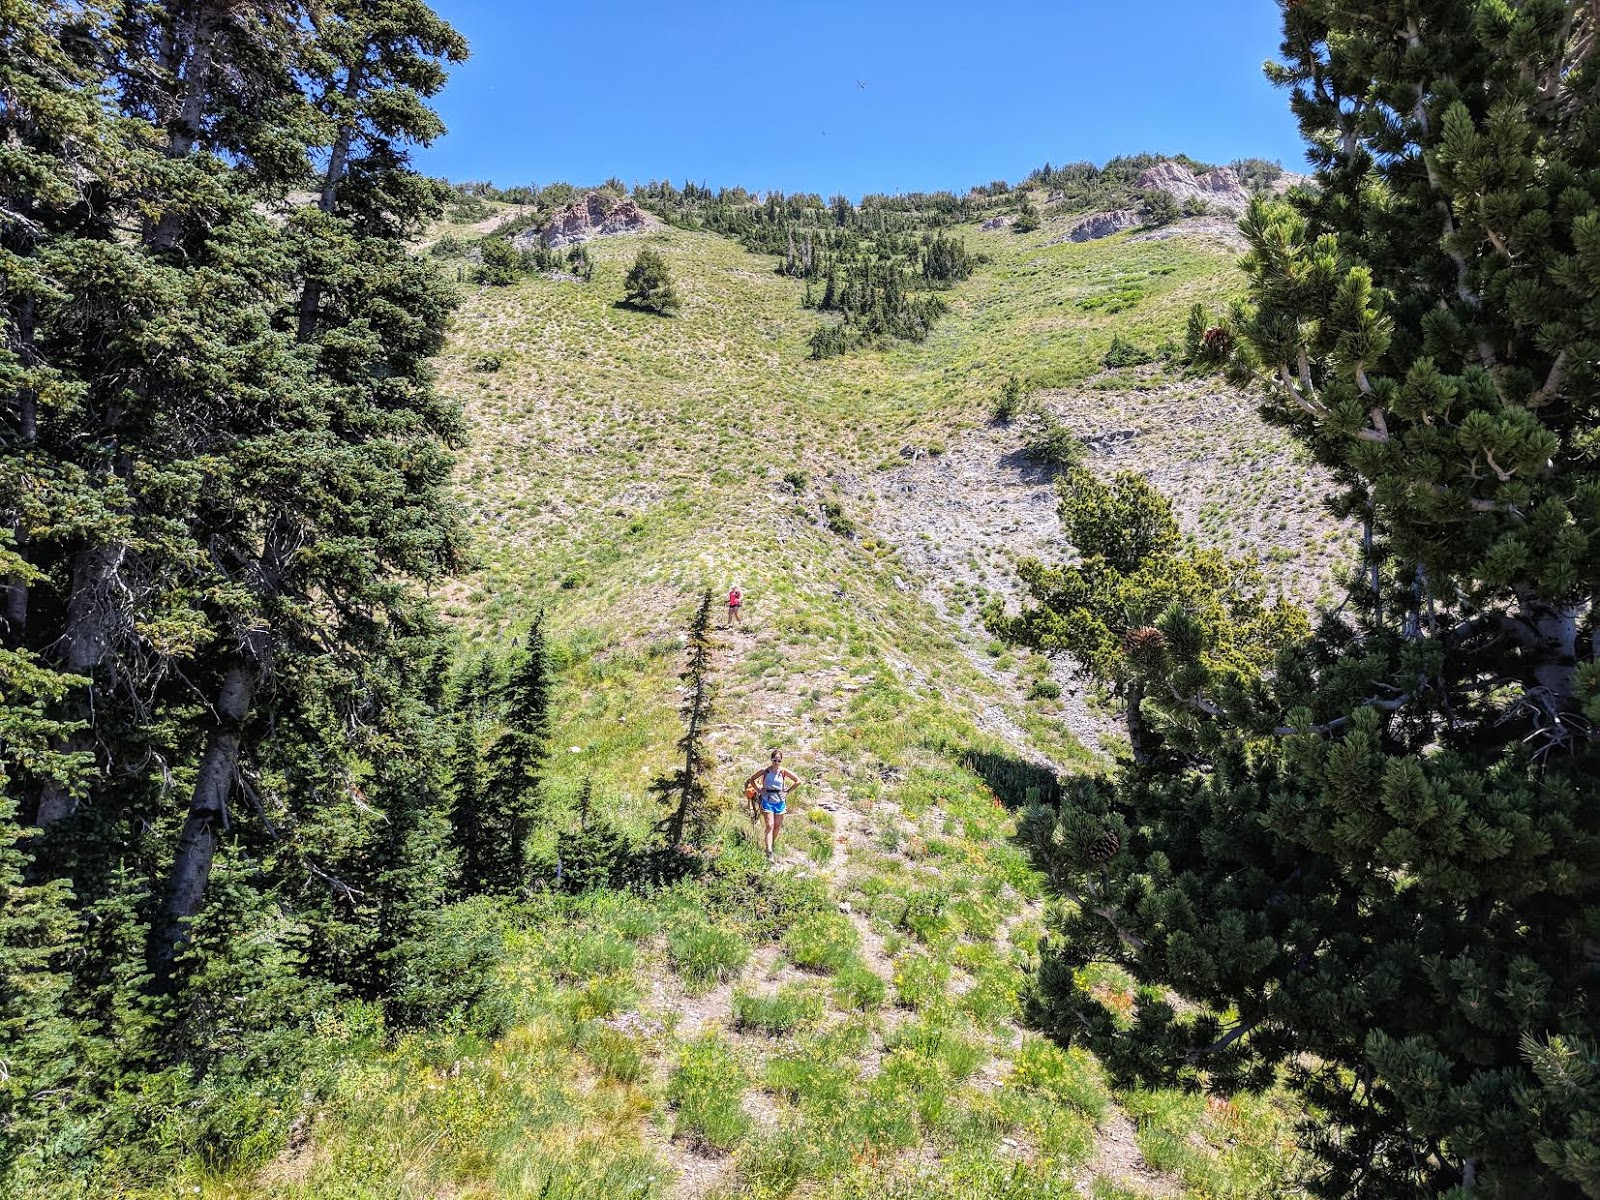
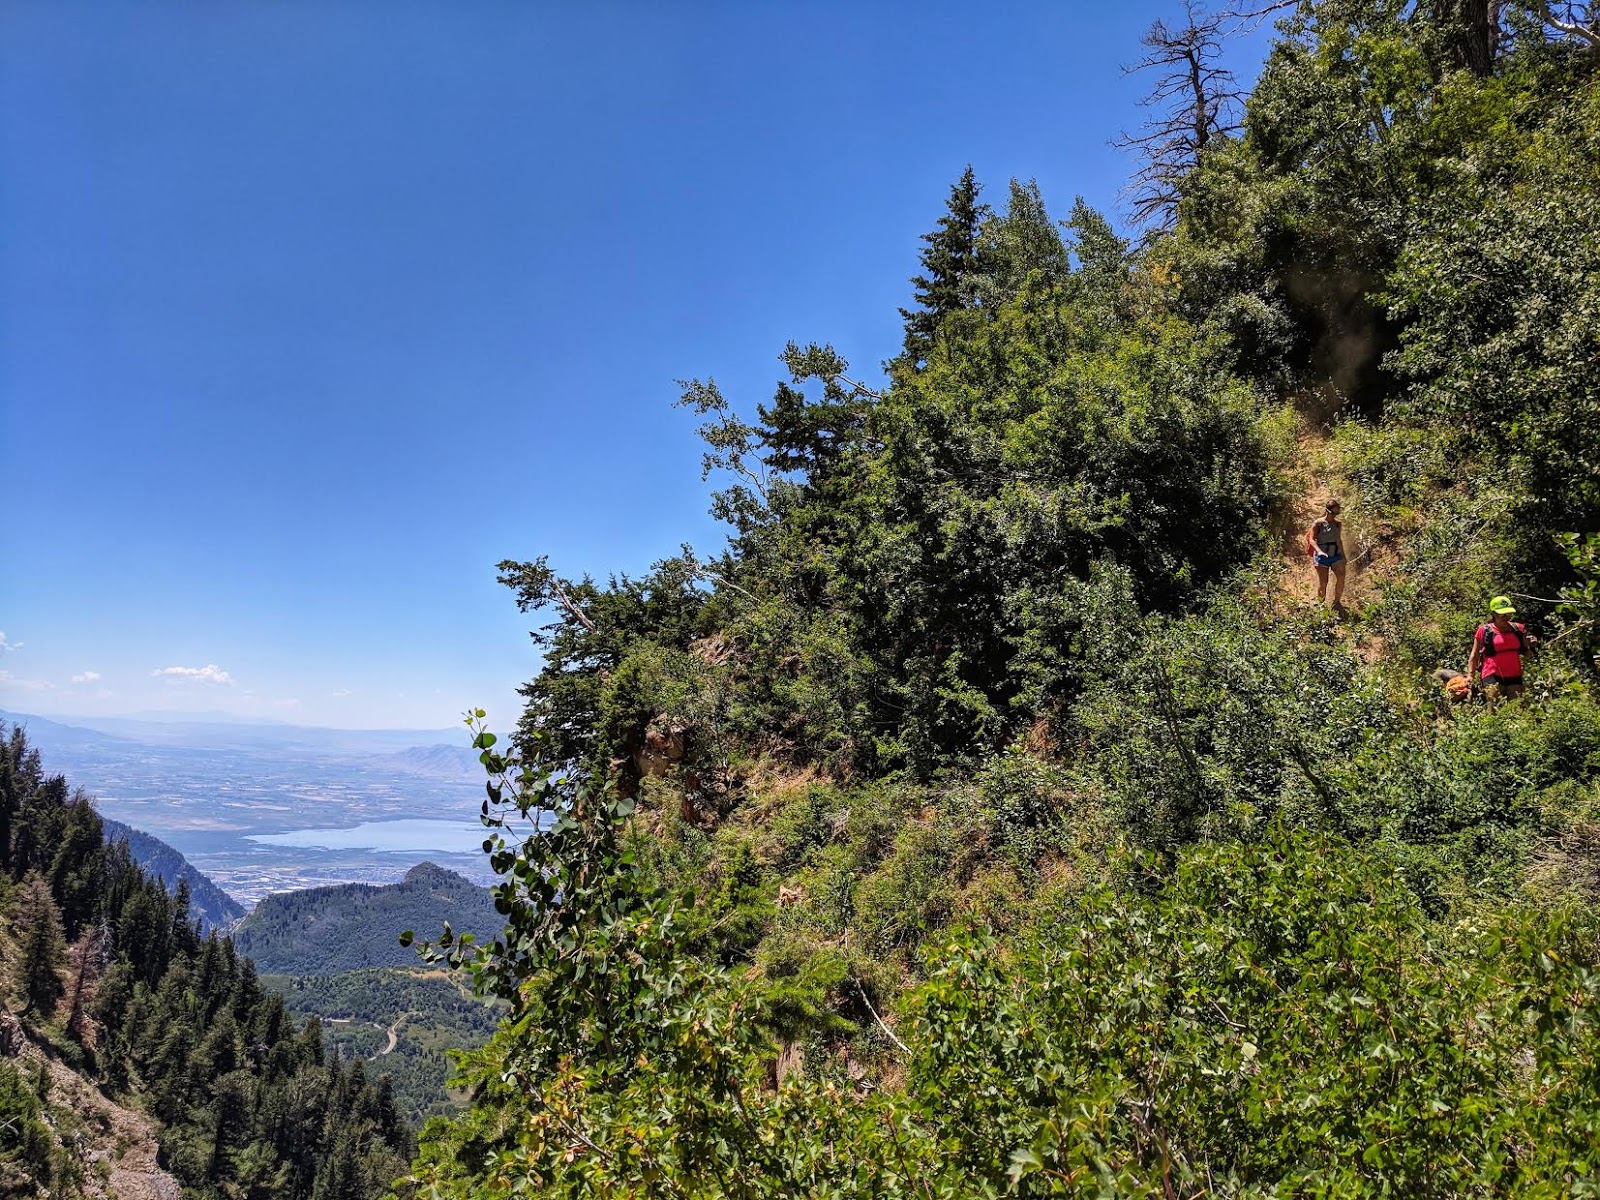
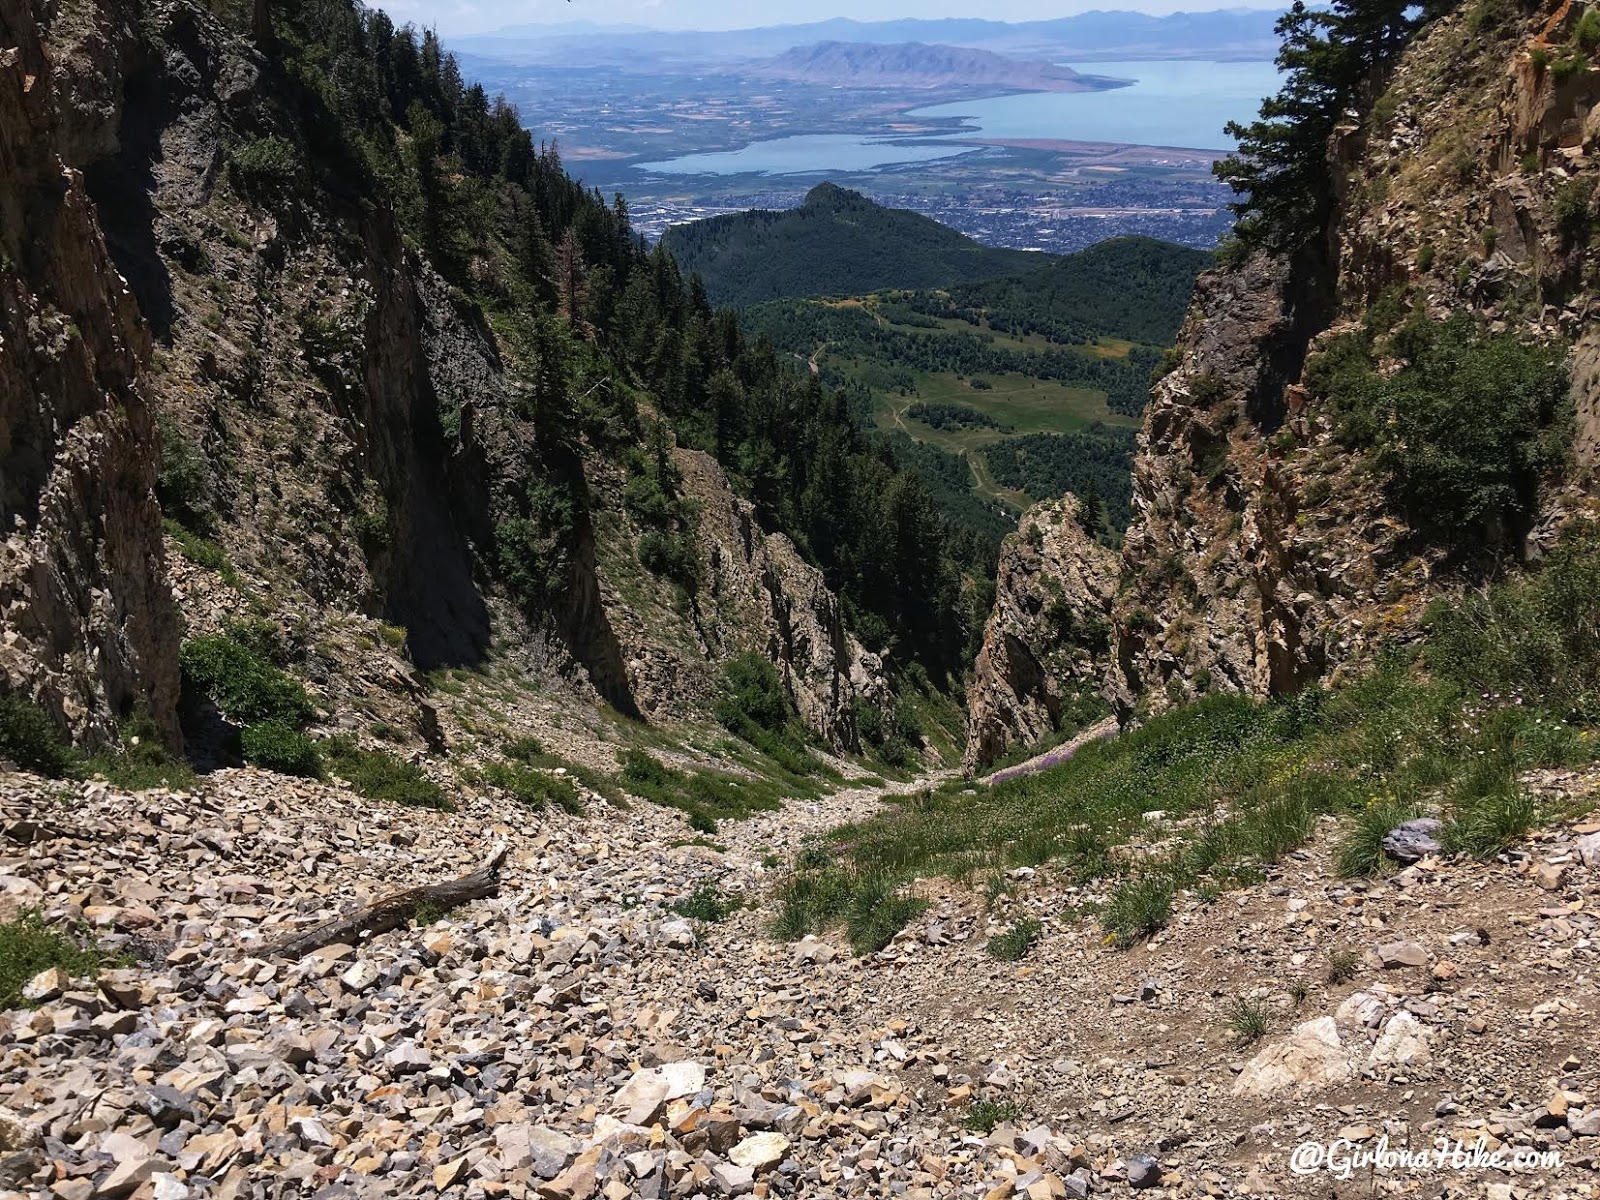
Ahh finally….the Upper Pole Couloir.
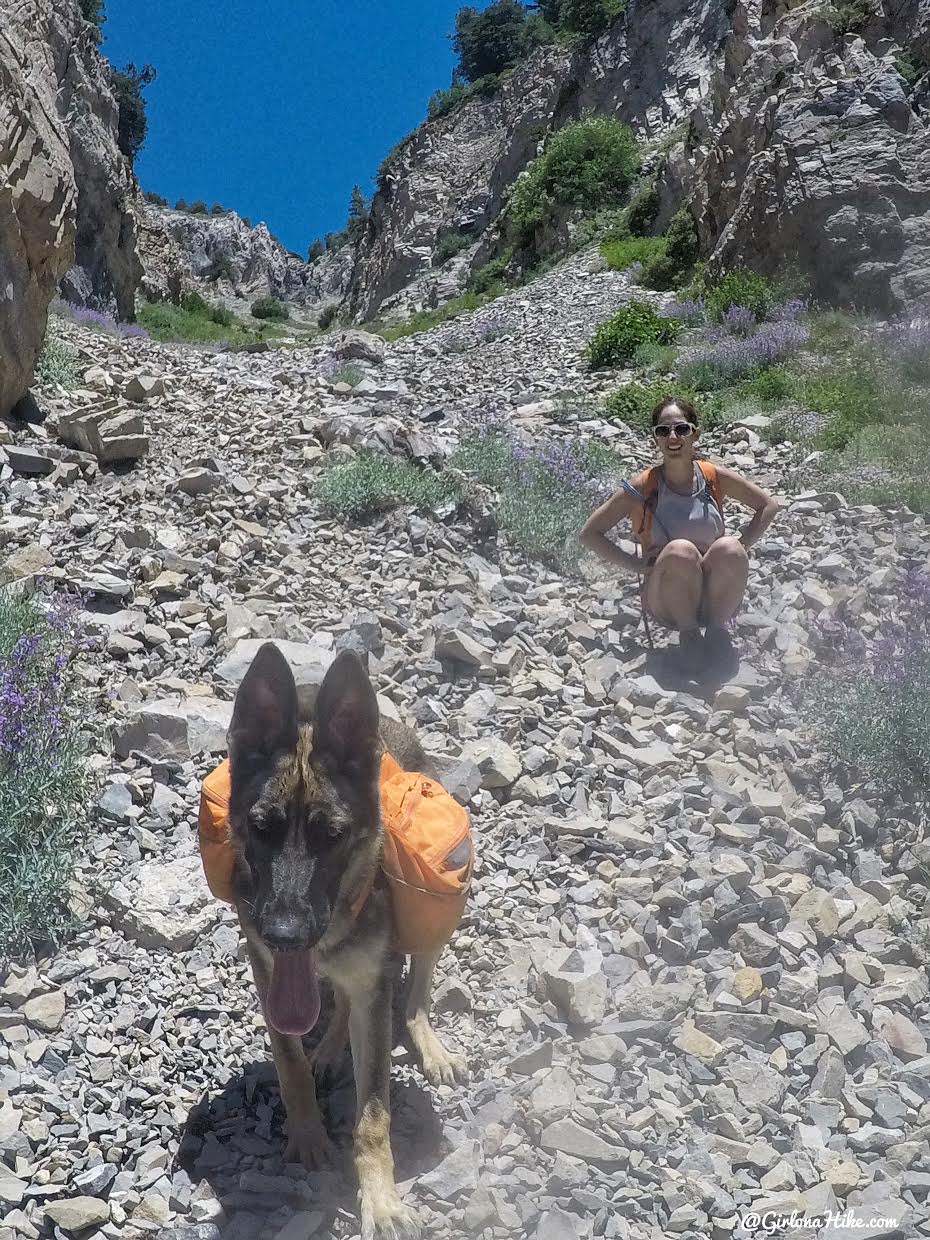
It’s still extremely steep, with lots of loose talus. Heidi-dog did great the entire hike – she needed some help getting a boost over trees, and being lowered down some sections. I was glad she had her backpack on so we could all help lower her. She did, however, pant hard the entire hike. She carried her own 2 liters of water but probably could have drank another liter. Overall she did great, but when I think about it more, I’m so glad I didn’t bring Charlie with me.
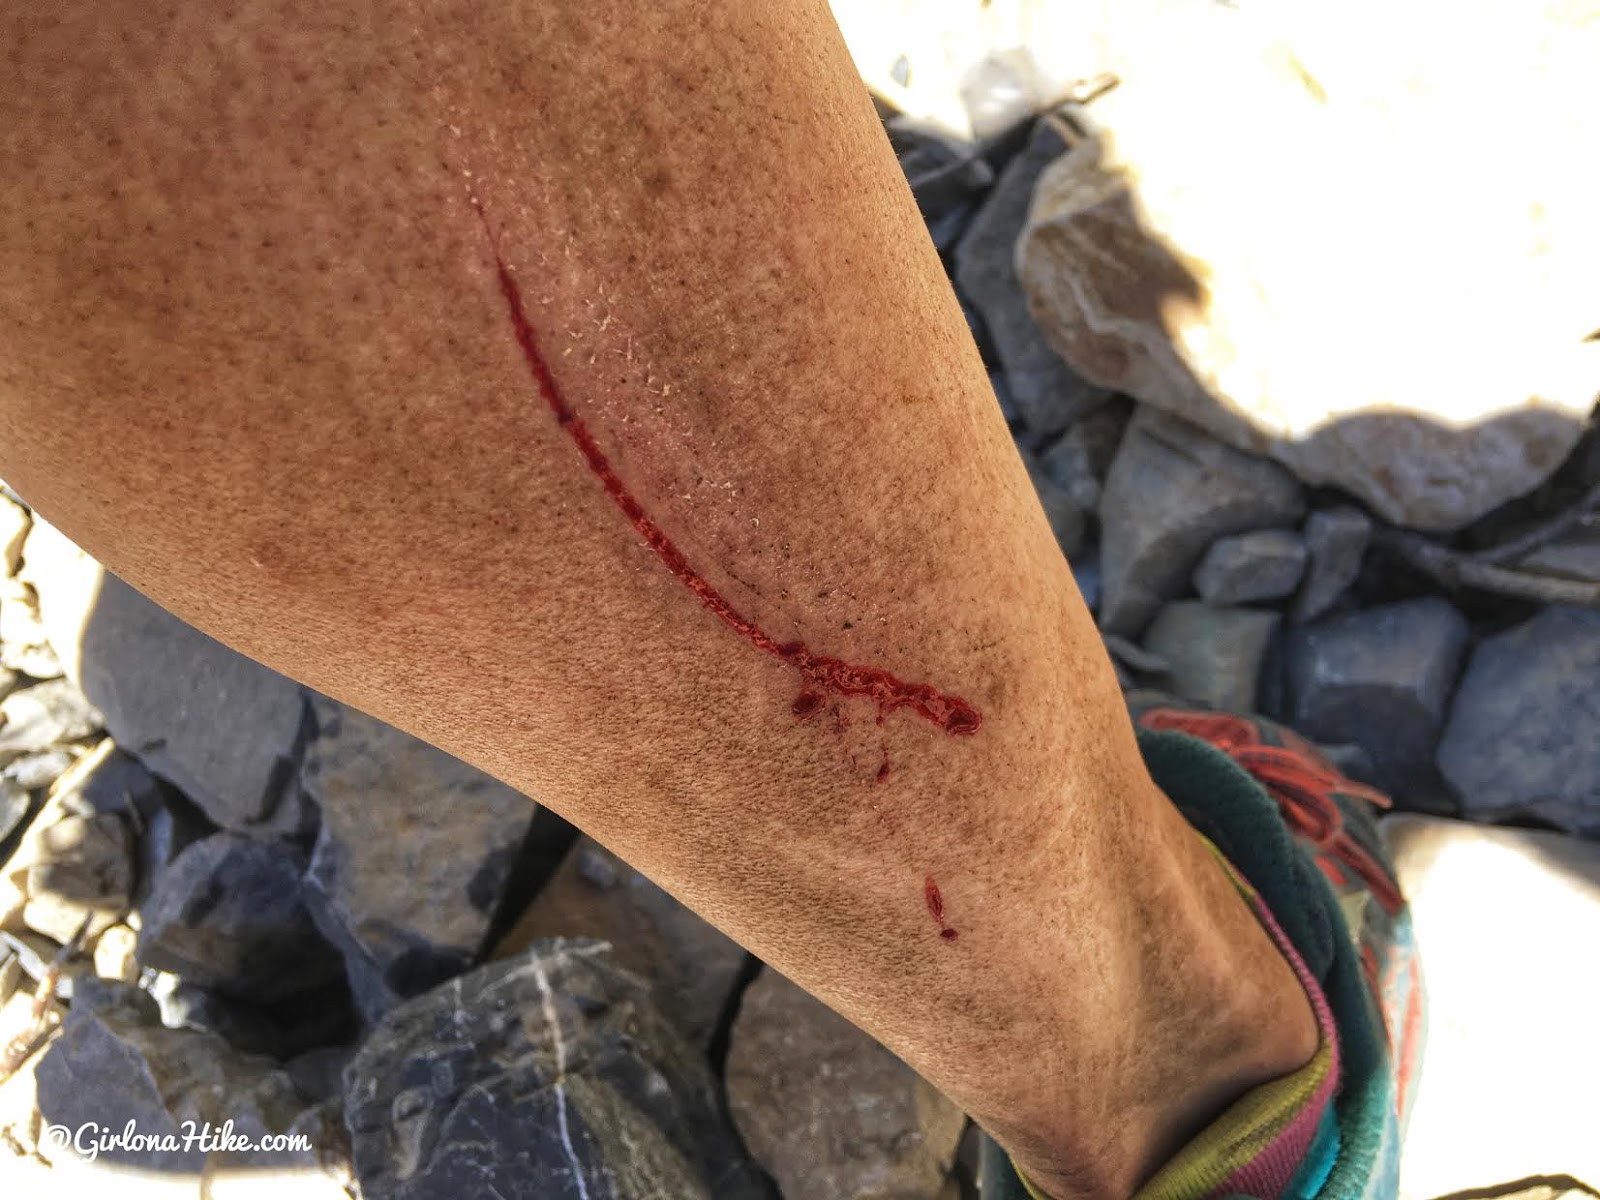
Watch out, the rocks bite 😉
The large talus will cut you easily like a paper cut.
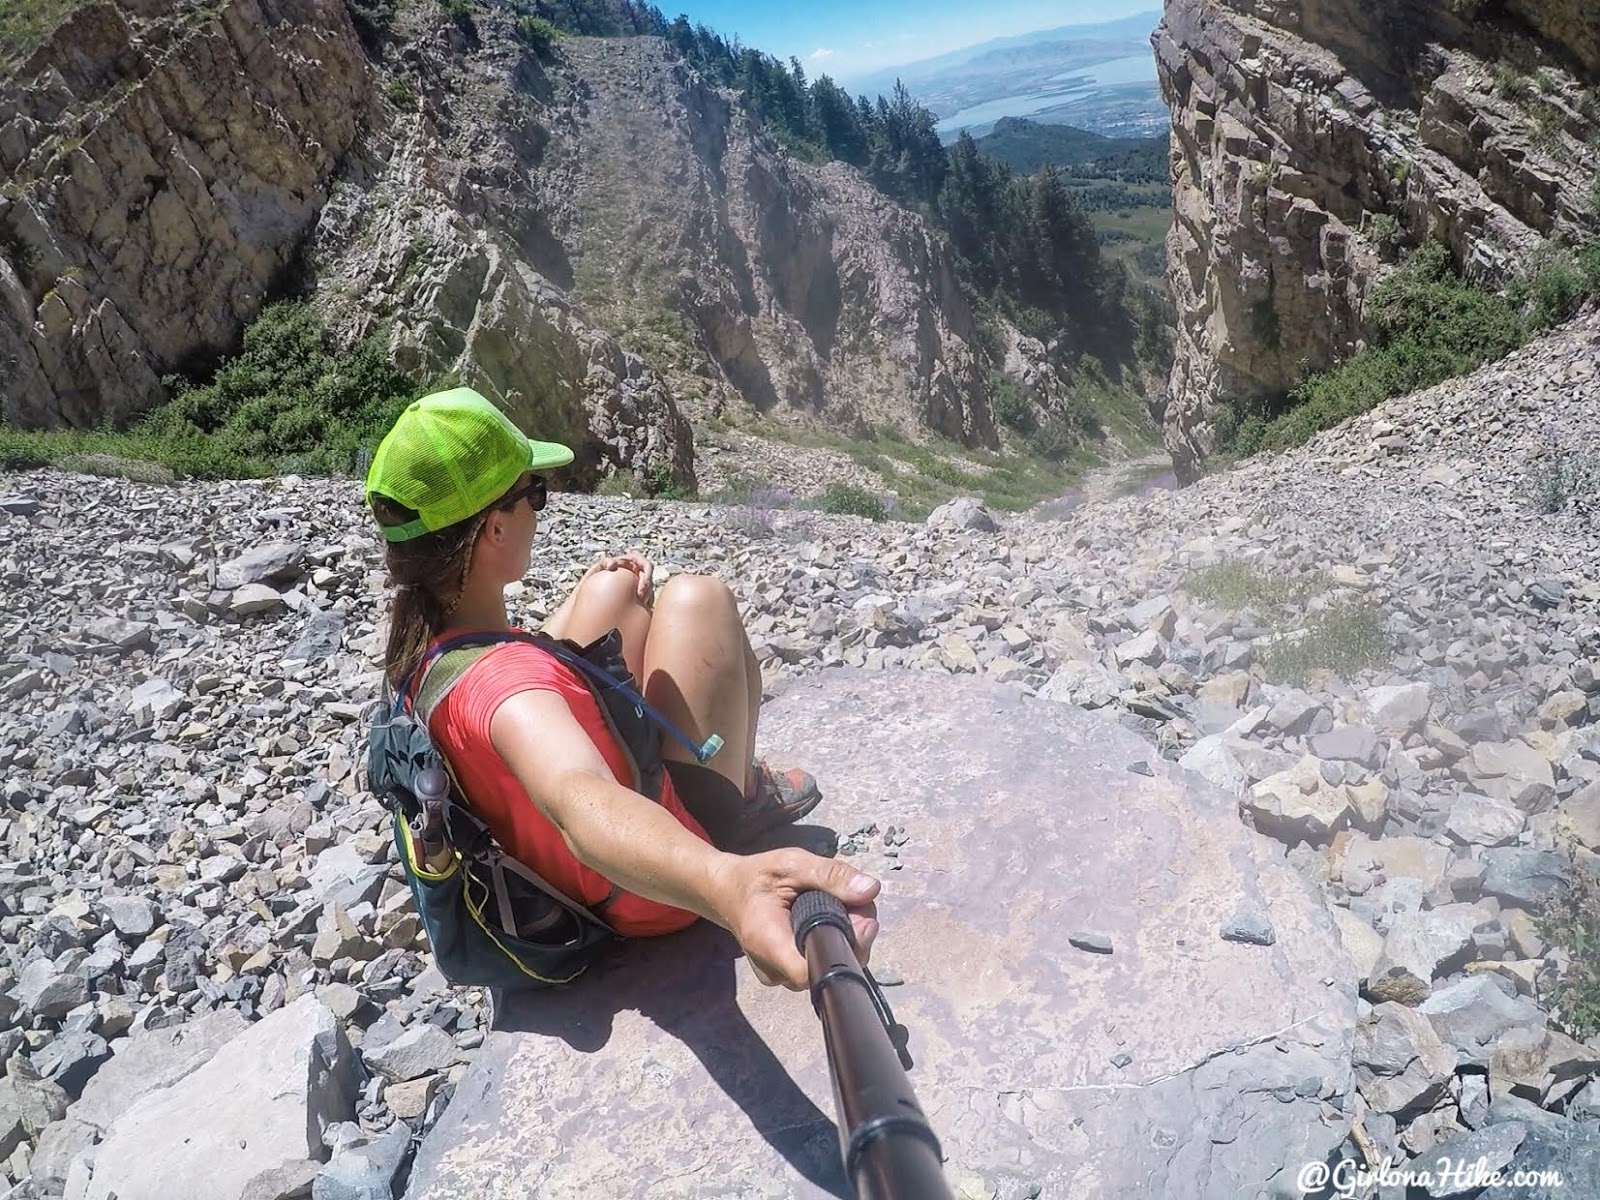
Taking a break on a larger boulder. Surprisingly it was so hot, even this rock was kind of hot to rest on.
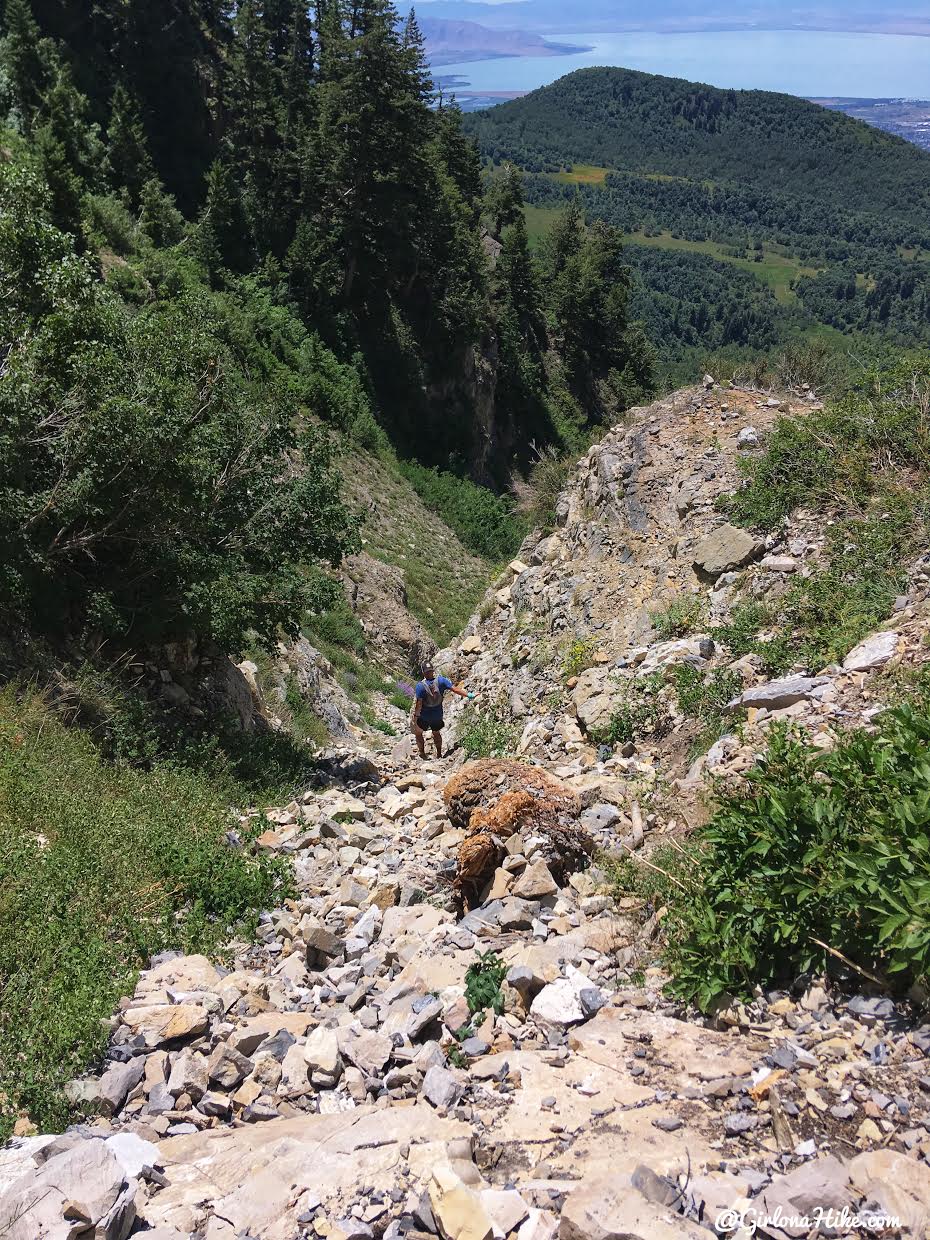
Chris going through what I am calling “the squeeze” – the tightest section of the upper pole couloir. It’s only about 10 feet wide, and the rock seems to be extra lose through here.
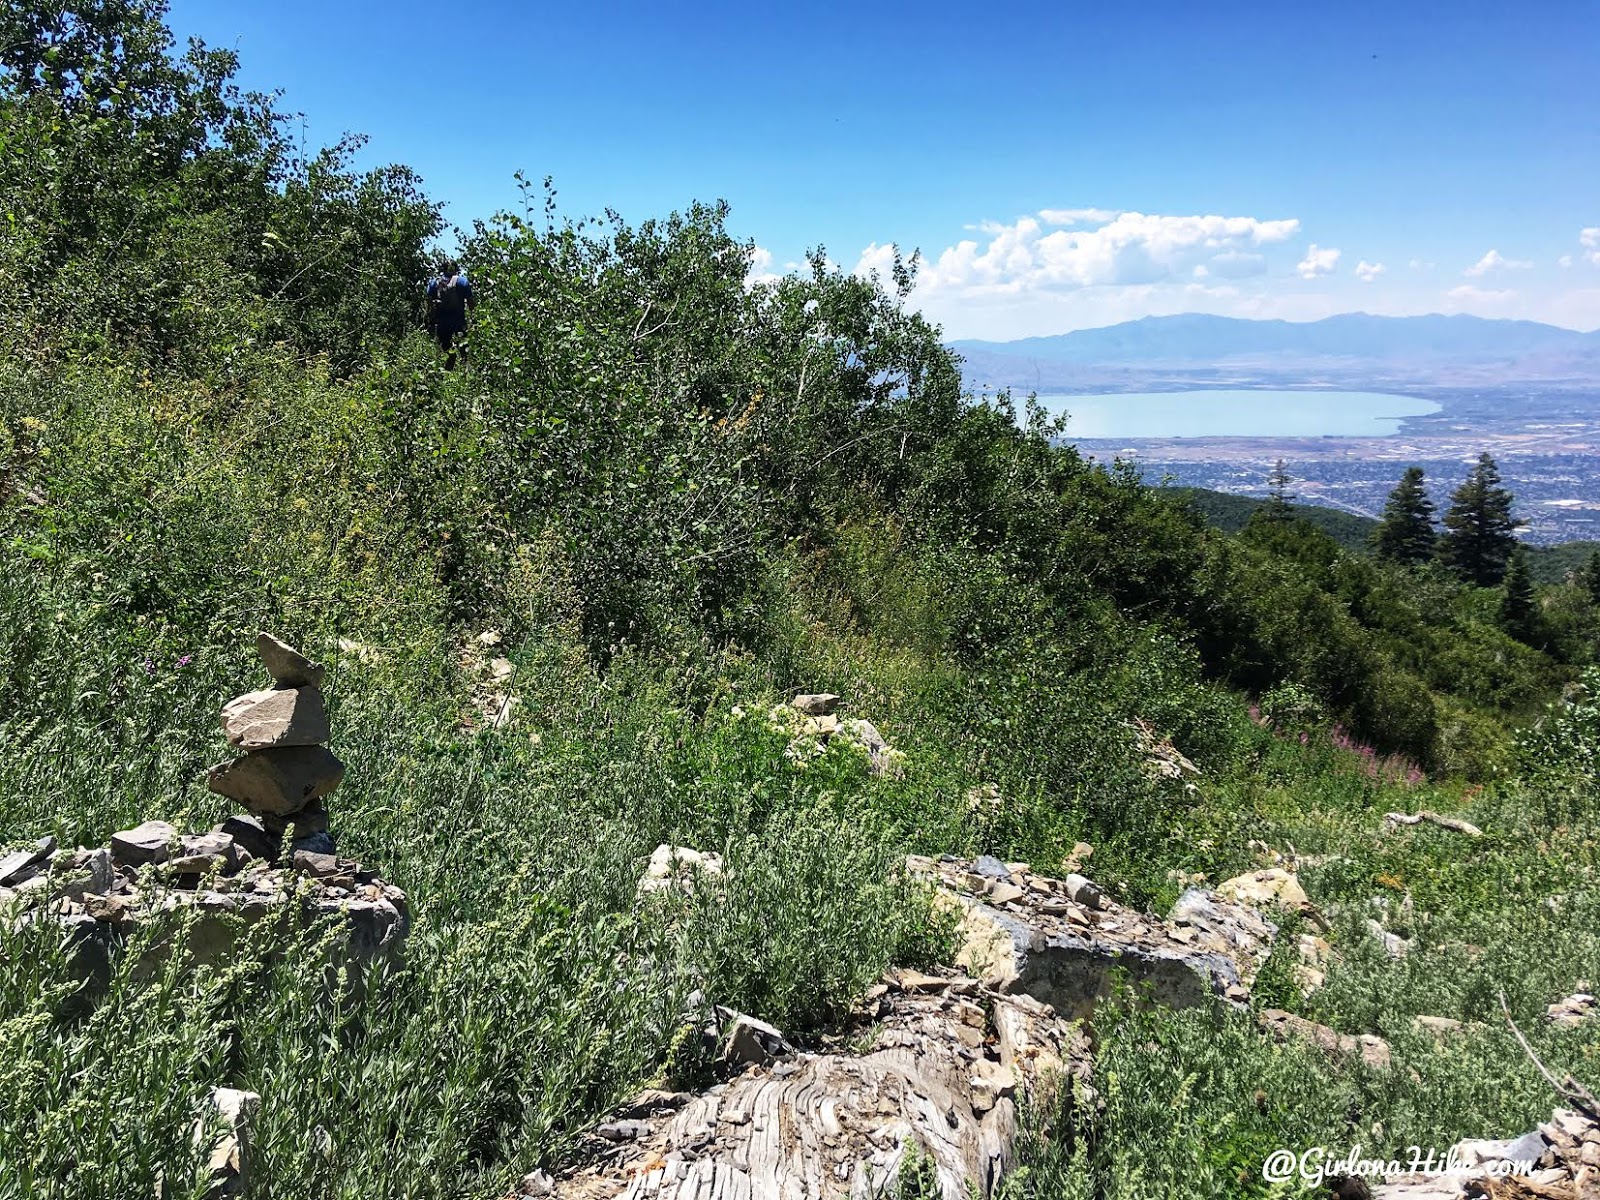
When you get to the base of the couloir – keep an eye out for this cairn and turn left here. You’ll be hiking through a very overgrown section of trail.
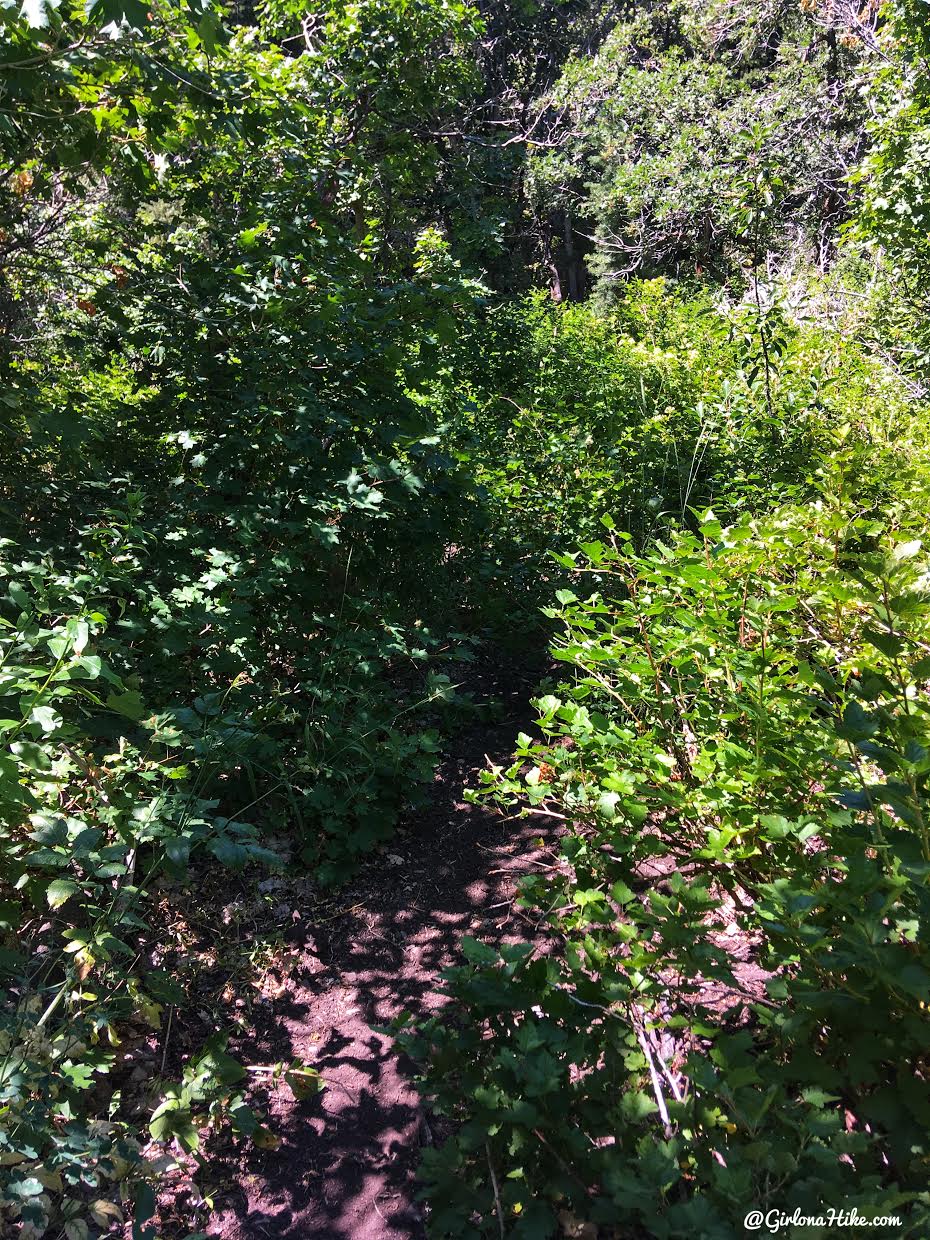
It’s so overgrown you can’t see the trail at times. But this is the easiest and most direct route to the “Quarry” (some maps label it as “gravel pit”).
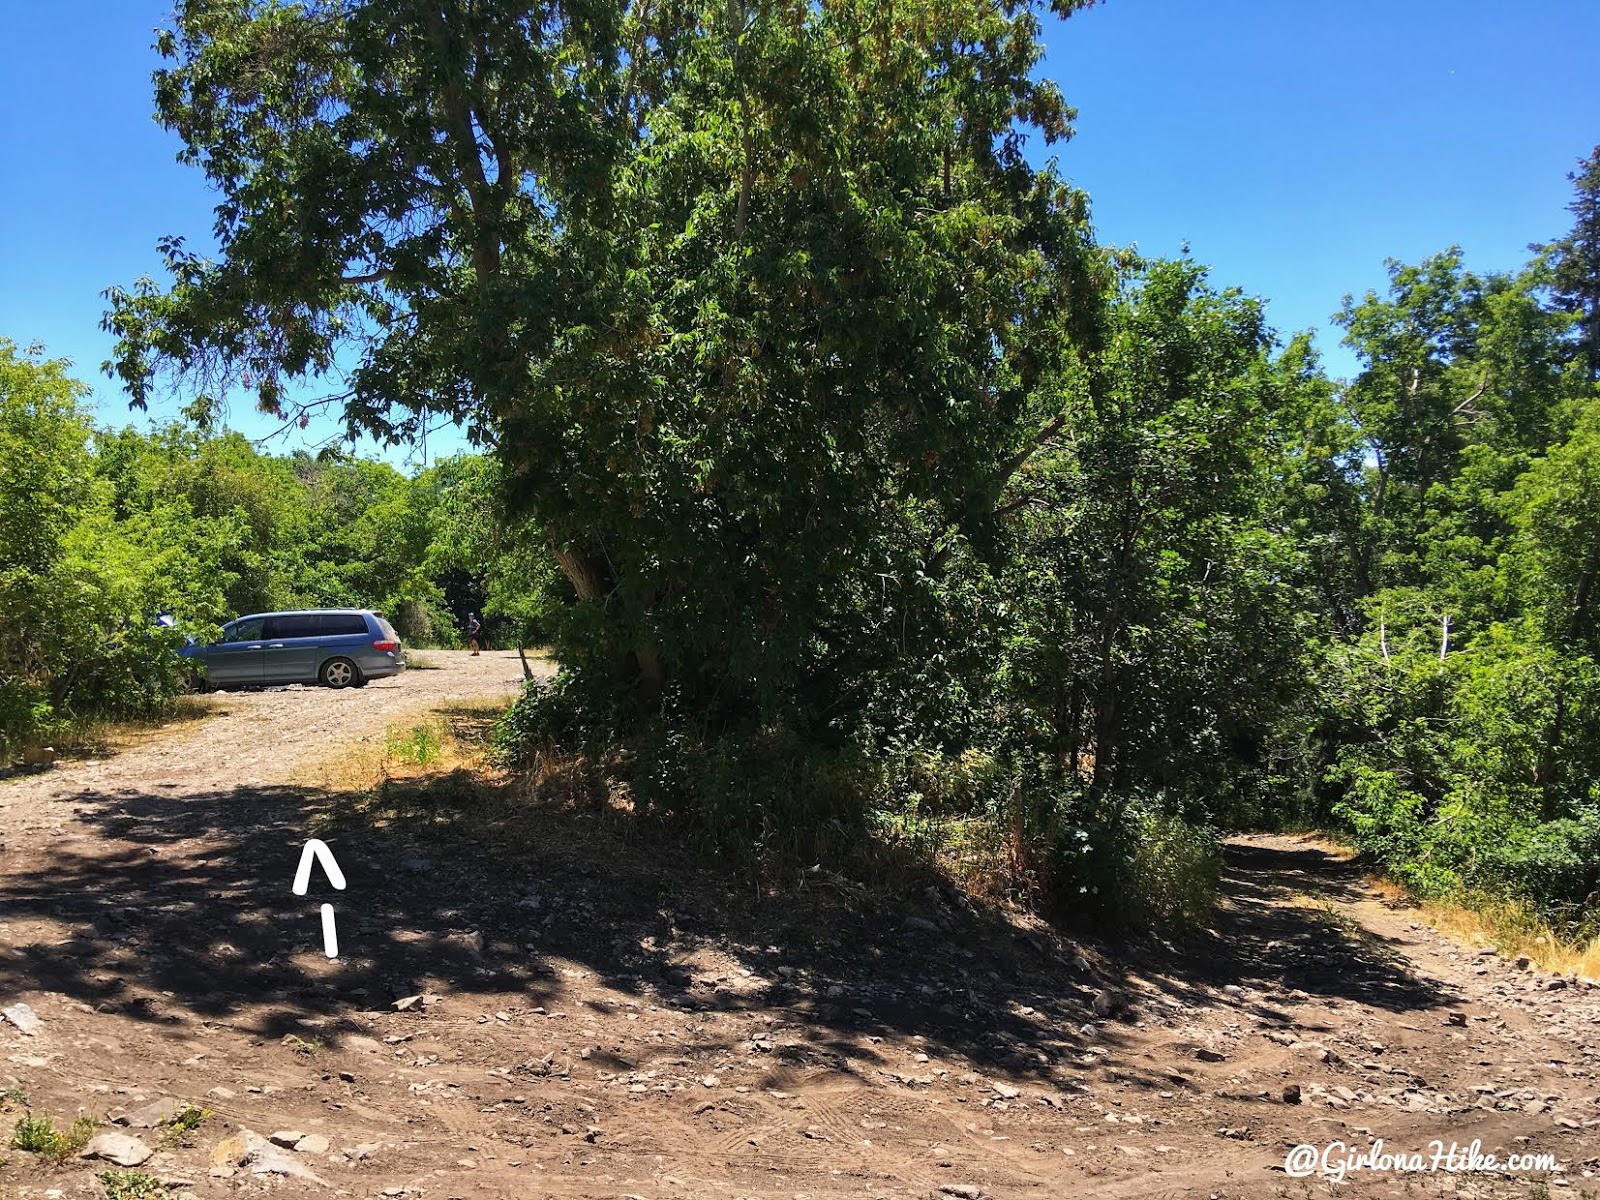
Wow, finally done!
Once you reach the Quarry, head left and you’ll reach the main road. Remember I said our one friend and dog turned around? It worked out perfectly that we were able to call him from the summit, and told him to pick us up here. He was bummed he didn’t summit, but at the same time, it worked out great for us to take a different route down. That wouldn’t have happened otherwise. Instead of hiking back another almost 7 miles, we were able to cut it down to 2. 2 miles by taken the couloir down. On the flip side, there’s no way I would want to hike UP the couloir. Props to those who have gone that way! It’s a tough mountain no matter which way you go.
Trail Map
Our routes:
Purple line – hiked up Dry Fork Trail #060
Pink Line – hiked down the Upper Pole Couloir
My track via Gaia GPS – the best tracking app! Get your app here for a discount.
Nearby Hike

Save me on Pinterest!
