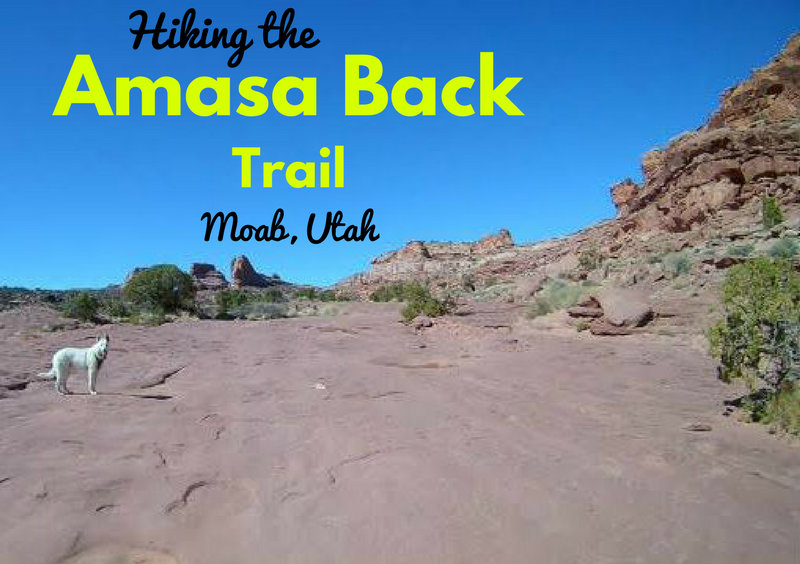

The Amasa Back Trail, like many in Utah, is an old road, more popular with mountain bikers, four-wheelers, and motorcyclists than hikers. Most people’s attitude is, “Why hike when you can ride?” The easy answer is rather than being preoccupied with a machine, hiking allows you to connect with the earth directly, allows you to look up more often and take in the views, and (for me) more fulfilling than riding.
About
At least you won’t feel like you are hiking a road here because this one is rougher than the average road trail. As for sharing it with bikers, they don’t really distract from the hiking experience and most you’ll encounter are quite friendly and looking to be outdoors just like you. Though the motorized bikes are quite loud, if you hike here mid-week and especially pre-season (February & early March) you will see way less traffic compared to a weekend, and you’ll get the solitude you are looking for.
Hiking Amasa Back zigzags through ledgey canyon terrain: slickrock ramps, boulders, pockets of red sand, dotted with juniper trees. The hike is engaging the entire way, offering panorama views that can’t be beat. After hiking roughly 3.5 miles you’ll find yourself on Jackson’s Overlook – an overlook with a gorgeous view of the Colorado River. Here, you can kick back and soak up the sun and possibly watch four-wheelers and Jeeps riding the popular Poison Spider Trail across the canyon. If you have time, there’s plenty of trails in the area to explore further.
Dogs are allowed off leash here, but be advised that all motorized traffic and bikers have the right-of-way, and you and your dogs should move to the side to let others pass. Bring plenty of water for your dogs – there is only one creek crossing at the beginning of the hike.
Directions
From Moab, turn West onto Kane Creek Road (just before McDonald’s). Bear left at 1.4 miles at the stop sign. Follow Kane Creek Road as it winds its way along the Colorado River, past a few campgrounds. It will soon turn into a dirt road after crossing a cattle guard. Continue driving on the dirt road for about 1 mile, and look for the large dirt parking lot and trailhead sign for Amasa Back. This is where you will park, but to reach the actual trailhead you will need to walk along the road for another 1/2 mile. There is no safe parking at the actual TH, so you must park at the lot. There is one vault toilet available and the parking lot can probably fit 50-60 cars. You can’t miss it. Here is a driving map.
Trail Info
Distance: 7 miles RT
Elevation gain: 950 ft
Time: 3-5 hours
Dog friendly? Yes, off leash
Kid friendly? Yes, but maybe for a shorter distance
Fees/Permits? None
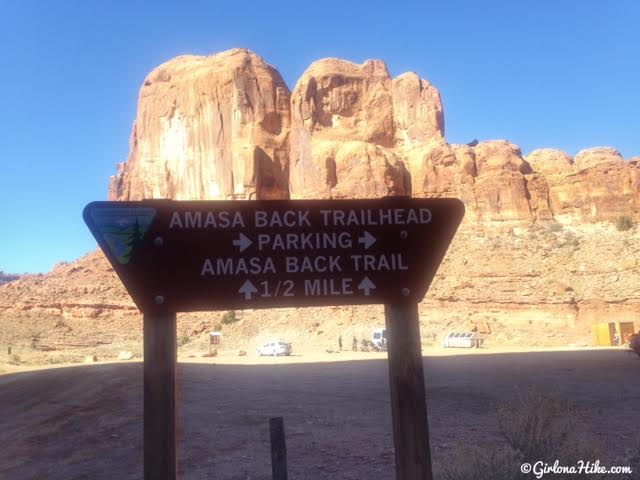
As you drive along the dirt road, you can’t miss the large brown sign for Amasa Back trailhead parking. Park here, then walk up the road for another 1/2 mile to reach the actual TH. The parking lot was still quite empty at 9:30am on a Friday morning.
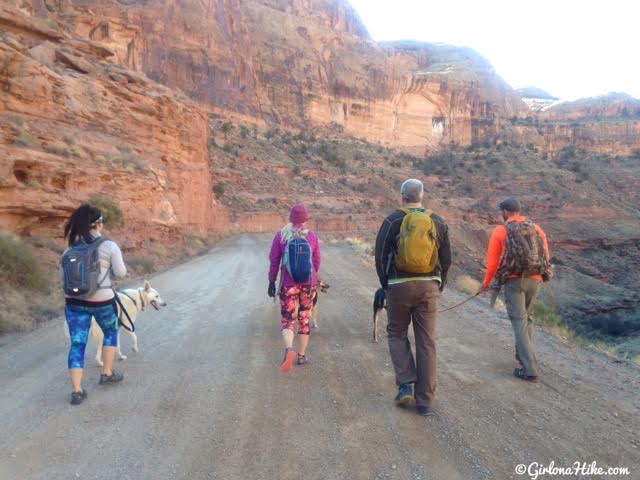
Walking along the road to get to the TH. We kept the dogs on leash here just because of the four-wheelers driving past.
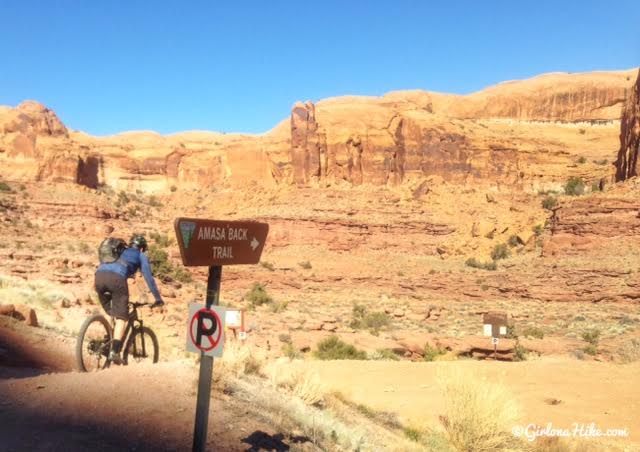
After walking 1/2 mile you’ll see the next sign for the Amasa Back Trail. This is where the trail officially starts.
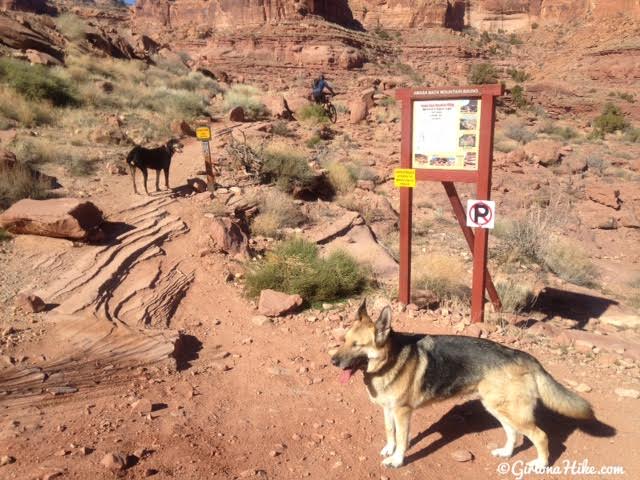
The dogs are ready to go! You’ll see a small sign for “Hymasa” – follow that for the first 1/2 mile.
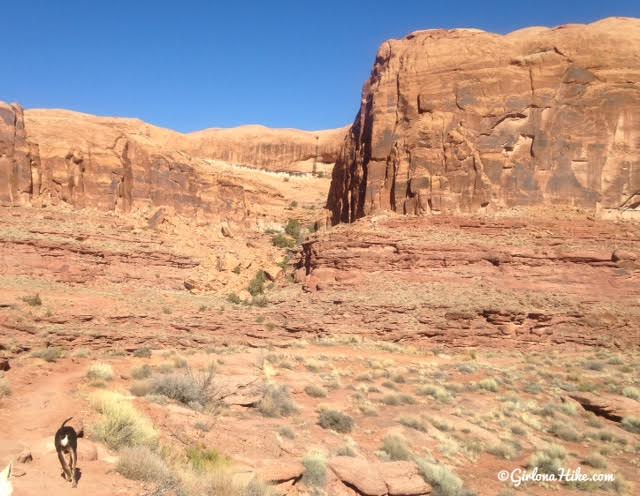
Ahh I just love red rock and the desert! Right away you will have awesome surrounding views.
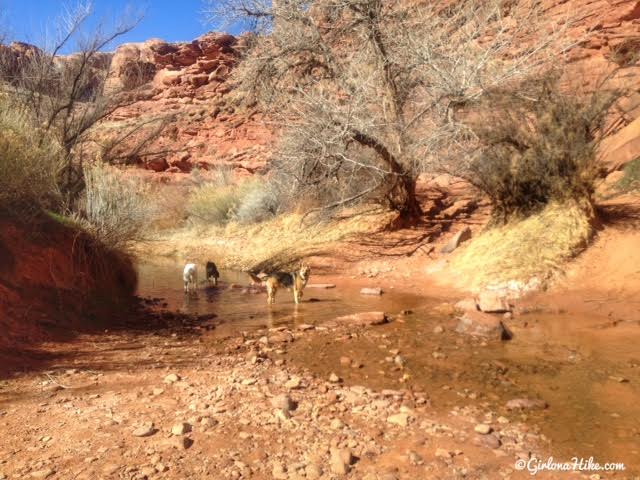
Cross the one and only creek (Kane Springs Creek), then hike back up some elevation.
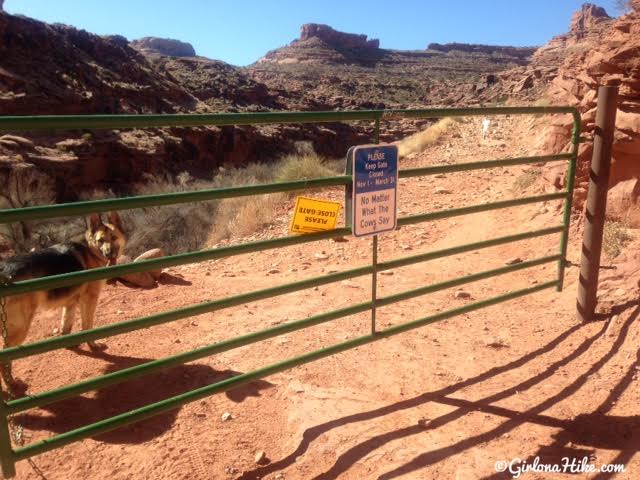
You will pass a gate that reads, “Please keep gate closed Nov 1 – March 31 – No matter what the cows say!”
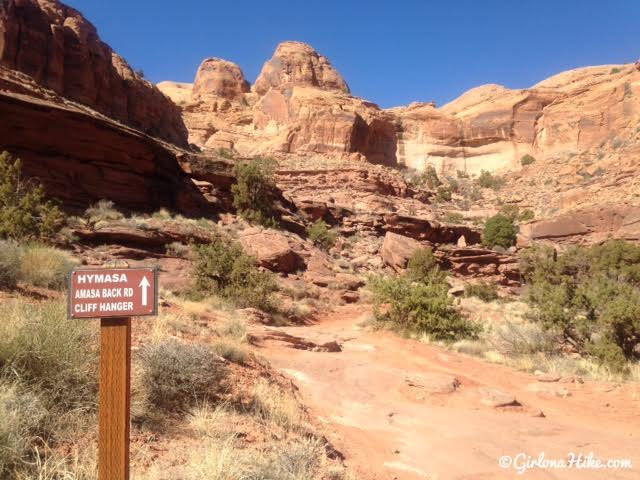
The trail is really well marked. Make sure you follow the signs for Amasa Back Rd.
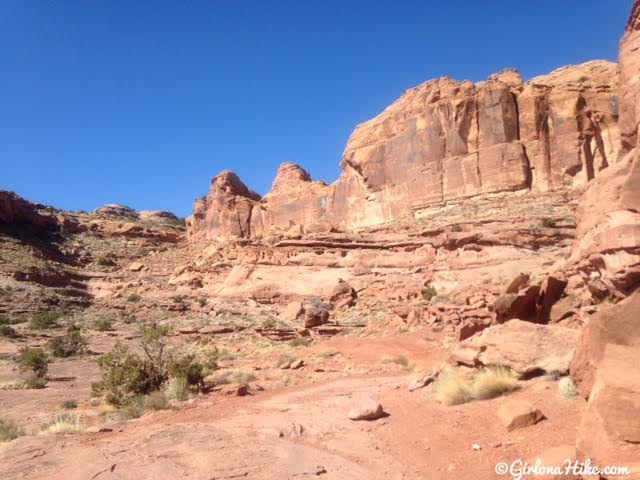
After you make the turn at the last sign, the trail enters a cove; it will circle back right, then curve left (west) and traverse above the cove.
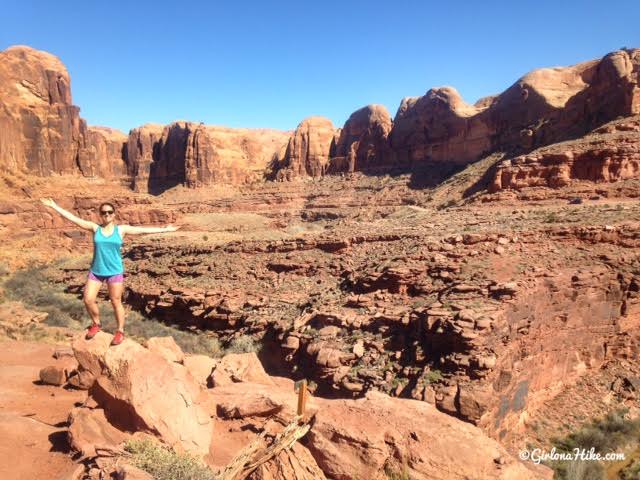
Looking back at the short distance we’ve already hiked along the Amasa Back Trail. What a view!
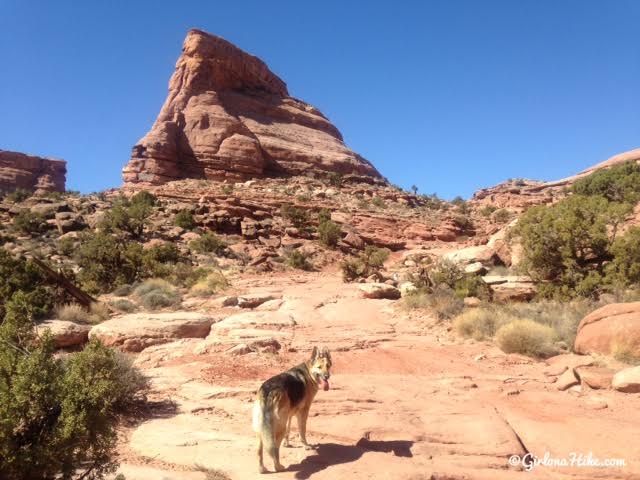
The trail/road is always recognizable since it’s the only passage wide enough for a car to fit through. The road is also marked with white strips of paint and evidence of black tire marks that are famous for Jeeps crawling through from years ago.

Making progress along the trail! We hiked this early March and in the morning it was still a bit cold and we started hiking with all of our layers on but by lunch we changed into shorts and t-shirts.
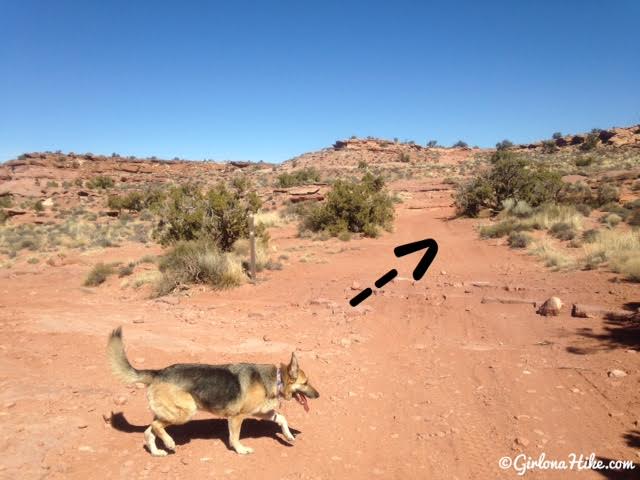
Around 3 miles you’ll reach what feels like a plateau or ridge. You’ll see a sign on the left for another trail and it will also point to Jackson’s Overlook trail. This is the trail you want, but you need to hike past that sign for just 3 minutes or so. You will see the road split and the only sign you will see is the brown post with arrows pointing both directions. Veer right uphill.
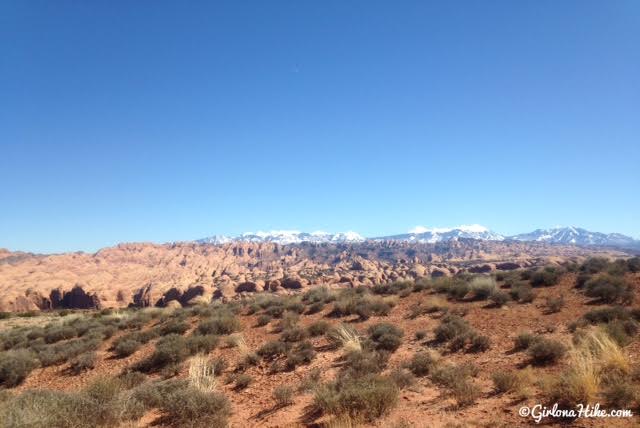
Reach another ridge, and you should have amazing views of the LaSal Mountains. It’s crazy to think that back in August I was able to summit the tallest peaks in the LaSals – Mt. Peale & Mt. Tukuhnikivatz! Mt. Waas is the peak to the far left, but a little hard to see. After you reach this ridge, the trail will descend and you will hike over a natural gas pipeline.
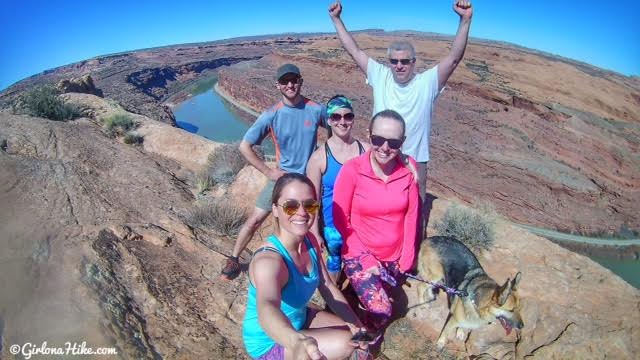
Eventually you should reach Jackson’s Overlook! That’s the Colorado River below us. We hung out on this ledge for a good hour, soaking up the sun, our views, and having a snack.
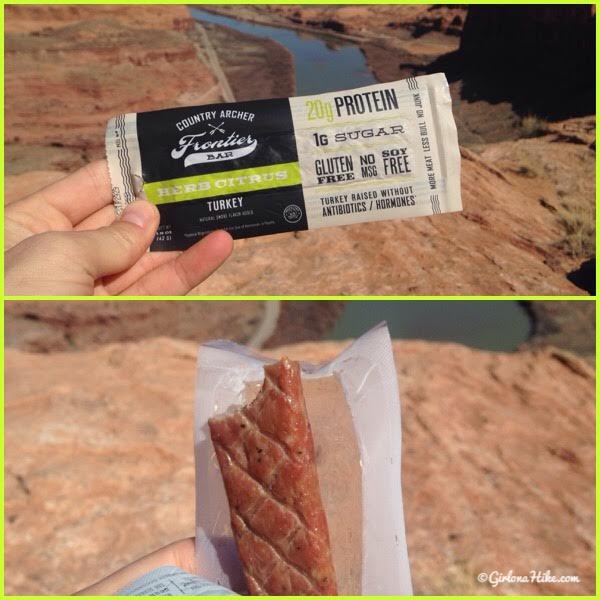
My new favorite jerky snack for hiking and backpacking! I just discovered these “frontier bars” made by Country Archer. If you live in Utah, you can find them at Sprouts grocery stores for about $2.50 each or buy the variety pack on Amazon. I love these because not only do they taste amazing (and not dried out like regular jerky), but they also only have 1g of sugar, 20g of protein, 2g of carbs, and 5g of fat.
Trail Map
My track via Gaia GPS – the best tracking app! Get your app here for a discount.

Save me on Pinterest!
