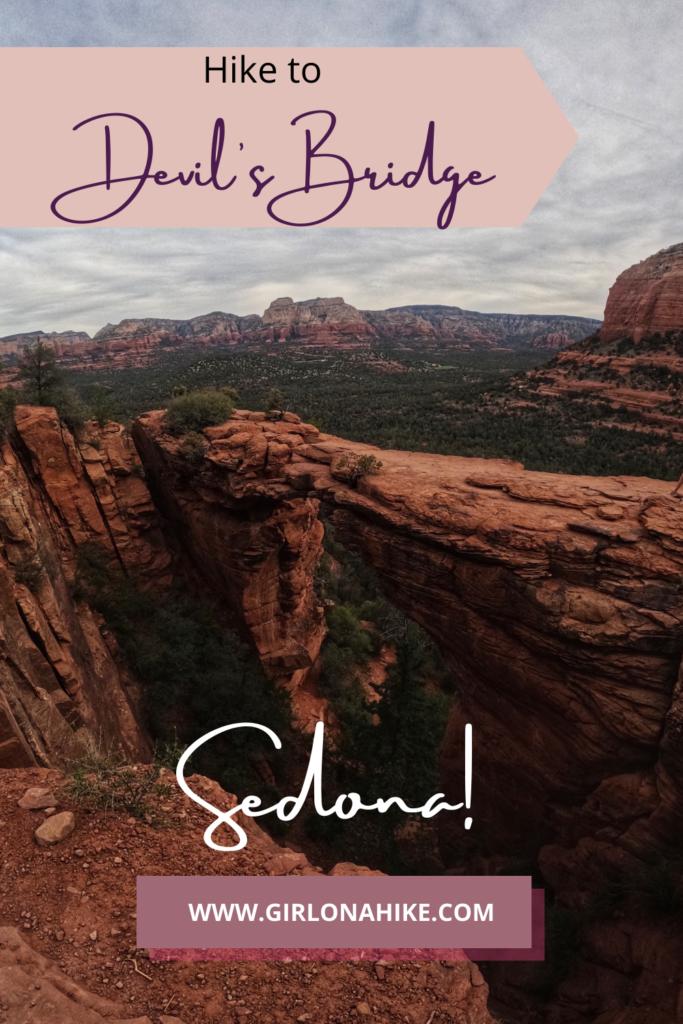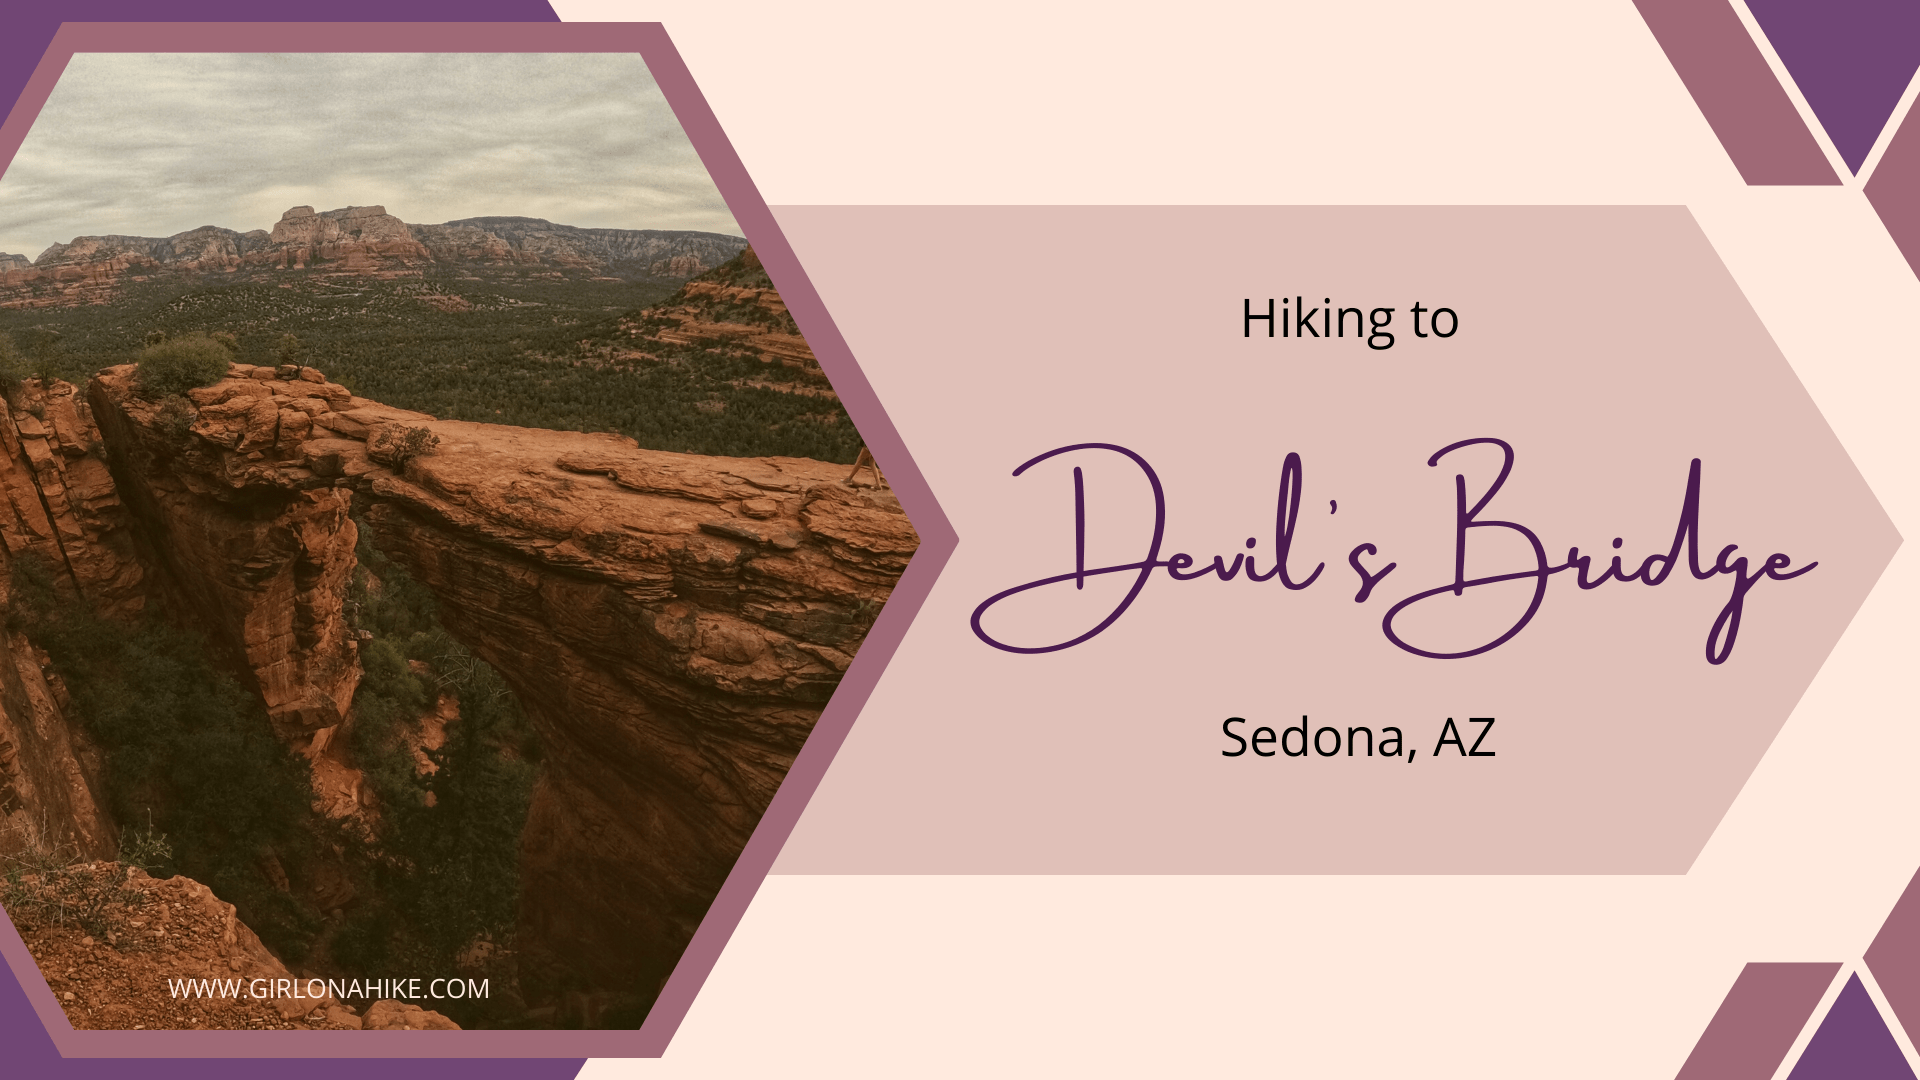
Devils Bridge in Sedona, AZ is an extremely popular day hike to a natural bridge.
About
Each day, Devils Bridge sees hundreds of visitors looking to capture that “Instagram worthy” shot. The hike itself is quite underwhelming, as you first follow a Jeep/ATV road, before following an older, unused jeep road that turns into a single-track trail. The trail is very flat except for the last 1/4 mile, as you hike up several sections of steep rock stairs. Once at Devils Bridge, you will find yourself on top of the arch with an amazing view of the Red-Rock Secret Mountain Wilderness area. The views are more impressive than Devils Bridge, in my opinion.
Directions
It’s easiest to type in “Dry Creek Trailhead” to Google Maps (make sure it’s the one in Sedona). This is where most cars need to park and can start hiking. You will also see the official “Devils Bridge Trailhead” on Maps, however, only 4×4 cars and ATVs can drive to this point. There is a gate and a sign warning about this.
Trail Info
Distance: 4 mi RT
Elevation gain: 345 ft
Time: 2-3 hours
Dog friendly? Yes, on leash
Kid friendly? Yes, all ages
Fees/Permits? None
FAQs
What time should I start hiking?
I highly recommend getting to the trailhead no later than 5:30am. That’s about when we arrived and there were only 4 other parking spots left! You can park further down along the main road, but it will add at least another 1/2 mile each way, depending on how close you can get.
Can I bring my dog?
Yes, dogs are allowed ON leash. Just be aware of the temperature – anything above 70F is too hot for my dog, and the sand will burn their paws. Be prepared with at least 1 liter of water per dog.
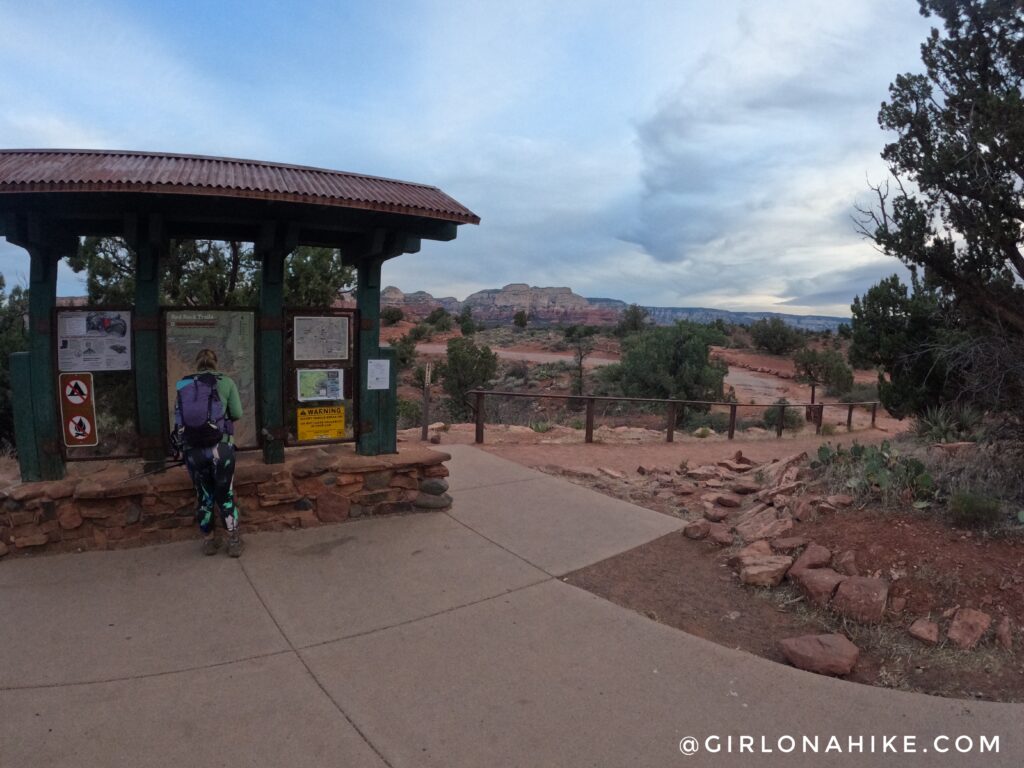
Even though we started hiking around 5:30am, it was already daylight out! From this area, you can start hiking on the actual trail, which is what we did. The shortest route to reach Devils Bridge is to just follow the road, but we wanted to check out a portion of the trail.
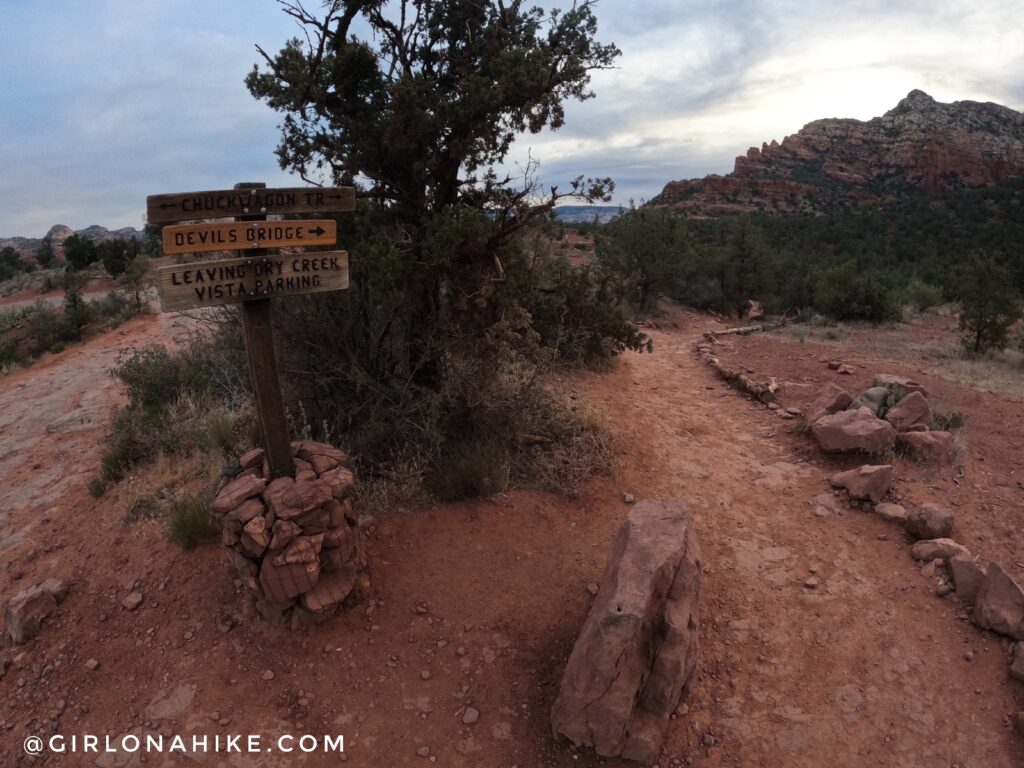
Everything is very well signed and marked by Sedona’s version of a cairn (rocks in wire netting).
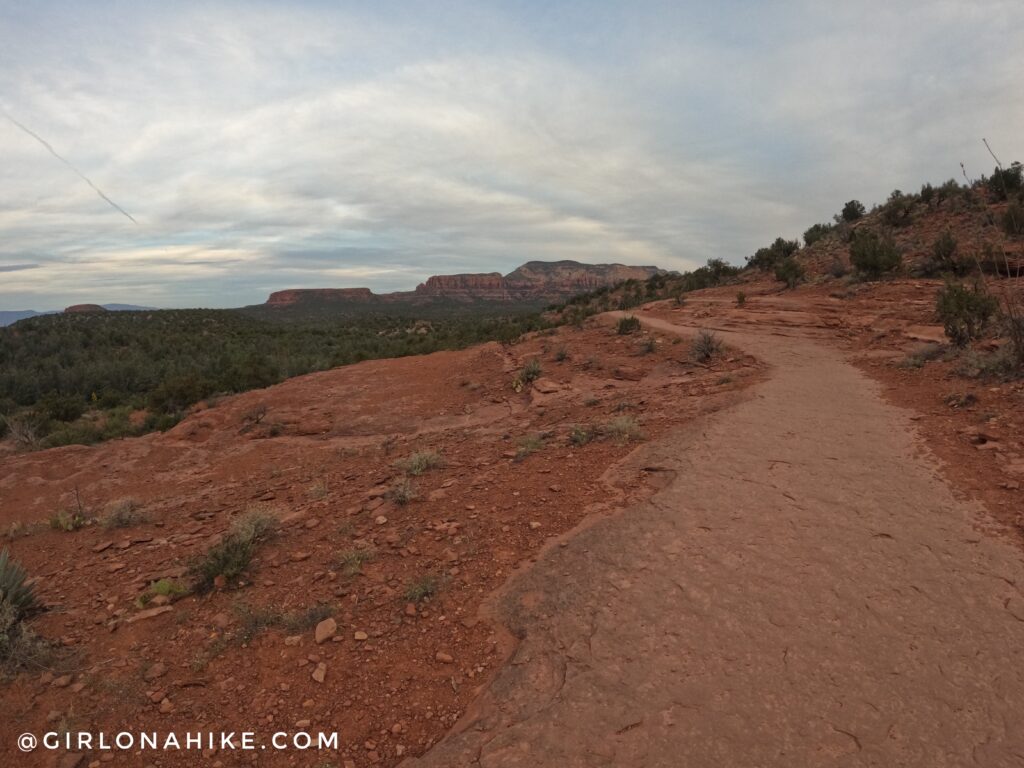
The trail is very pretty and flat, as you hike across mostly slickrock.
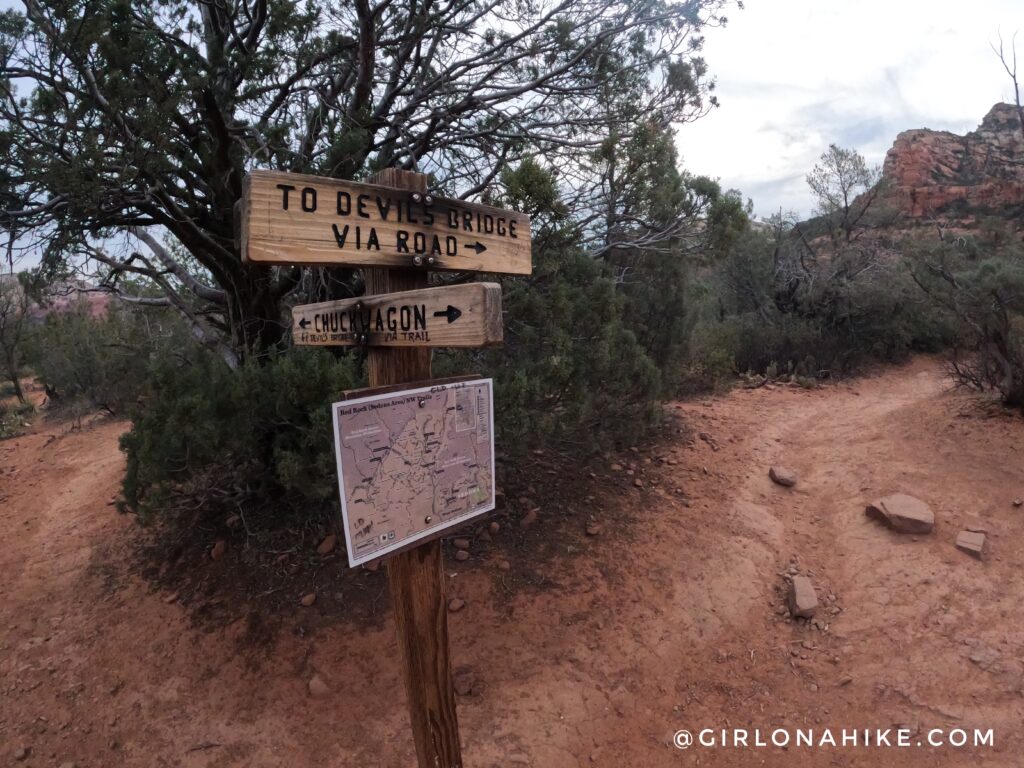
We quickly saw the shortcut to get over to the road, so we turned right here. You can see both routes on my maps below.
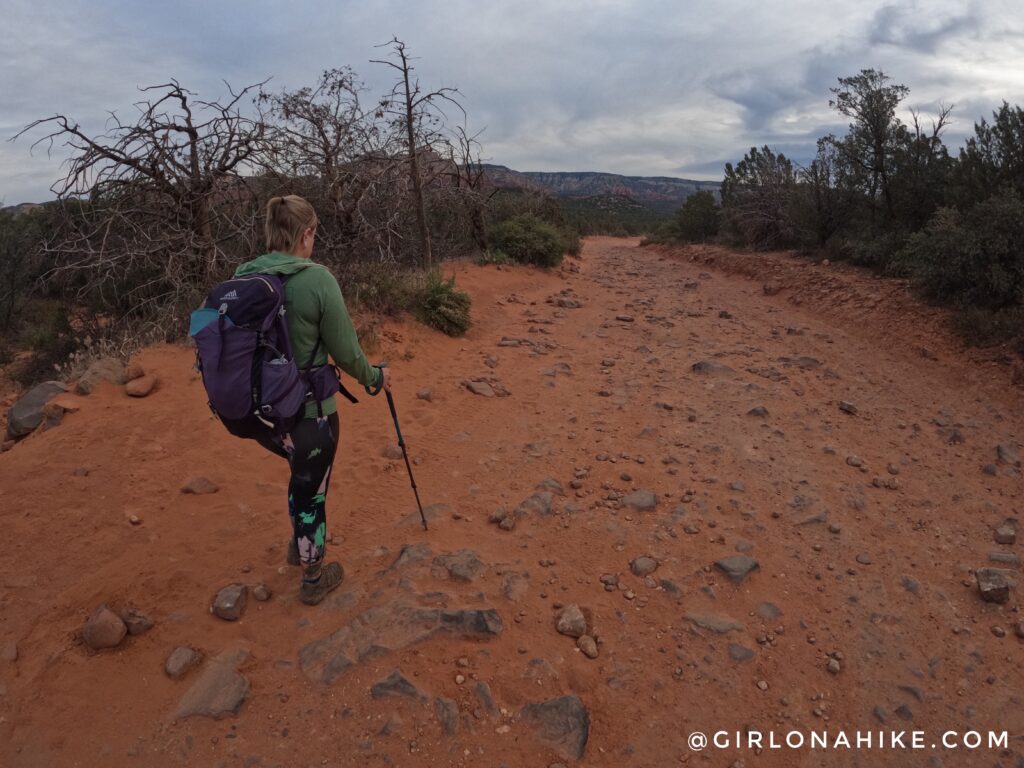
Now that we were on the road we picked up our pace since its mostly flat, but rocky. This is not a bad section, but there’s no way most cars can make this drive unless you have a Jeep, truck, or ATV. Some rocky sections had a 2 ft drop!
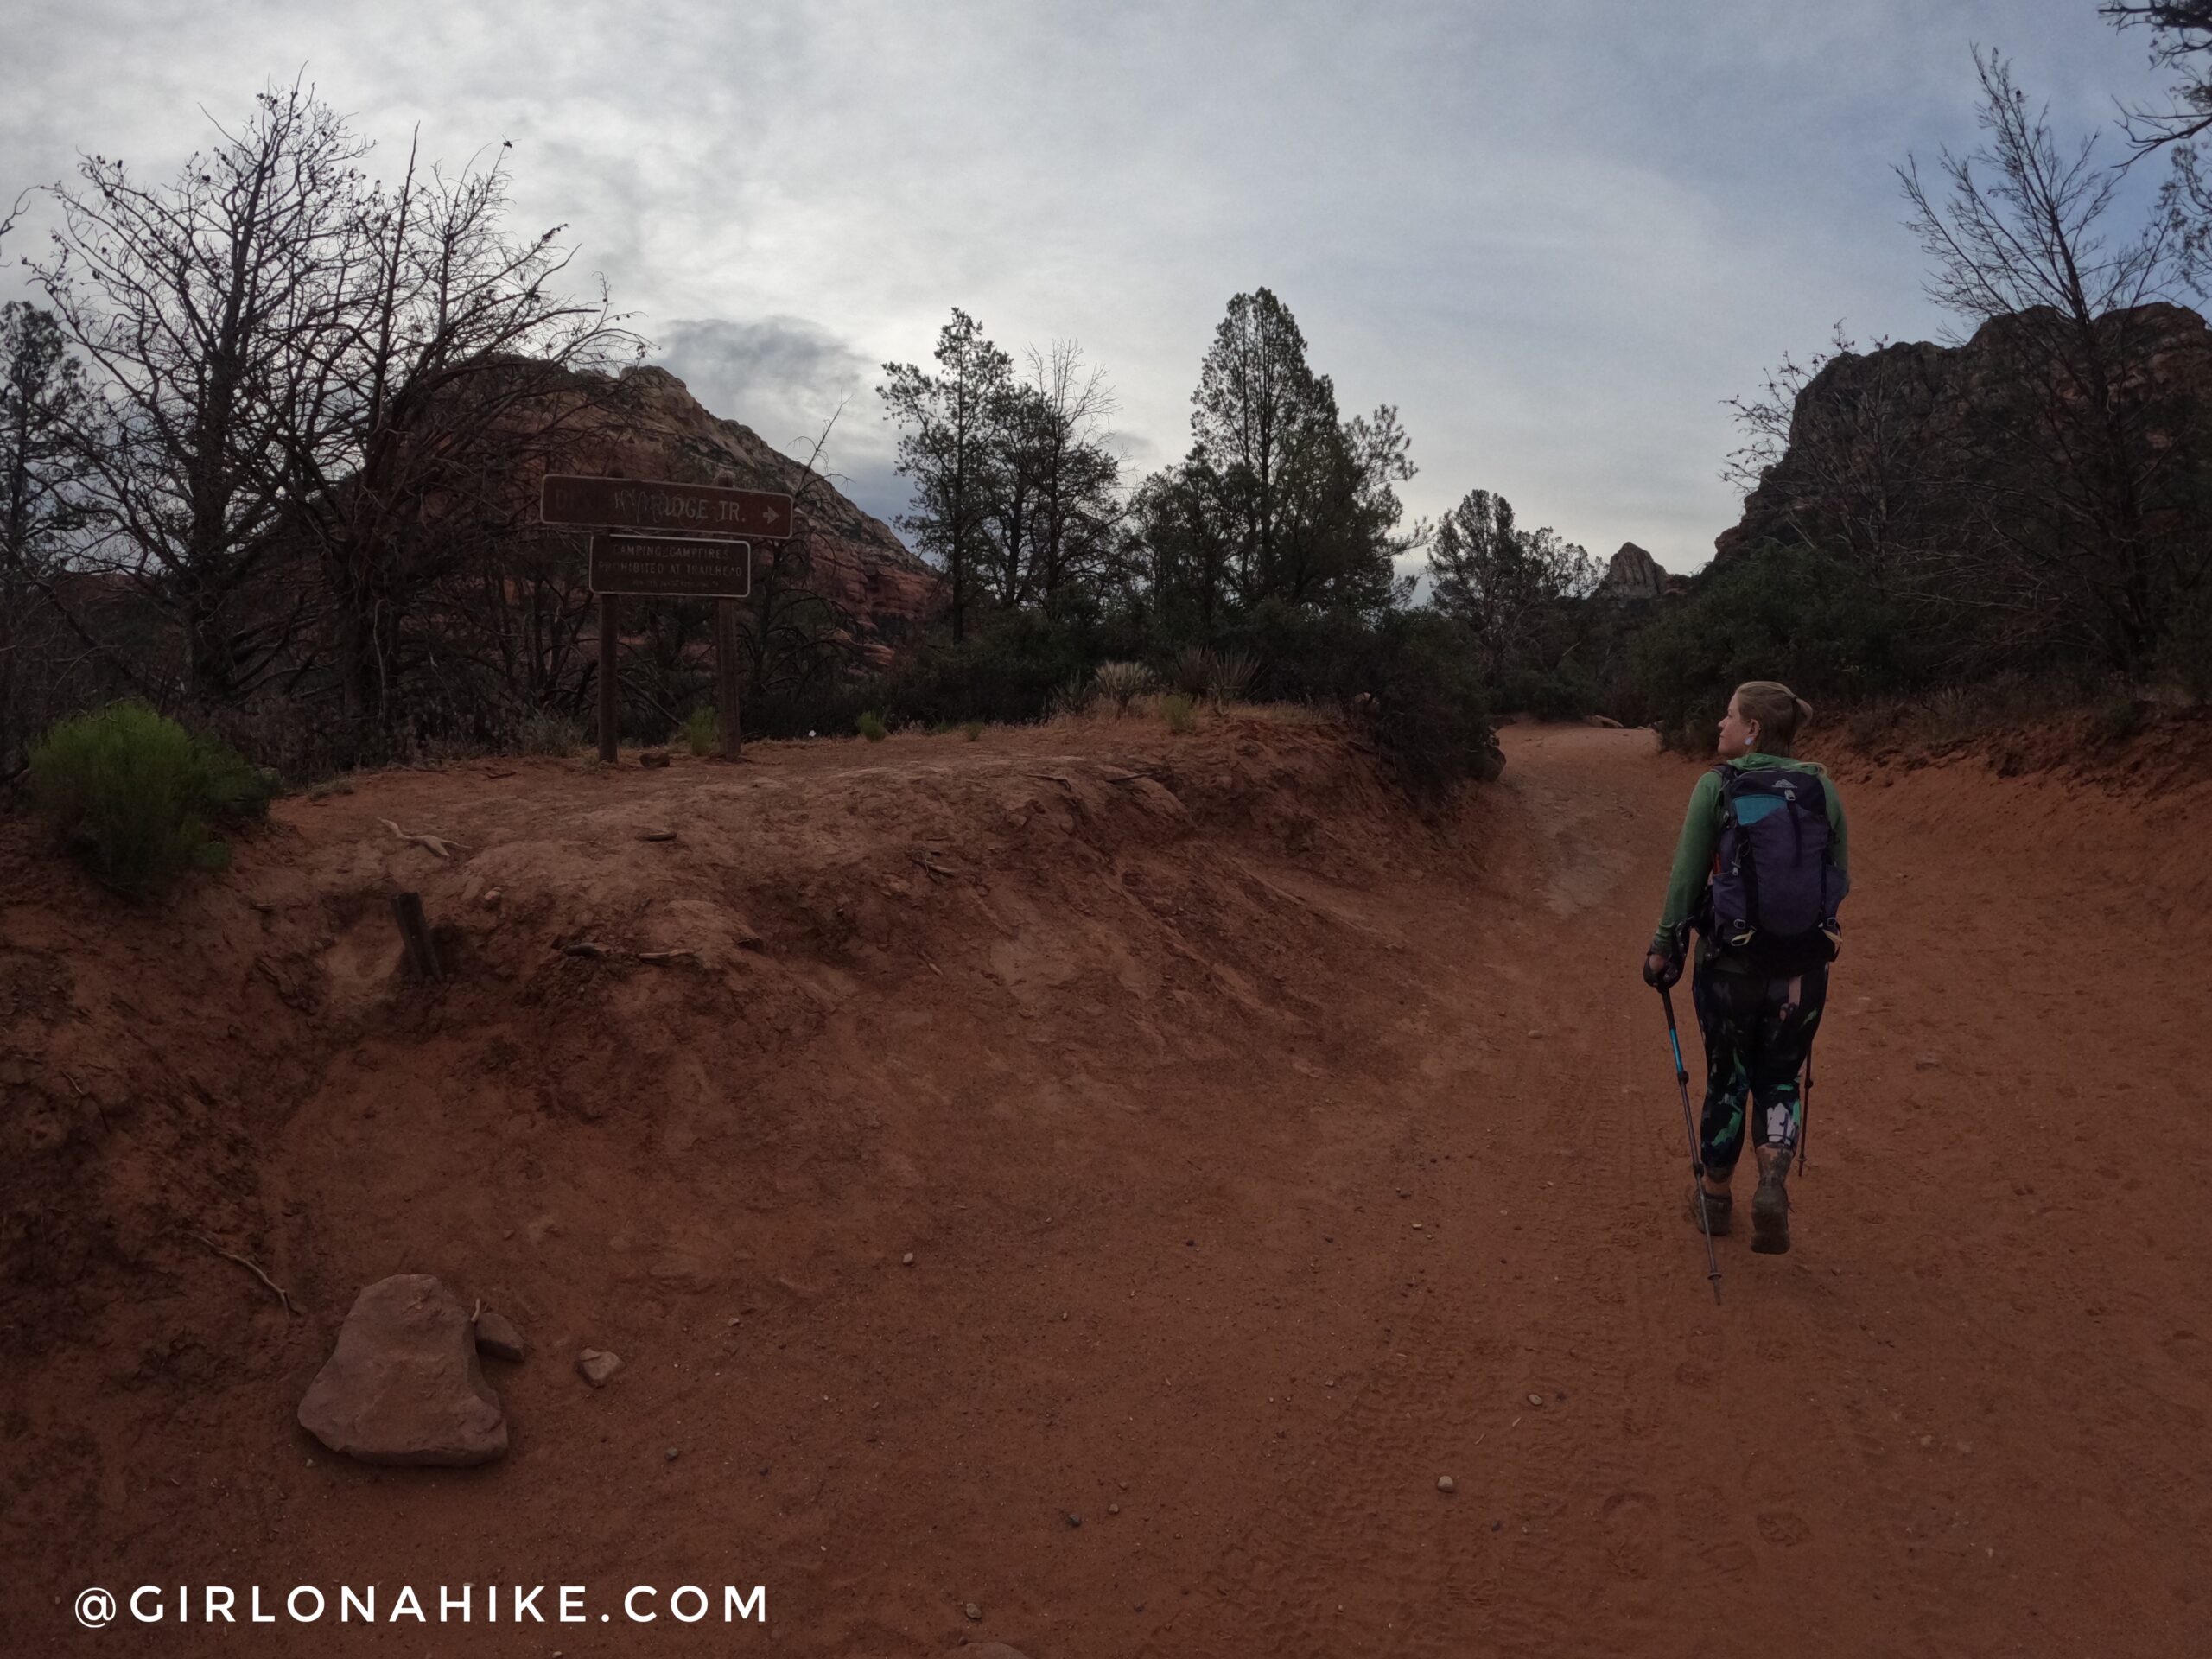
Now, we turned at the official TH for Devils Bridge. The trail for the next 1/2 mile is super easy and flat.
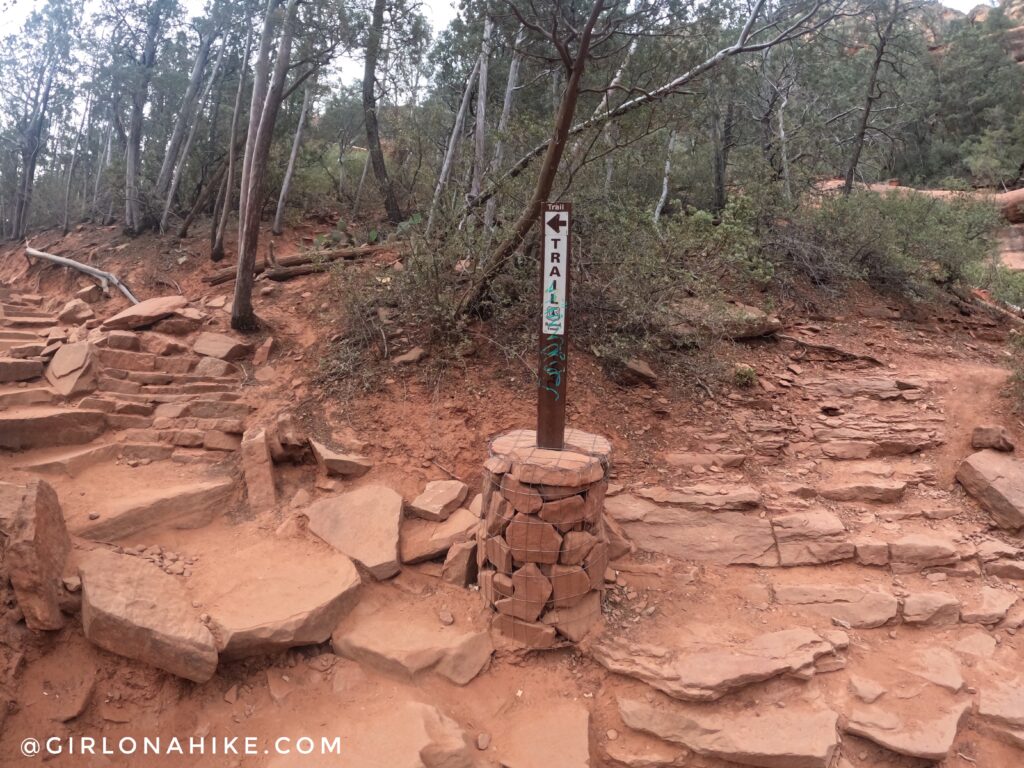
Once we see the first trail sign after you reach the official TH, is when you begin a small climb up several sets of rock stairs.
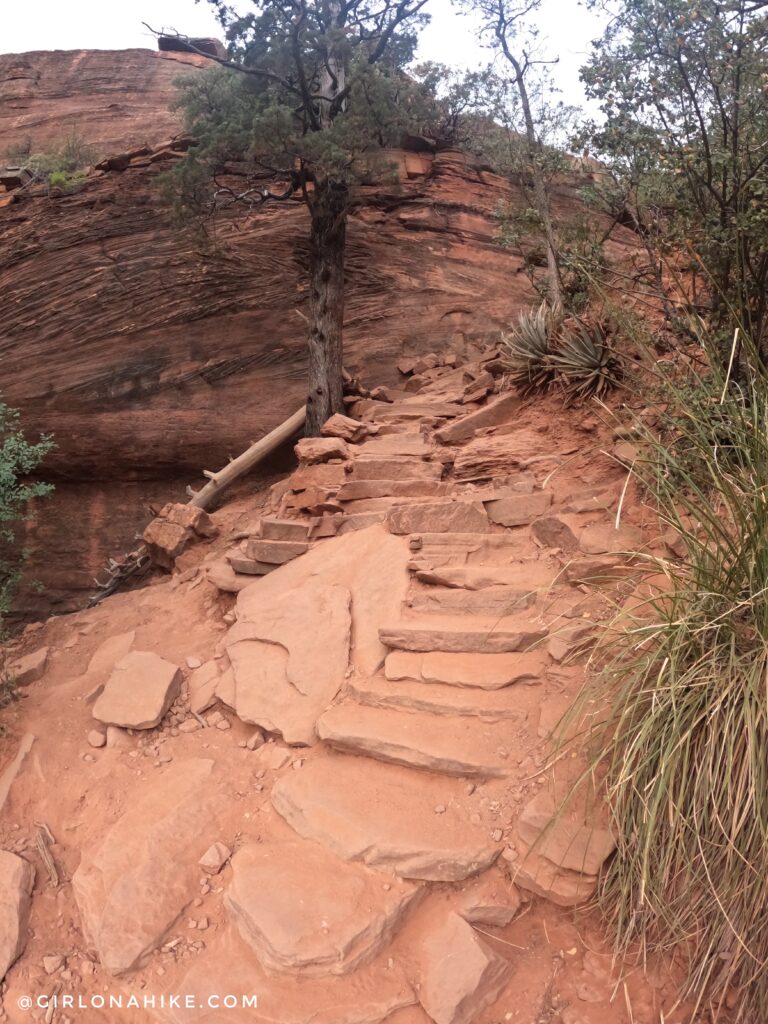
It’s not really that steep, but little kids may need help on the bigger steps.
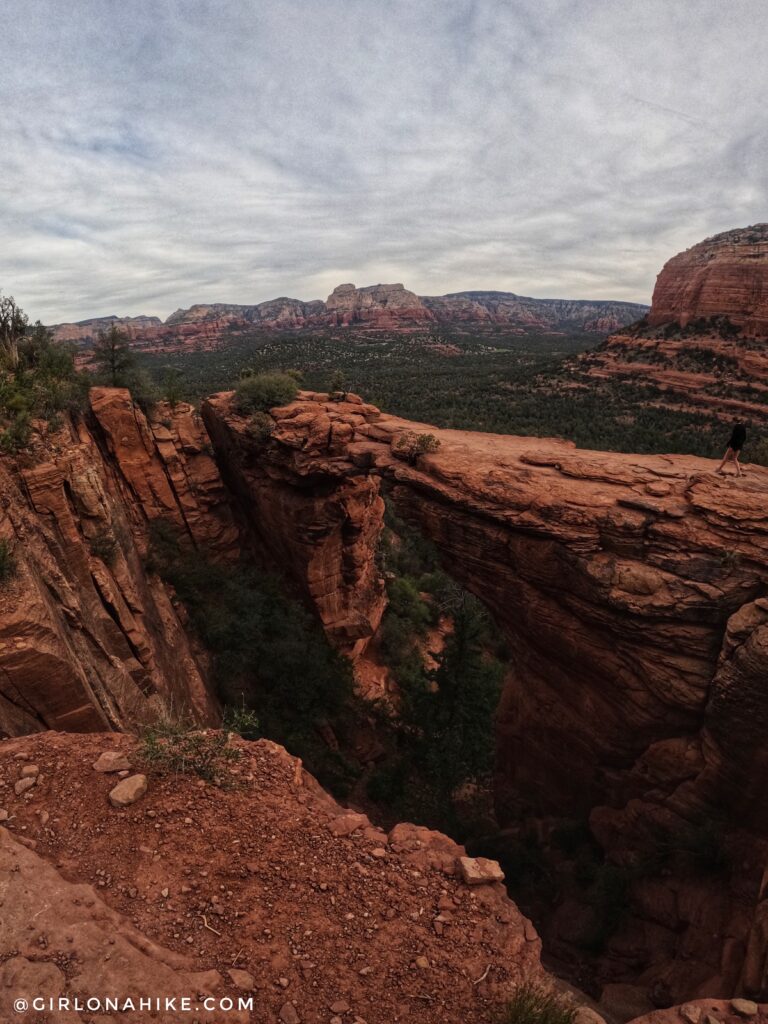
And before you know it, you’ve arrived! This is “the spot” most Instagrammers get a photo from. I was super lucky to capture Devils Bridge without tons of people on it.
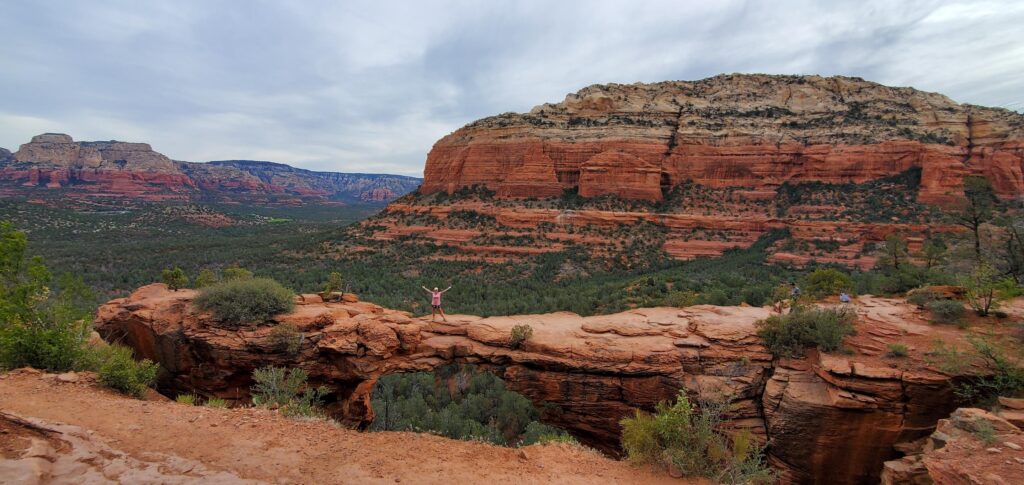
Devils Bridge as viewed directly from the center, with people waiting off to the right to get their turn on top.
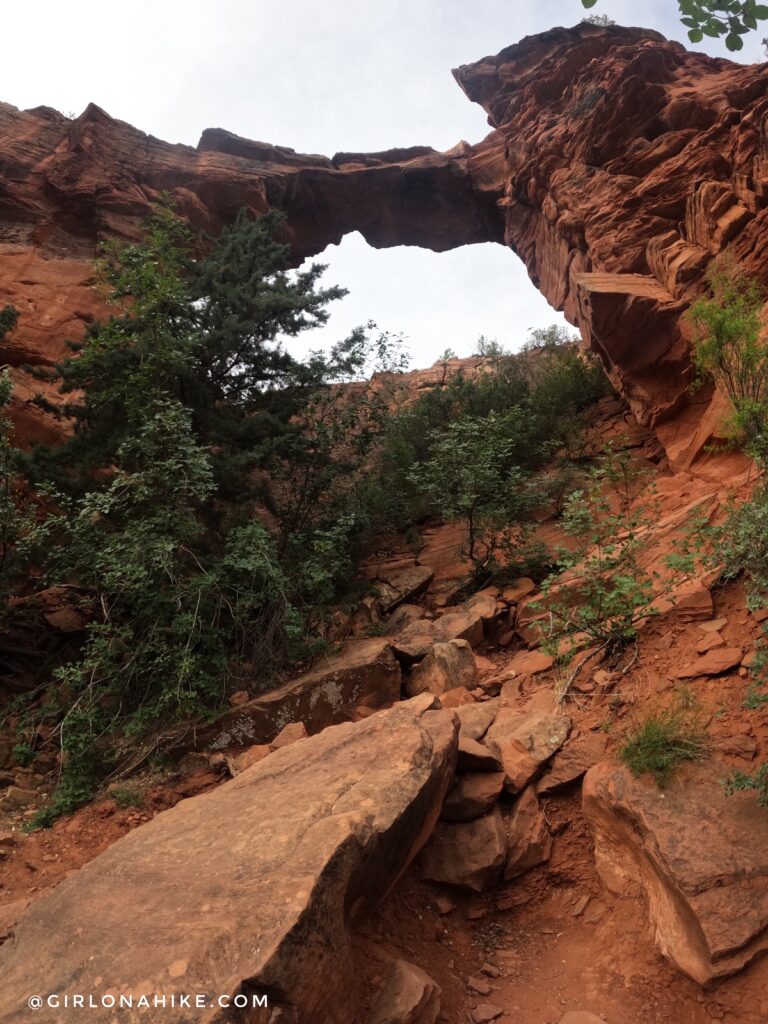
You can also view Devils Bridge from below, which my friend and I liked better since nobody was down there.
Overall, for me, this was just an ok hike. The view from the top was more impressive than the actual natural bridge, but then again, we’re spoiled in Utah 🙂
On the hike out we probably passed at least 100 people hiking in, and that right there is enough for me to say “NEXT!” Checked that one off the bucket list.
Trail Map
My track via Gaia GPS – the best tracking app! Get your app here for a discount.
Nearby Hike
Hike to the Birthing Cave in Sedona, AZ!

Save me on Pinterest!
