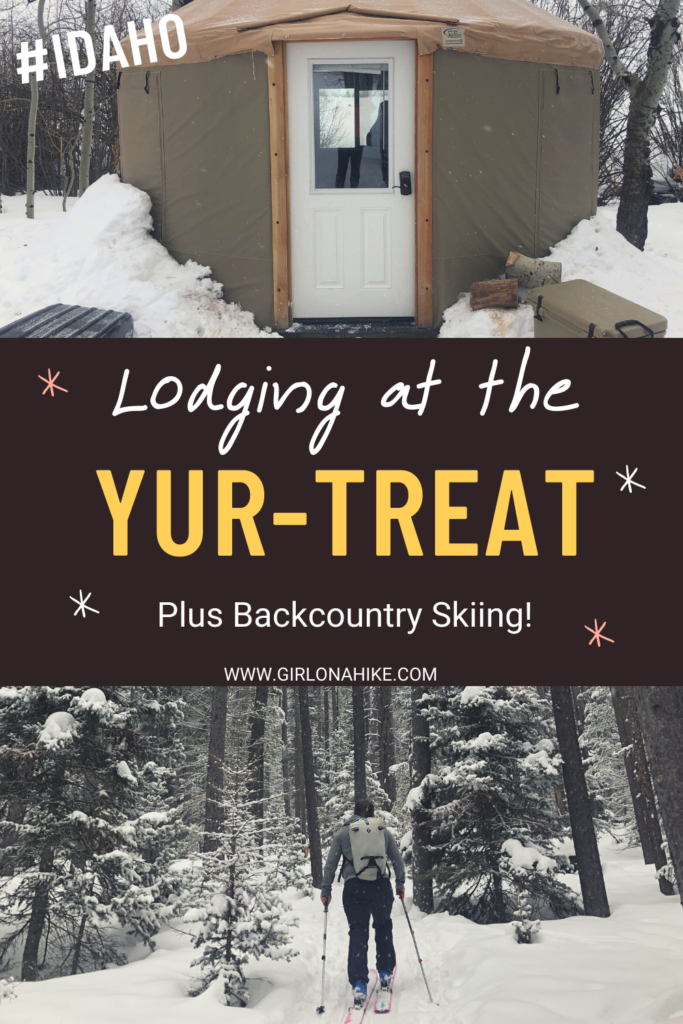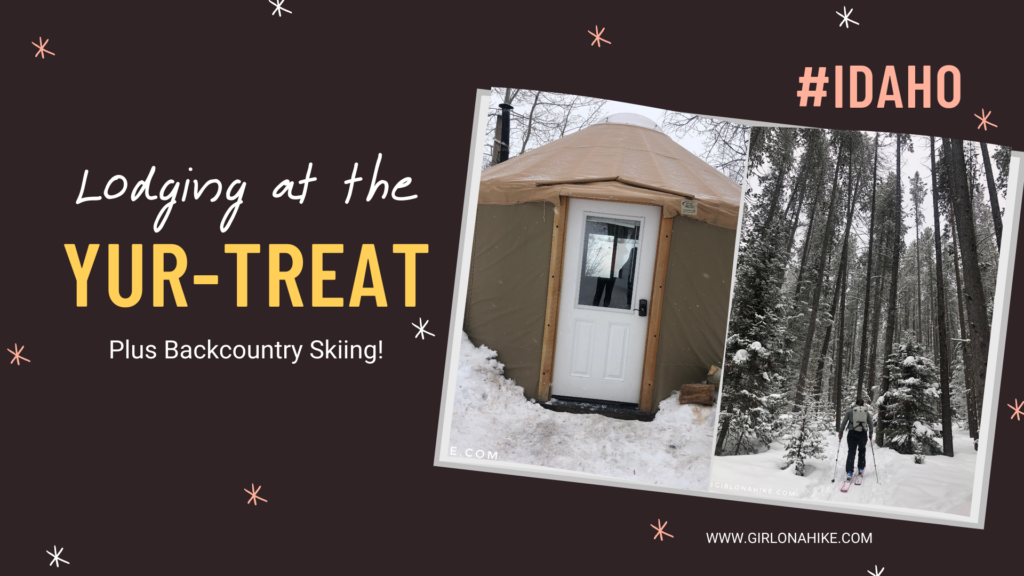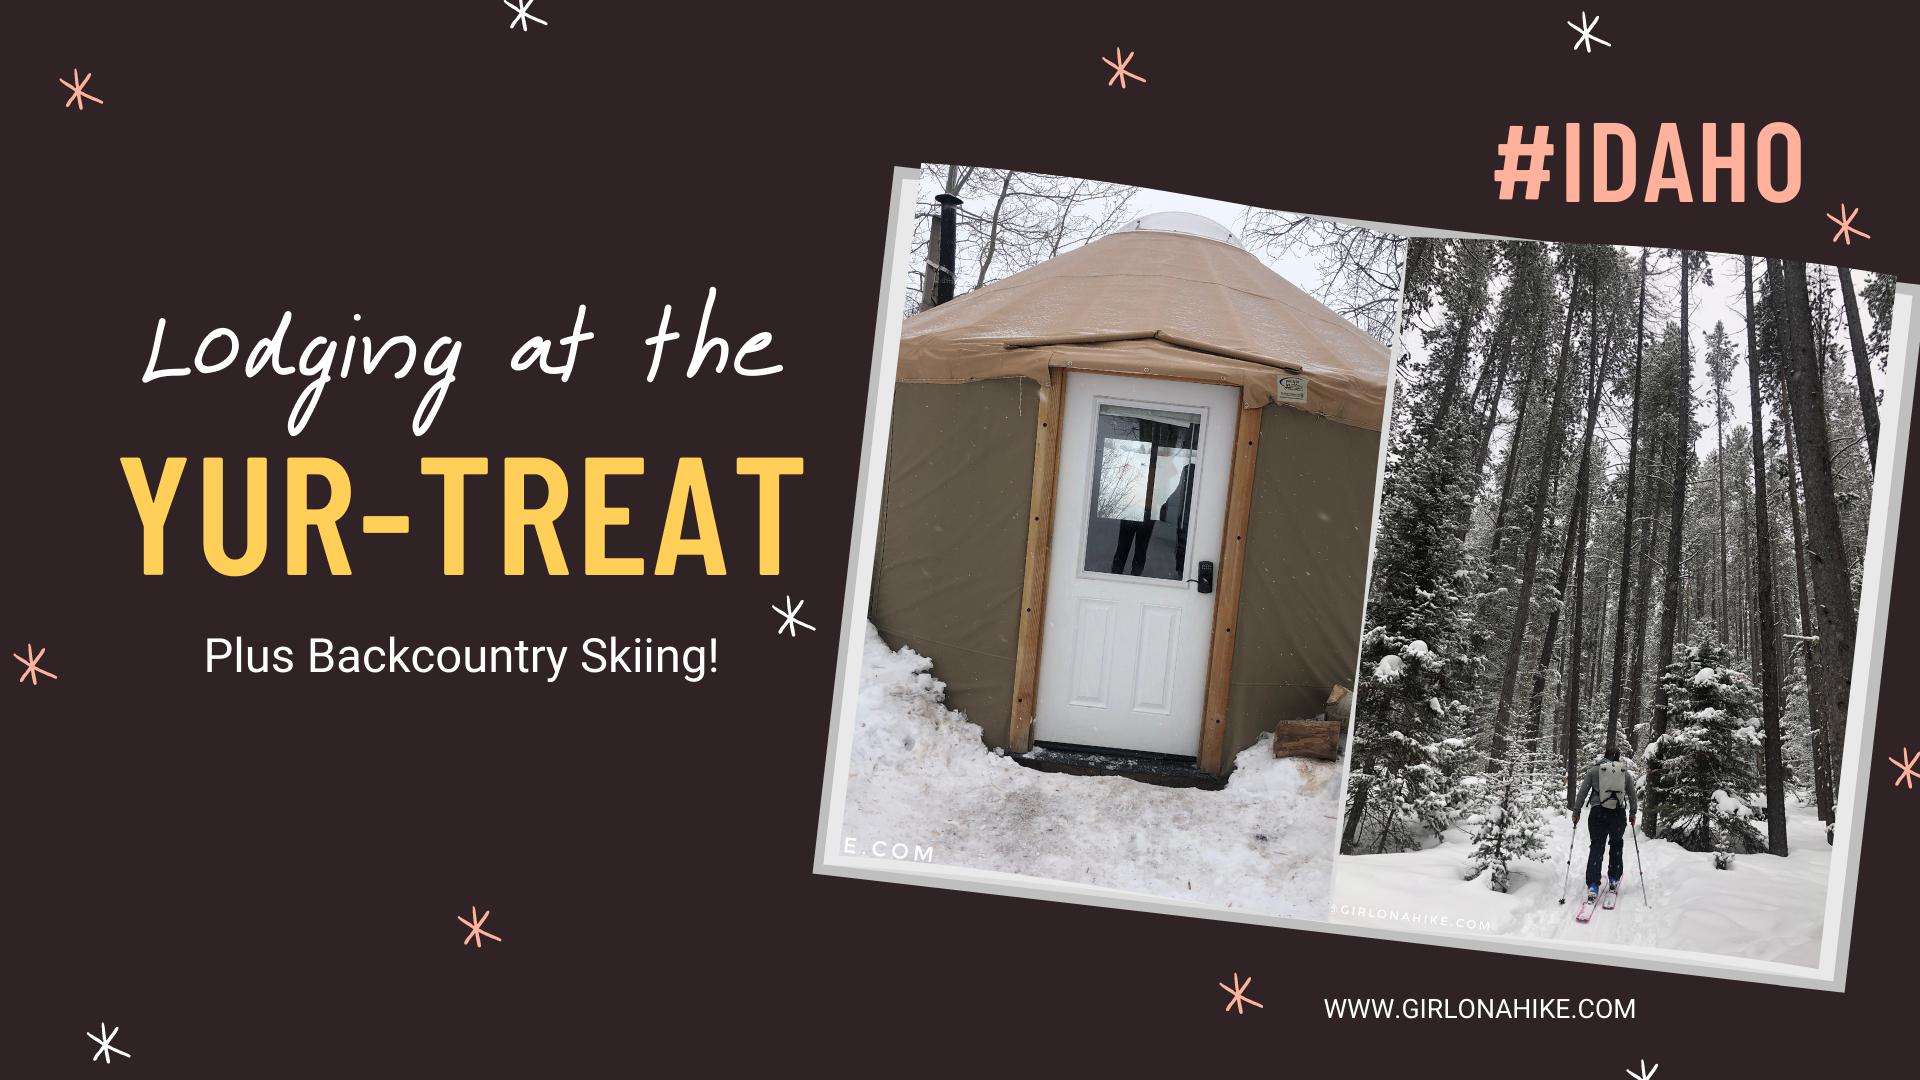
Idaho’s Yur-Treat is located just outside Victor, Idaho on the west side of the Tetons. It’s about about 4.5 hours from Salt Lake City and tucked into a small grove of Aspen trees.
About
This tiny 16 foot diameter yurt is great for several reasons. 1) It’s dog friendly! A max of 2 dogs are allowed 2) very affordable for a private yurt 3) only 15 minutes away from town 4) amazing access to backcountry skiing and other winter activities (Grand Targhee is about 40 minutes away) 5) no hiking is involved to reach the yurt, only about 150 yards of a walk and 6) you can reserve this yurt on Air B&B year-round so there’s no permit or lottery to get it.
This was my ninth yurt I’ve stayed in (also my first in Idaho), and while all the yurts offer something unique, the most interesting thing about this yurt is that no kitchen area is available, but also a real bed is provided. I have never experienced those two things with a yurt before. If you have never been to a yurt, it is important to know that planning and prep is key to having a great experience. It was great to not have to bring my sleeping pad and sleep on a bunk bed – having the queen sized bed was a real luxury even though I still used my 0F sleeping bag.
On the other hand, we had to make sure we brought everything we needed to be able to cook, including the stove, propane, utensils, sponge and soap, trash bags, etc. It took a bit more effort to cook compared to other yurts, but again, this is what makes each yurt unique and a fun experience very time. You never really know what you’ll walk into!
Hopefully knowing what to expect before your trip through reading this post will help you have the best trip ever, and you’ll know exactly what to expect from the yurt and what to bring.
Directions
A week prior to your stay, the host will email you the visitor manual which includes the yurt address and GPS location. In general, it is about 15 minutes NW of Victor, Idaho.
Trail Info
There is no hiking involved, simply walk up about 150 yards to the yurt.
FAQs
How can I make a reservation?
Reservations can be made on Air B&B here! You can also just search for “Yur-Treat Idaho”. You will get an email with the lockbox code to access the yurt a few days prior to your trip along with the visitors manual.
How much does it cost to stay at the yurt?
The yurt cost $62/night + Air B&B fees. For our 3 night, 4 day trip it was $242.
How many people can stay in the yurt?
The host says a max of 4 people can sleep in here, however, I would advise no more than a max of 2 people OR 2 adults and 1 small child (a max of 2 dogs are allowed). There just isn’t enough room to put all your gear plus it would be a hassle to constantly pull out the cots and put them away every day. Sleeping lower to the floor will also be much colder at night.
What does the yurt provide?
The Yur-Treat is equipped with one queen bed and plenty of firewood, however, you will need to use the provided axe to chop it to be able for it to fit in the wood stove. Two camp chairs, a dining table, and two cots are also provided. There is a big propane heater, however, you also need to refill the propane tank in town if you plan to use it.
If you plan to cook, you need to bring all the kitchen supplies with you (stove, propane, utensils, soap, trash bags, etc).
Is there water access?
No. You either need to carry it all in, or melt snow, then filter. There is a creek right there as well that you could filter water from (just stay away from the algae areas).
What should I bring?
-Your own sleeping bag and pillow
– stove system (to cook dehydrated meals and for quickly boiling water for hot drinks)
– larger camp stove and propane for cooking real food
– toilet paper, paper towels
– food & alcohol
– games or cards
– crocs or down booties for inside the yurt (the floors stay on the wet side from snow so I only wore my crocs inside)
– firewood is provided but you need fire starter, a lighter, and will need to chop it
– lanterns
– your own sponge, biodegradable soap, and towel to clean dishes
– trash bags (everything must be packed out)
– any other entertainment you want!

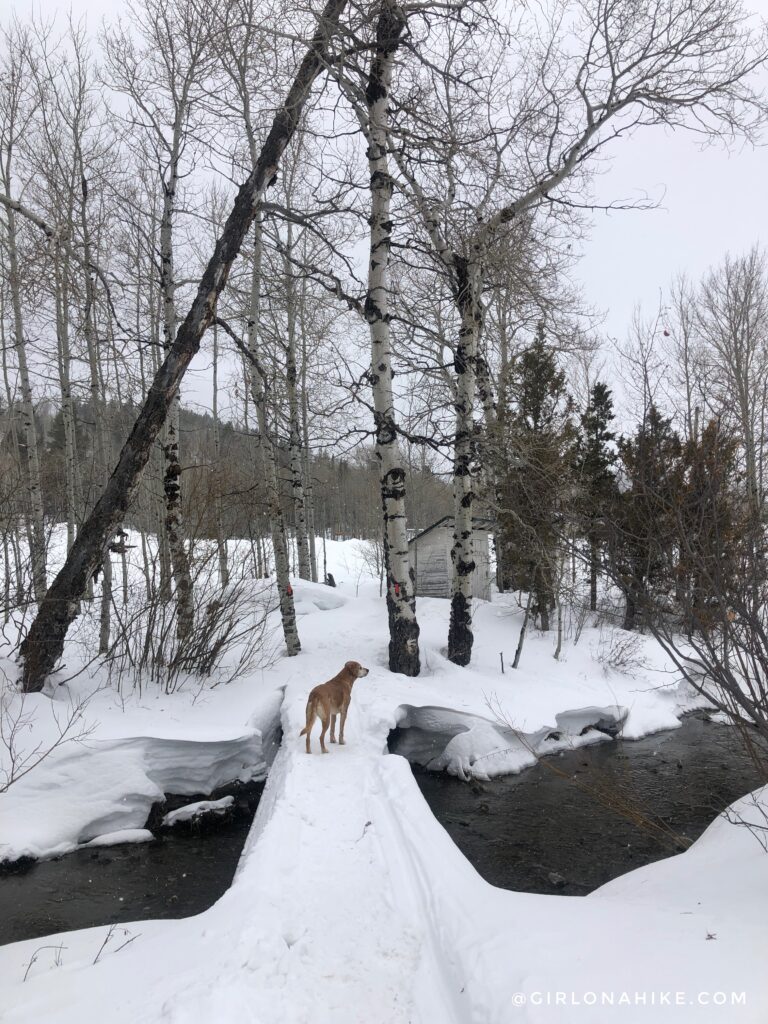
You’ll first park at the plowed area, near a shelter, then simply follow the trail towards the yurt. A sled is provided for you to haul your stuff to the yurt, rather than having to backpack it all in like a normal yurt. Crossing a bridge with a sled full of gear was a little scary, but we made it! Make sure to not overload the sled or it will fall into the creek.
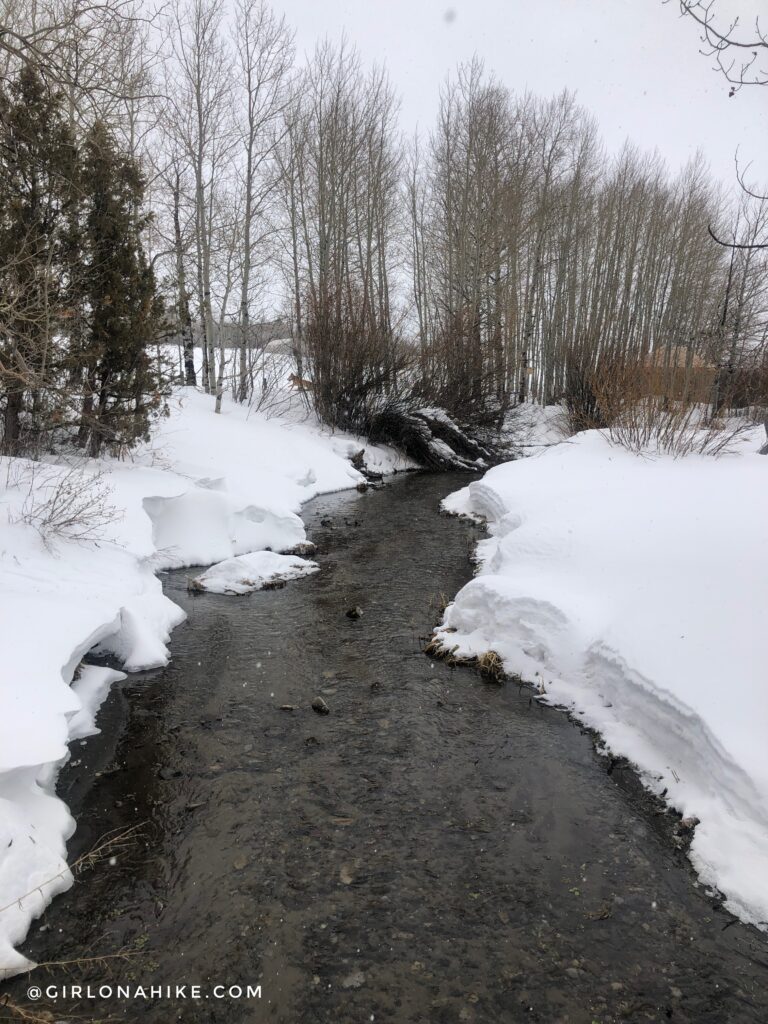
Ahh so pretty! You can already see the Yur-treat. Notice that the creek is still flowing and would have been perfect to filter water from. However, do not rely on this to be your only source of water, as the creek is often frozen over. Make sure you bring your own water in, or melt snow over the wood stove, then filter.
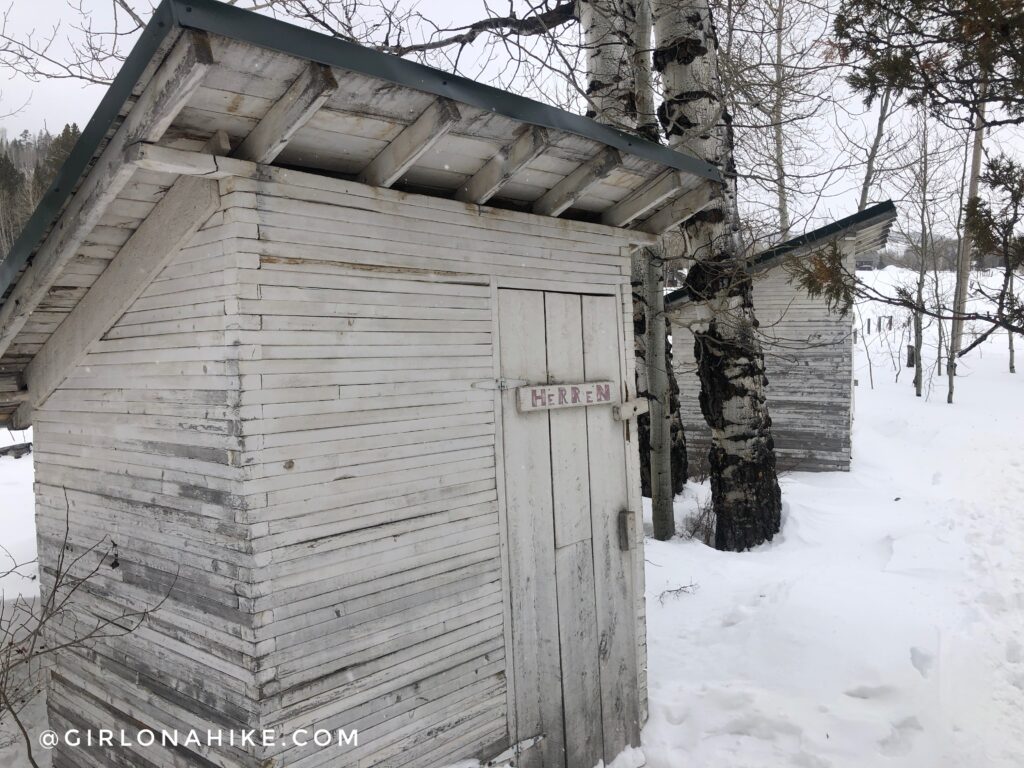
Pass by the two outhouses. The one outhouse on the right was actually snowed in so we could only use the left one until I dug out the other with a provided snow shovel. Remember to bring your own TP! It is not provided for you.
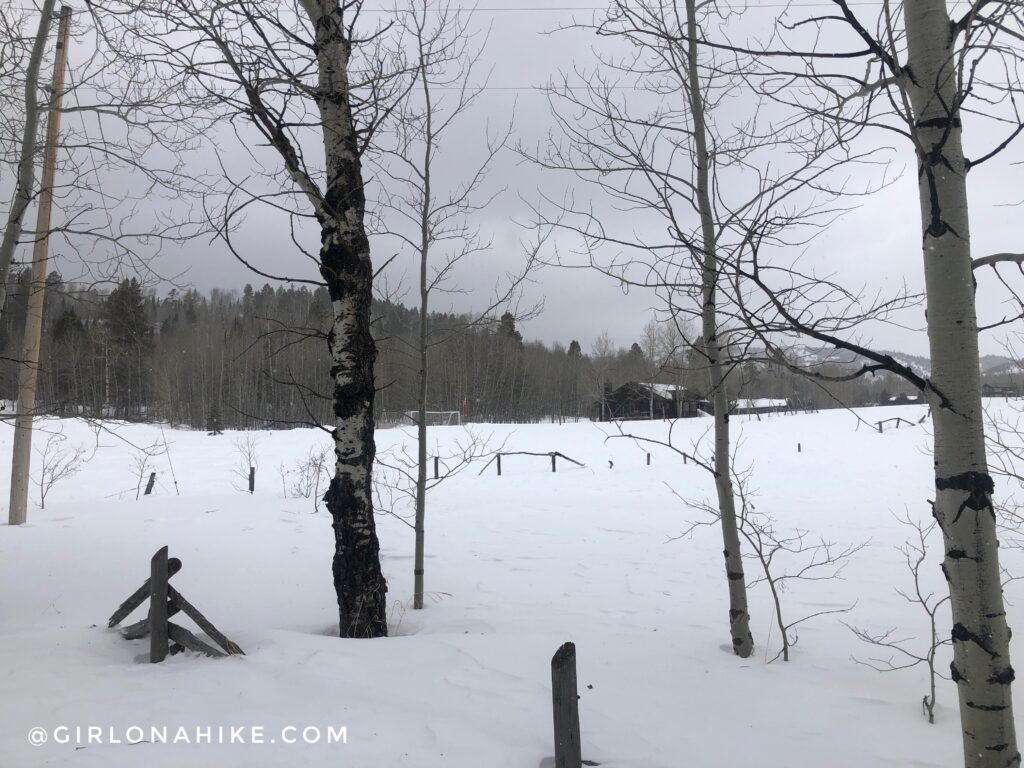
You can see several neighbors’ homes as you walk to the yurt. They’re far enough away that it doesn’t feel like they can spy on your or anything – the yurt is still quite private.
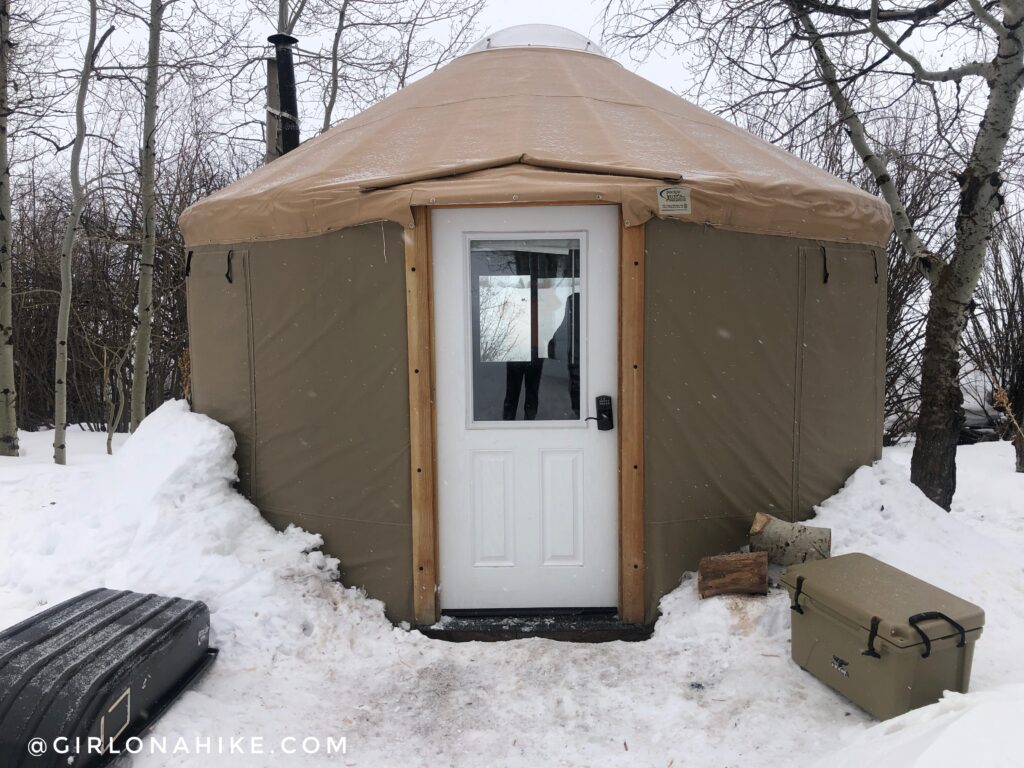
Yay, we made it! Time to take a look inside.
Note that we just left our ORCA cooler outside the entire time. Again, most yurts provide a kitchen area, and therefore have a cold storage box outside the yurt. However, with no kitchen there is no need to provide a cold box. We did make sure to put the locks on our cooler every night and when we went out to ski to keep animals from getting inside. With night time temps around 20F and a high of around 33F, we had no issues keeping our food cold.
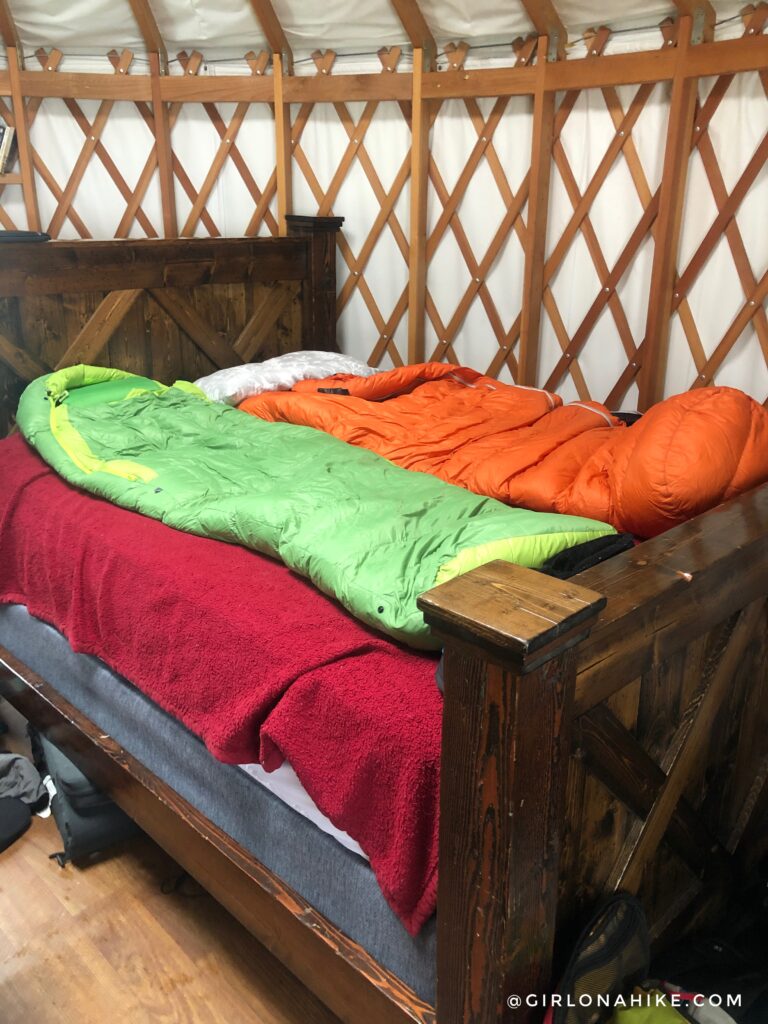
Wow, what! A real bed?! Such luxury haha! We brought one blanket to cover the bed for just an extra layer of coziness but we both used our 0F sleeping bags. In the early morning hours when the wood stove goes out, you WILL want a really good sleeping bag or lots of blankets. I have the Sea to Summit 0F bag and it is sooo warm, I love it! I also use their Premium Pillow.
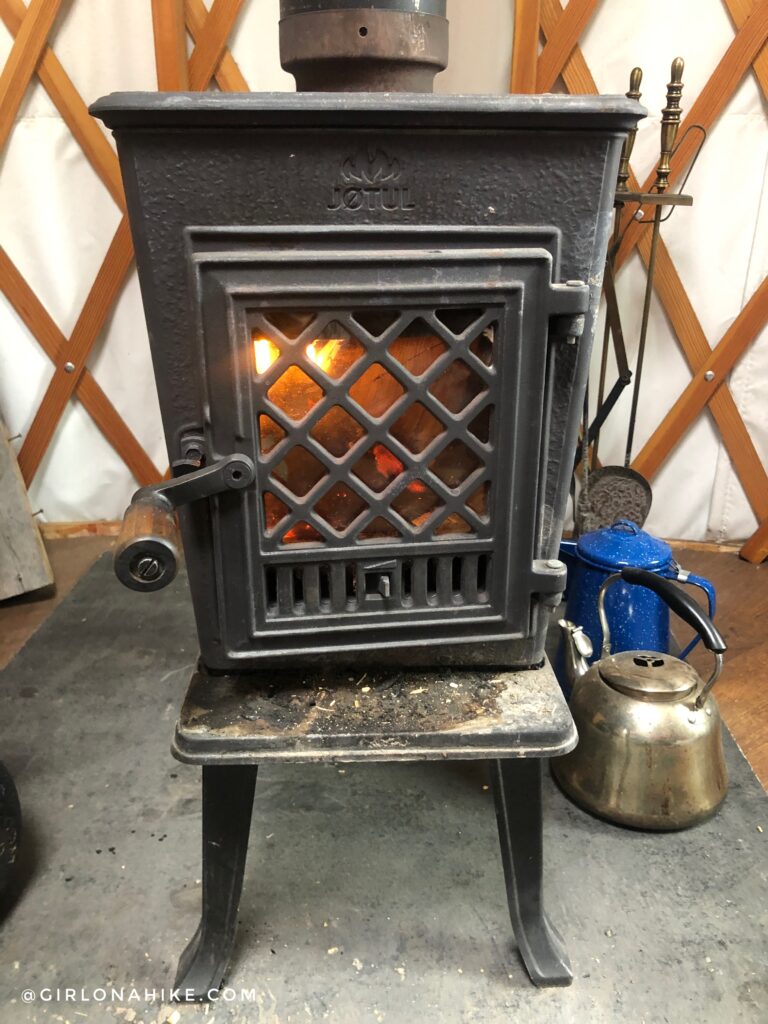
The wood stove heats up this small yurt pretty quickly, about 1-2 hours or so. With larger yurts I’ve stayed in there is a bigger wood stove, but also takes a bit longer to heat up. That’s the great thing about small yurts – they heat so quickly and stay well insulated. Two kettles were provided, and we used those to melt snow to filter for drinking water.
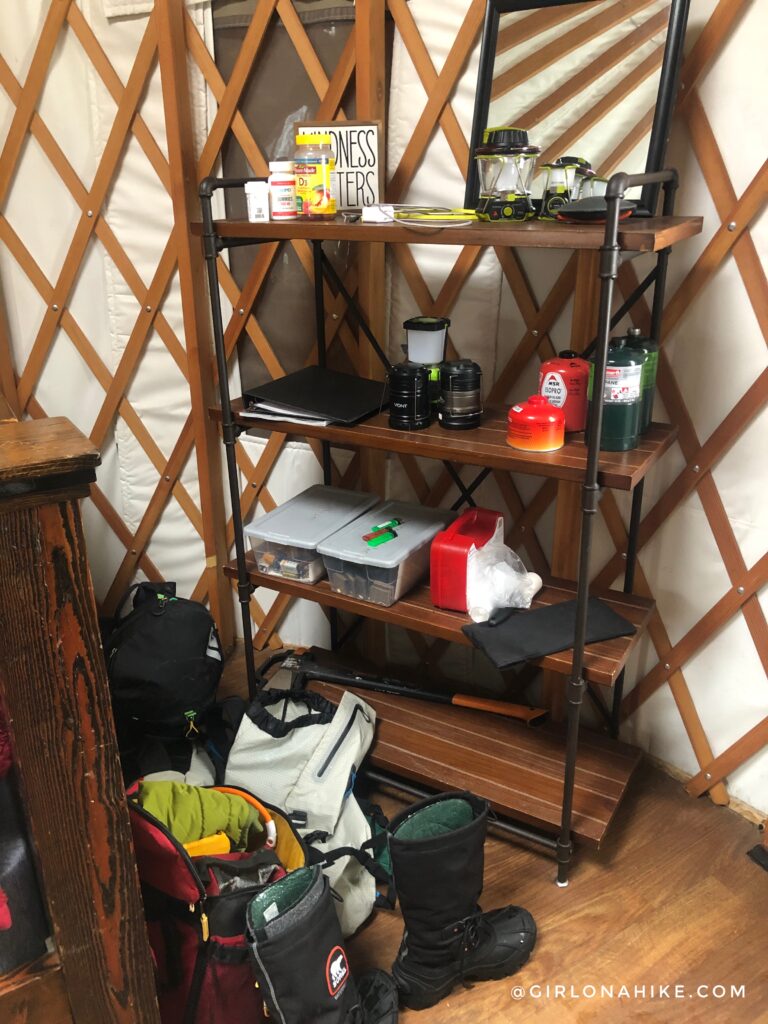
The junk corner, as I called it. You can see a few things were provided like three lanterns, lighters, the axe, etc. However, again, don’t rely on those things to be there when you go. The green propane canisters were completely empty that someone left, so we took them out with our trash. If you use something and it’s empty, please pack it out! Don’t leave it behind for others to clean up. The black notebook is the visitors manual.
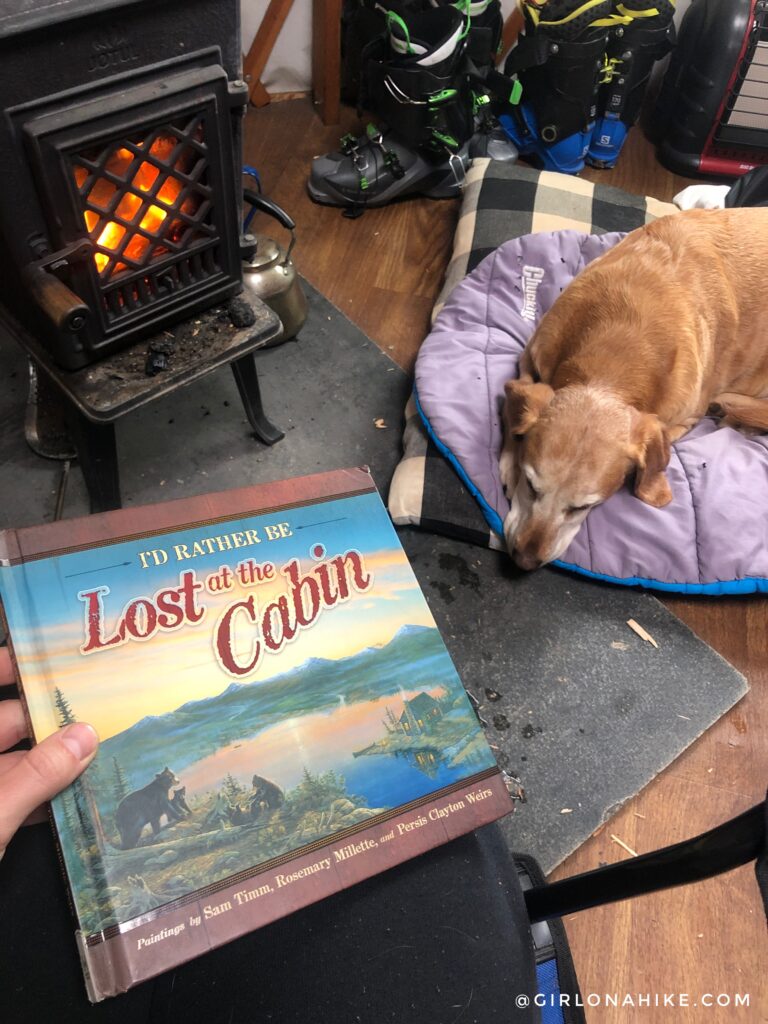
Now that we were settled in, it was time to read Charlie a bed time story! Keep in mind dogs are not allowed on the furniture. Because we knew what a short walk it was to the yurt, we brought his real bed along as well. Normally, for yurts we backpack into, we bring his own backpacking gear as well, not the nice home gear.
Note: to see the dining table that we turned into our kitchen, watch my video below!
Time to backcountry ski!
Since neither of us had skied in this area, a friend recommended a great guide book that I want to share with you called “Teton Pass Backcountry Guide” by Thomas Turiano. You can get it on Amazon or directly from his website here. It’s a little cheaper through his website, and if you need faster shipping you can contact him directly for faster shipping options.
We did this because I wasn’t really sure how long it would take Amazon to get to us by the time we needed it. I did pay extra for him to ship it faster, but it was well worth it.
His detailed descriptions were spot on, and we were able to chose an area that we felt was safe based on the avalanche danger for the days we skied here through the Bridger Teton Avalanche Center. Make SURE you always check avy conditions before heading out!
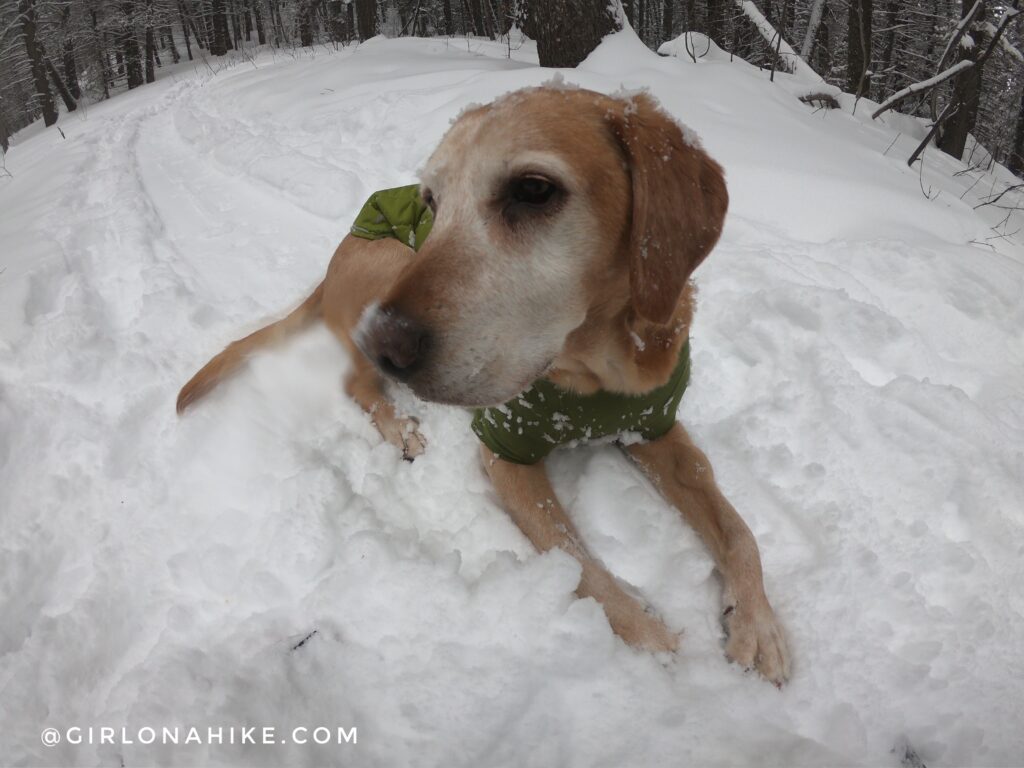
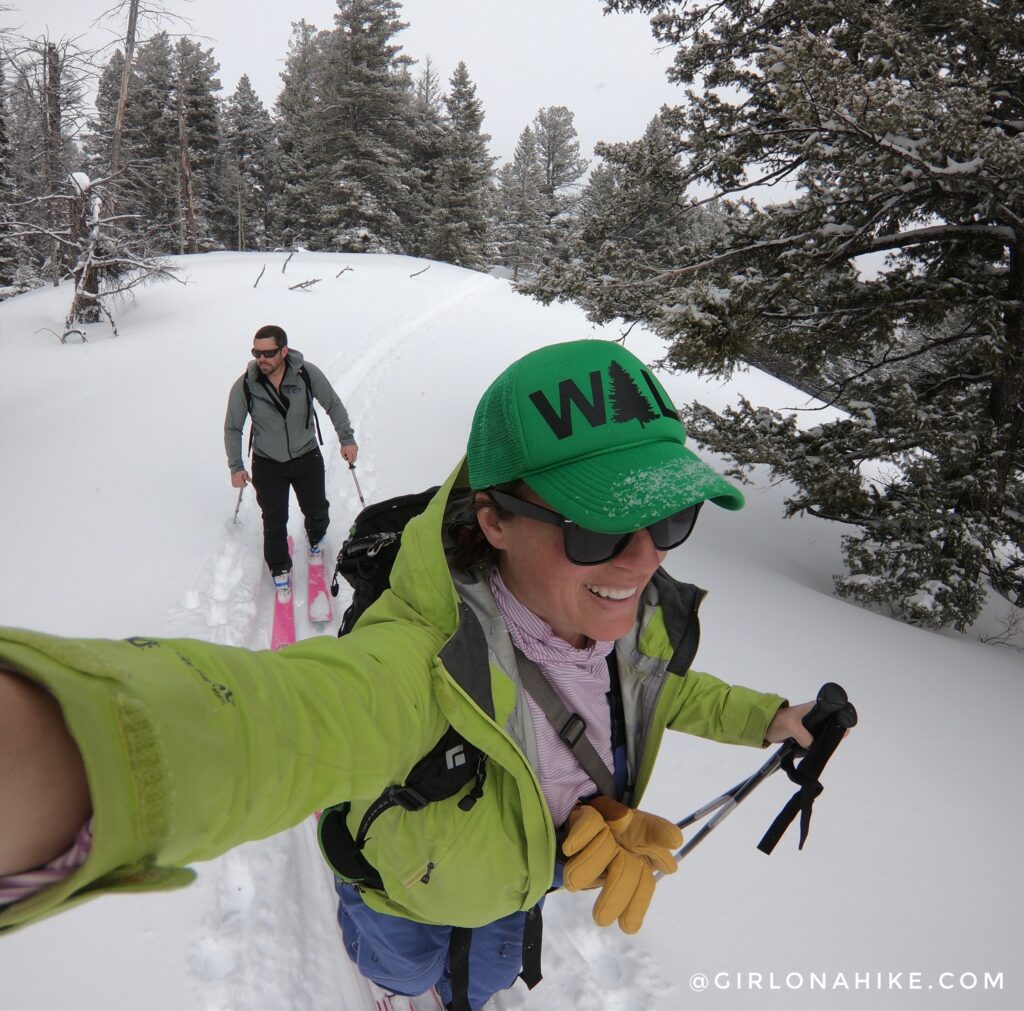
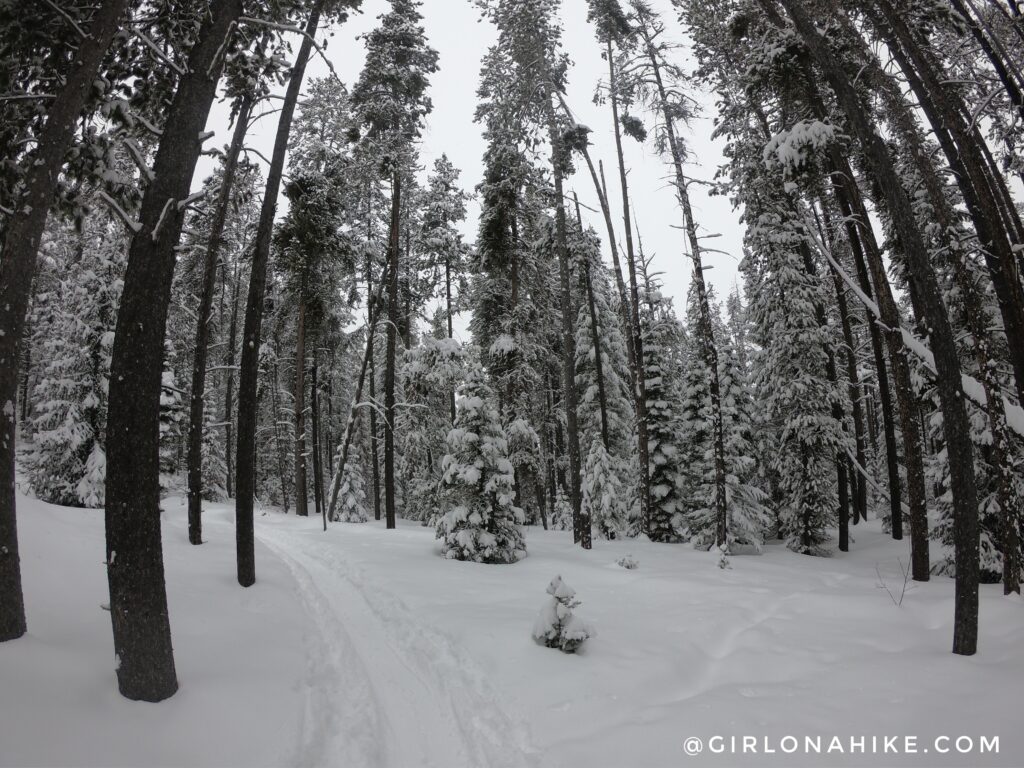
It snowed literally the entire trip which made the skiing even more fun. Charlie’s favorite activity in life, even more than hiking, is skiing with us. He goes nuts! Now that he has gotten older we put his Ruffwear Powder Hound jacket on to keep him warm and dry.
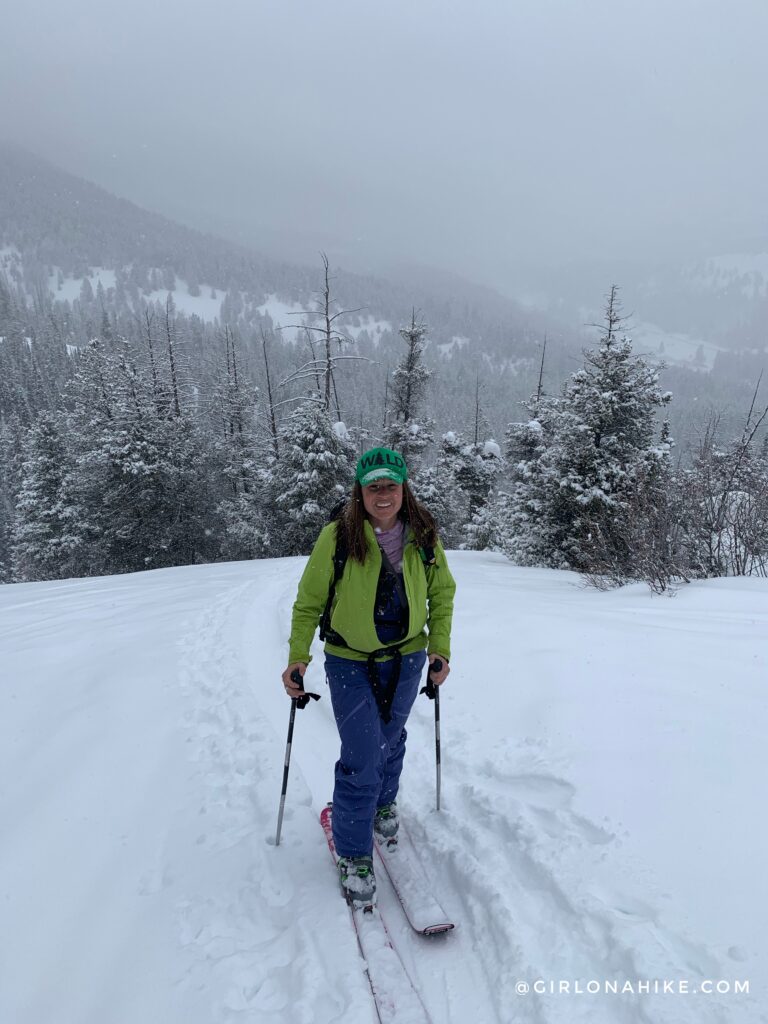
Working hard uphill! The downhill was sure worth the effort.
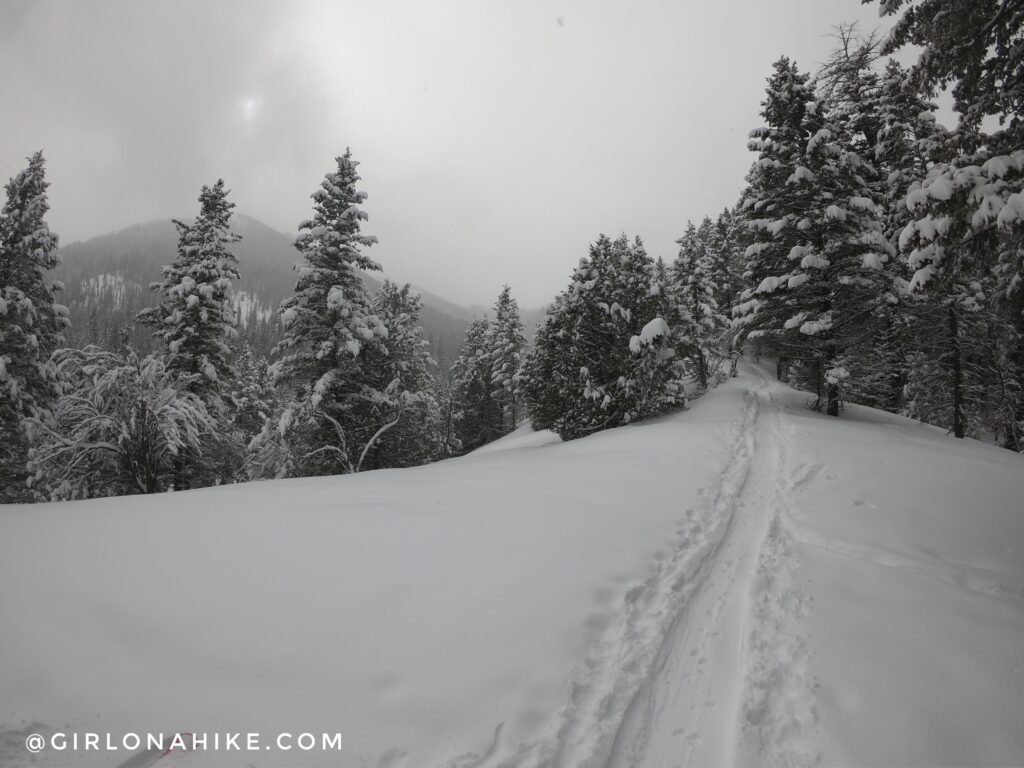
The Teton Pass area is just amazing backcountry terrain. While the parking lots are packed, you will rarely see others out skiing because there are so many places you get ski to. There are TONS of options to ski based on your skill level.
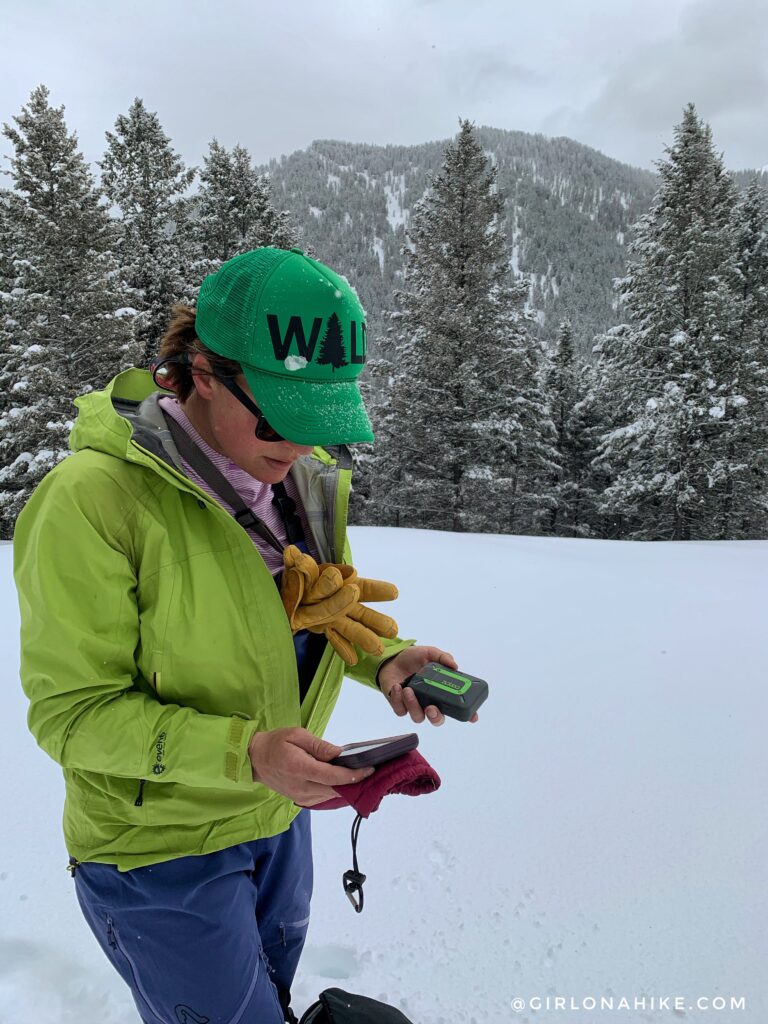
Always checking in with friends on my ZOLEO to let them know we are okay. It made me feel so much safer knowing I had a way to text friends or call an SOS if we were injured or needed rescue for an avalanche or even to help others in need. I never leave this home, and it always stays inside my pack so it doesn’t get ripped off by trees as I ski by. It’s so worth the money!
Nearby Winter Activities
Free Cross Country Skiing Areas (dog friendly)
Snowshoe Moose Creek (dog friendly)
Grand Targhee Ski Resort (no dogs)
Granite Hot Springs Snowmobile Tours (no dogs)
Check out my video & subscribe to fully view inside Idaho’s Yur-Treat!

Save me on Pinterest!
