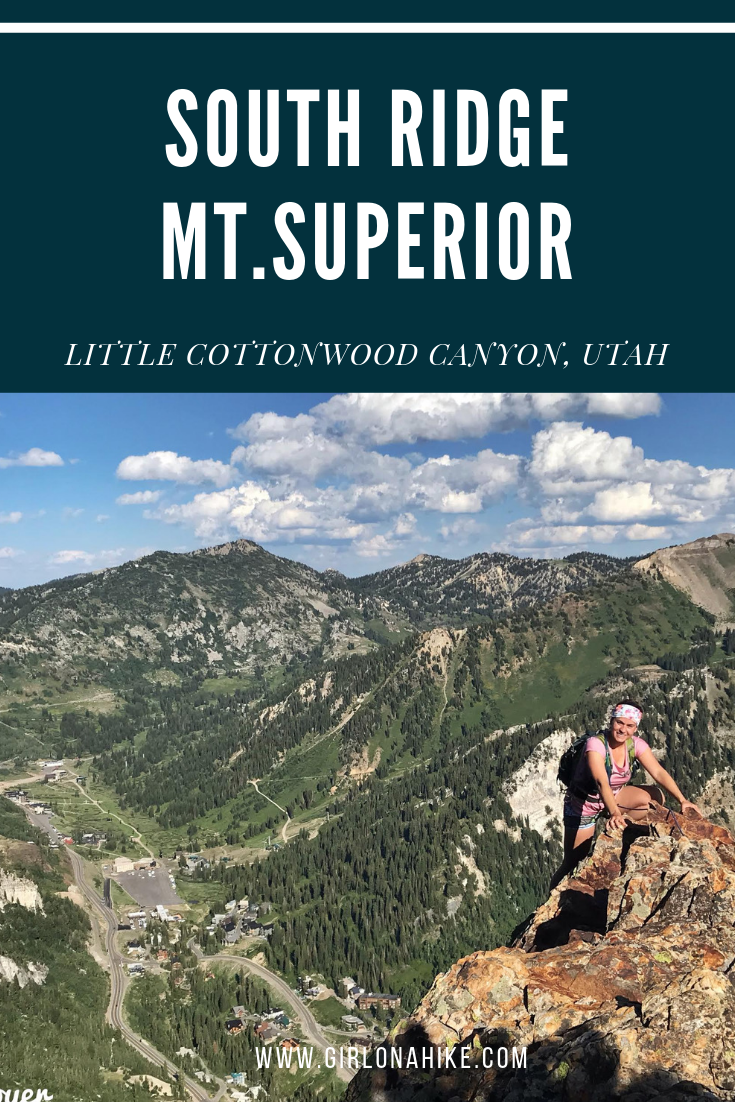

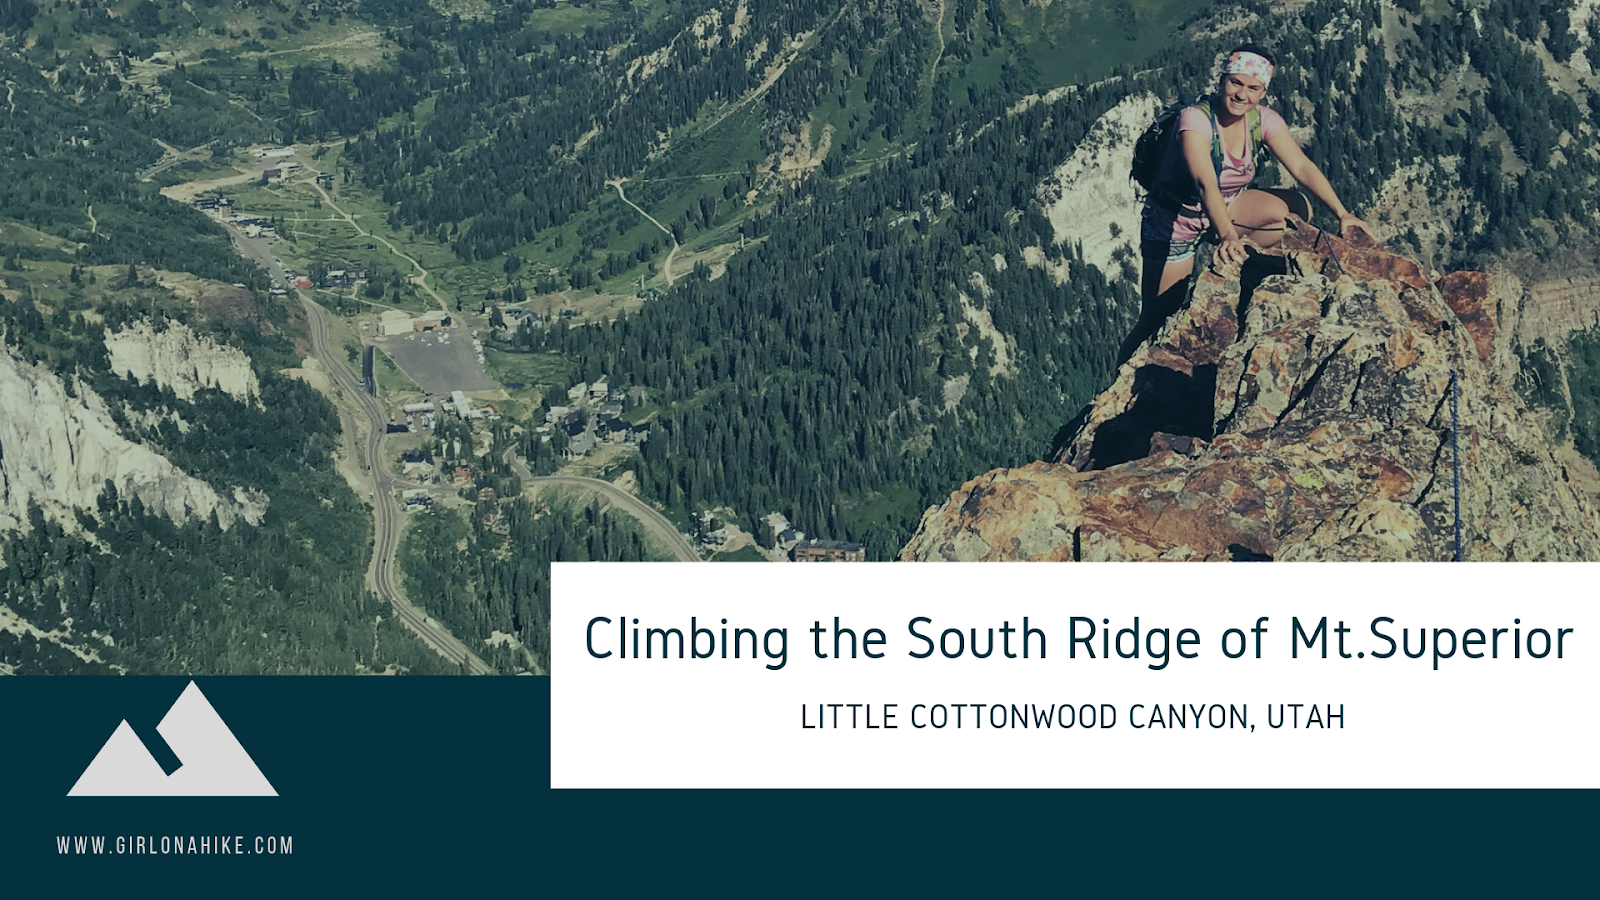
The South Ridge of Mount Superior is a well-known Class 5 scramble and a true gem for adventurous hikers in the Wasatch Mountains. While you can reach the summit via a more traditional hiking trail, this technical ridge route offers a more exhilarating and challenging ascent for experienced climbers.
Scrambling the South Ridge of Mount Superior: A Wasatch Classic
Often called a “Wasatch Classic”, the South Ridge features dramatic exposure, breathtaking views, and exciting scrambling over steep, rocky terrain. If it’s your first time attempting this route, it’s highly recommended to go with someone familiar with the path who can offer guidance and coaching through the more exposed and difficult sections.
Experience and Gear Recommendations
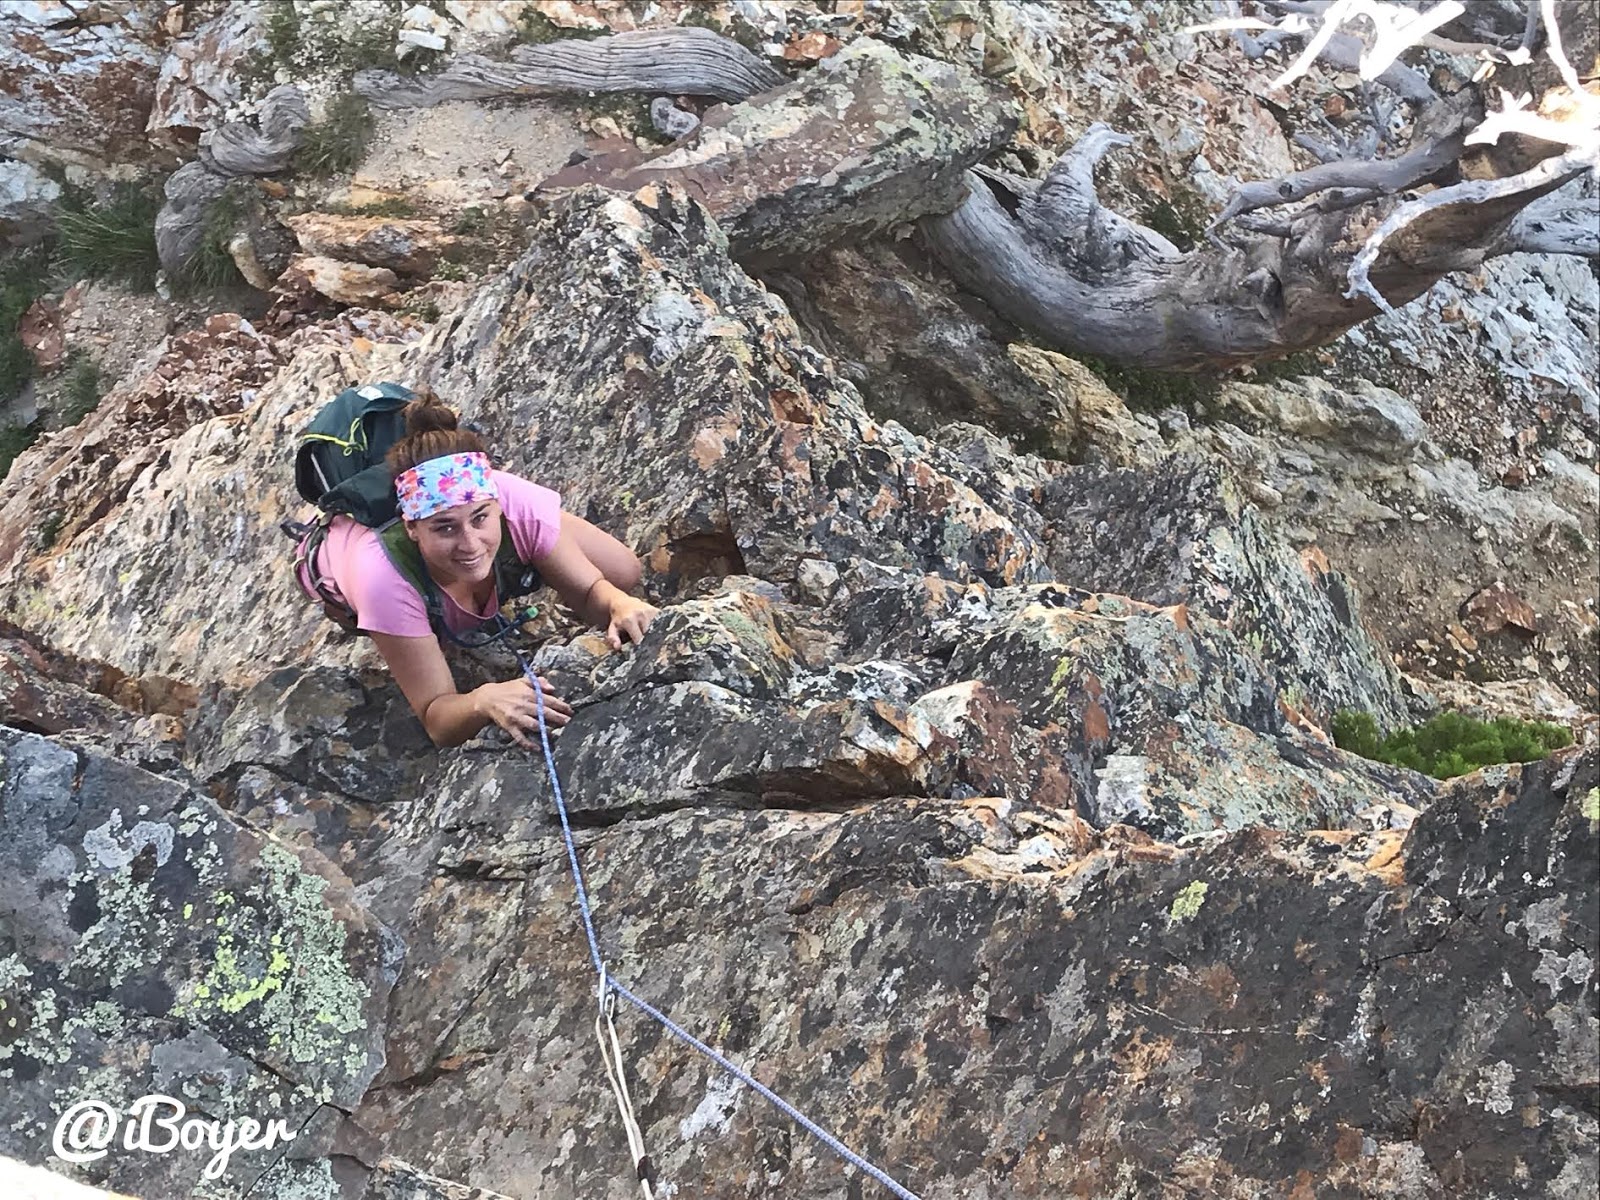
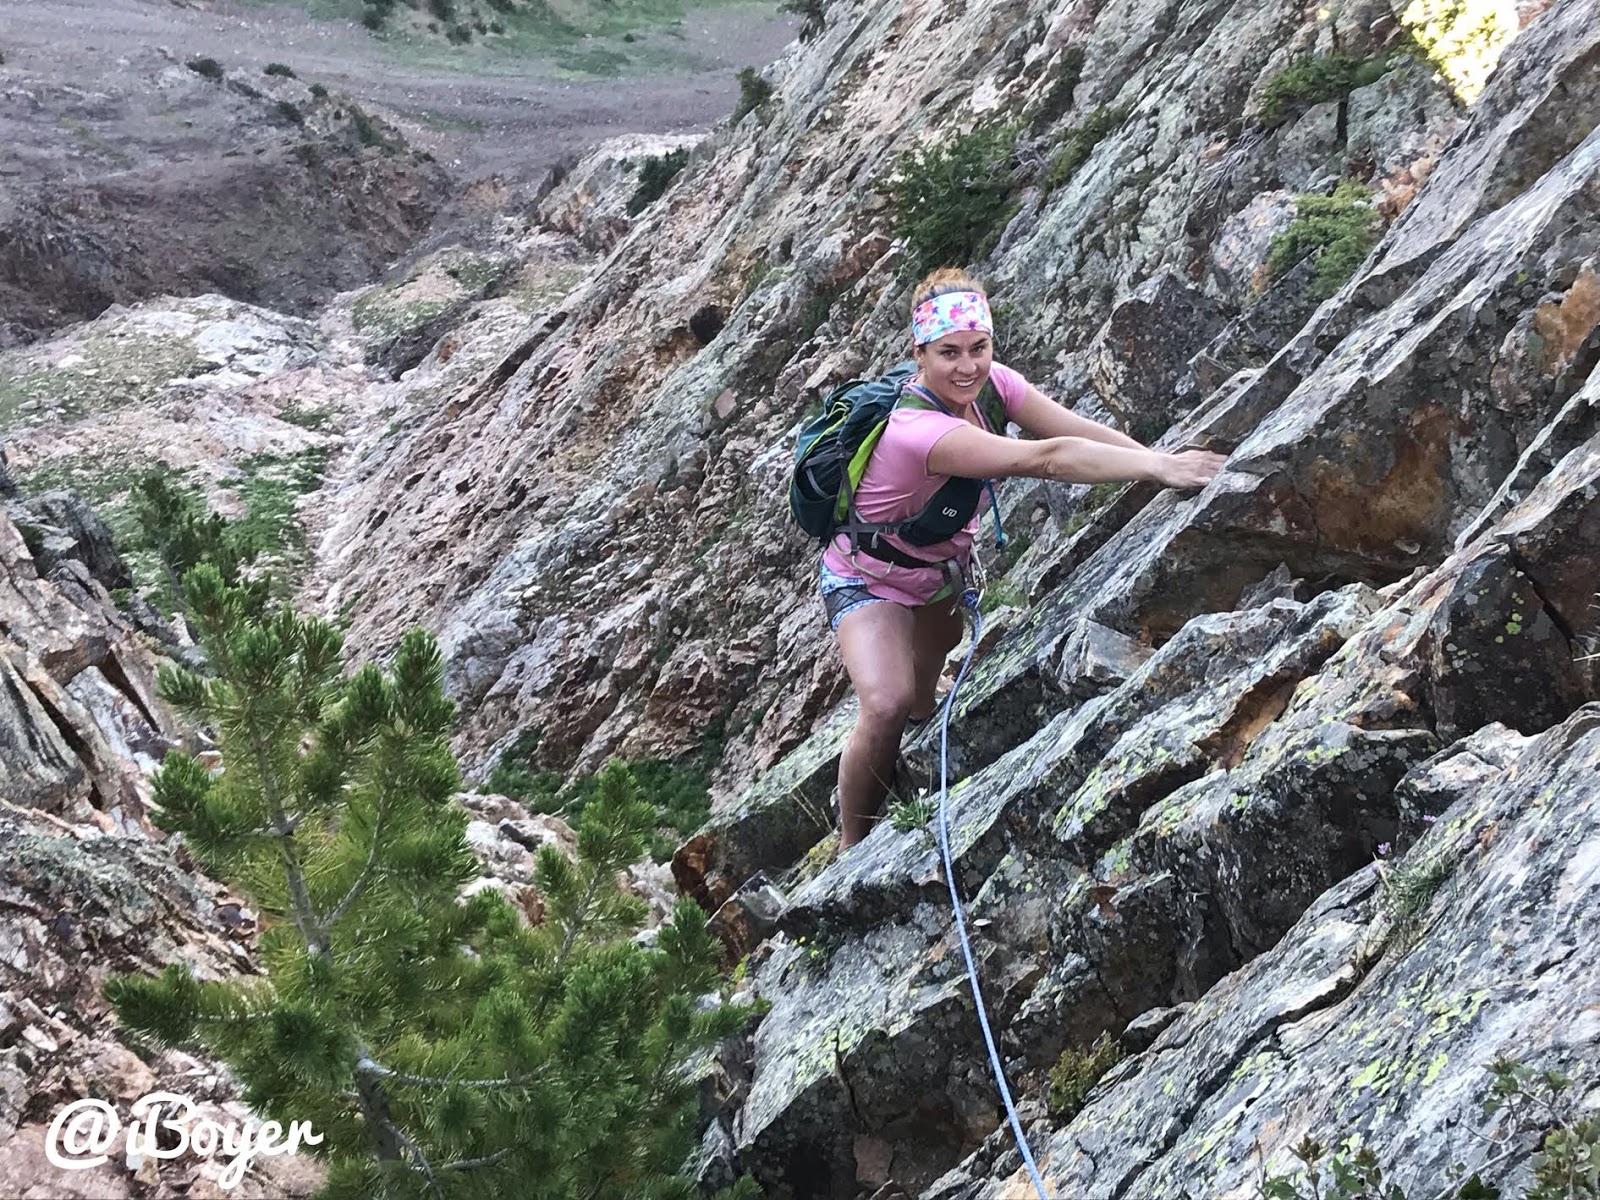
Although I consider myself an experienced peak-bagger and have completed other difficult ridge scrambles, I personally felt more confident using a rope and harness on this route. The ridge includes multiple Class 5.4 to 5.5 sections with significant exposure—enough to give even seasoned climbers pause.
While some skilled climbers tackle the South Ridge without protection, I found that the added security of gear helped manage the psychological challenge of the exposure. Note that there is no established trail—you simply aim straight up the ridge and pick your line carefully.
Directions
To access the trailhead, drive up Little Cottonwood Canyon for approximately 8 miles. Park at the Our Lady of the Snows Center, located on your left. Here is a driving map.
Trail Info
Distance: 5 miles (loop)
Elevation gain: 2,550 ft
Time: 4-8 hours
Dog friendly? No, dogs are not allowed in LCC
Kid friendly? No
Fees/Permits? None.
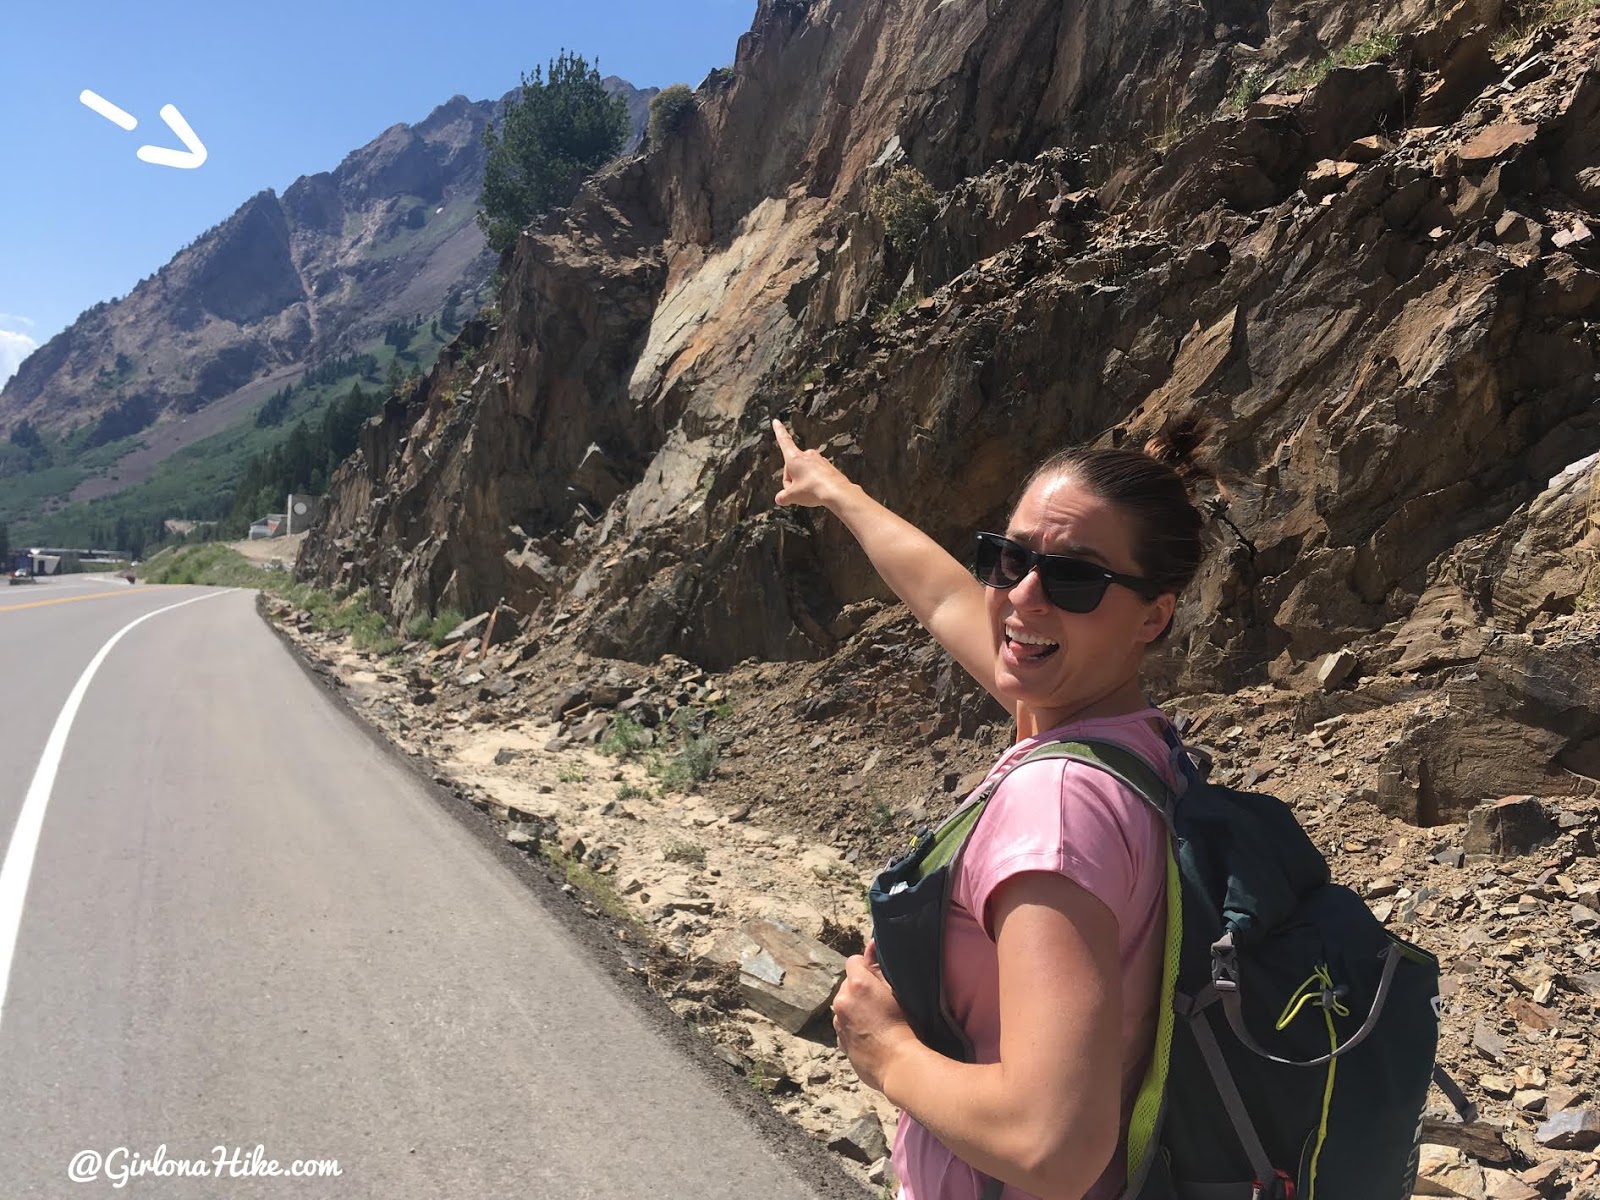
Start by parking at Our Lady of the Snows Center, then walk down the LCC paved road, until you each the TH.
Ok I admit I was nervous about this ridge. I’ve done a lot of hikes and over 100 peaks, but for some reason, this one spooked me. It just looked SO steep! Was I going to be able to do this??

The “trail” begins at:
This is about 0.2 miles past the last Snowbird entrance on the left (North) side of the road. There is a large pull-out and you’ll see the trail begin here.
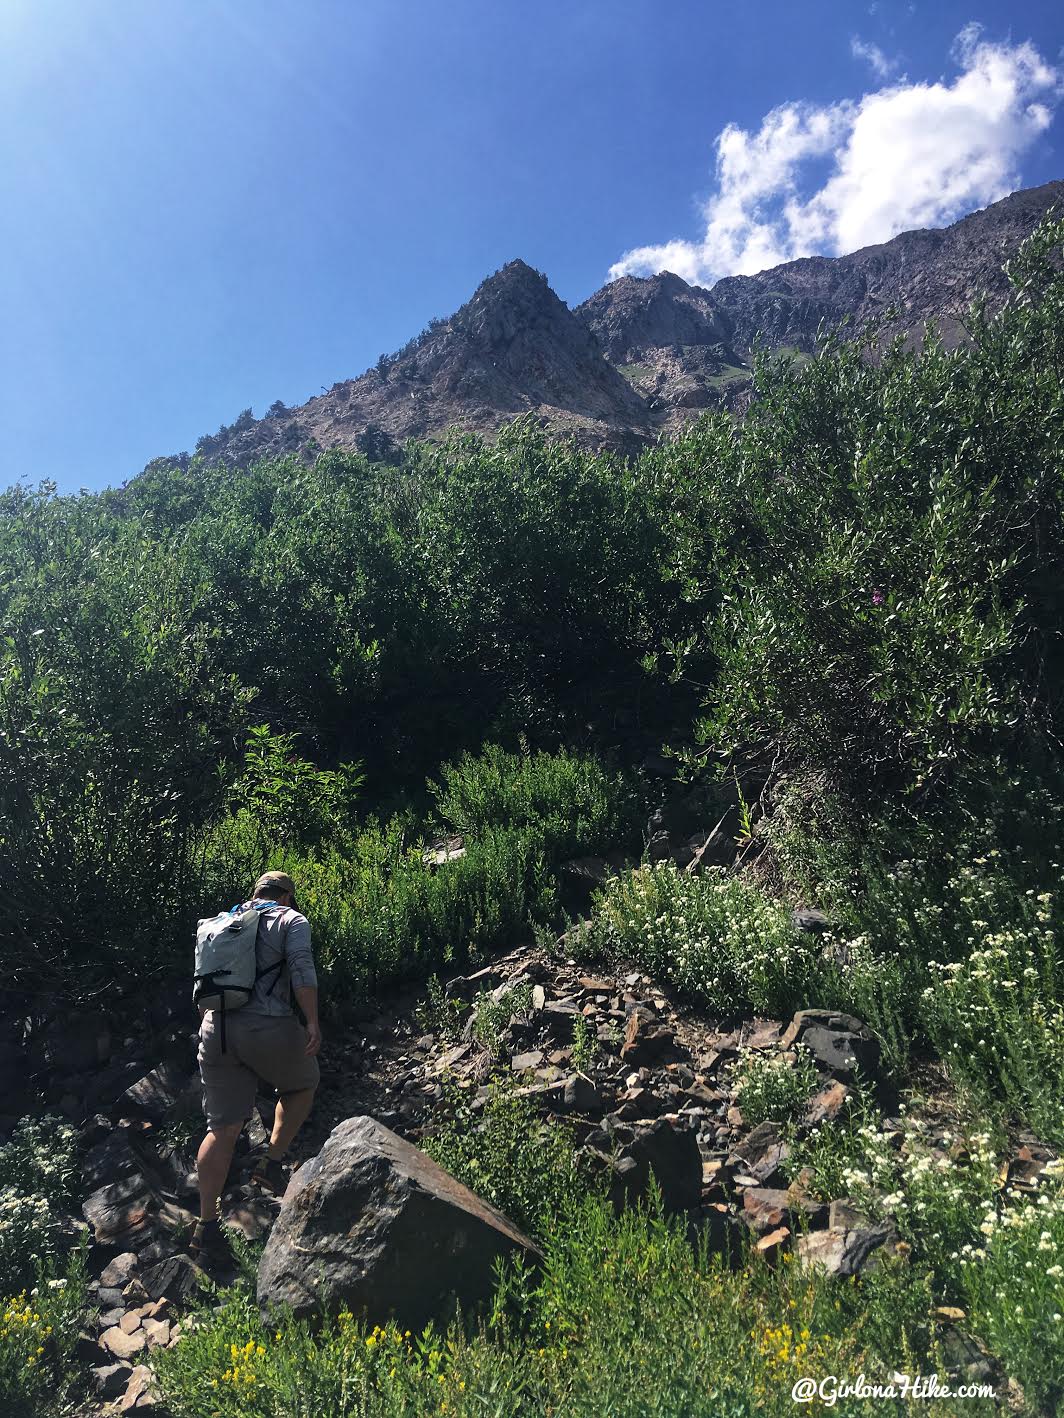
Starting the Scramble
Follow the faint “trail” as it cuts through a slope of loose shale rock. It’s easy to get off route here, and several worn paths branch off in different directions.
I think it’s absolutely essential to go with someone who knows this route. Having an experienced partner will help you stay on track and avoid sketchy terrain.
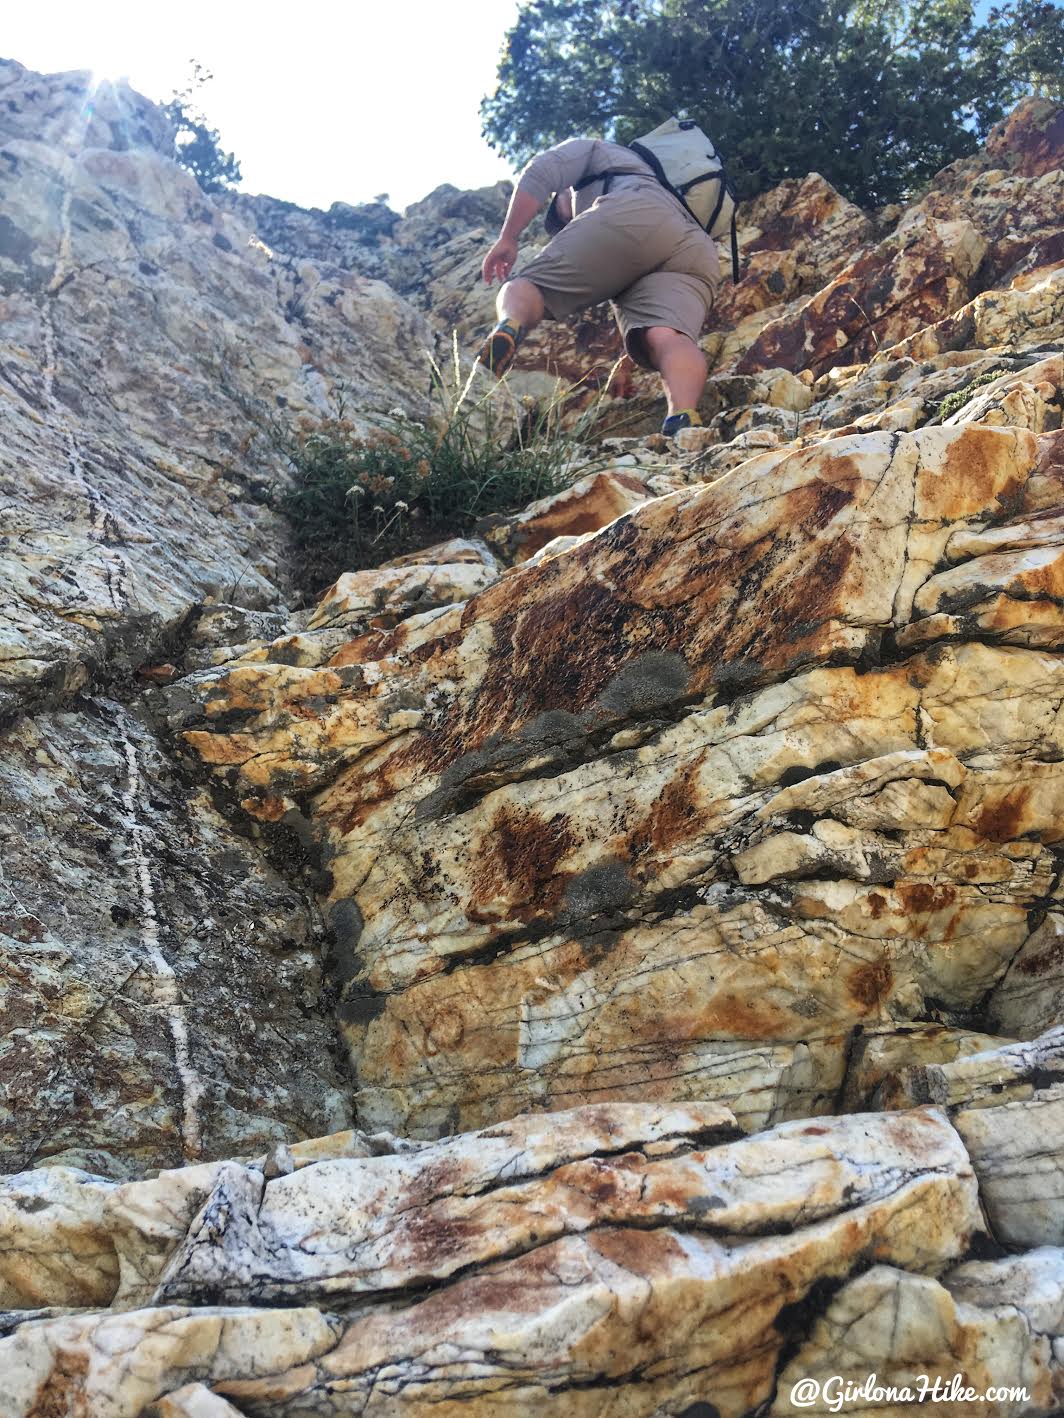
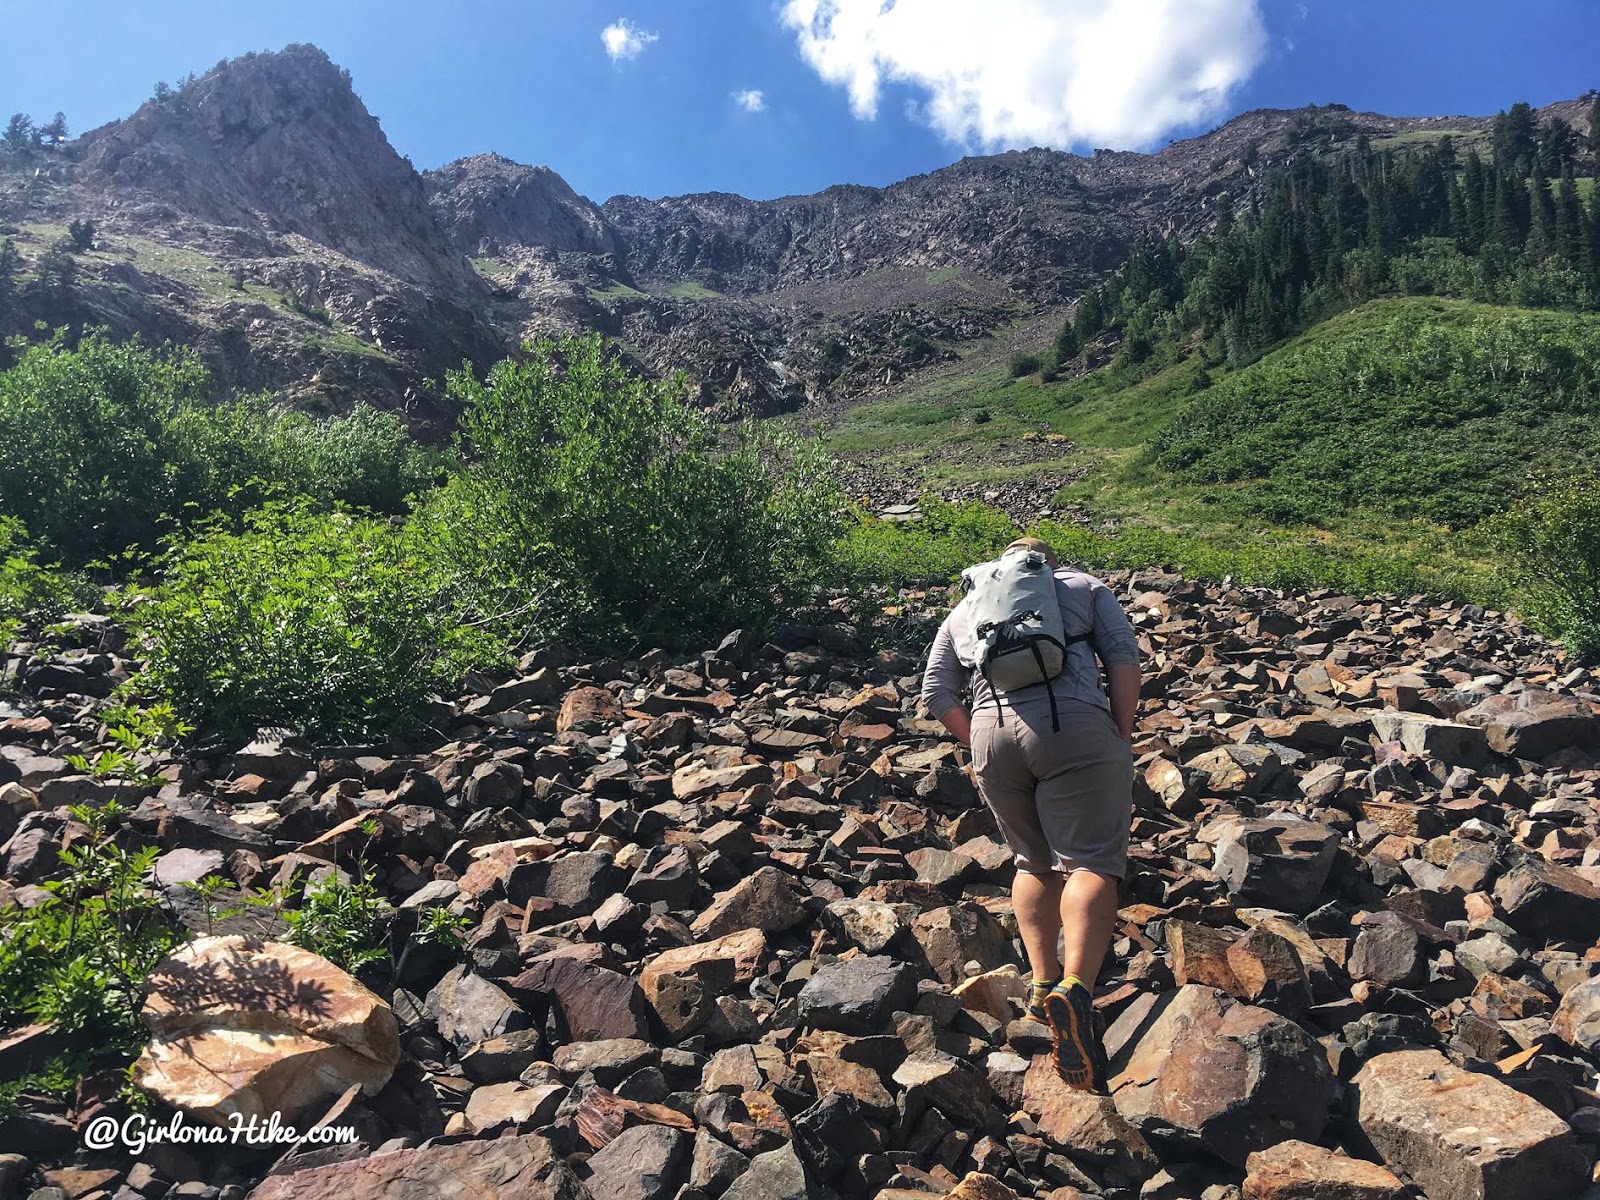
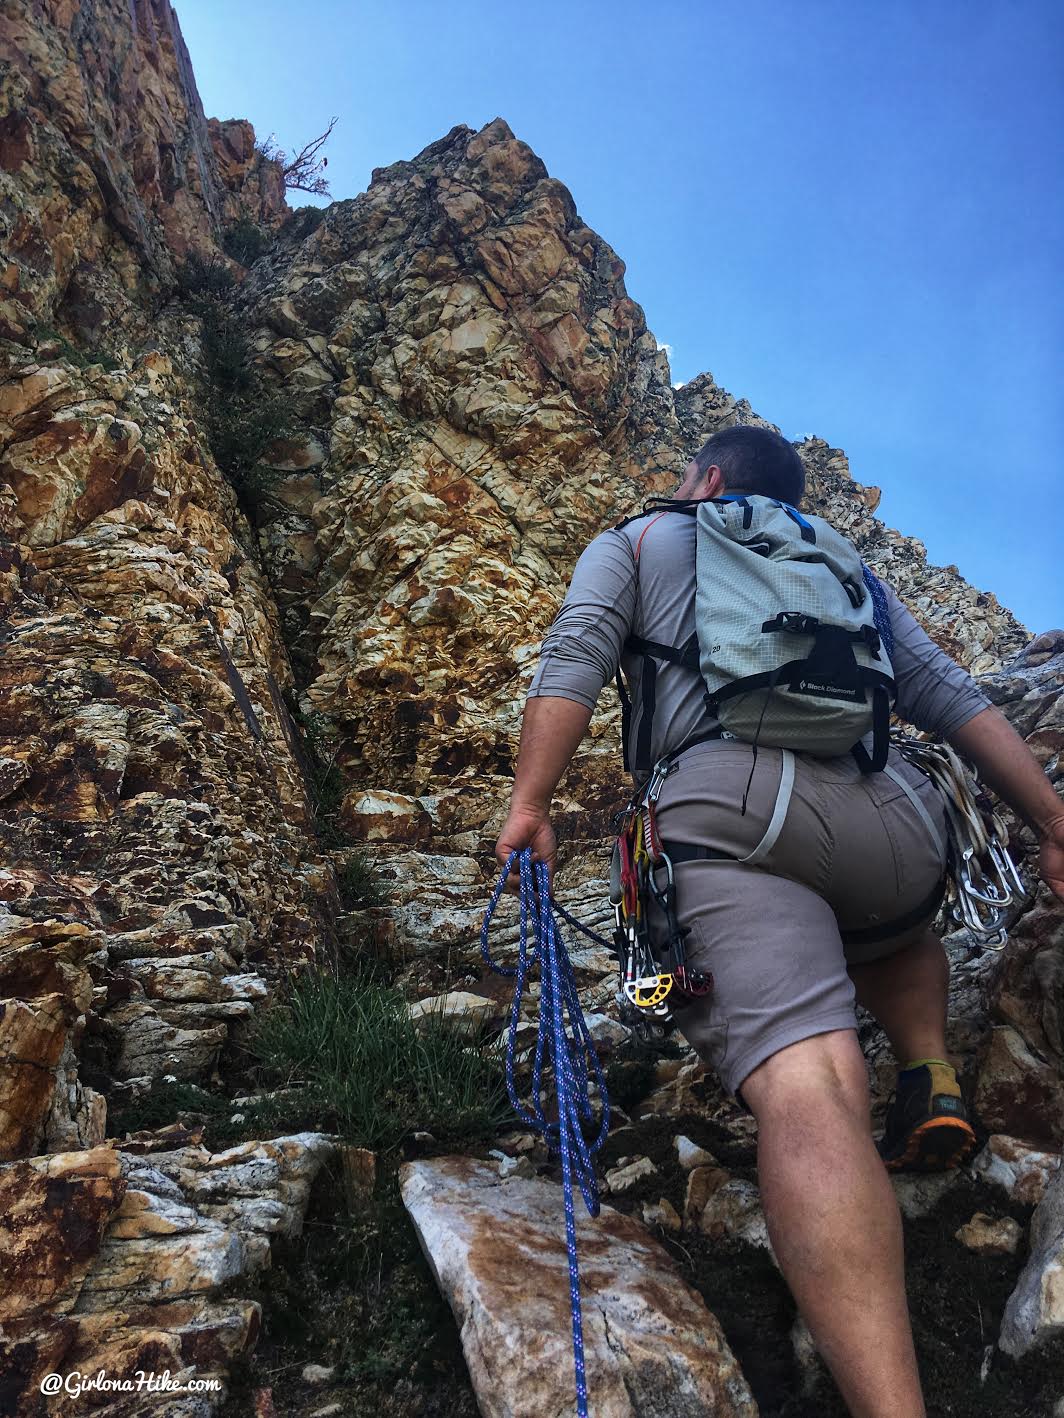
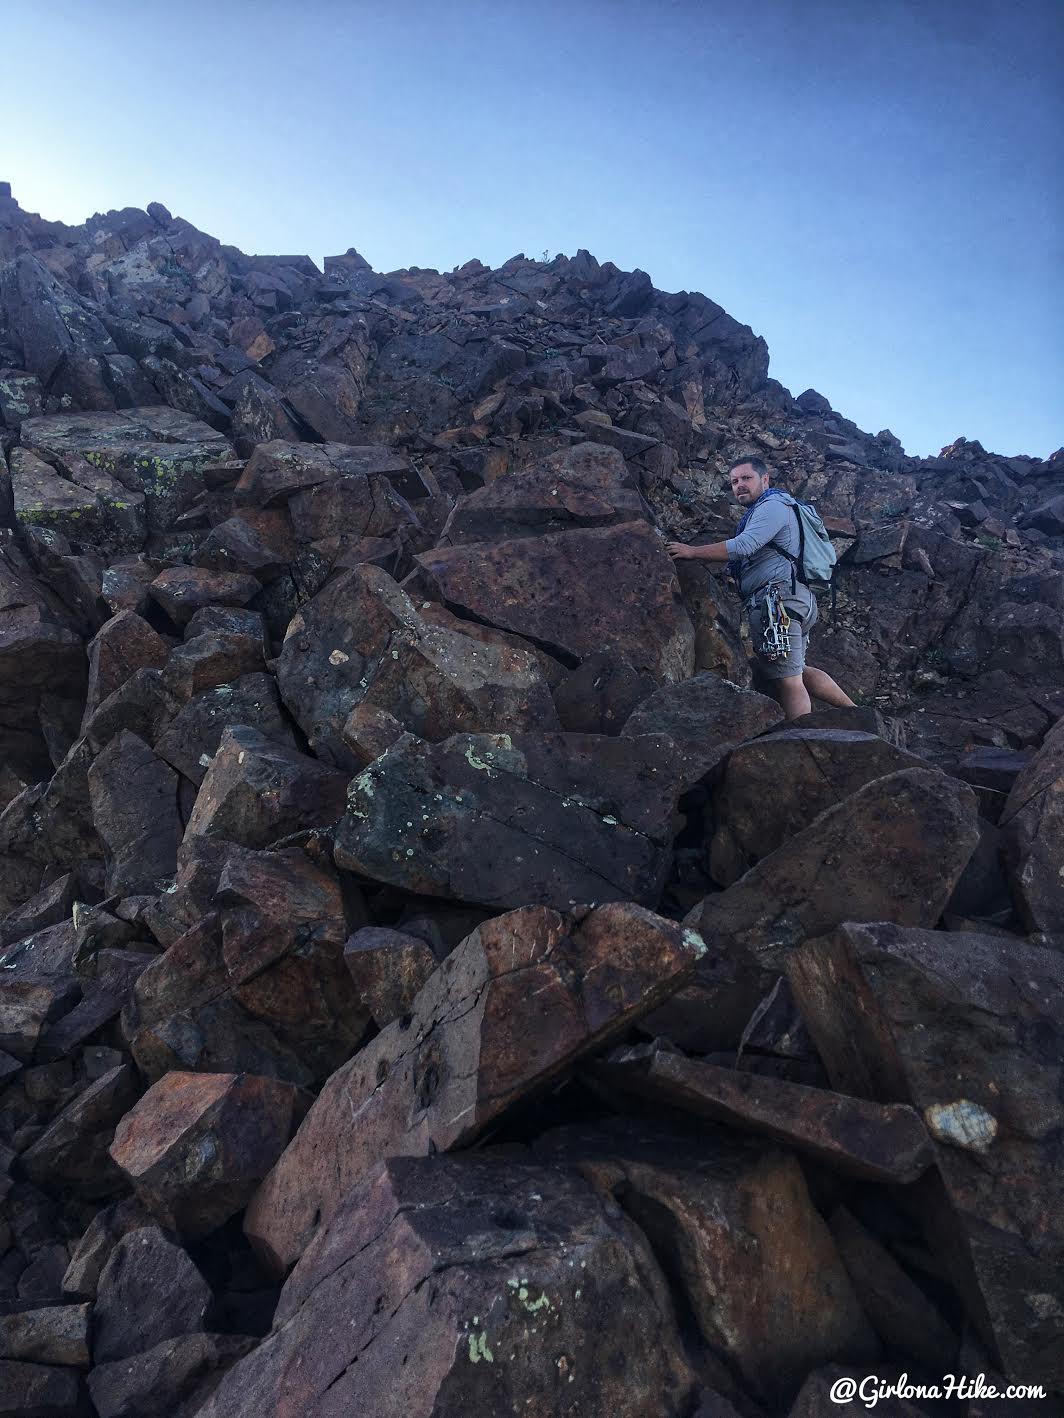
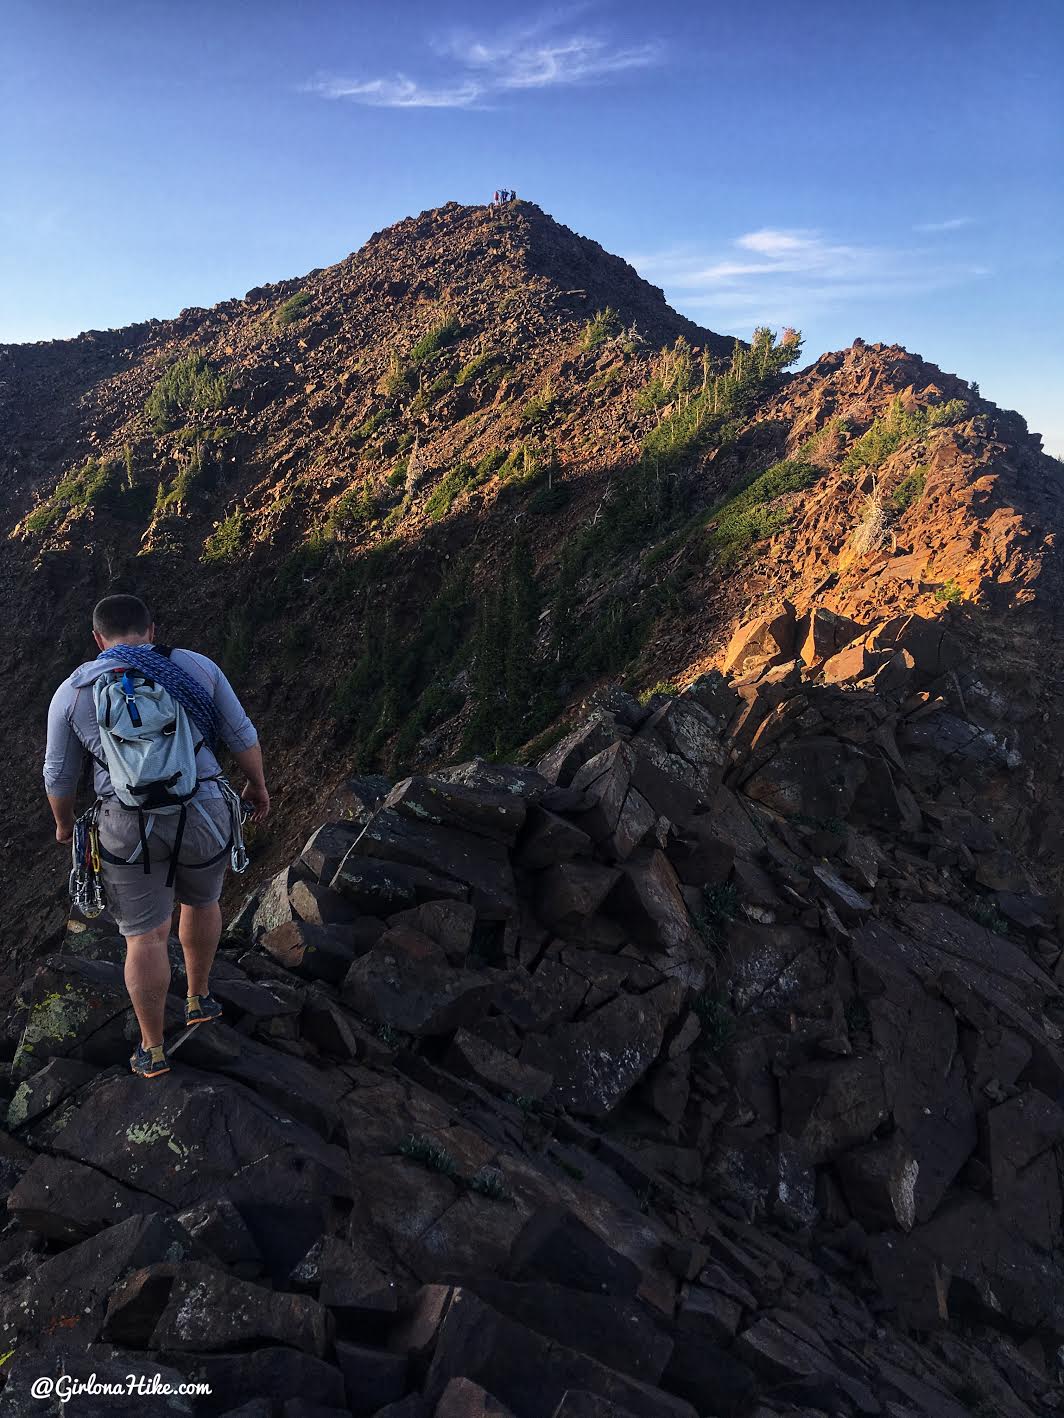
First Scramble Section
After about 15 minutes of hiking up the shale, we reached our first scrambling section.
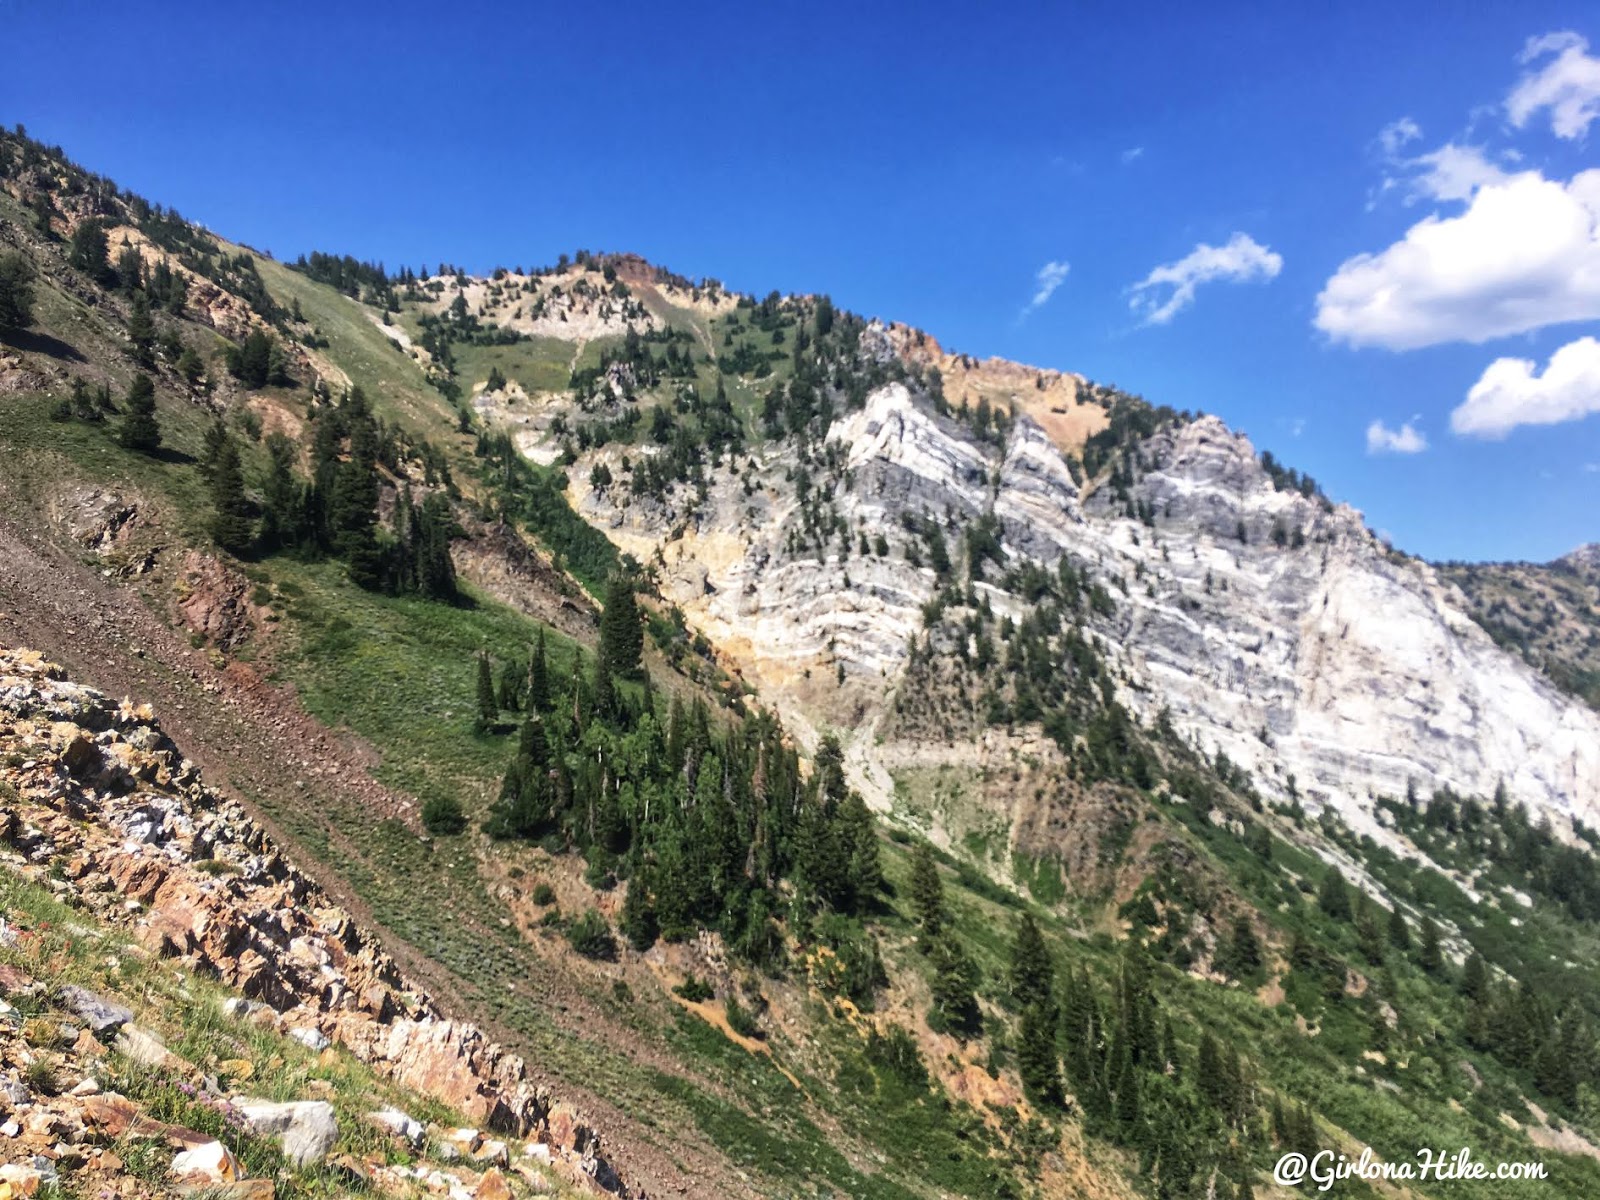
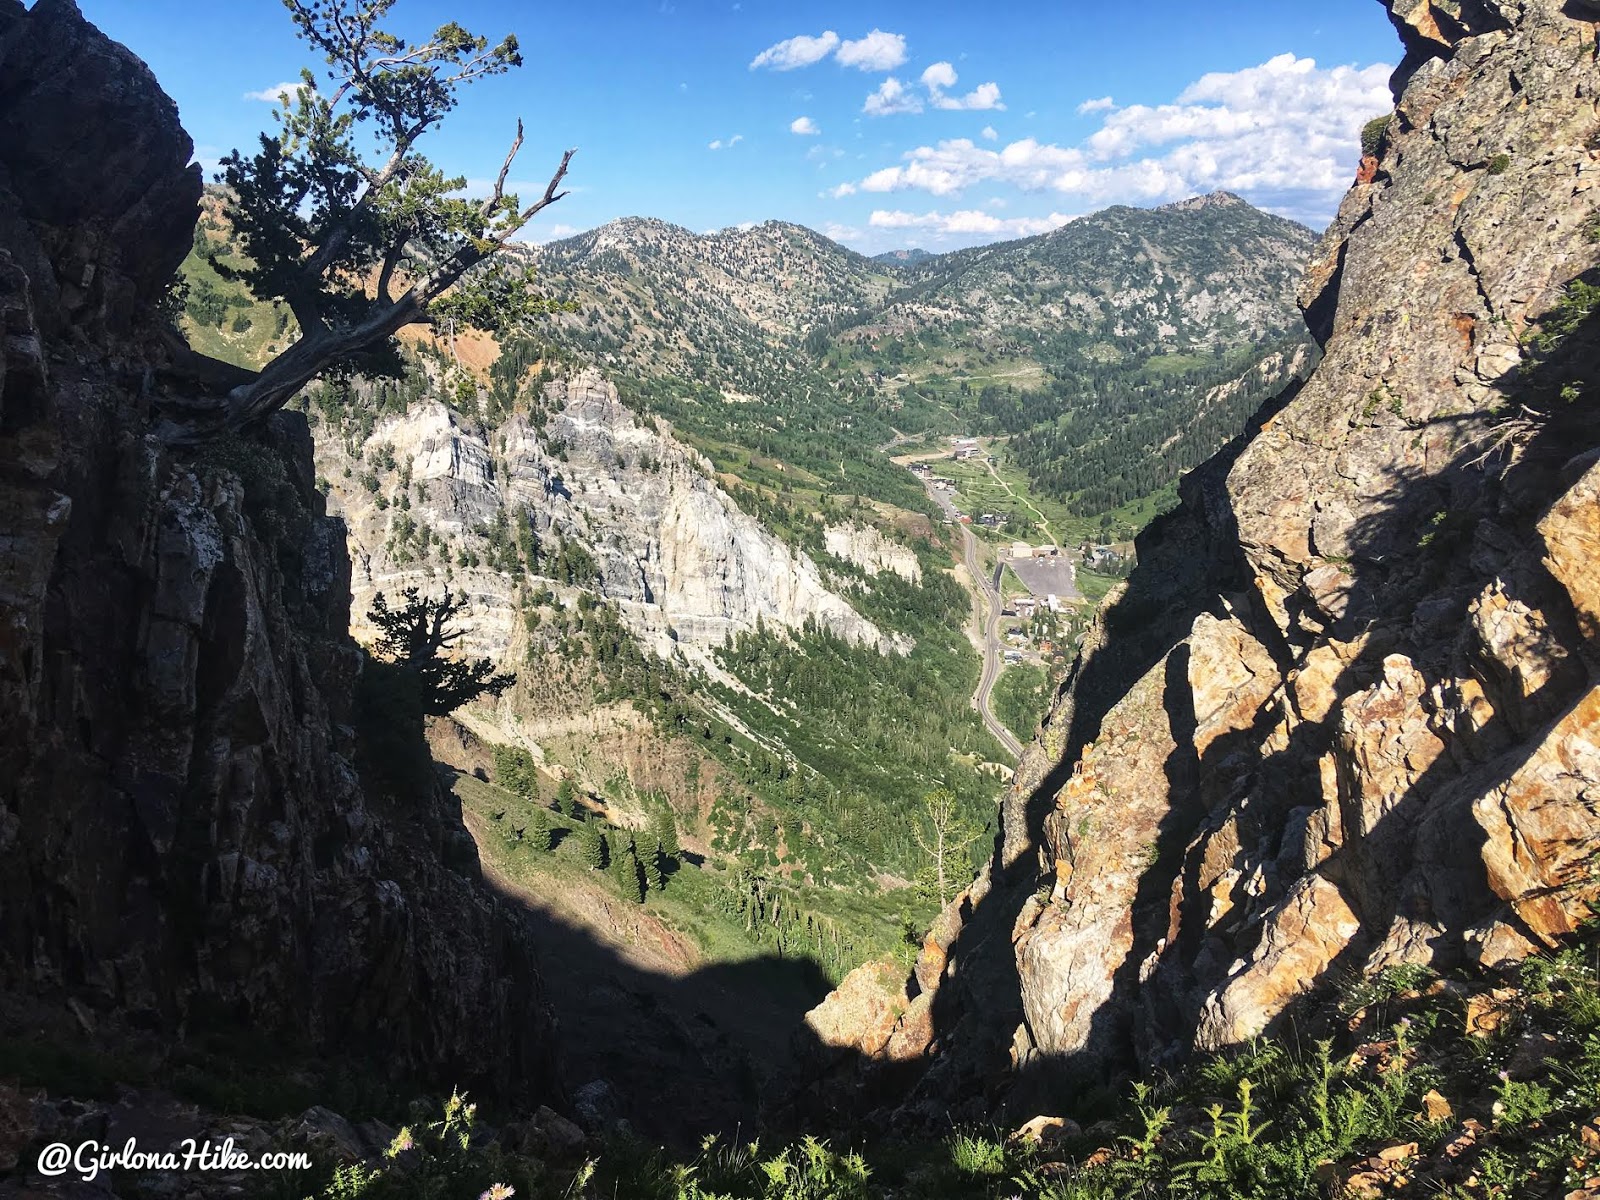
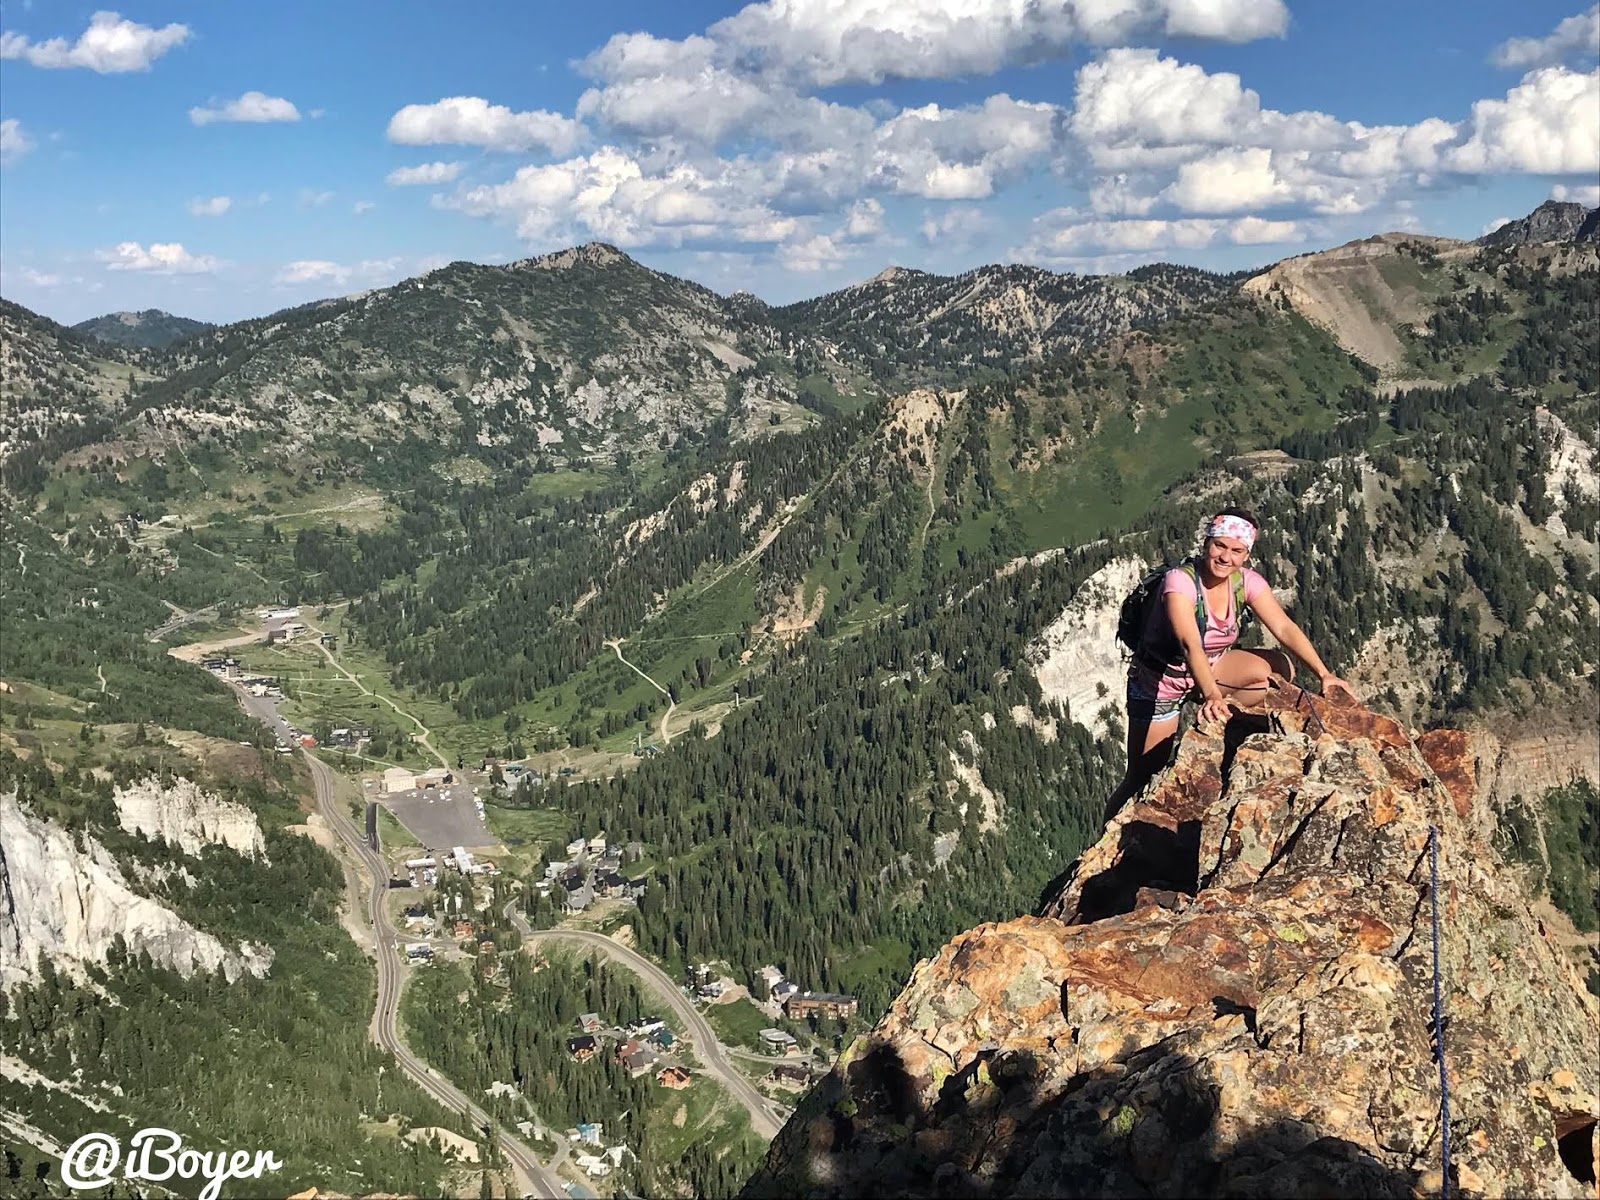
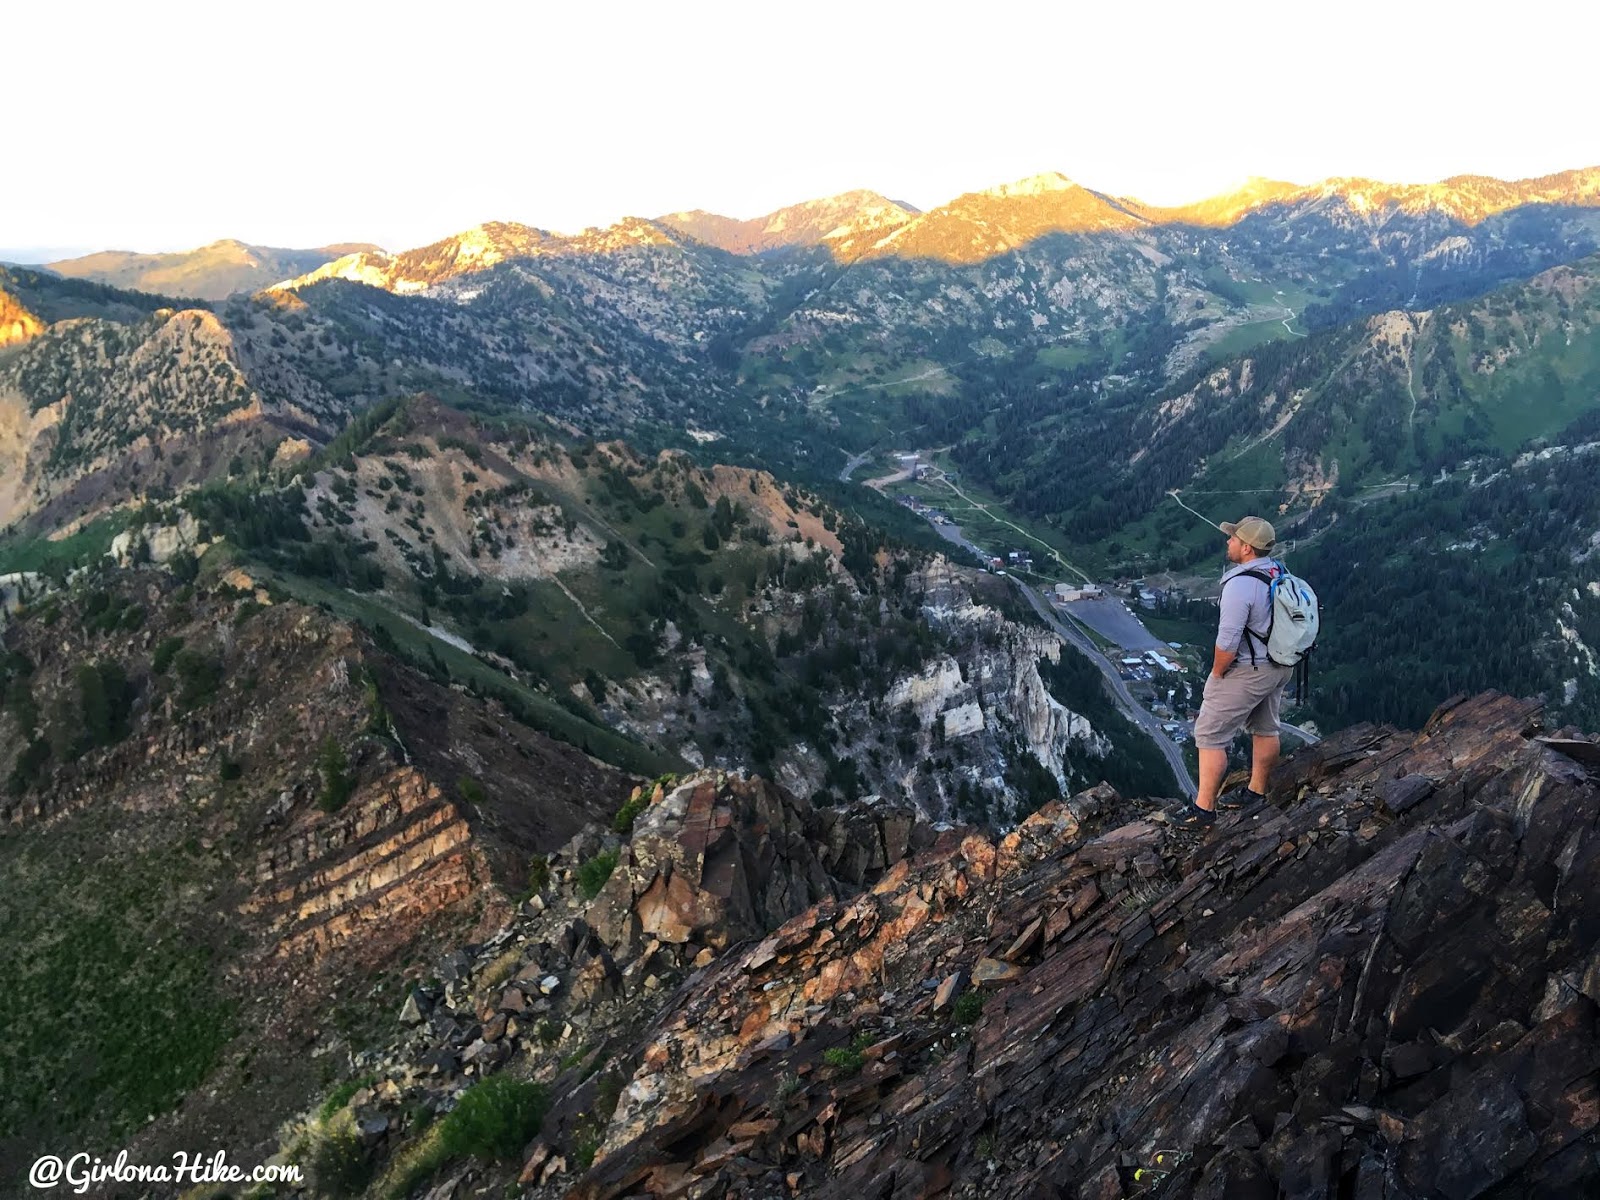
The higher you climb, the better the views get. Be sure to stop and take it all in!
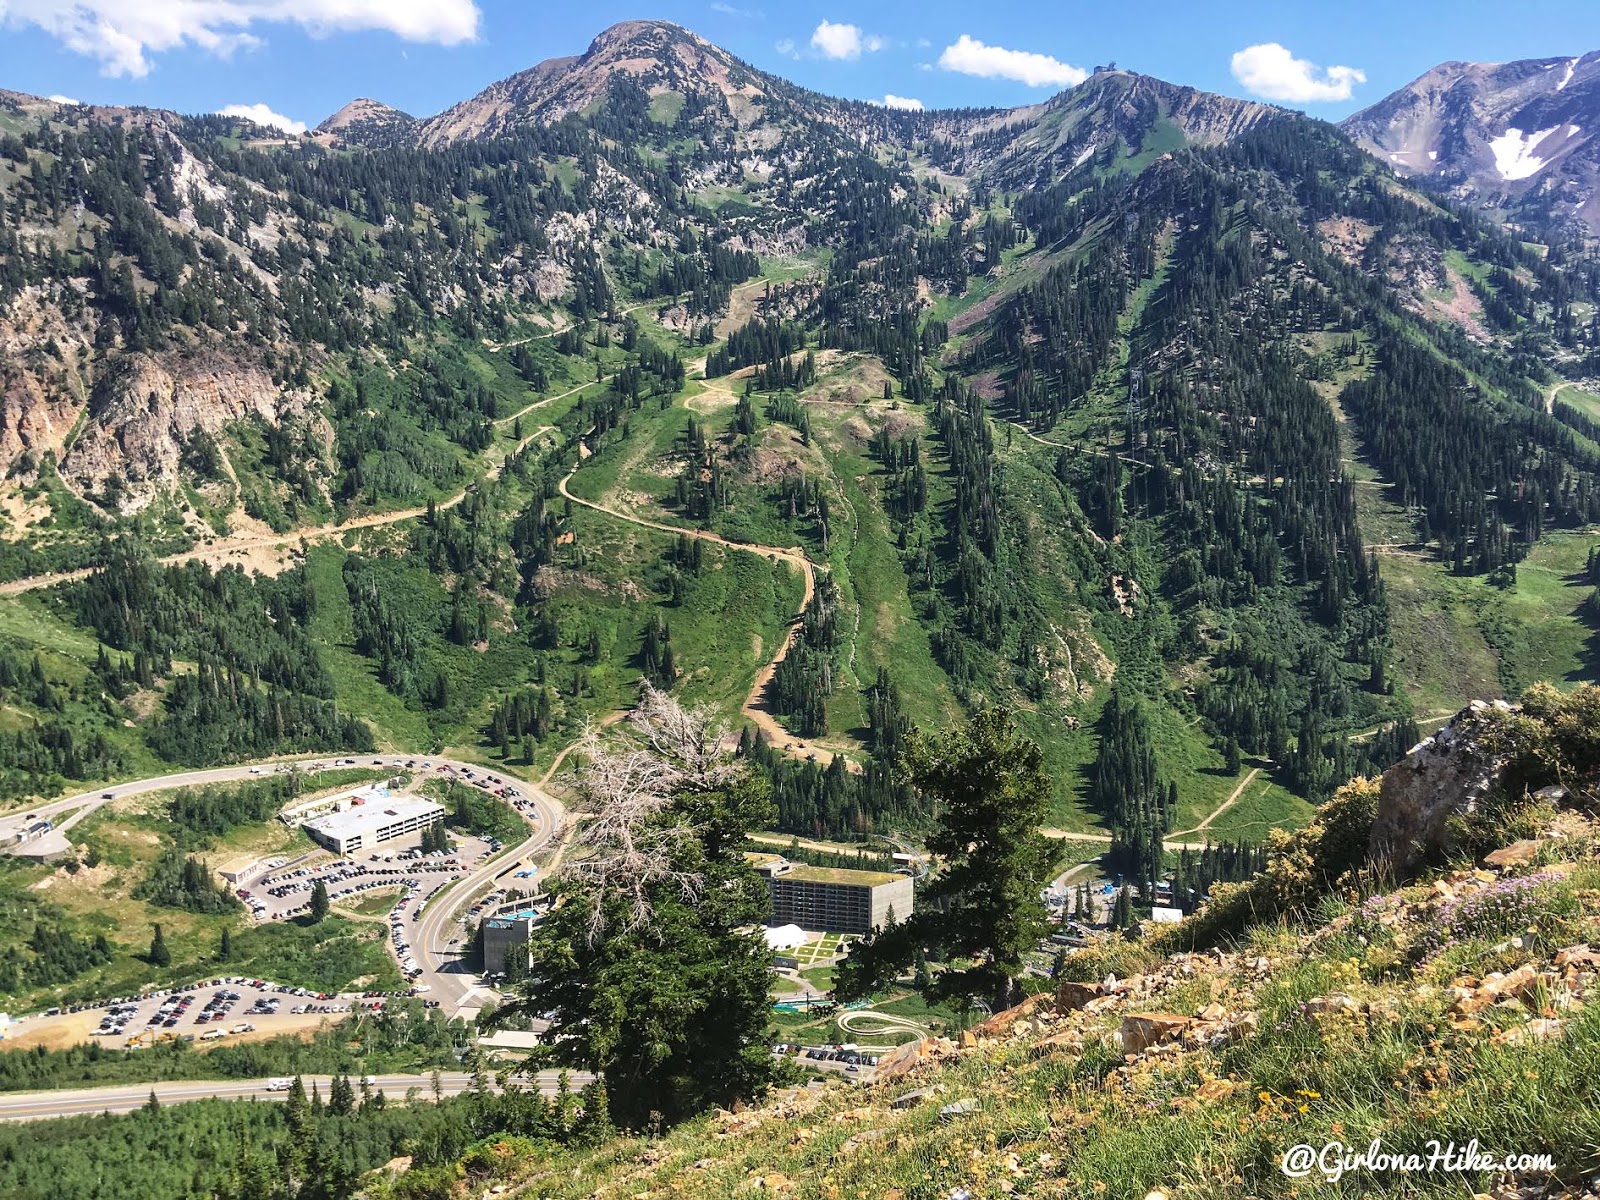
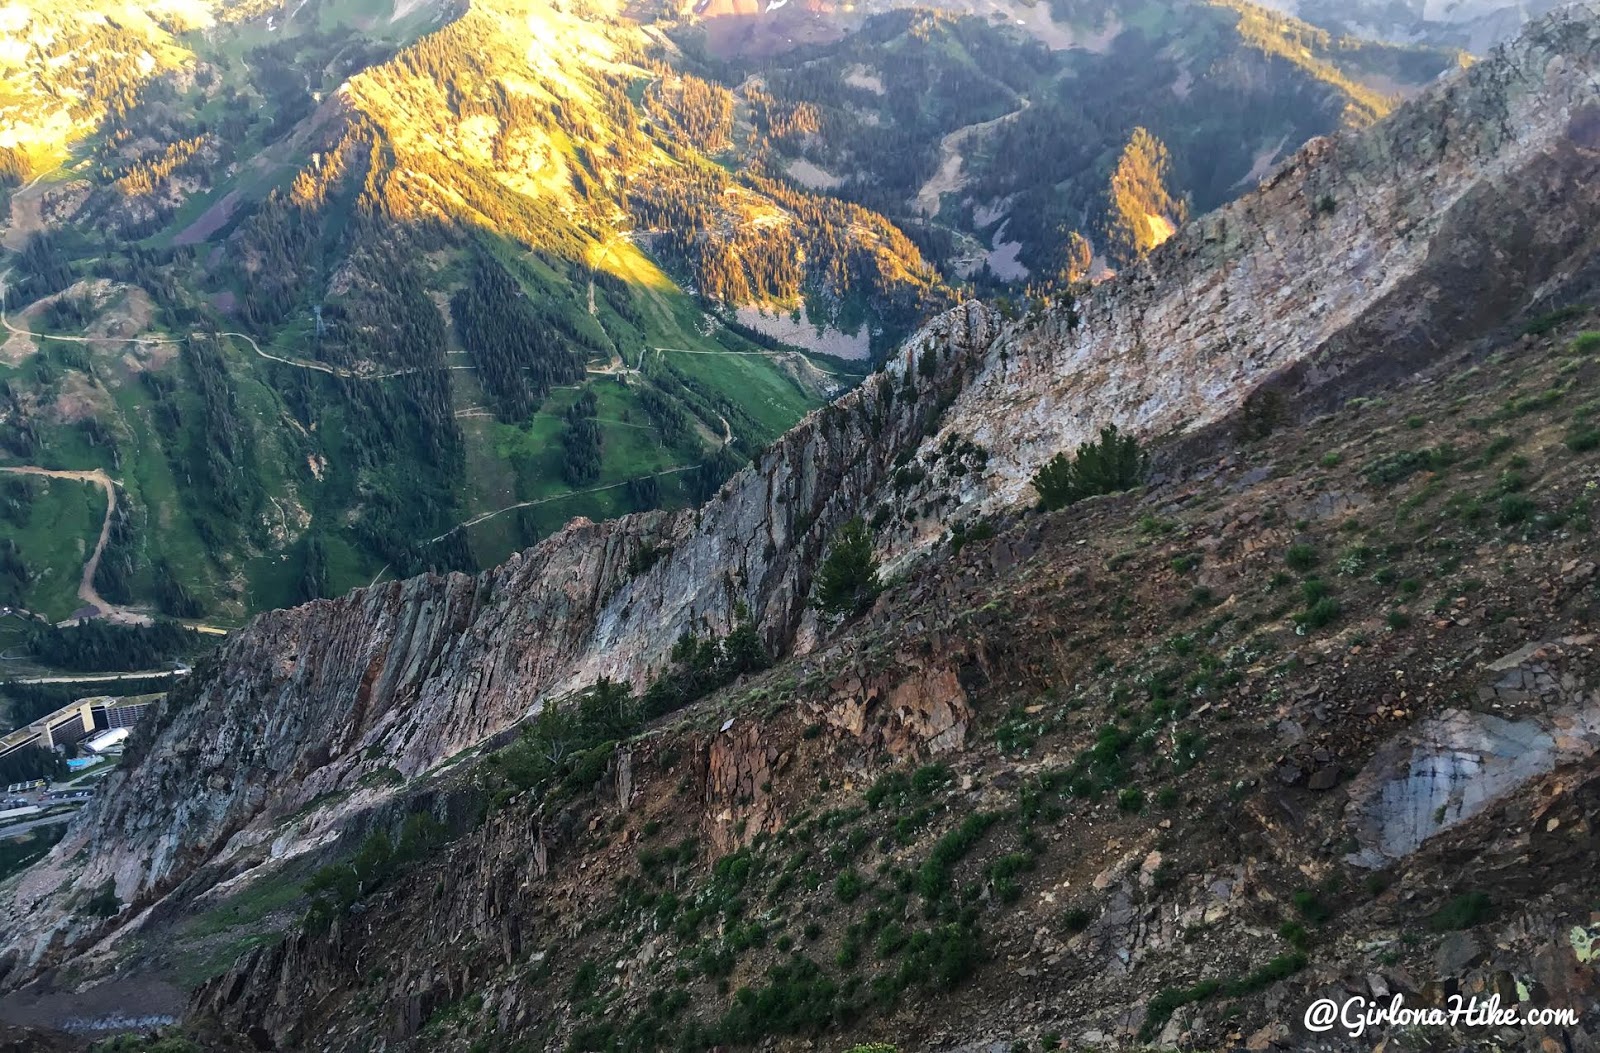
Looking back, you get a great view of Snowbird Resort below.
Reality Check: It’s Harder Than It Looks
I had seen many hikers post about scrambling the South Ridge without a rope—so I assumed I could do the same. That wasn’t the case for me. This is a trad climb – you will need a few pieces of gear plus at least a 50 ft rope.
I felt nervous and frustrated. Even though I bag peaks nearly every weekend, I needed the extra security of a rope and harness to feel safe. It was humbling.
Unexpected Sights on the Ridge
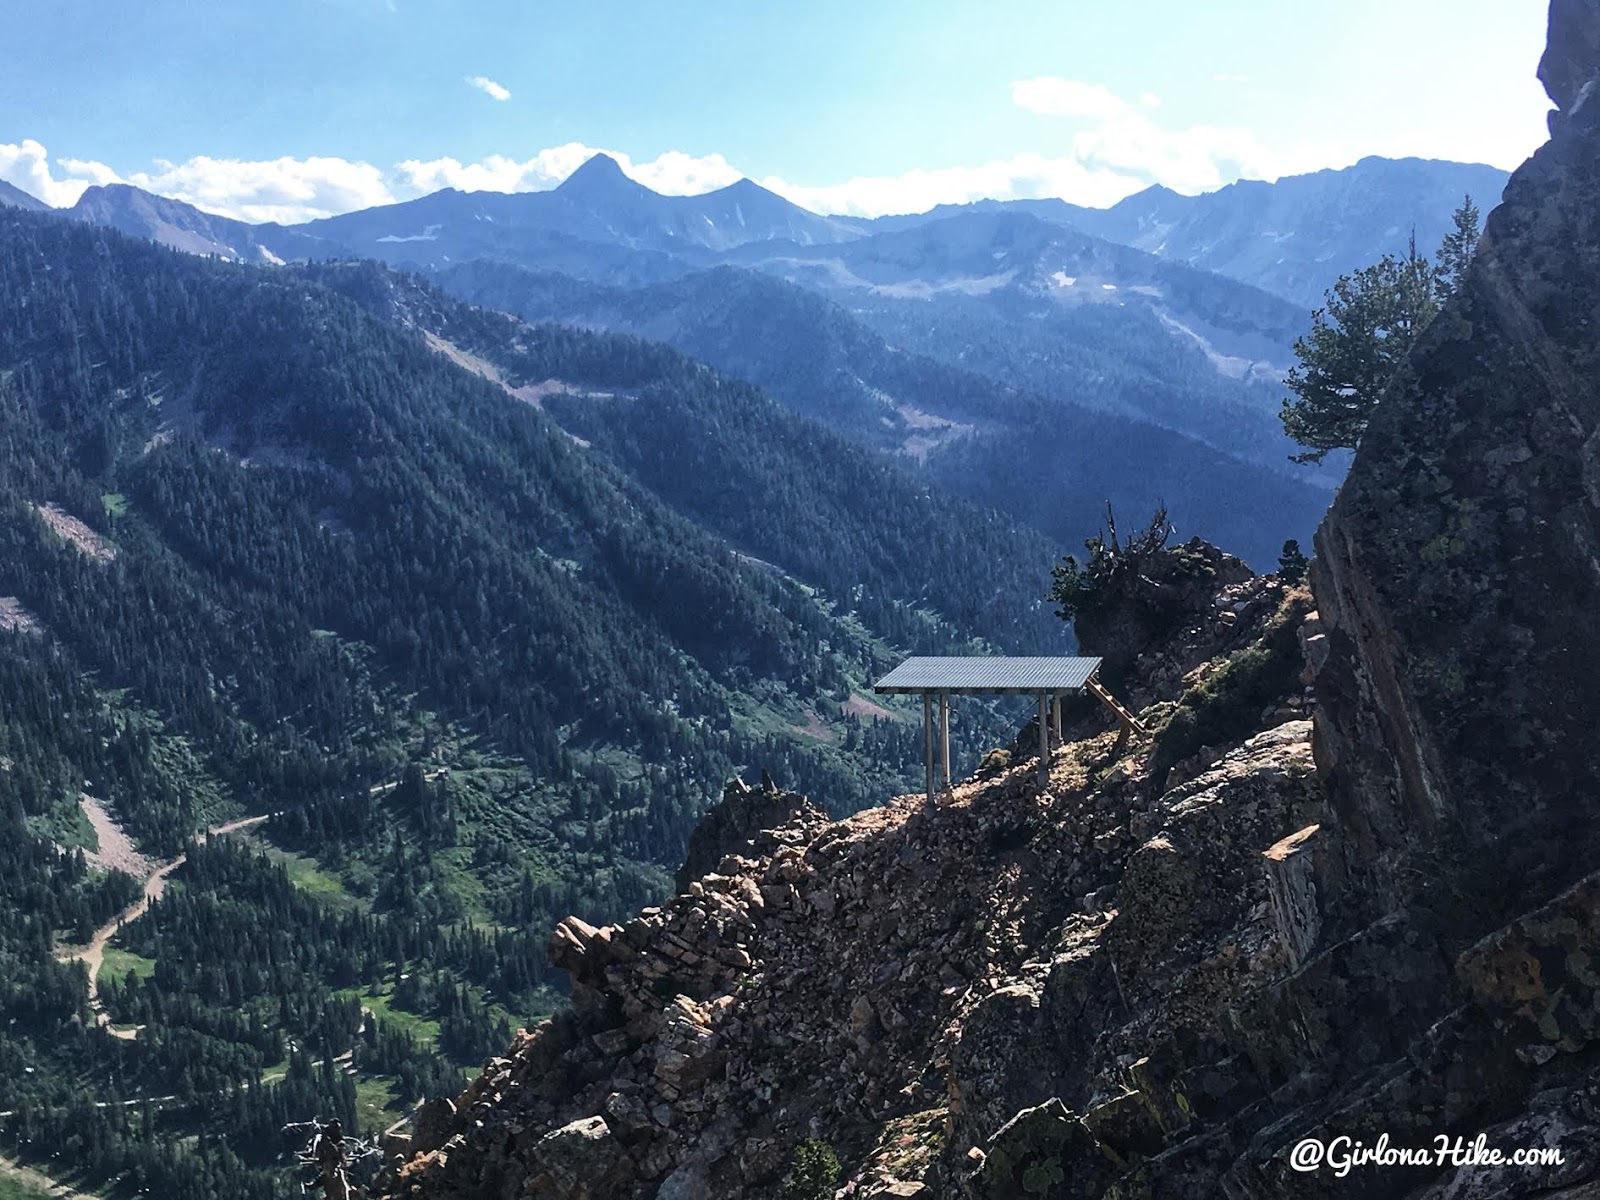
Along the way, we passed pipes and platforms sticking out of the ridge—part of avalanche control systems used in winter.
At one point, we looked down Suicide Chute, a popular backcountry skiing line.
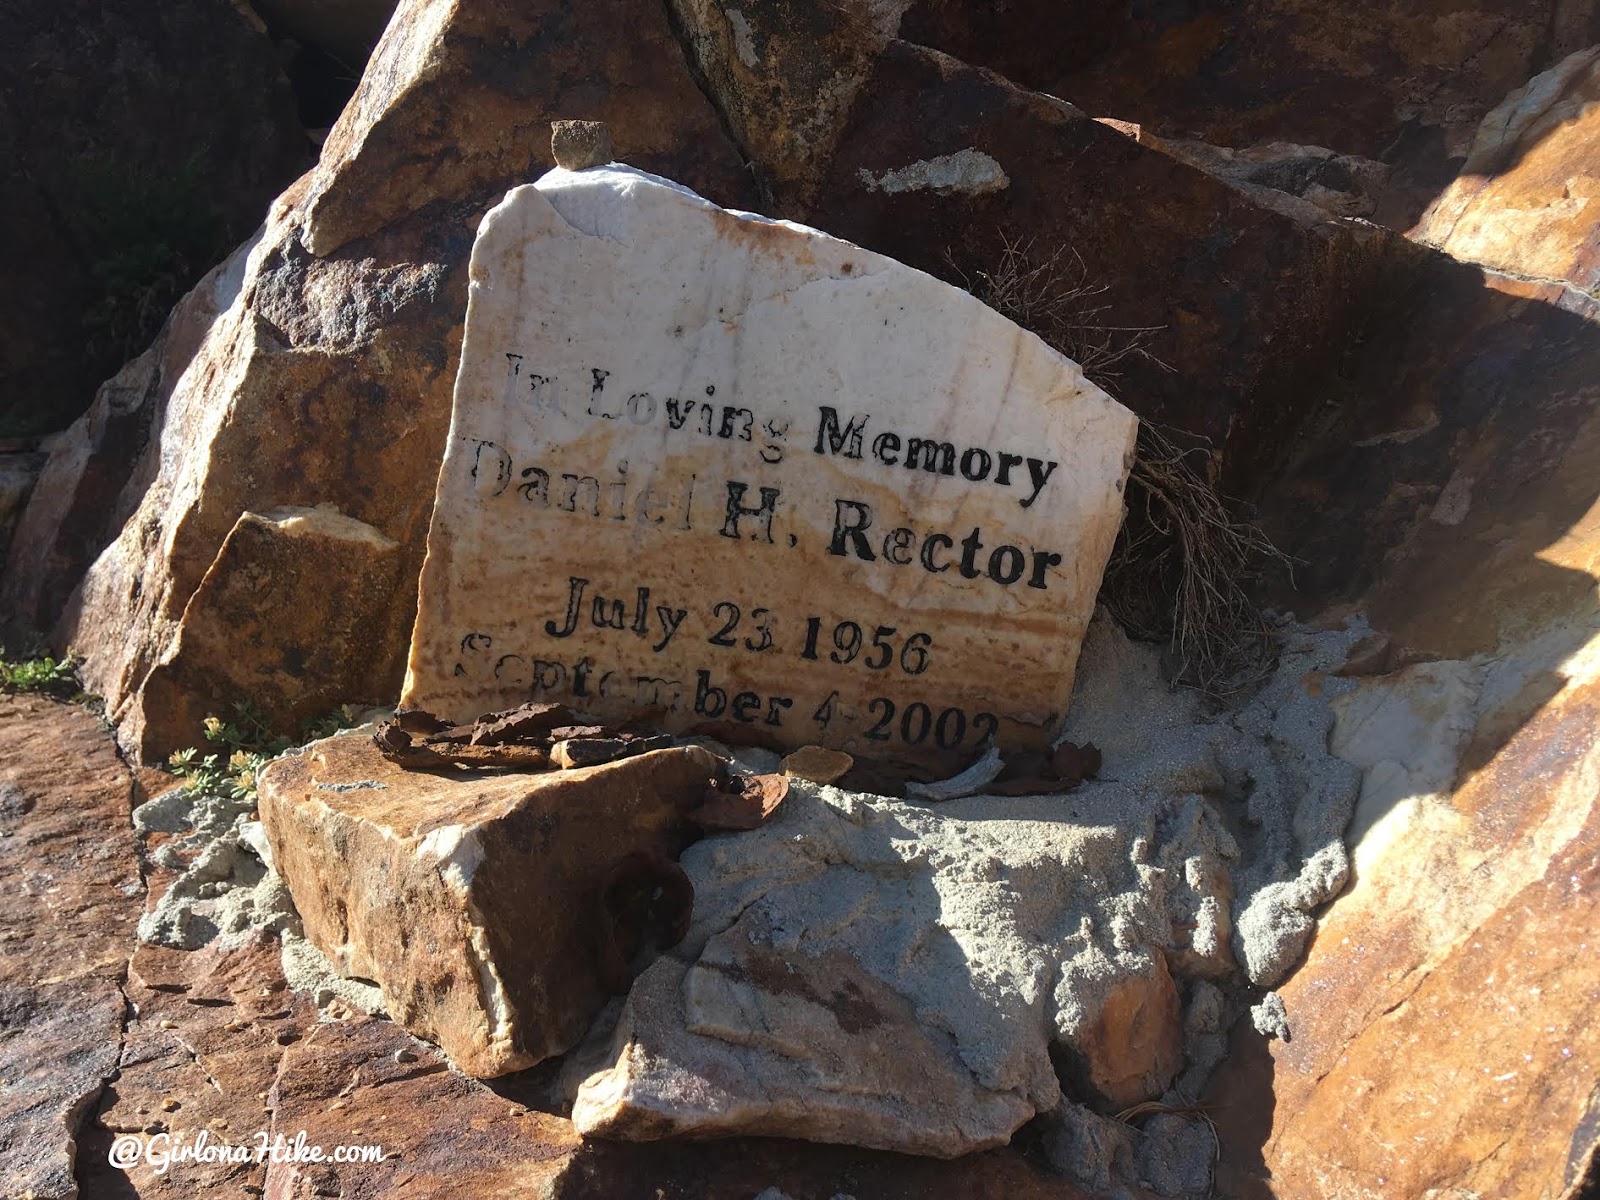
Seeing a memorial plaque here was somber—reminding us how dangerous this route can be.
Mental Challenge on the Ridge
As more experienced climbers flew past us, I had to come to terms with my own pace and limits. Safety mattered more than pride.
The exposure was intense, and I found myself battling negative self-talk. I knew my partner Ian was getting frustrated, but I was doing my best to push through.
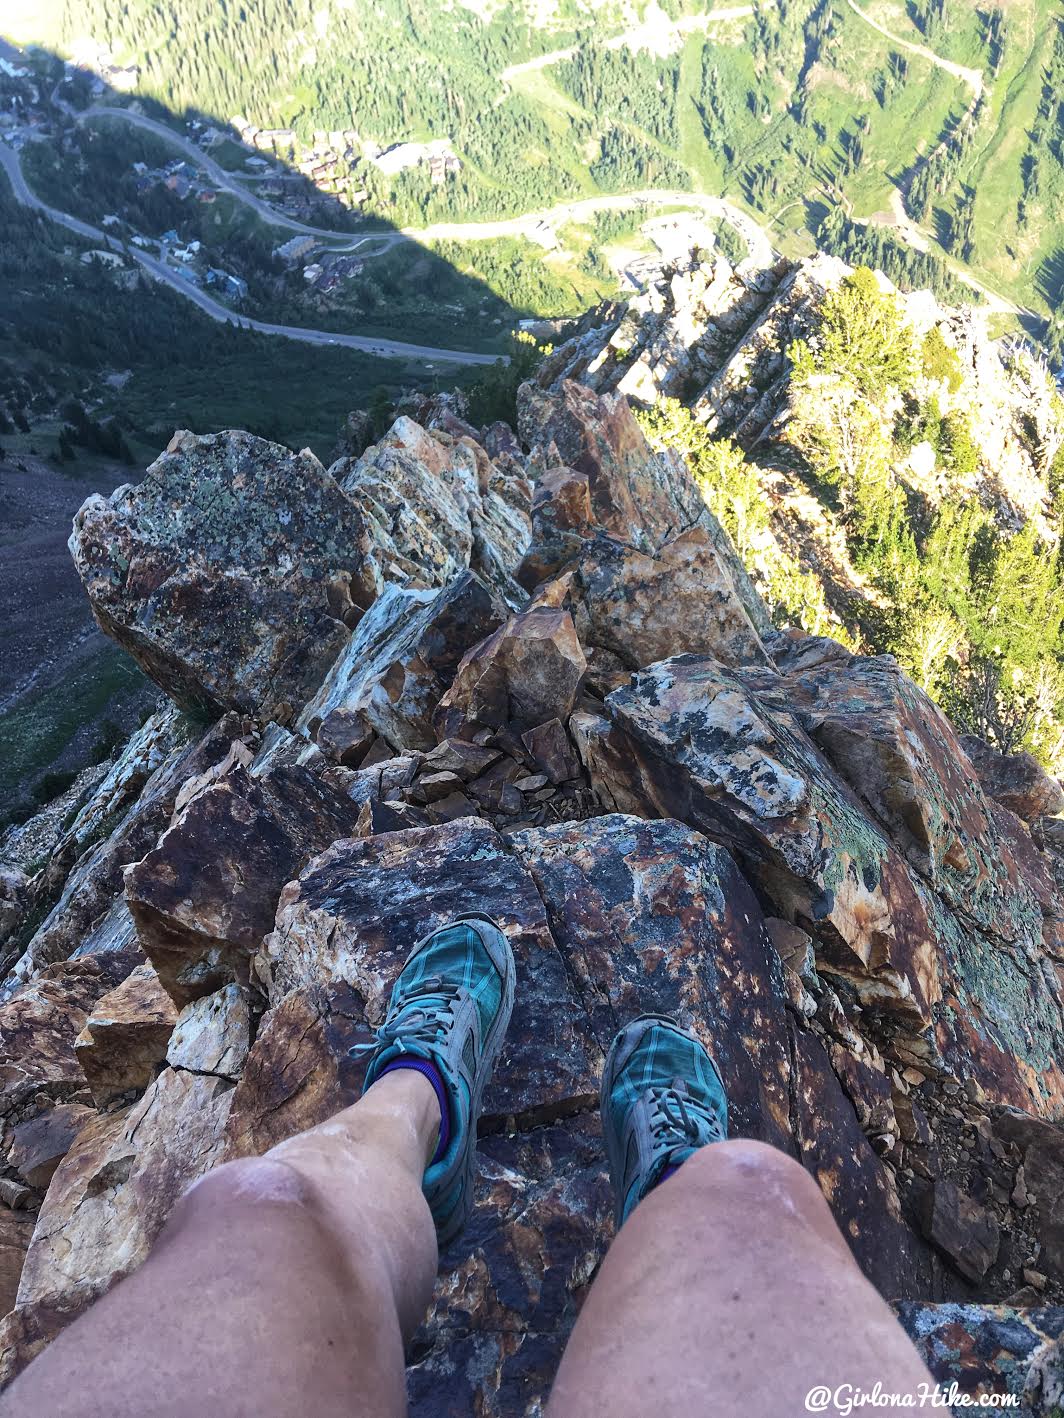
We took lots of breaks—the ridge narrowed to just 3 feet across at times.
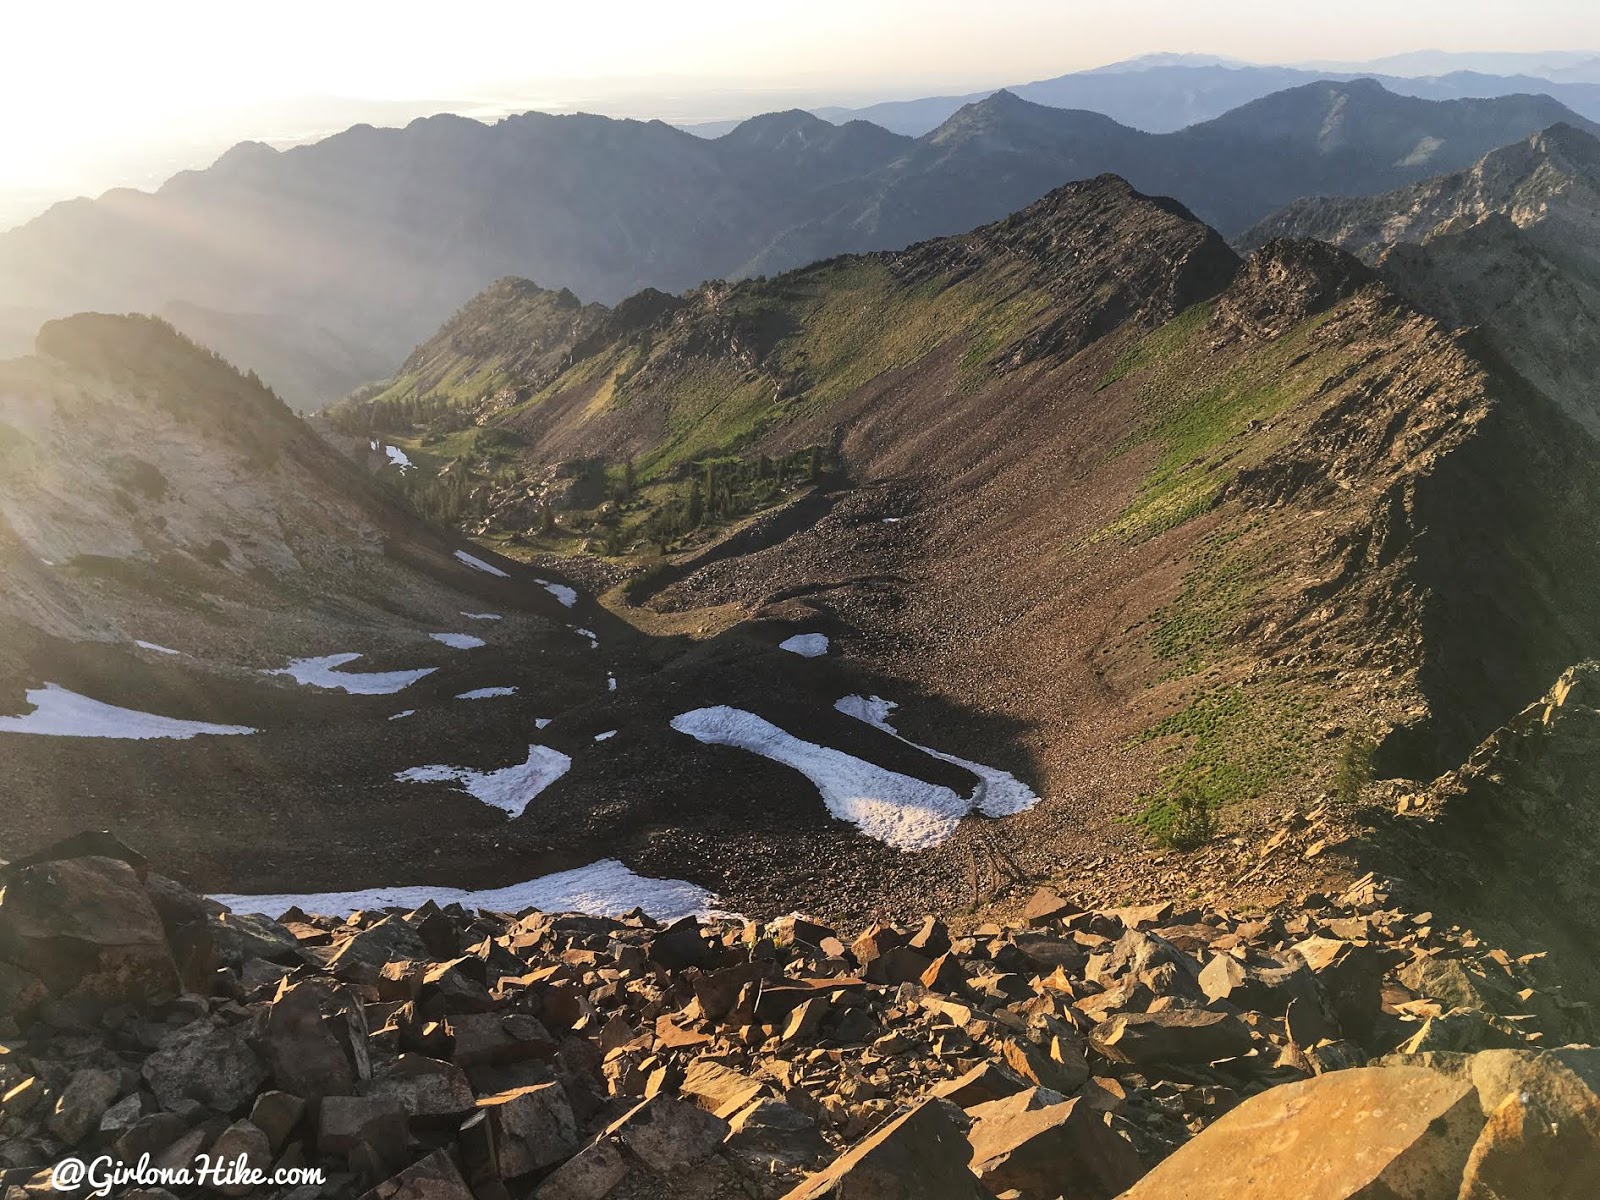
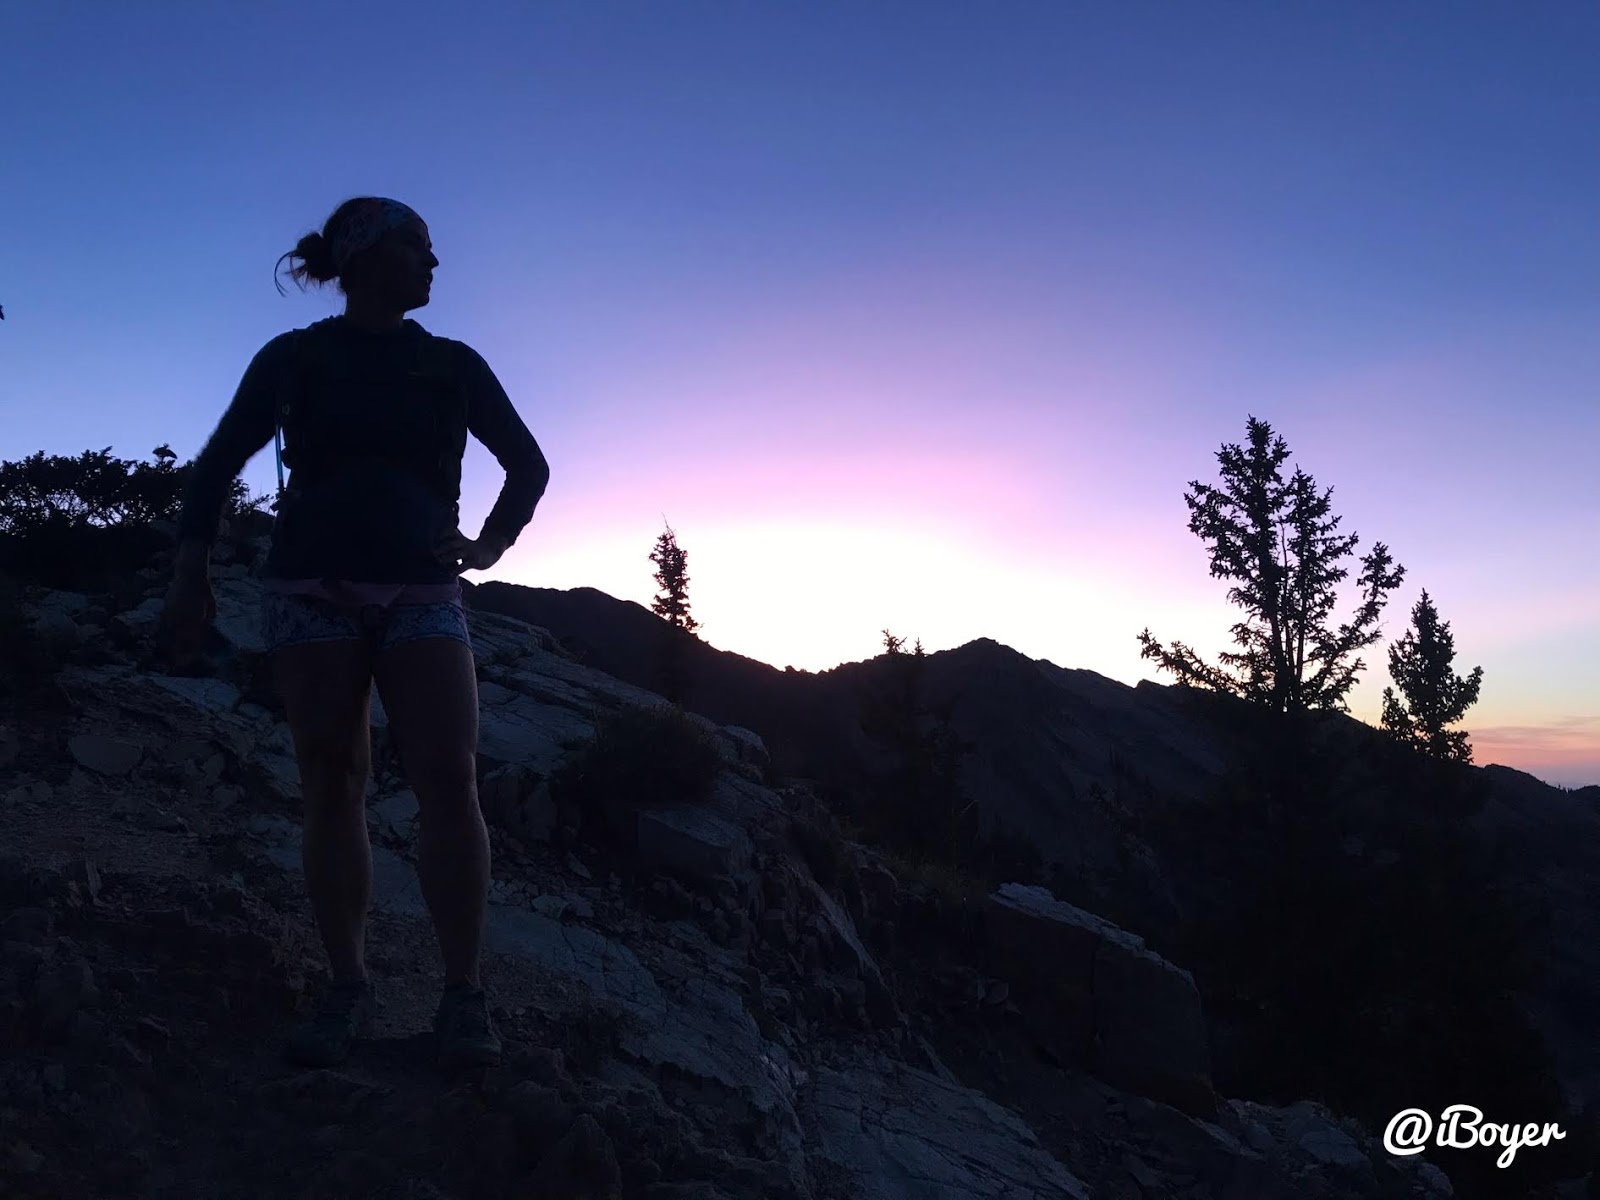
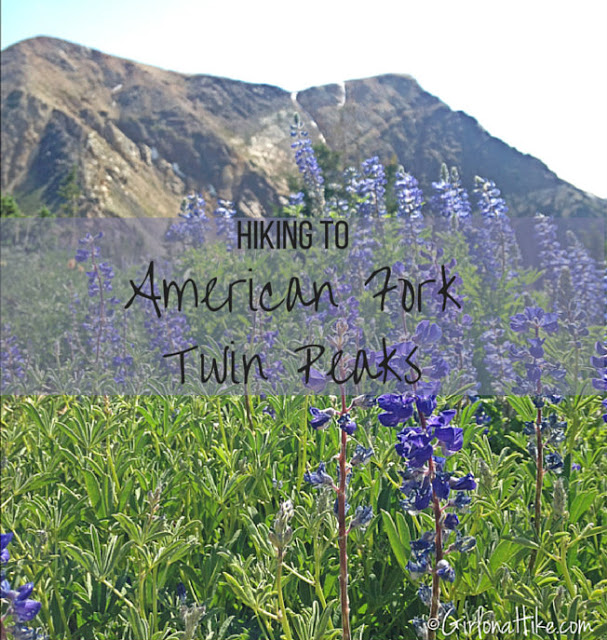
Eventually, I started to enjoy the scenery again. The sunset views of American Fork Twin Peaksgave me a boost of energy.
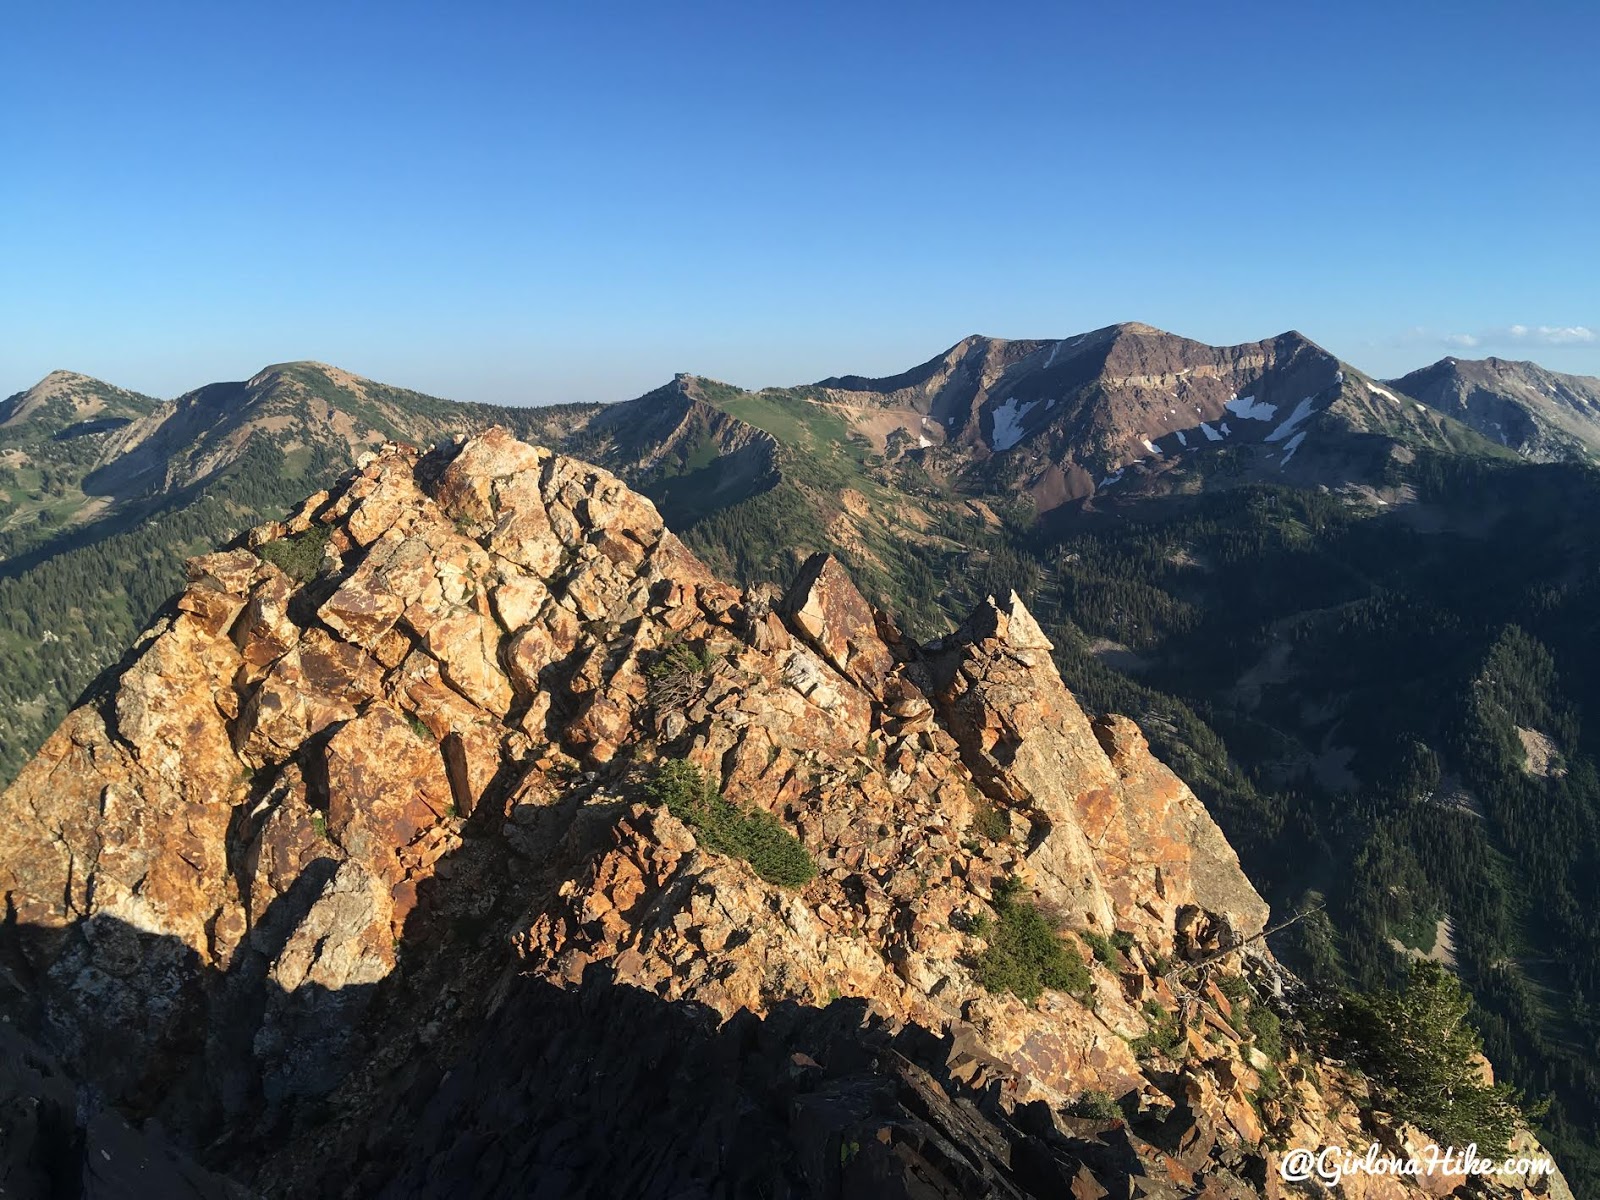
Final Push to the Summit
The rock color shifted from light brown to dark brown—signaling we were almost there. The hardest climbing was behind us.
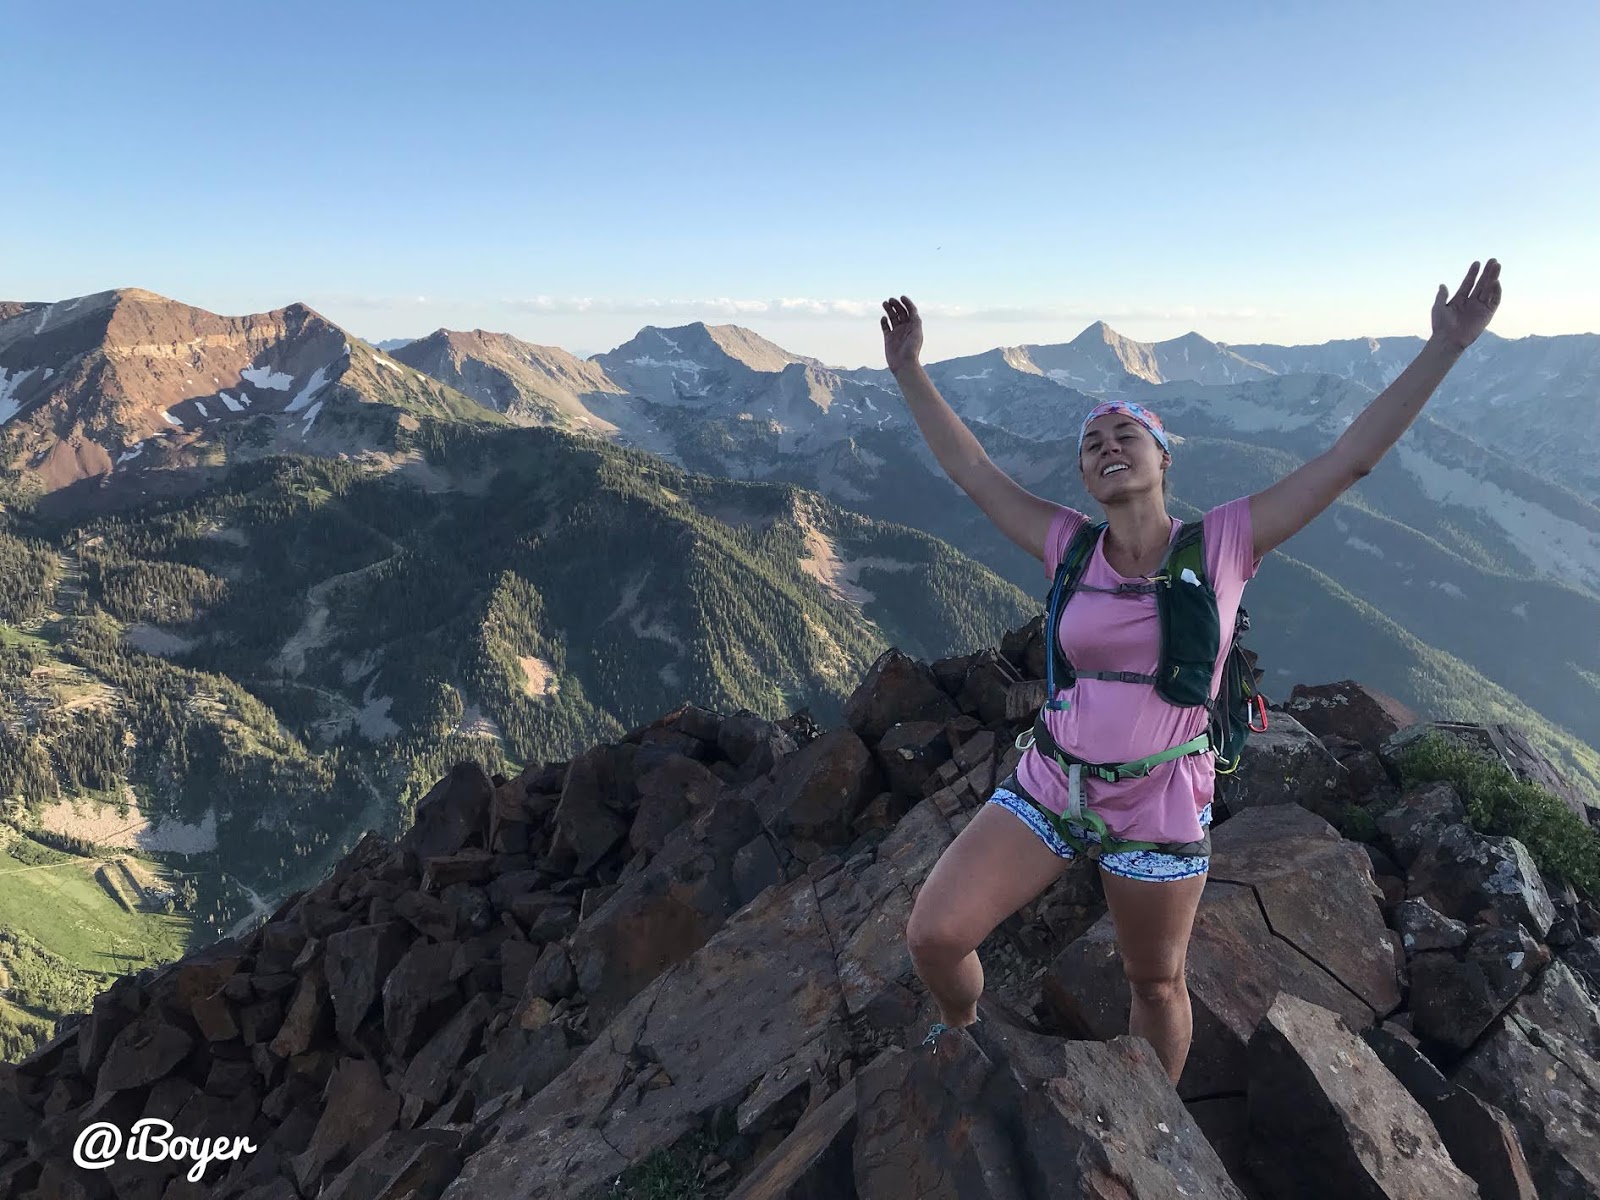
I unroped and took a moment to breathe on a flat section. Even though I was exhausted, the relief was overwhelming.
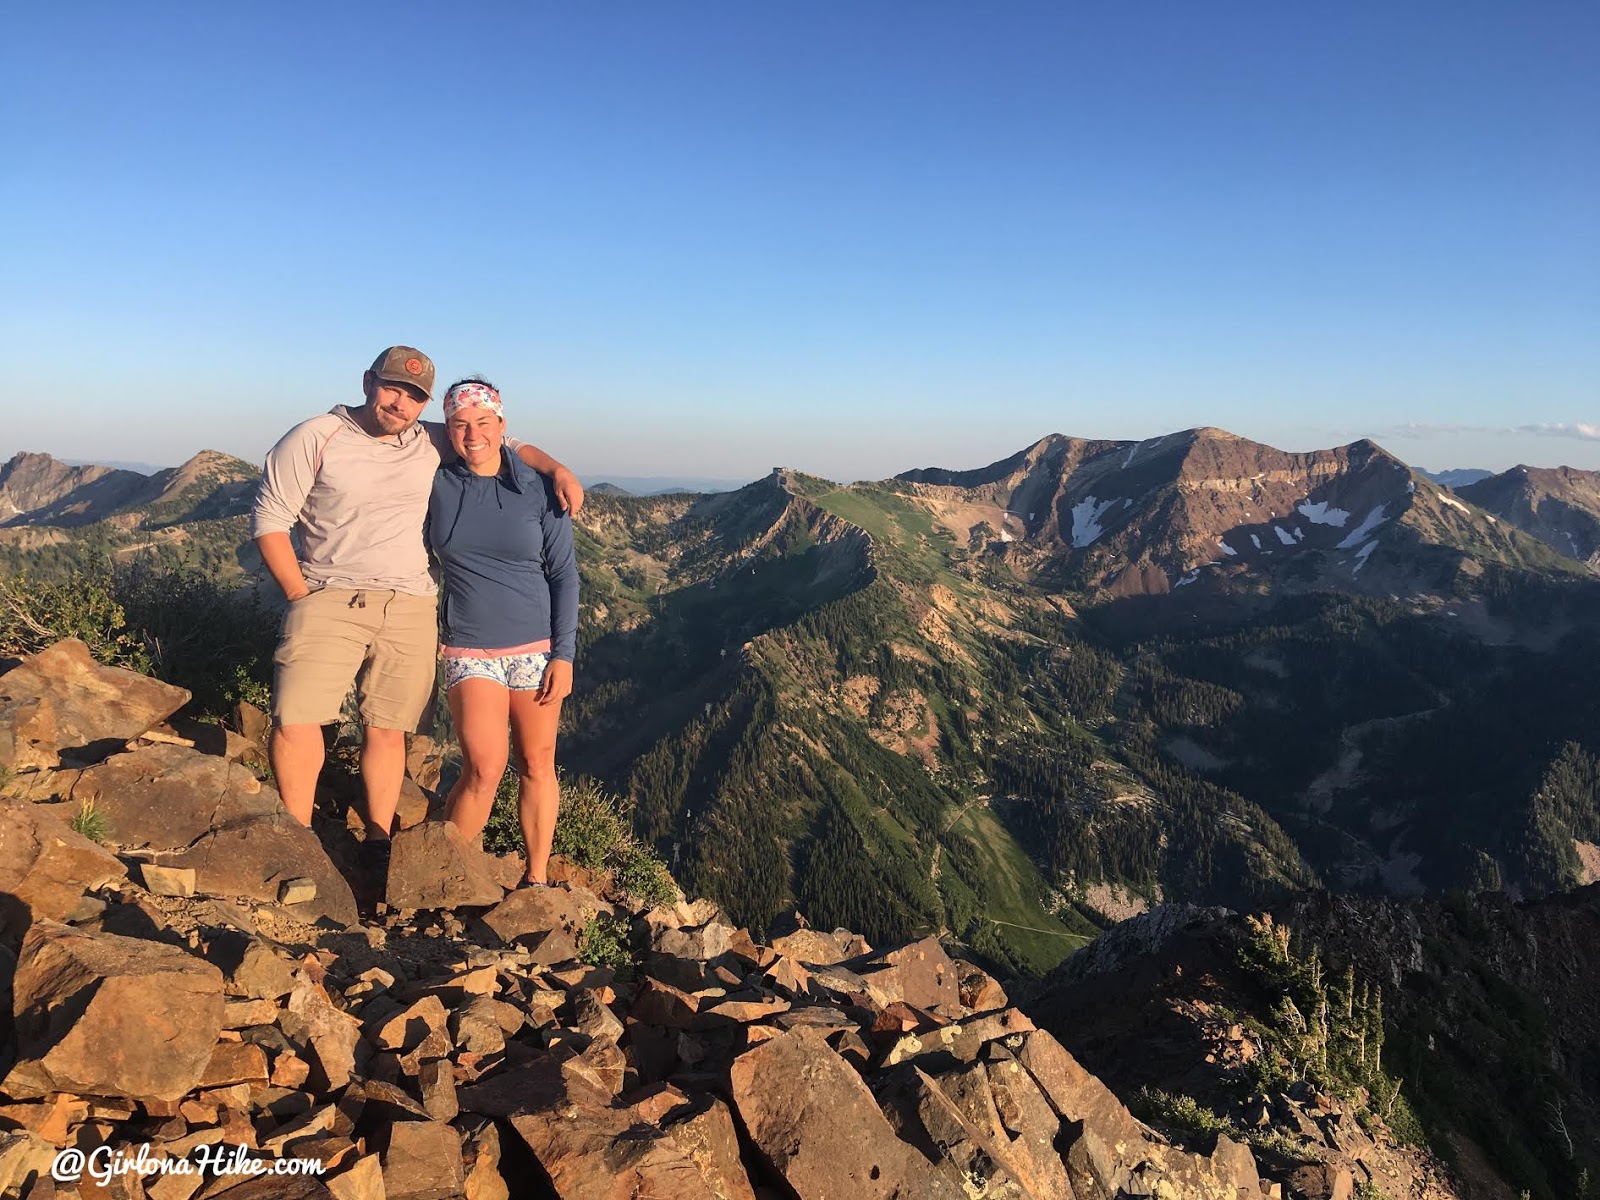
Finally, we could see the summit of Mt. Superior!
Summit Stats
It took me 4.5 hours to reach the summit via the South Ridge. For perspective, the Fastest Known Time (FKT) is just 59 minutes, held by local athlete Chris Cawley.
From the top, we had amazing views of Lake Blanche Basin and Cardiac Ridge.
Descent and Final Thoughts
We only stayed at the summit for about five minutes—it was already 8 PM, and we needed to descend before dark. As we looked back at the South Ridge, I couldn’t believe we had just climbed it. It didn’t look as intimidating from this angle.
We made our way down the actual hiking trail on the west side.
Our 5-mile loop took 7 hours total. It wasn’t our fastest day, but that’s just how it goes sometimes. I’m proud I finished—and honestly, I probably won’t do it again. It was physically and mentally draining, but unforgettable.
Trail Map
My track via Gaia GPS – the best tracking app! Get your app here for a discount.
Nearby Hike

Save me on Pinterest!