
About
Because this trail is so popular with bikes in warm months, Charlie and I hiked it in the middle of winter on New Year’s Day so that we didn’t have to worry about bikes flying down the trail. You may still see the occasional fat tire bike in Winter. Because this trail is in low-elevation terrain, it’s totally safe from avalanche danger as well. In fact, this trail would make for a perfect trail run – not too steep, not too long. If you do plan on hiking with your dog in warm months, keep a leash handy and always move out of the way for mountain bikes.
Directions
From SLC, head East on I-80 through Parley’s Canyon. Take exit 141 for Jeremy Ranch and turn left. At the first stop sign, turn left again onto Rasmussen Drive. At the round-a-bout take the first right onto Jeremy Rd. Drive 1 mile and park at the winter gate, right on the corner of Jeremy Rd and Daybreaker Drive. Here’s a driving map. The trail starts to the right of the winter gate, about 100 yards up Daybreaker Drive on the north side of the road. There is a small trail sign and dog poop bag stand/trash can.
Trail Info
Distance: 3 miles one way (road to road)
Elevation gain: 645 ft
Time: 2-4 hours
Dog friendly? Yes, off leash
Kid friendly? Yes
Fees/Permits? None
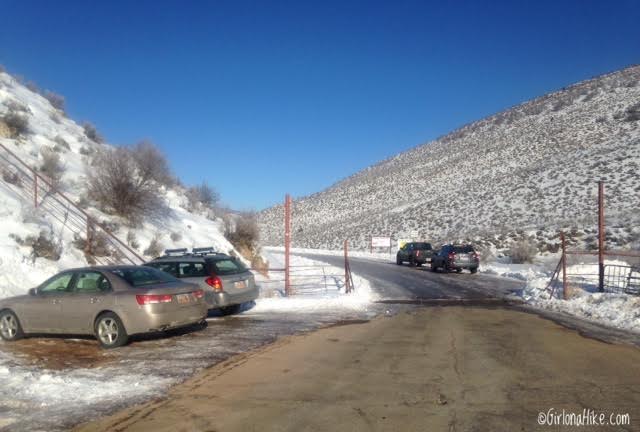
The Jeremy Ranch Rd Winter gate area. The winter gate is not actually closed, it is simply where the plows do not continue down the dirt road. Park anywhere near the gate. This road is also a popular spot for runners, bikers, and walkers along the dirt road so it does fill up quickly. The trail starts to the right of the gate, about 100 yards up Daybreaker Drive. There is a small trail sign on the left (North) side of the road. It will make two switchbacks fairly quickly. Since the trail was a bit icy, I used my microspikes the entire hike.
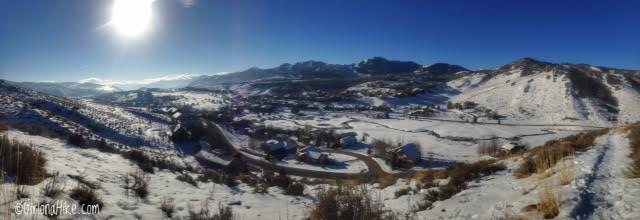
After the 2nd switchback you should have a great view of Jeremy Ranch and the golf course. The tall peak in the middle of this photo is Summit Park Peak (another great hike for dogs off leash!).
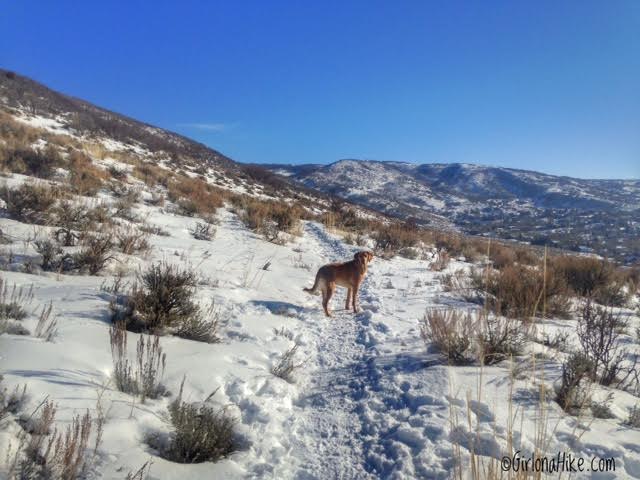
The trail heads in an Easterly direction for the first half of the route. The elevation gain is very gradual, which is why it would be an awesome trail run for newbie runners like me.
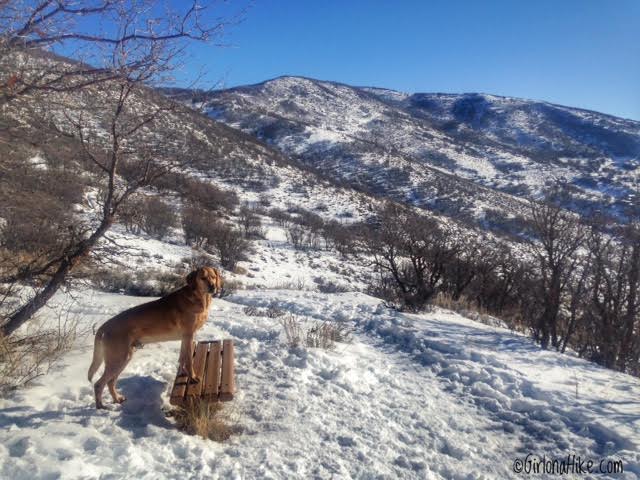
Around 1.3 miles you will see the first rest bench. Charlie is such a poser!
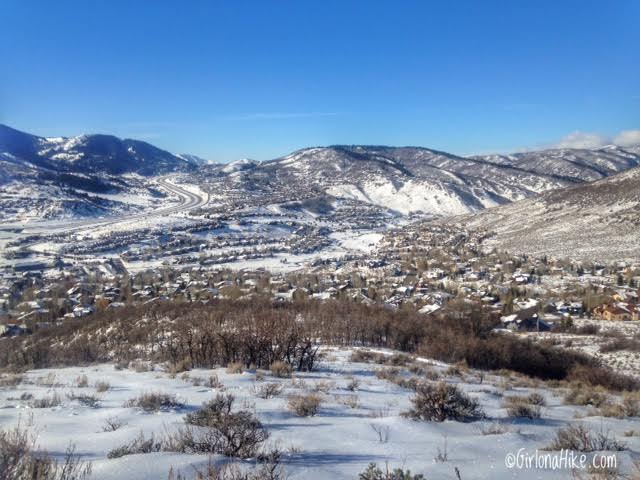
Continue on the trail – don’t forget to look at your surroundings! One of the biggest downsides to this trail is how LOUD the traffic noise is from I-80. If you can get past that, it’s a really pretty area.
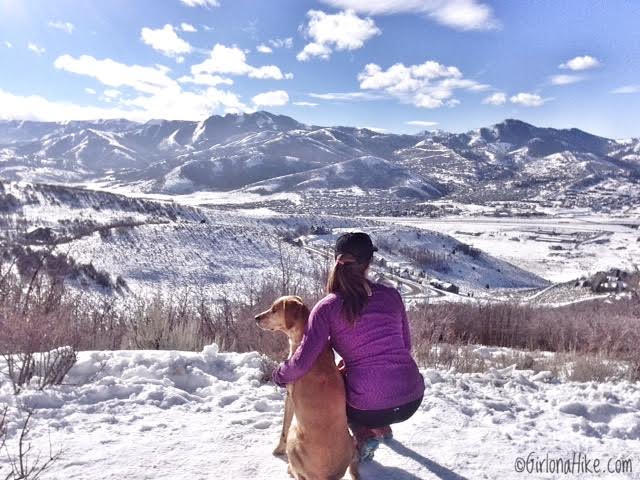
Stopping to take in our view around 2 miles. You really can turn around at any point since you aren’t stuck on a loop trail.
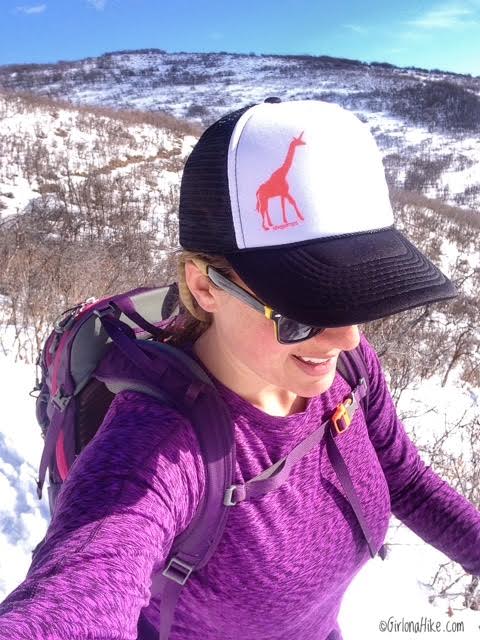
Truckin’ it up with my new SheJumps hat! If you haven’t heard of SheJumps, I highly recommend you take a look at their website. Their mission is to create participation of women and girls in the outdoor activities!
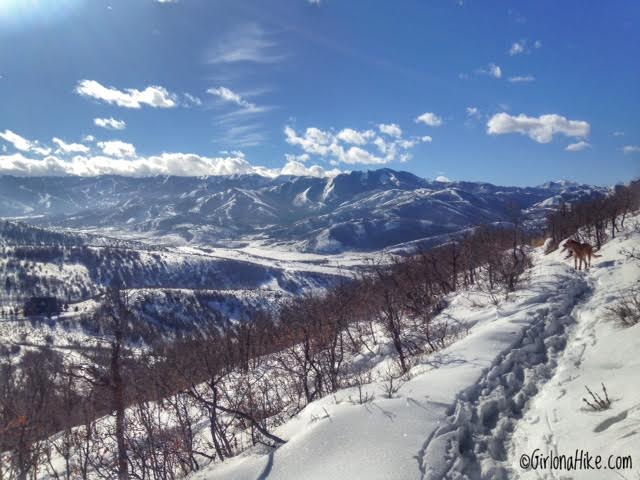
There are several trails you can explore in the same area, such as the Flying Dog Trail and the Glenwild Loop (both other popular mountain biking trails). As you hike up higher on the mountain, you’ll definitely need snowshoes. Hardly anyone went past 1 mile from the main 24/7 Connector Trail. I tried to, but didn’t have my snowshoes with me and didn’t feel like post-holing for very long.
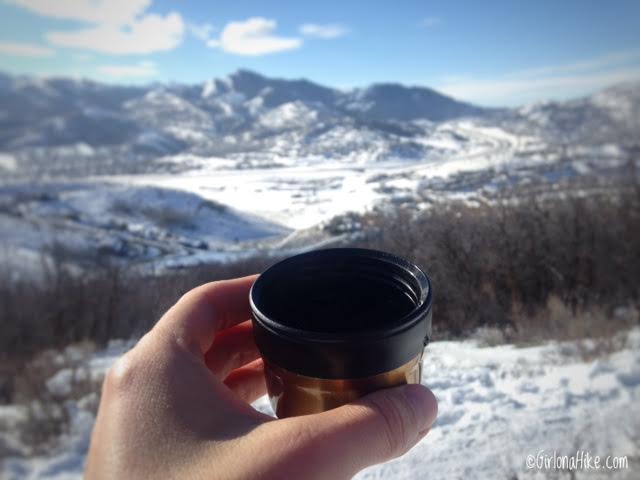
On my winter hikes, I LOVE bringing my thermos of hot tea or cocoa with me. I have this Thermos and it works perfect in Winter. I like that the top can act as a cup.
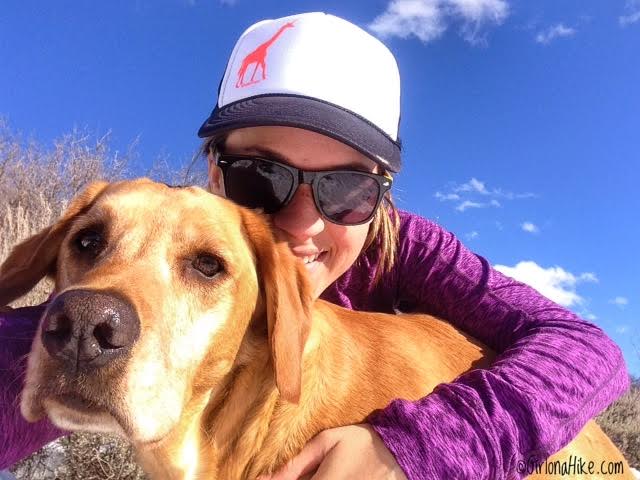
It was a great first hike for 2017!
I only went 2.3 miles one way from when I started tracking. Since I explored the Flying Dog trail I didn’t have time to hike the 24/7 Connector trail point to point. I’ll be back for sure to do the whole route!
Trail Map
Road to road the trail is 3 miles one way. You can go further, just cross the road. Get your Gaia GPS app here for a discount.
Nearby Hike

Save me on Pinterest!
