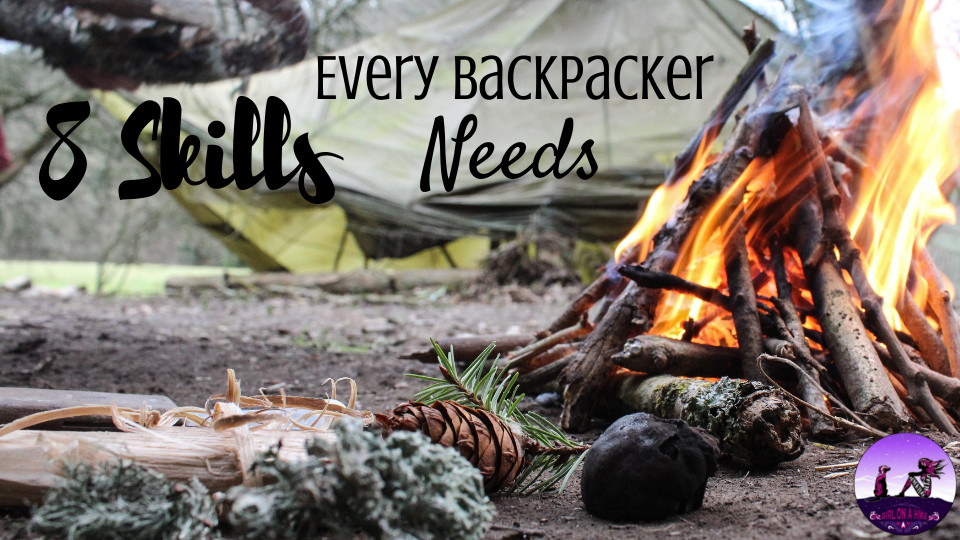

Check out these 8 Skills that Every Backpacker Needs to help make your trip successful! Are you ready to take the leap from car camping to backpacking?! Most people are intimidated to go on their first trip, not confident on their backcountry skills and maybe don’t really know what they need to buy. Learning how to use the most important skills will make you a more efficient backpacker, make you feel more confident, and help make your adventure more streamlined.
8 Skills that Every Backpacker Needs
1. Water treatment
1) Use a water filter
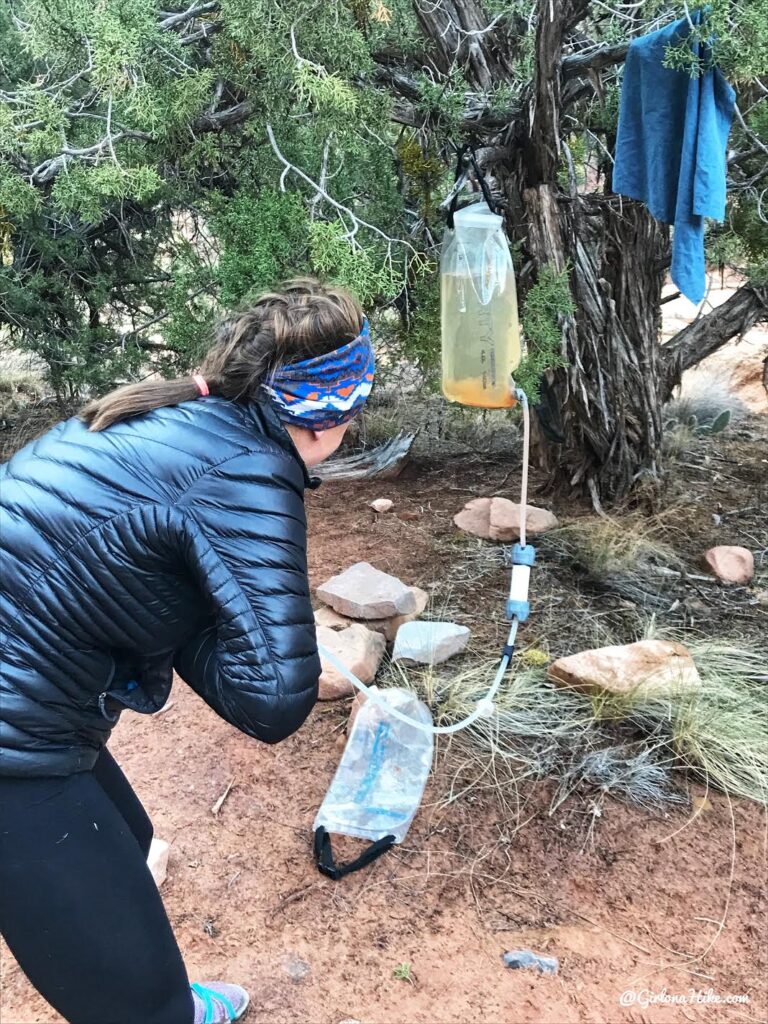
This is by far the most popular among backpackers. There are many styles, and most weigh under 1lb. My water filter is the Platypus Gravity Works – I like this one because there’s no hand pump involved (gravity takes care of it), it’s lightweight, can filter up to 4 liters at one time, fast, and works great for group trips because you can just hang it up at base camp, then everyone can share it. If you are by yourself, there’s less trips running back and forth to your water source, so it lasts a long time. If you prefer a hand pump style, check out the Katadyn Hiker Microfilter.
2) Use iodine pills
Everyone should have at least 1-2 iodine tablets in the emergency/first aid kit as a backup to failed water filters (trust me, at some point if you backpack often enough you will end up using these). Some people solely rely on these tablets, but they do make the water taste a little funny, and it does make your *ahem* solid waste turn orange. The first time I saw that I was a little freaked out, but my partner reassured me it was from the iodine tablets. Whew! The other downside to tablets is that it takes up to 35 minutes to be ready. On the plus side, they are by far the lightest weight option.
What to look for in a water source
– flowing water, especially in a stream/river
– if no clear water source is available, look for calm water without a lot of sediment or silt
– a location that always you to reach well away from the shore, where microorganisms tent to accumulate
Danger signs in a water zone
– water near meadows where animals have grazed
– evidence of pack animal traffic
– signs of sloppy human behavior
– excessive amounts of foam or scum, which indicates algae
– dirty or pink snow (pink snow is actually a form of algae)

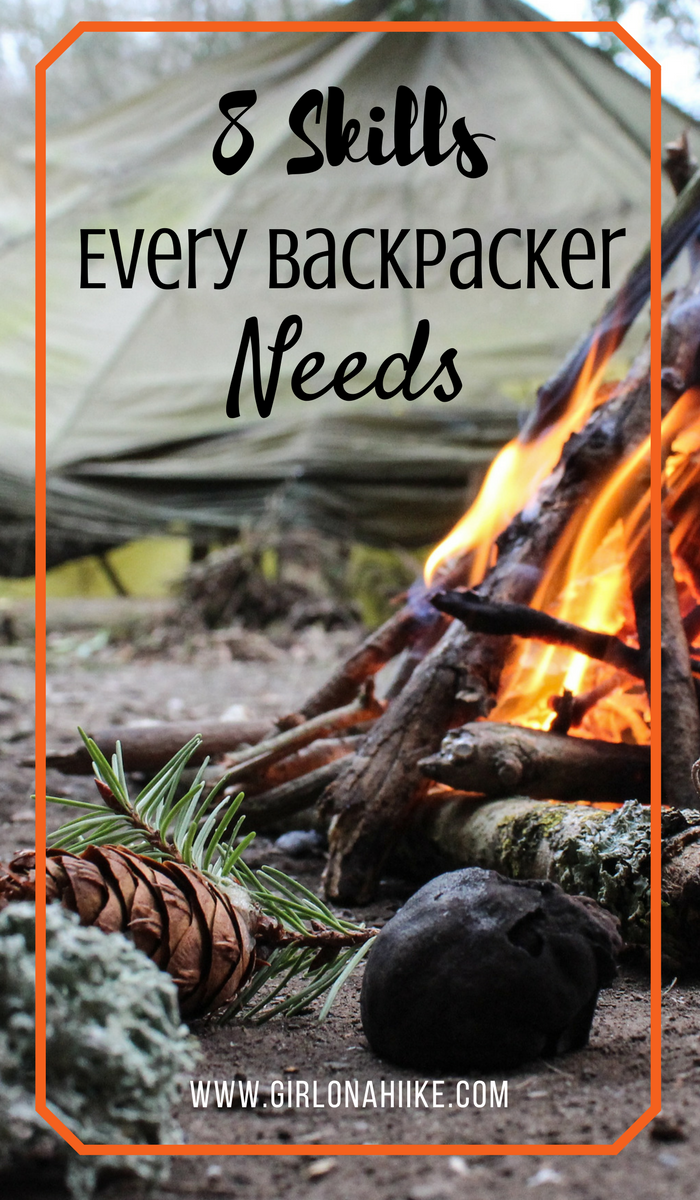
2. How to start a fire
1) Pyramid
Start with 3-4 large logs side by side on the bottom layer. Turn 90 degrees then add a second layer, with smaller logs on top. Continue alternating, getting smaller as you go, only stacking about 3-4 layers. Place your kindling on top. This is also known as an upside-down fire.
2) Teepee
Start with a small cone of kindling around a few handfuls of tinder piled in the center. Once the kindling is going strong and the temperate increases, slowly add larger and larger pieces of kindling. Make sure not to smother the kindling, it needs air to breathe and grow. After that, start adding small logs, then work up to larger logs.
3) Log Cabin
Place kindling in the center. Around it place two larger pieces of wood parallel to each other. Then turn 90 degrees and places two more parallel pieces of wood. As your kindling grows, slowly add smaller pieces of wood, like you are stacking Lincoln Logs or a log cabin. Only stack about 2-4 high, depending on the size of your logs. This style is my personal preference.
Ideas for kindling
– save your dryer lint, and place inside an empty toilet paper roll
– cotton balls swabbed with petroleum jelly (placed in a ziplock bag for carrying)
– use pine needles
– for a quick fire starter, carry in fire starter squares which you can get pretty cheap at Walmart or any outdoor store
3. How to use a JetBoil
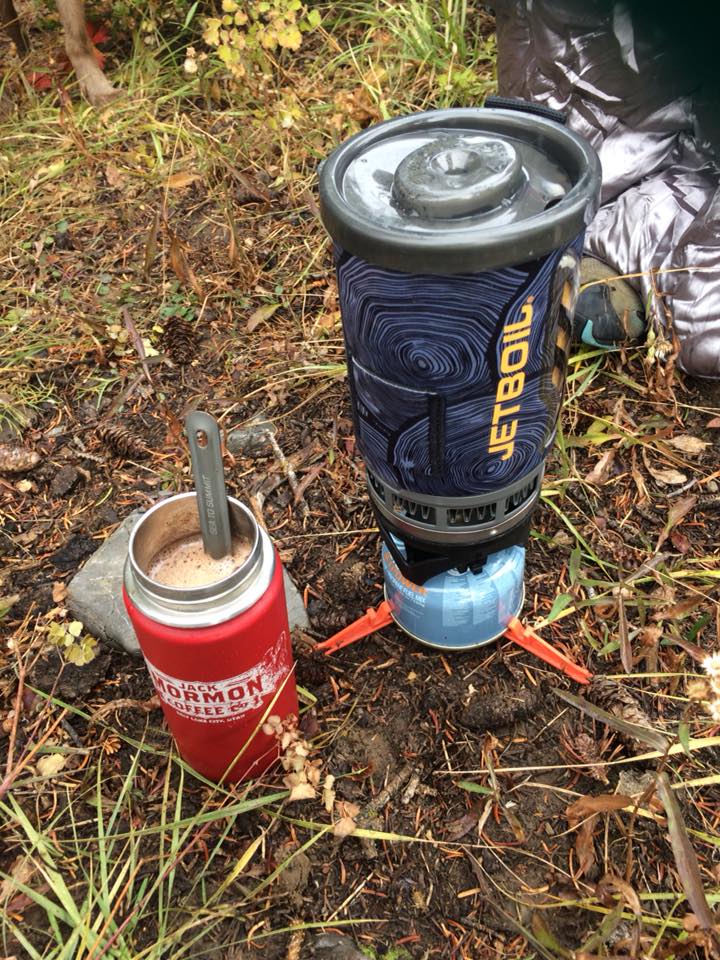
Have your JetBoil filled with water. Connect the fuel canister to the fuel valve. Slowly turn on the gas, and once you hear it, get your lighter and get it going. Don’t put your face too close, as sometimes when you first light the propane, it will pop a little. Once the flames are going, connect it to your water/pot. Some people prefer to have everything connect, then light the propane. Either way works.
4. How to hang a bear bag/use a canister
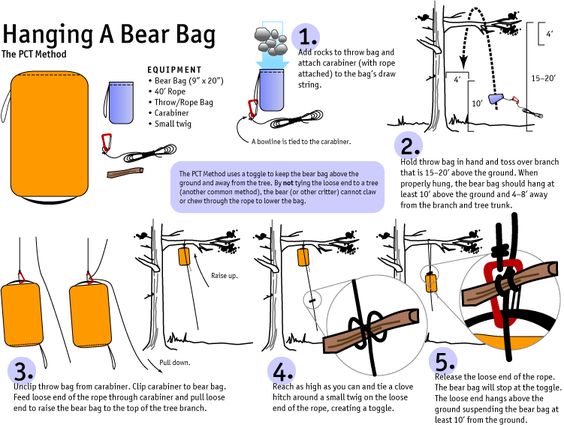
(Photo via The PCT Method)
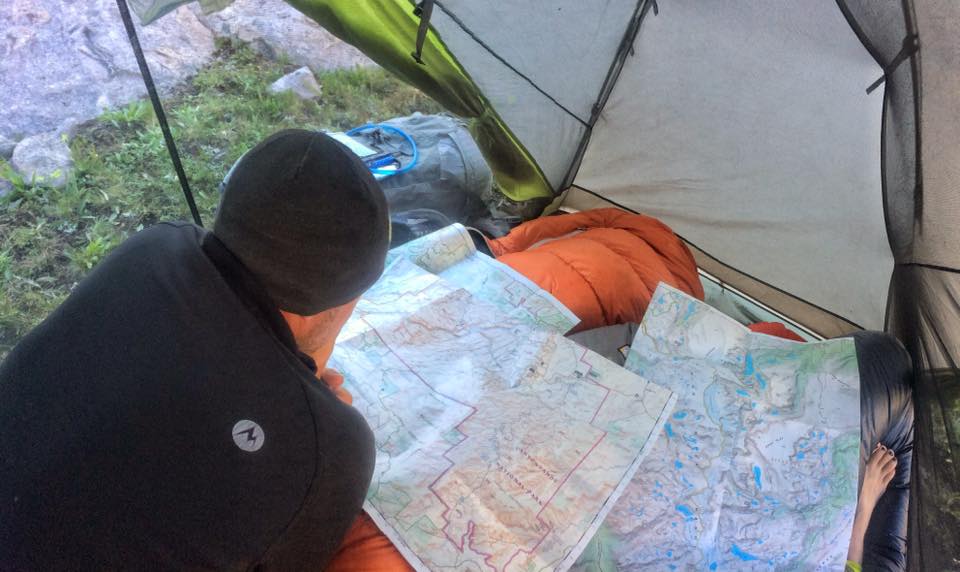
5. How to read a map and/or use a gps
With as much technology we have now, many hikers/backpackers rely on cell-signal to find their way. This is rarely an option while backpacking. Many trail or GPS apps allow you to download maps onto your phone, but what if your phone dies? Make sure you know your direction, which trail you are on, and learn how to read topo maps. Many local outdoor stores offer free classes on this topic, and can help you familiarize yourself with maps, compasses, GPSs, and offer more resources.
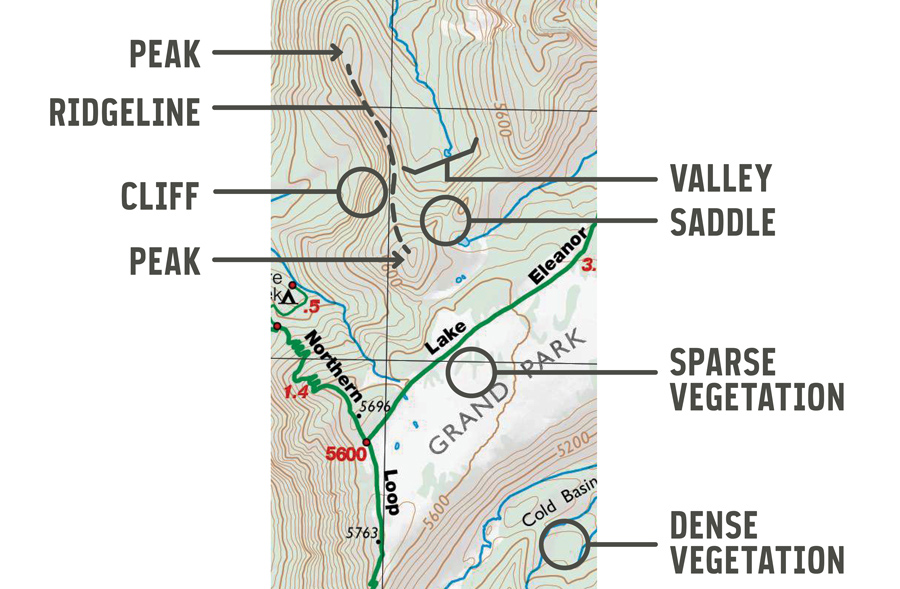
How to read a topo map
6. Basic/Wilderness First Aid
7. Staying Dry
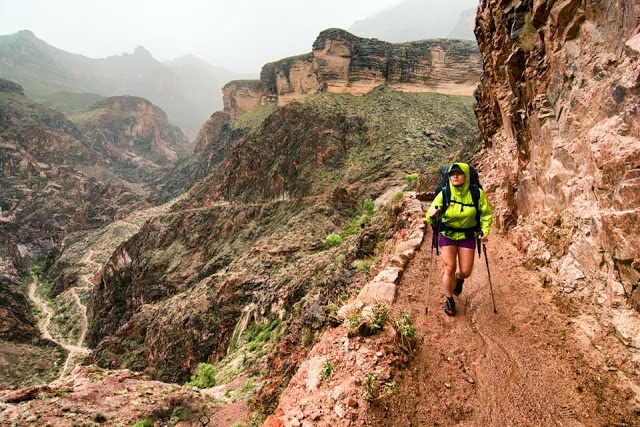
There’s nothing worse than hiking all day in the rain, only to set up camp also in the rain when everything is soaked. I know – I backpacked 18 miles in the rain in the Grand Canyon! Everything was soaked to my bones.
Here are some tips to staying dry while backpacking
– don’t wear anything cotton
– evaluate your rain gear, and test it on a rainy day hike before using on a backpacking trip (REI has an amazing return program!)
– evaluate your footwear (even the best waterproof shoes will get soaked all day in the rain, so have a backup to hike in, like Tevas/Chacos)
– bring blister supplies
– try wearing rain pants
– put a pack cover on your backpack
– use a pack liner, like a large trash bag
– put everything in a ziplock or dry sack bag
– hang clothes to dry on paracord
– seize weather windows (hike as soon as rain stops, or earlier in the day)
– when setting up a tent, choose higher ground, and orient tent doors away from the wind
– bring hot chocolate or tea to warm up!
8. Leave No Trace (LNT)
Recommended Gear
Also check out…
8 Beginner Backpacking Tips – for Women!

Save me on Pinterest!
