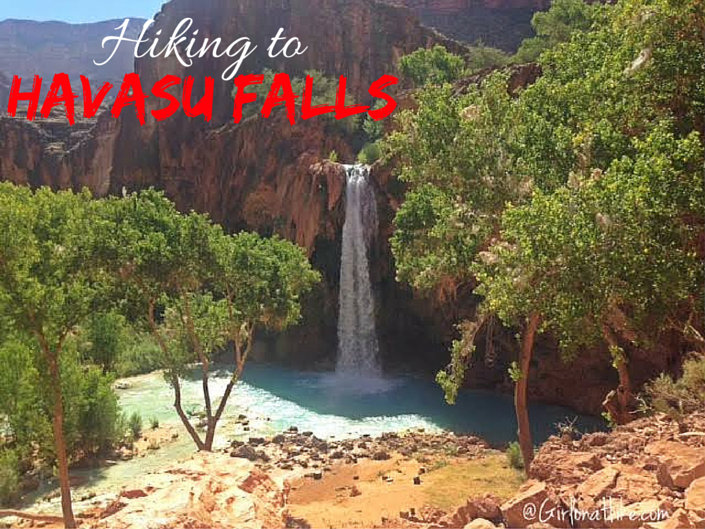

Hiking to Havasu Falls is not your typical day hike – it requires a 10 mile trek through the desert, a large canyon, and finally through the small village of Supai, AZ. The people of Supai are apart of the Havasupai tribe, which is an American Indian tribe that has lived in this area of the canyon for the past 800 years. Havasu means “blue-green water”, and pai means “people”. Havasu Falls is one of the most well-known waterfalls in the world due to its paradise-like location.
About
The 10 mile hike down is long, with little shade. In the summer months, I highly recommend starting your hike no later than 4am to beat the blistering heat that begins as soon as the sun reaches the ridgeline. Even in the shade the temperature can be 105F. You’ll want to bring plenty of water – there is no water source until you reach the campground (or lodge). The only steep section of the trail is the first 1.5 miles. From there, it is mostly flat hiking through sand and gravel. Pack mules go up and down this canyon everyday, so it is important to move out of the way.
You should be generally fit to hike to Havasu Falls, and have done a few hikes and backpacking trips beforehand, so that you aren’t as sore or tired. Plan on taking 4-6 hours to reach camp. If you have any kind of health concern, you may want to look into using a mule, horse, or the helicopter to get to the village. It is important to note that you MUST HAVE A HAVASUPAI PERMIT in order to hike the Havasu Trail and stay in the campground or lodge. No day hiking is allowed, and dogs are not allowed.
Though this trip takes a lot of planning and preparation, the hard work and effort will pay off when you arrive at this turquoise paradise!
Directions
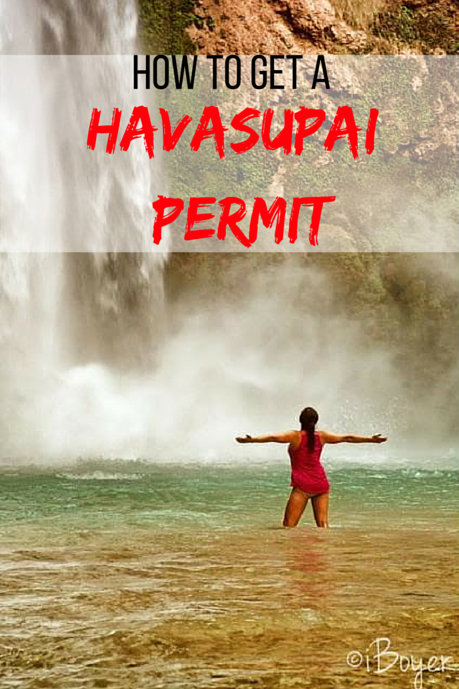
See my post on How to Get a Havasupai Permit for directions, GPS coordinates, and a map link.
Trail Info
Distance: 10 miles (one way) to the campground
Elevation gain:
Hiking into the falls, you descend about 2,500 ft.
Keep in mind that when you hike out on your last day, the last 1.5 miles will be the most challenging since you’ve already hiked 8.5 miles. Most of the elevation gain comes at the very end..
Time: 4-6 hours
Dog friendly? No
Kid friendly? I would say No, but see below under FAQs.
Fees/Permits: Yes, see my post on How to Get a Havasupai Permit
FAQs
Where can I stay before my hike begins?
You have two options. 1) Stay at a hotel in Kingman, AZ OR 2) sleep at the trailhead parking lot. My group and I chose to sleep in the parking lot, since we arrived at midnight. We planned on hiking at 5am, so it made since to sleep there. My boyfriend and I layed out a blanket in front of our car, put our sleeping pads on top, and slept outside. Some people in our group set up their tent. There’s plenty of space for you to do either, but it’s not a quiet sleep. You will have people walking by your head or car super early in the morning. Bring earplugs if you want to actually sleep! There’s no fee for sleeping in the parking lot.
Is this a good kid to bring my kids?
Even though 10 miles seems like a big hike for kids to me, I did see several kids with large groups and parents. For their gear, you’ll probably want to get a mule to carry their things, and have them carry their own day pack with water and snacks. My guess is you’ll need to take more breaks on the trail, and plan for a longer hike in (time wise). Teenagers would do fine, but younger kids may be slow. I think it depends on how much you hike as a family.
Can I bring my dog?
No. Although you will see the local’s dogs in the village, you are not allowed to bring your own dog in the canyon. You will be fined.
How early should I start hiking?
We hiked to Havasu Falls in July, so we started hiking at 3am. We did not want to hike in the sun one bit, and we wanted more time at the water and campground. We also weren’t quite sure how long it would take us, but it ended up taking us 4 hours exactly. There’s not much of a breeze on the hike, so the temperatures can be stifling hot. Be sure to have a headlight!
How much water should I carry?
A minimum of 2 liters per person. 3 L is even better!
What should I bring with me?
See my post on my Backpacking Gear List.
Do you have any other question about this hike? Post at the bottom of this post.
Let get to the hike!
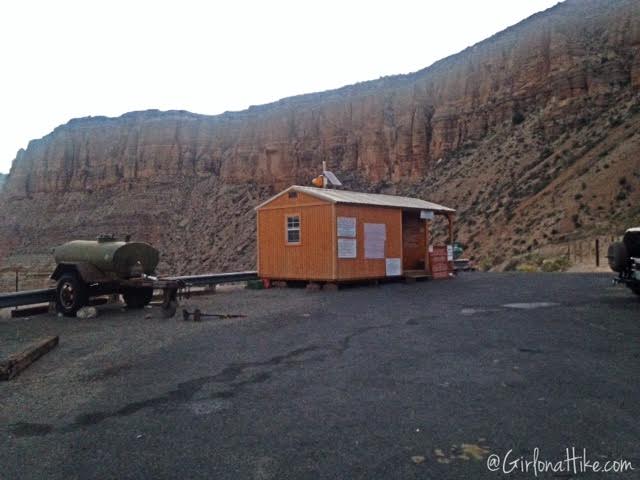
The parking lot has a vault restroom, and the mule check in office. The trail starts to the right of this building.
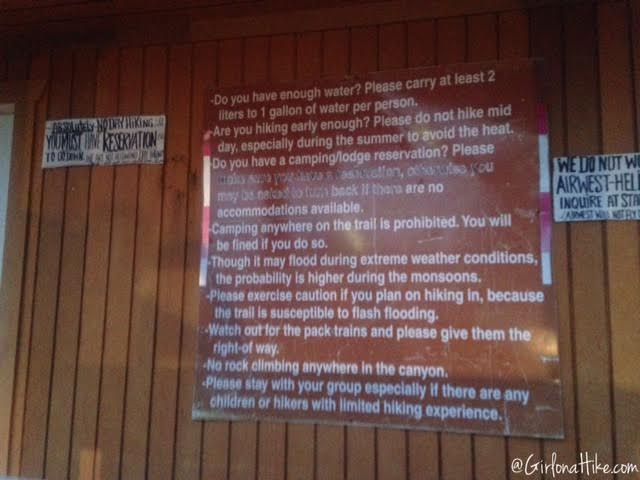
Reading the rule board.
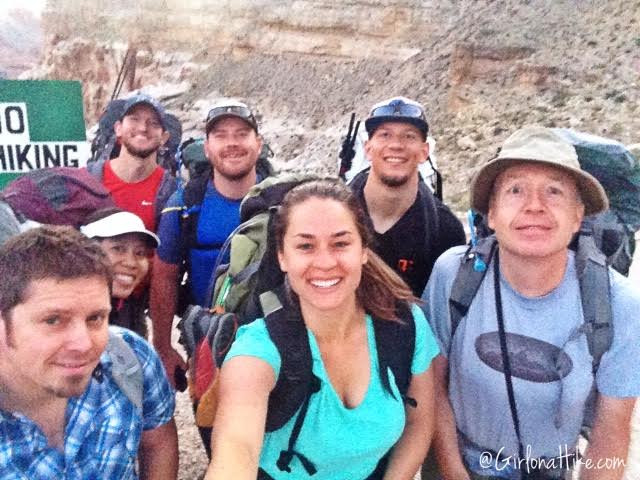
Our group is ready to go at 5am!
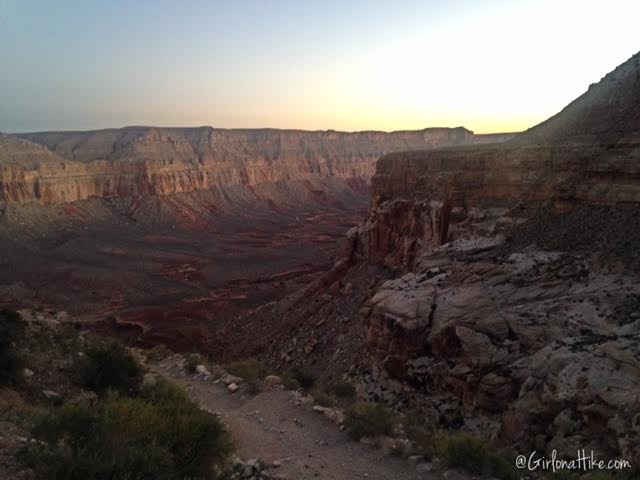
Hiking down the first 1.5 miles is several switchbacks. You get a beautiful early morning view of the canyon you’ll be hiking into.
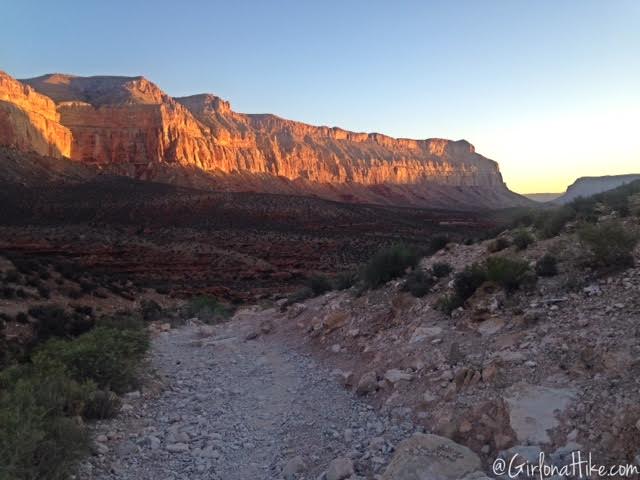
The sun was starting to rise of the ridge, and it creating a beautiful image on the canyon walls.
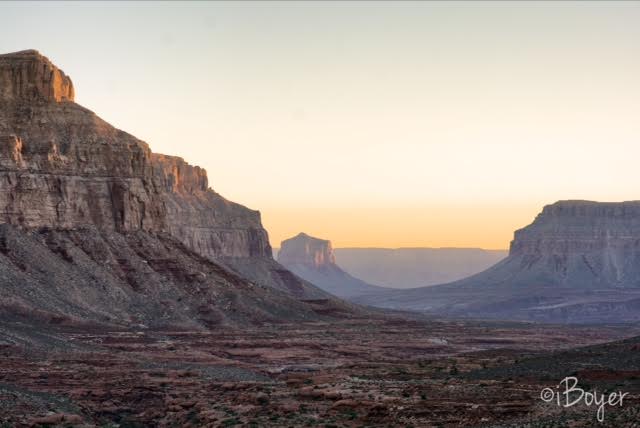
Looking East into the canyon you’ll hike through.
Photo by @iBoyer.
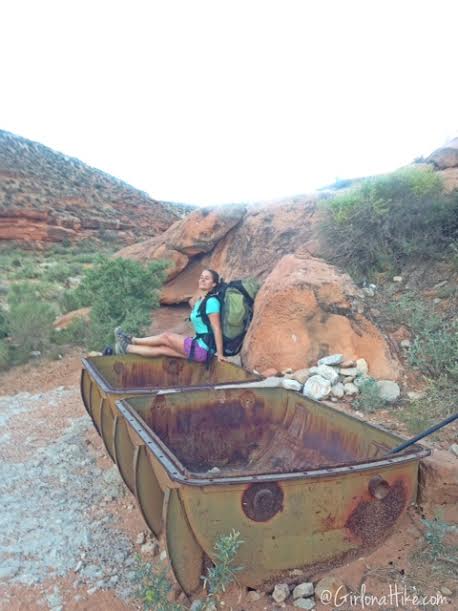
Passing by some old water tubs and me being silly.
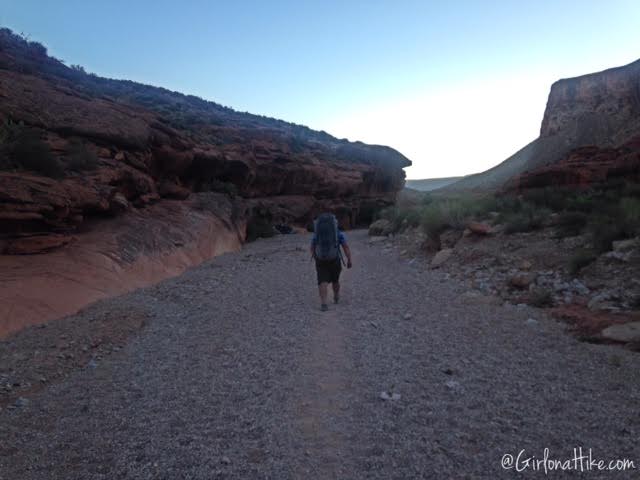
The trail flattened out, and we were now hiking through loose gravel. The gravel put out a lot of white dust – my calves and ankles ended up being covered in the white powder.
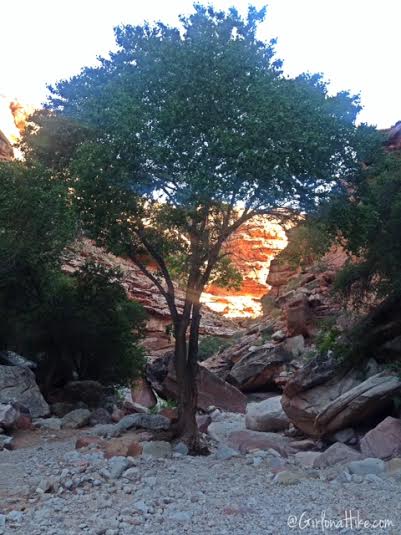
I’m always surprised to see beautiful trees growing in the middle of a canyon. As you hike futher into the canyon, the walls continue to rise.
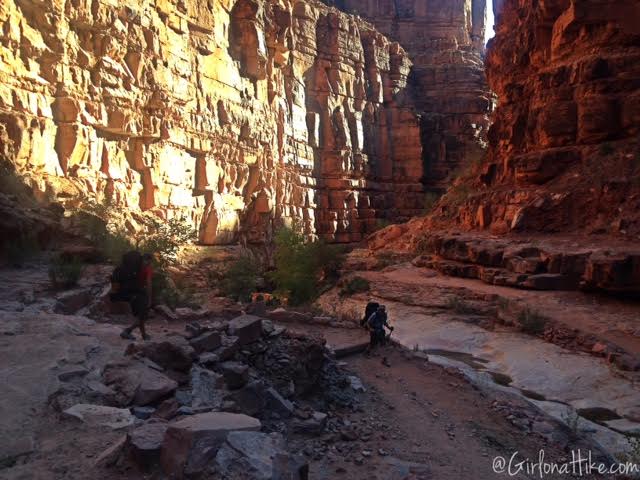
You can’t really get lost on the hike in – so many people hike here that there are several cairns and footpaths have been created over the years.
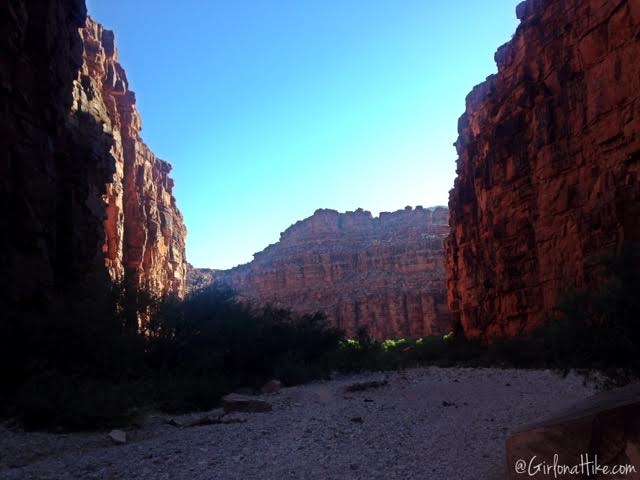
Once you see the next canyon wall ahead of you, you know you are close to the trail split. The canyon you’ve been hiking in so far has run East to West, and this wall ahead of you, will make your hike South to North.
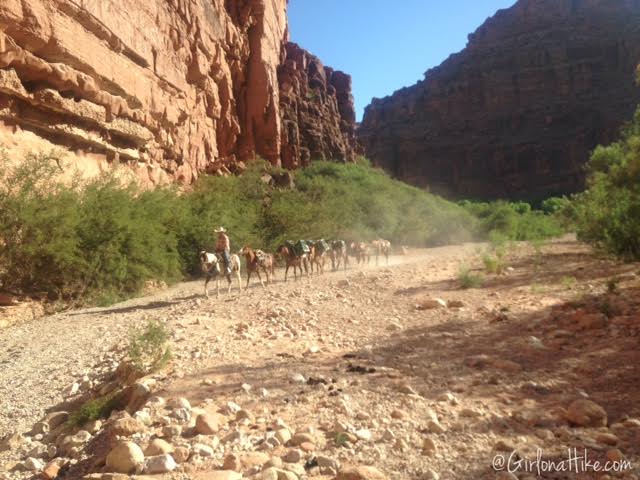
Passing by the mule train.
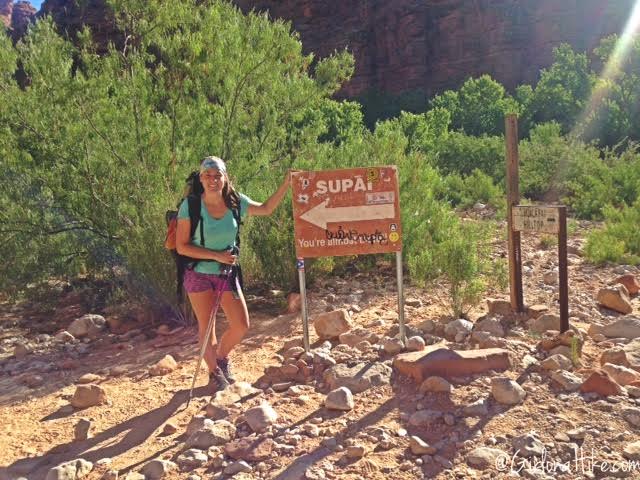
At the trail split, there is a sign for Supai. Continue following the signs. Just after this sign, on your right, you’ll see the clear river water. You’re getting so close! Only 2 miles to the Tourist Office to check in, and another 2 miles to the campground and Havasu Falls.
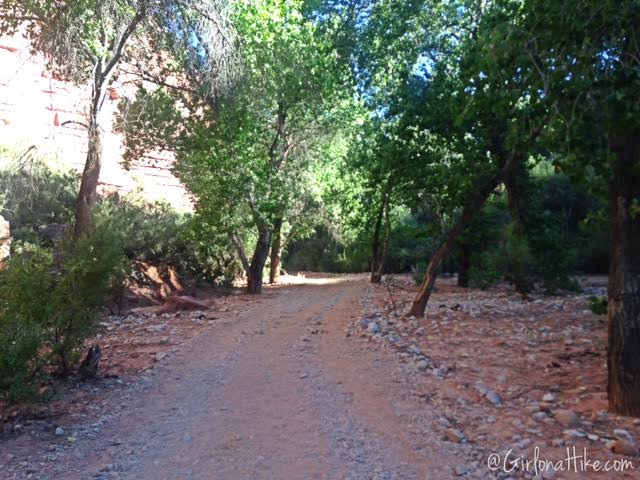
The trail is now more of an ATV road.
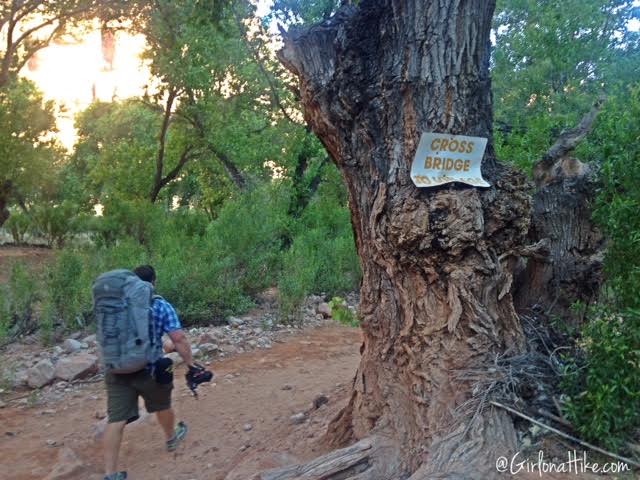
The signs are well marked. As long as you follow them, you will arrive at your destination.
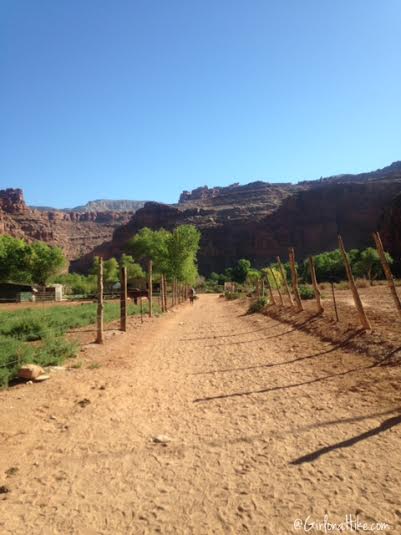
Cutting through Supai, AZ – the small village with a population of 650.
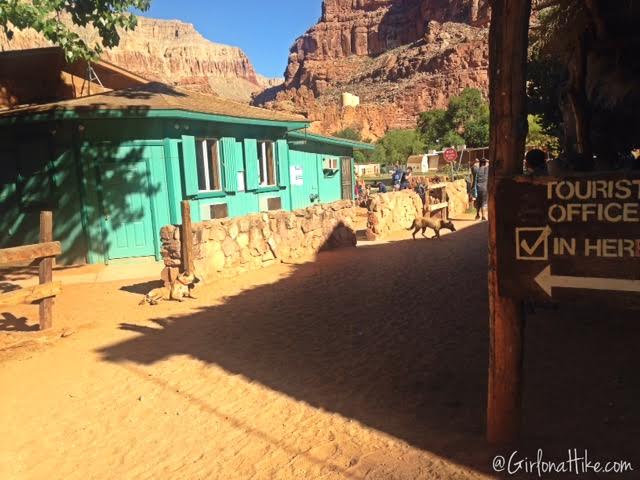
Finally at the Tourist Office! This is where you pay and pick up your permit.
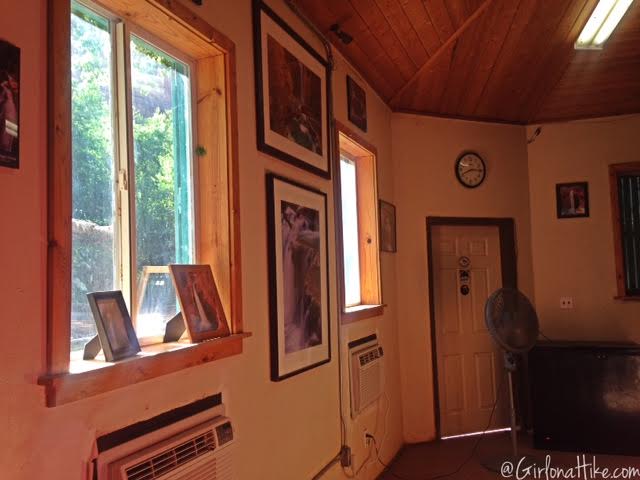
Inside the office – to the right is the desk where you check in. It’s tiny, but they do have A/C!
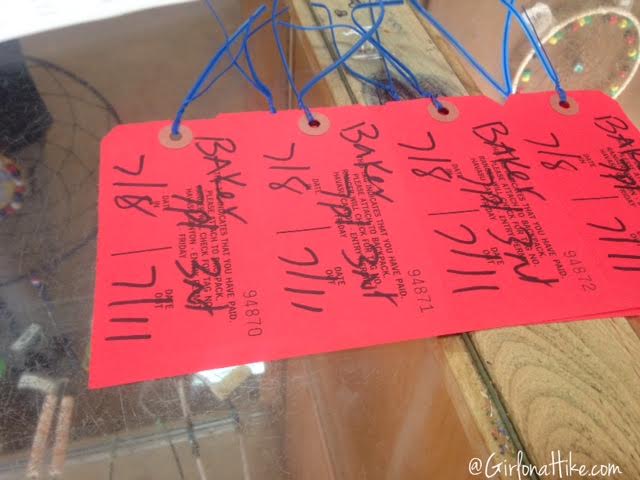
Typically, when you check in each member of your group gets a wristband. When we arrived they were out of wristbands, so they gave each person a tag. This tag is supposed to be on you at all times. They also give you one tag to hang in your campsite. The rangers do check for these – we got checked once while in camp, and another time while at Beaver Falls.
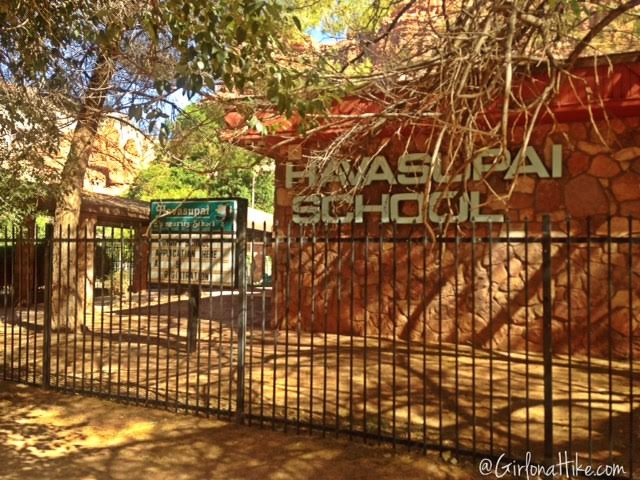
The trail continues through Supai, AZ. There is a grocery store, restaurant, post office drop box, a clinic, and several homes. The helicopter pad is also located in the village, just after the Tourist Office.
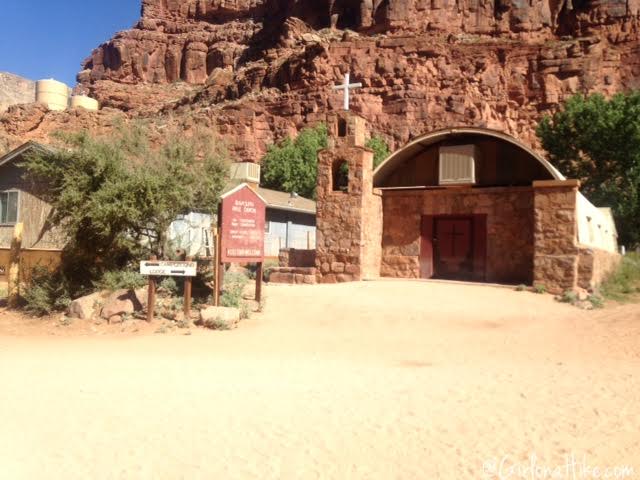
There is one LDS Church before the Tourist Office, and a Christian church. Turn left at the church.
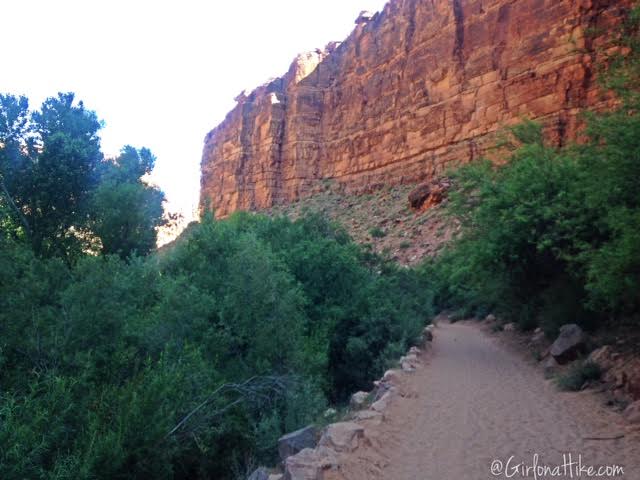
Havasu Falls is 2 miles past Supai, AZ. Continue following the wide trail.
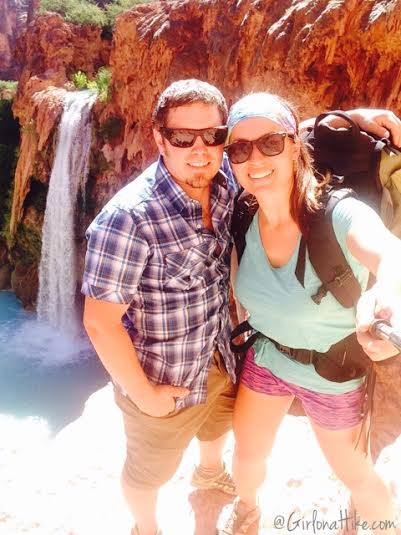
Before you know it, you’ve arrived at Havasu Falls! It sure makes all the hard work of hiking here worth it!
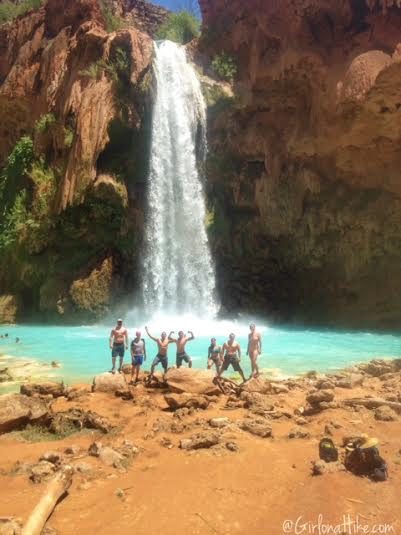
Group photo in front of Havasu Falls. The water is soooo pretty and really THAT BLUE!
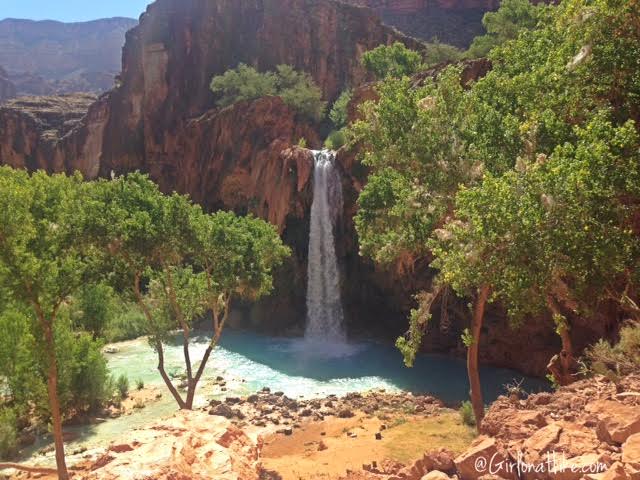
The reason why Havasu Creek has super blue-turquoise water is from the large amounts of calcium carbonate that formed the limestone that lines the creek and reflects the color so strongly. Any natural items that fall into the stream mineralize very quickly, causing new formations and changing the flow of the water. This causes the creek to never look the same from year to year.
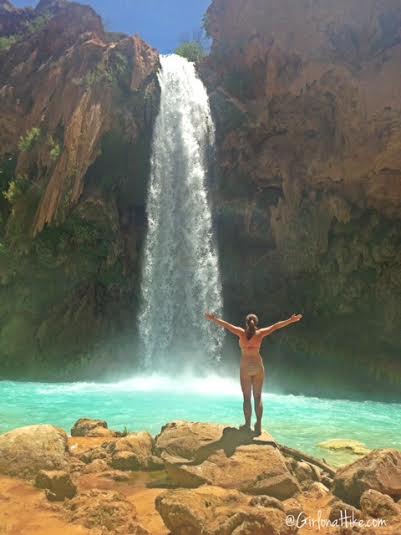
Yahoooo! Because it was so hot (100F), the water felt very refreshing. The water temperature stays at 70F (21C) year round. If you were to visit here in the Spring or Fall, this water may feel too cold to swim in for some people.
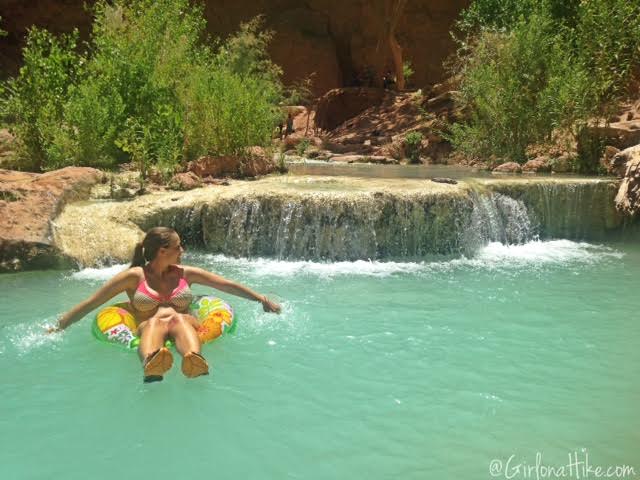
Many people bring and leave tubes to use in the water. I brought mine along, but I really didn’t need to since so many people left theirs behind. It’s nice to have a floatie to relax and bob around in.
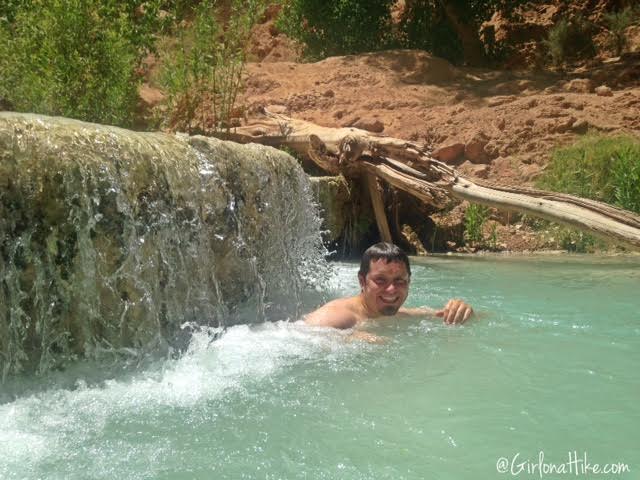
Ian enjoys swimming under the small cascades.
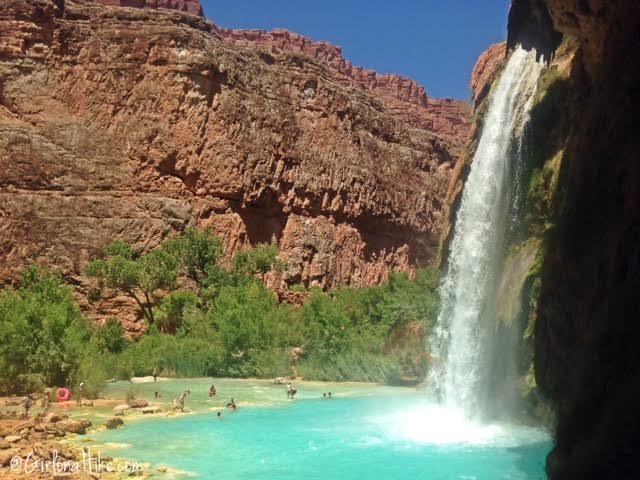
A side view of Havasu Falls. You can see that other people had the same idea of swimming as well!
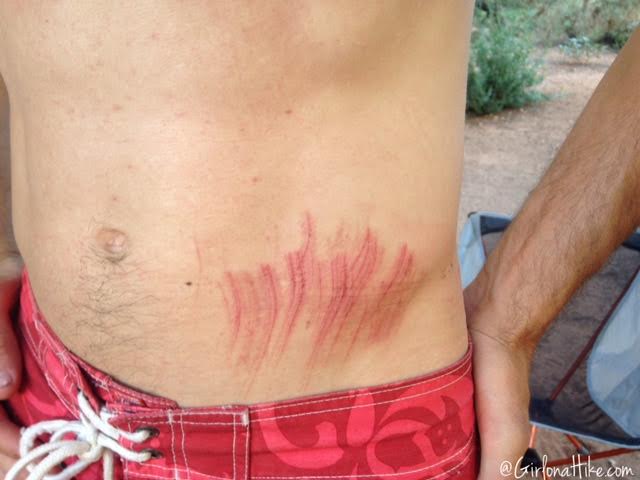
Be careful where you decide to jump or swim! My friend simply dove for a football, and lunged himself accidentally into a rock under the water. Don’t jump or dive anywhere where you are not sure of what’s beneath you, and be careful of the strong currents. My other friend got swept into one of the currents over a small 4 ft waterfall, and ended up with four scratches, scrapes, and bruises plus some bleeding. Always carry a first aid kit with you in your day pack.
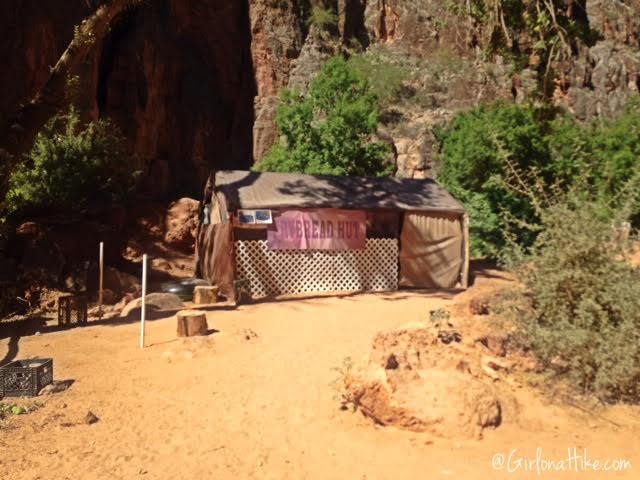
We continued into camp, and along the passed the Frybread Hut. They only take cash, and hours are unpredictable. They also sell water bottles and gatorade.
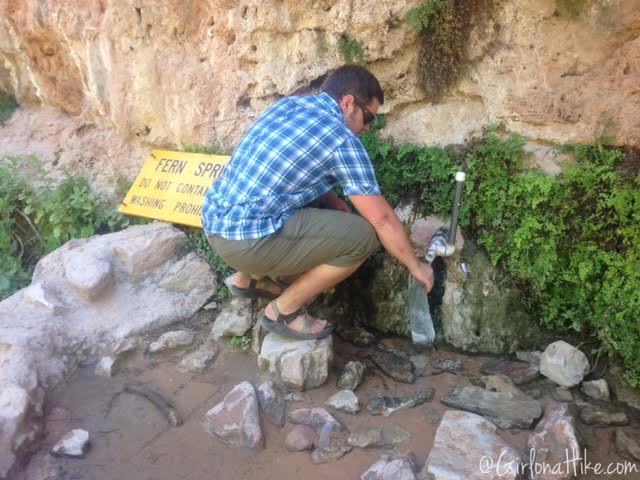
In the campground, there is one natural spring that is clean to drink from. This can often get crowded with a line of people.
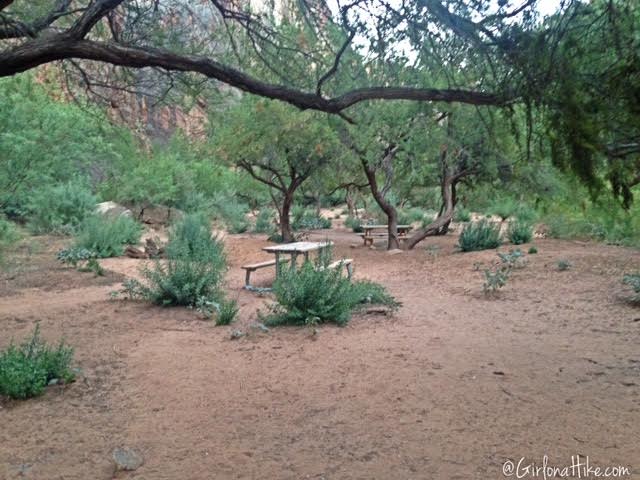
The area we camped was across a bridge. Anywhere you see a bridge crossing the river, it leads to another camp area. The river was about 20 ft to my right in this photo. You can pick anywhere you want to camp.
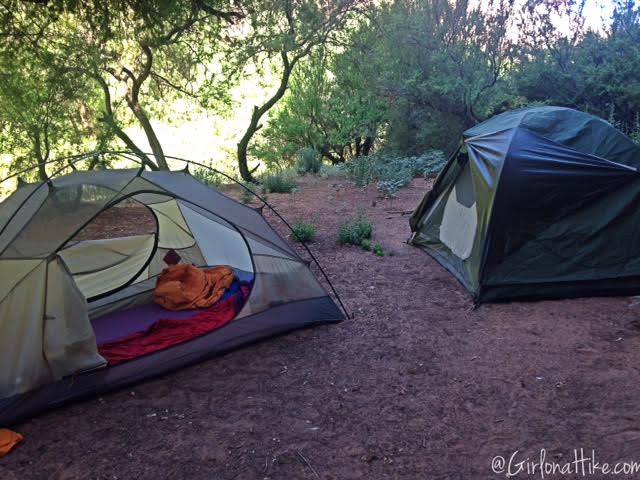
Got our tents set up!
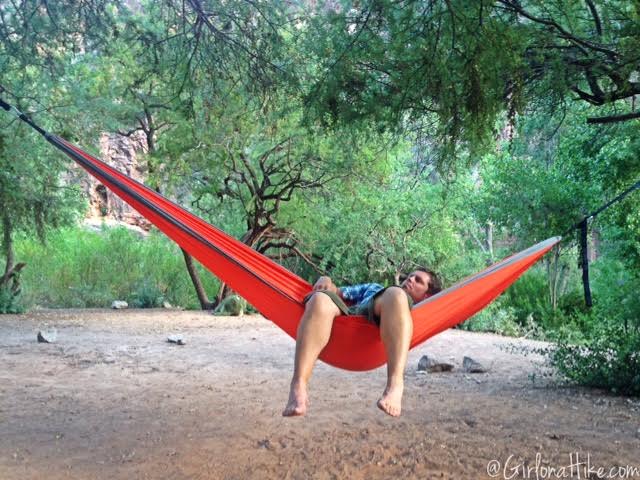
Ian hangs out in our new Kroex Double Hammock. A must have item when backpacking! There are plenty of trees to hang hammocks from.
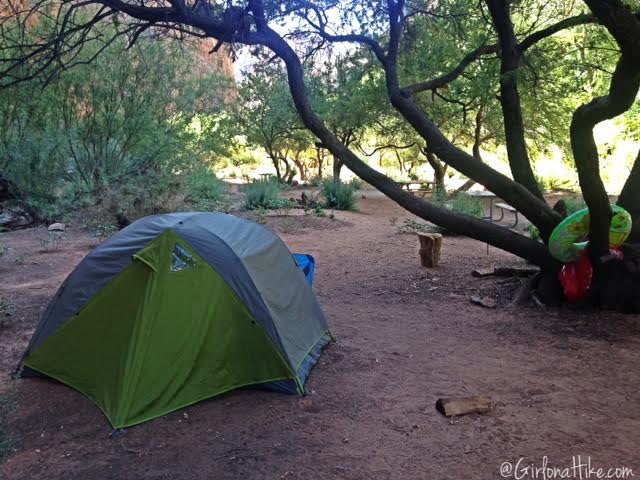
Another view of our camp.
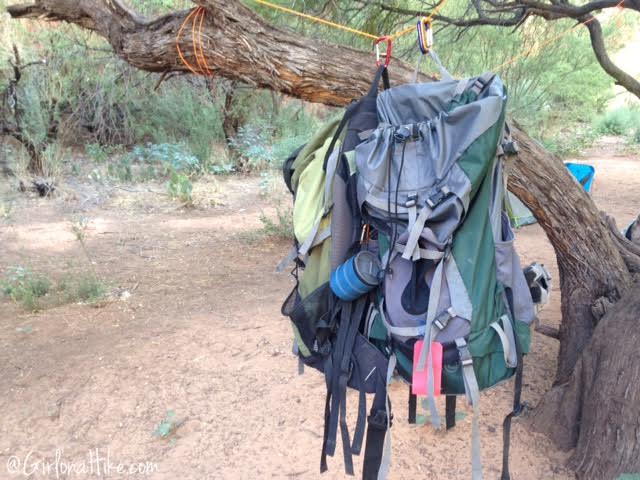
The squirrels in the campground are BAD! You’ll want to bring some paracord or rope and carabiners along to hang your packs. If you hang packs from a tree limb, they can still get to them! We had about 20-30 ft of paracord so that we could hang all 8 packs, plus our trash bag.
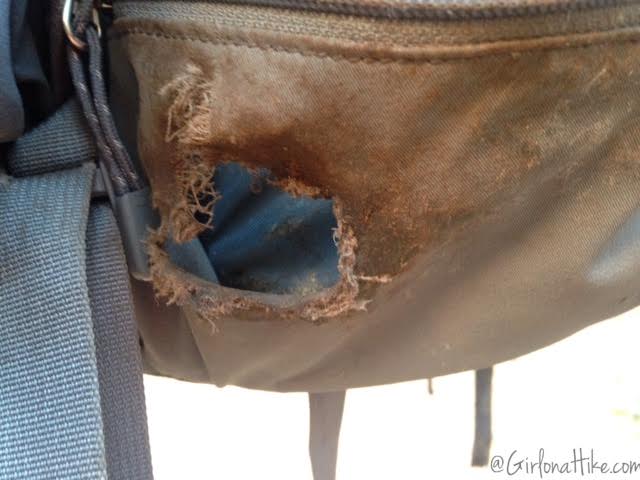
Unfortunately, the squirrels got to my friends pack and ate through the hip pocket to his tasty M&Ms. Damn squirrels!
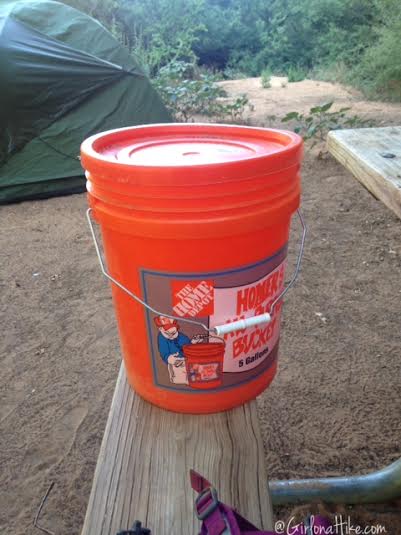
The rangers do have these orange Home Depot buckets they gave us to use as food storage. We were able to have two people share one bucket. Once we closed the lid, we also placed a heavy rock on top to prevent the squirrels from popping open the container, and trust me, they can do it (we found teeth marks on the lid!). They have also learned how to undo cinch strings and how to get into packs, if left on the ground. If you have a bear canister, it’s not a bad idea to bring it along.
Trail Map
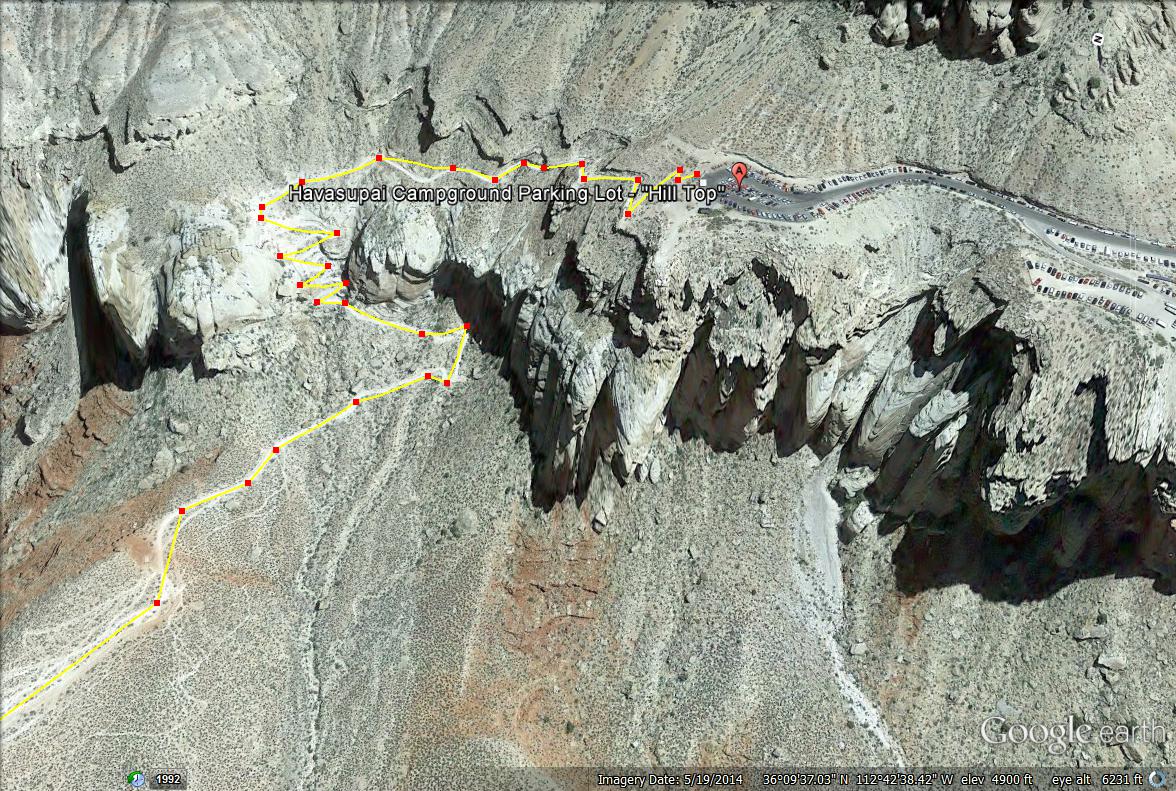
Close up of the trail map for the first 1.5 miles.
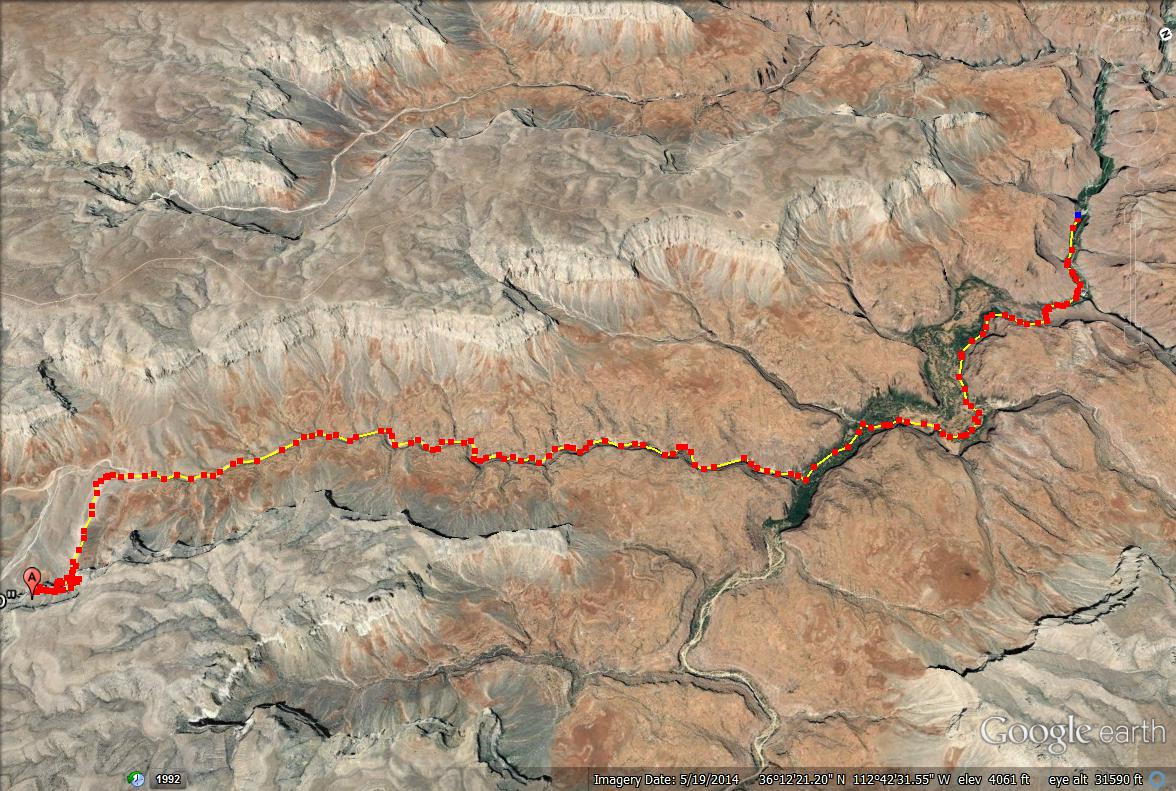
Trail overview, looking Northwest.
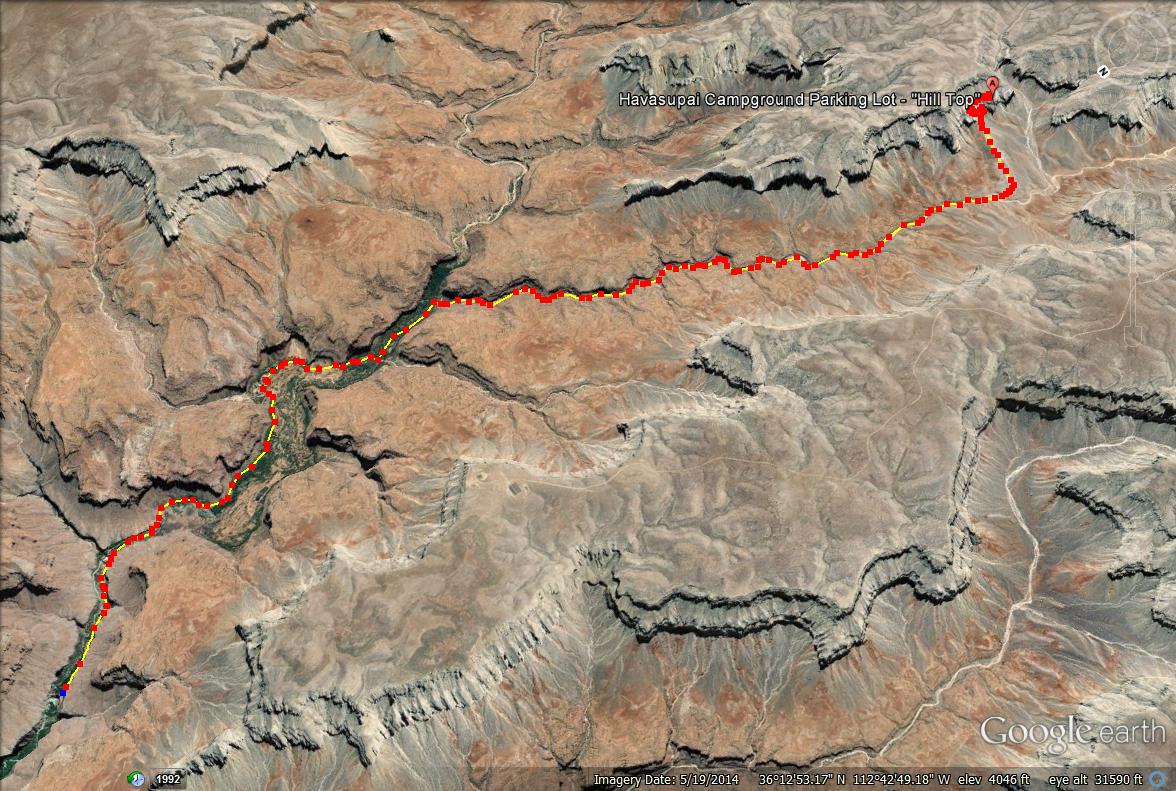
Trail map looking East.
Recommended Hike
Like hiking to big bucket list locations?!
Check out Hiking to Mt.Whitney, California!

Save me on Pinterest!
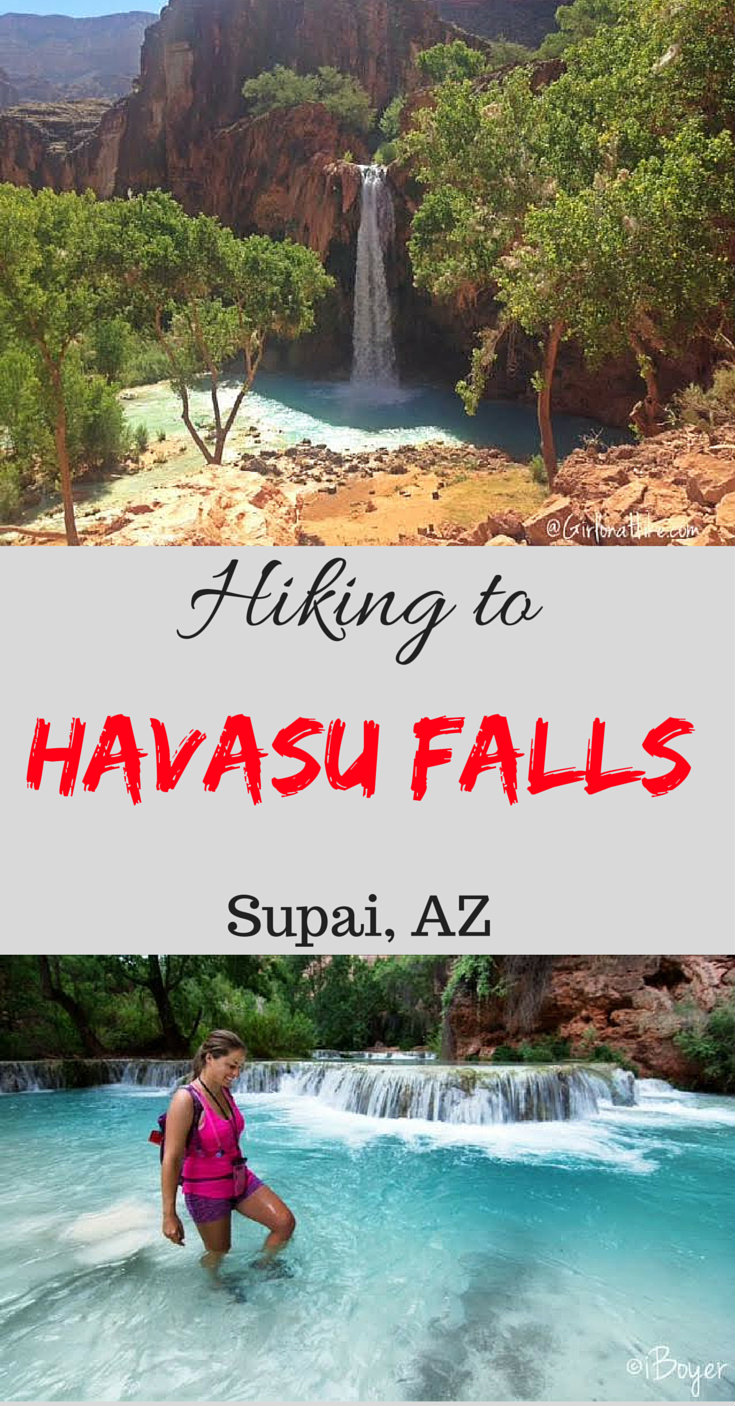
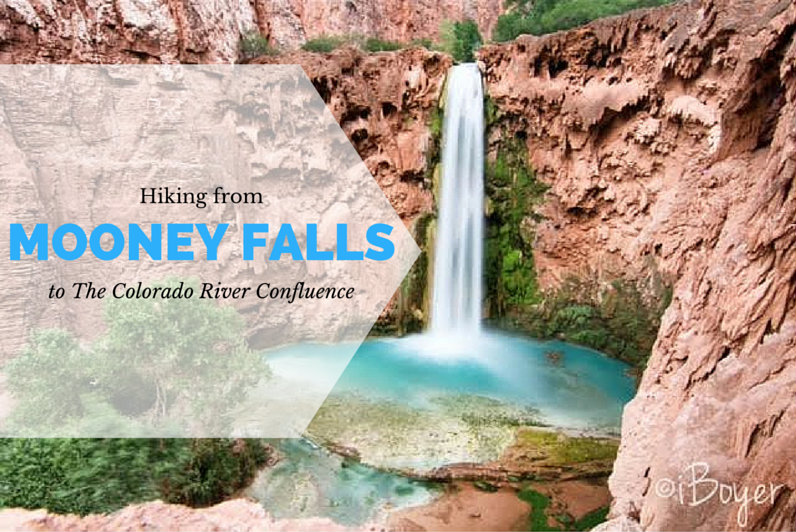
Be sure to read my post on hiking to Mooney Falls, Beaver Falls, and the Colorado Confluence!

