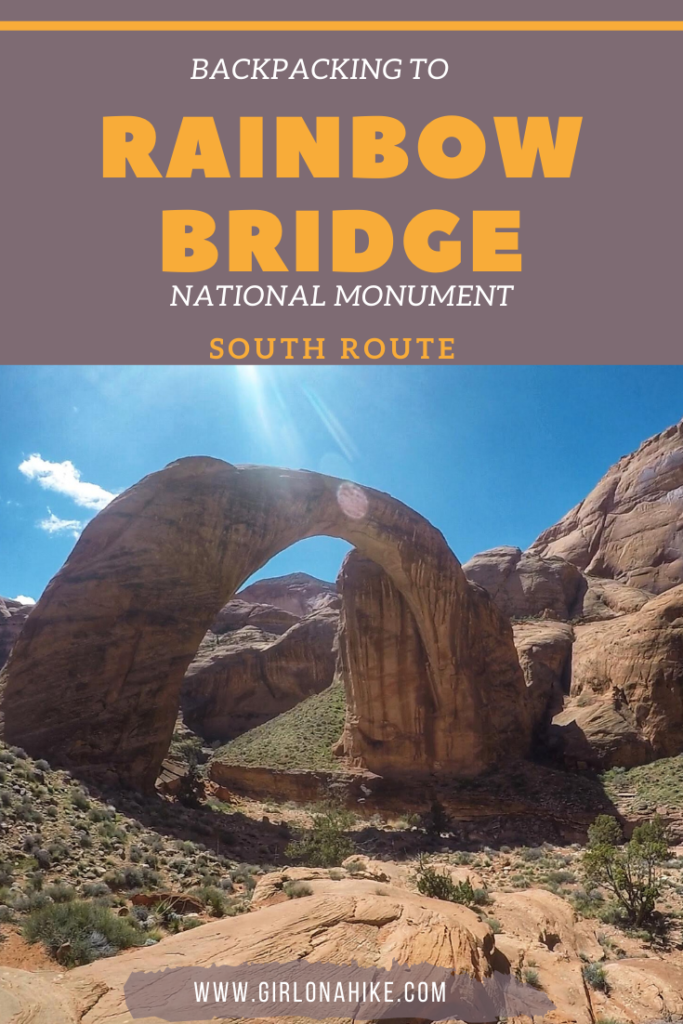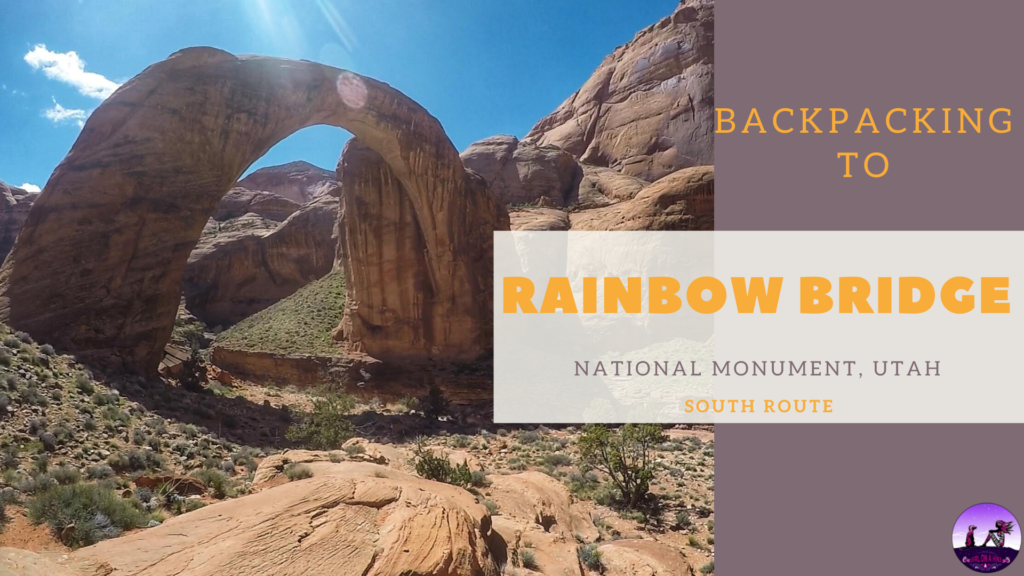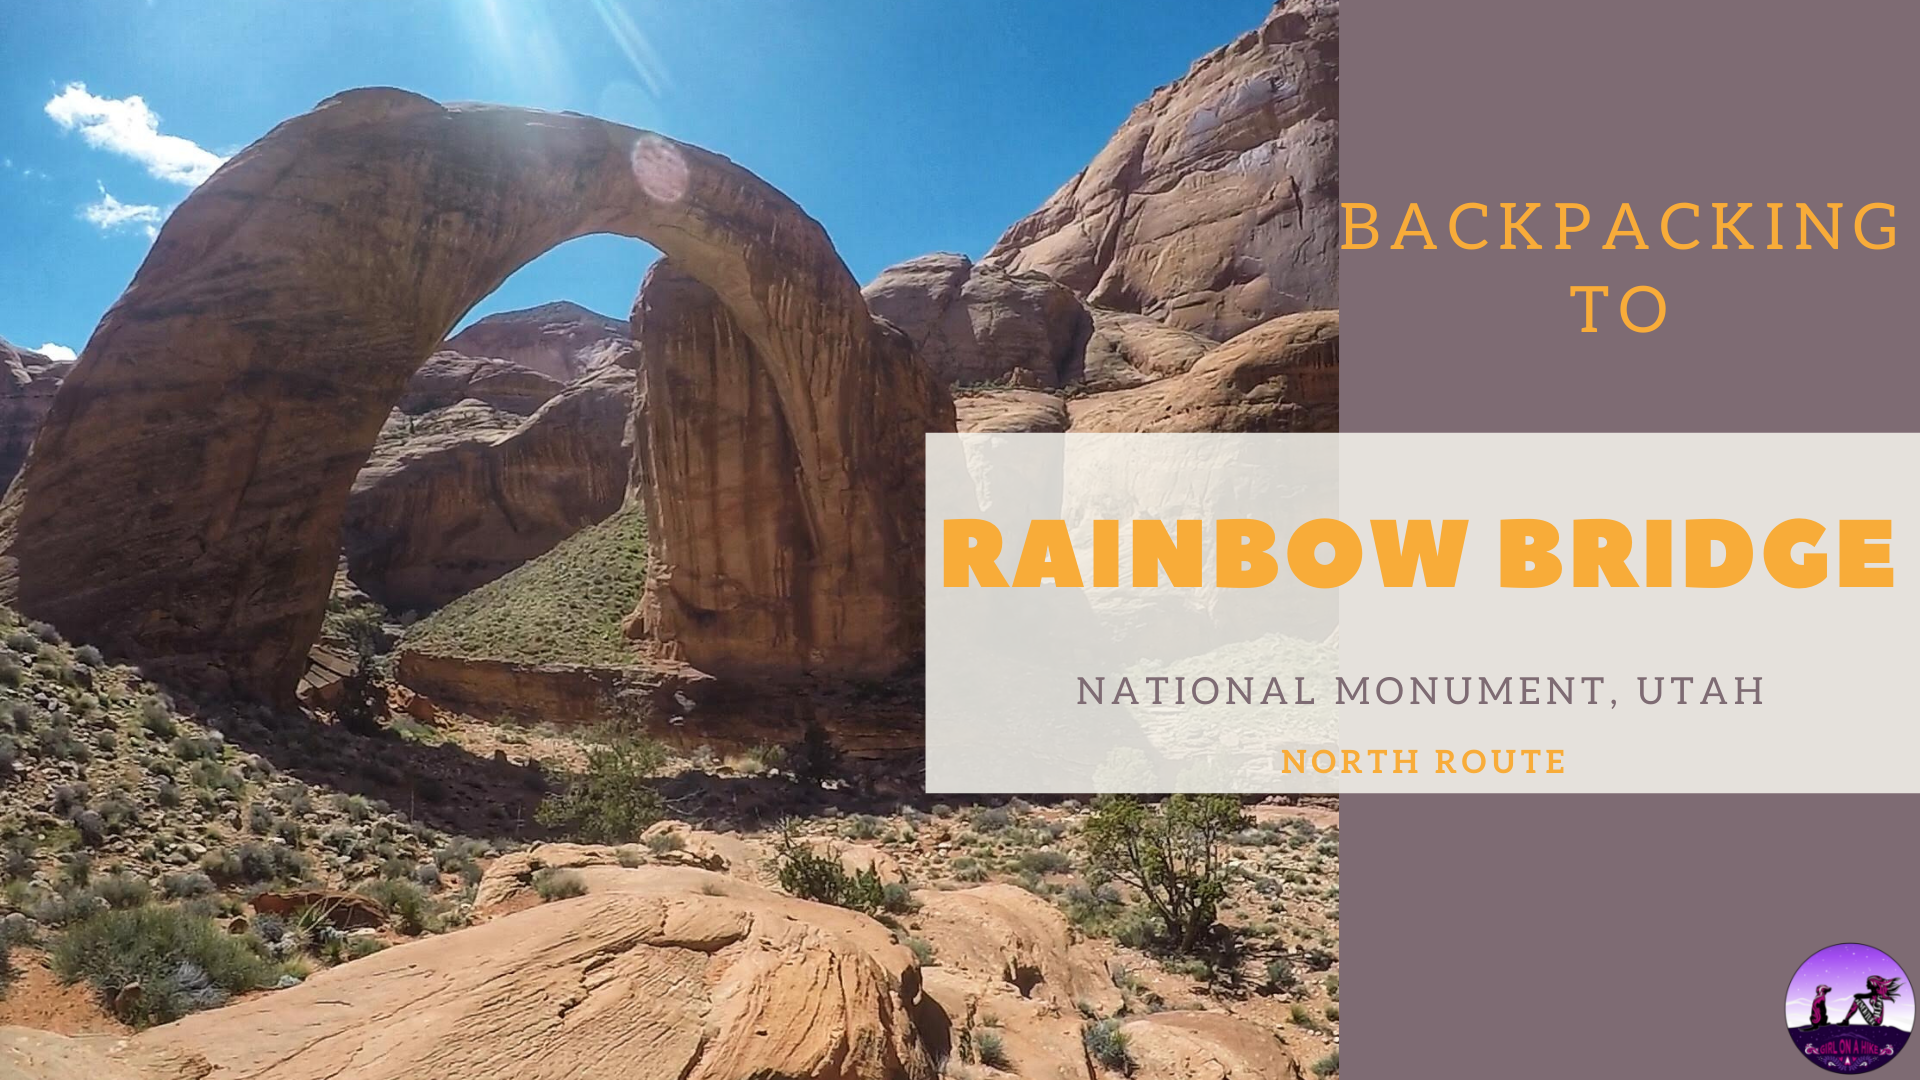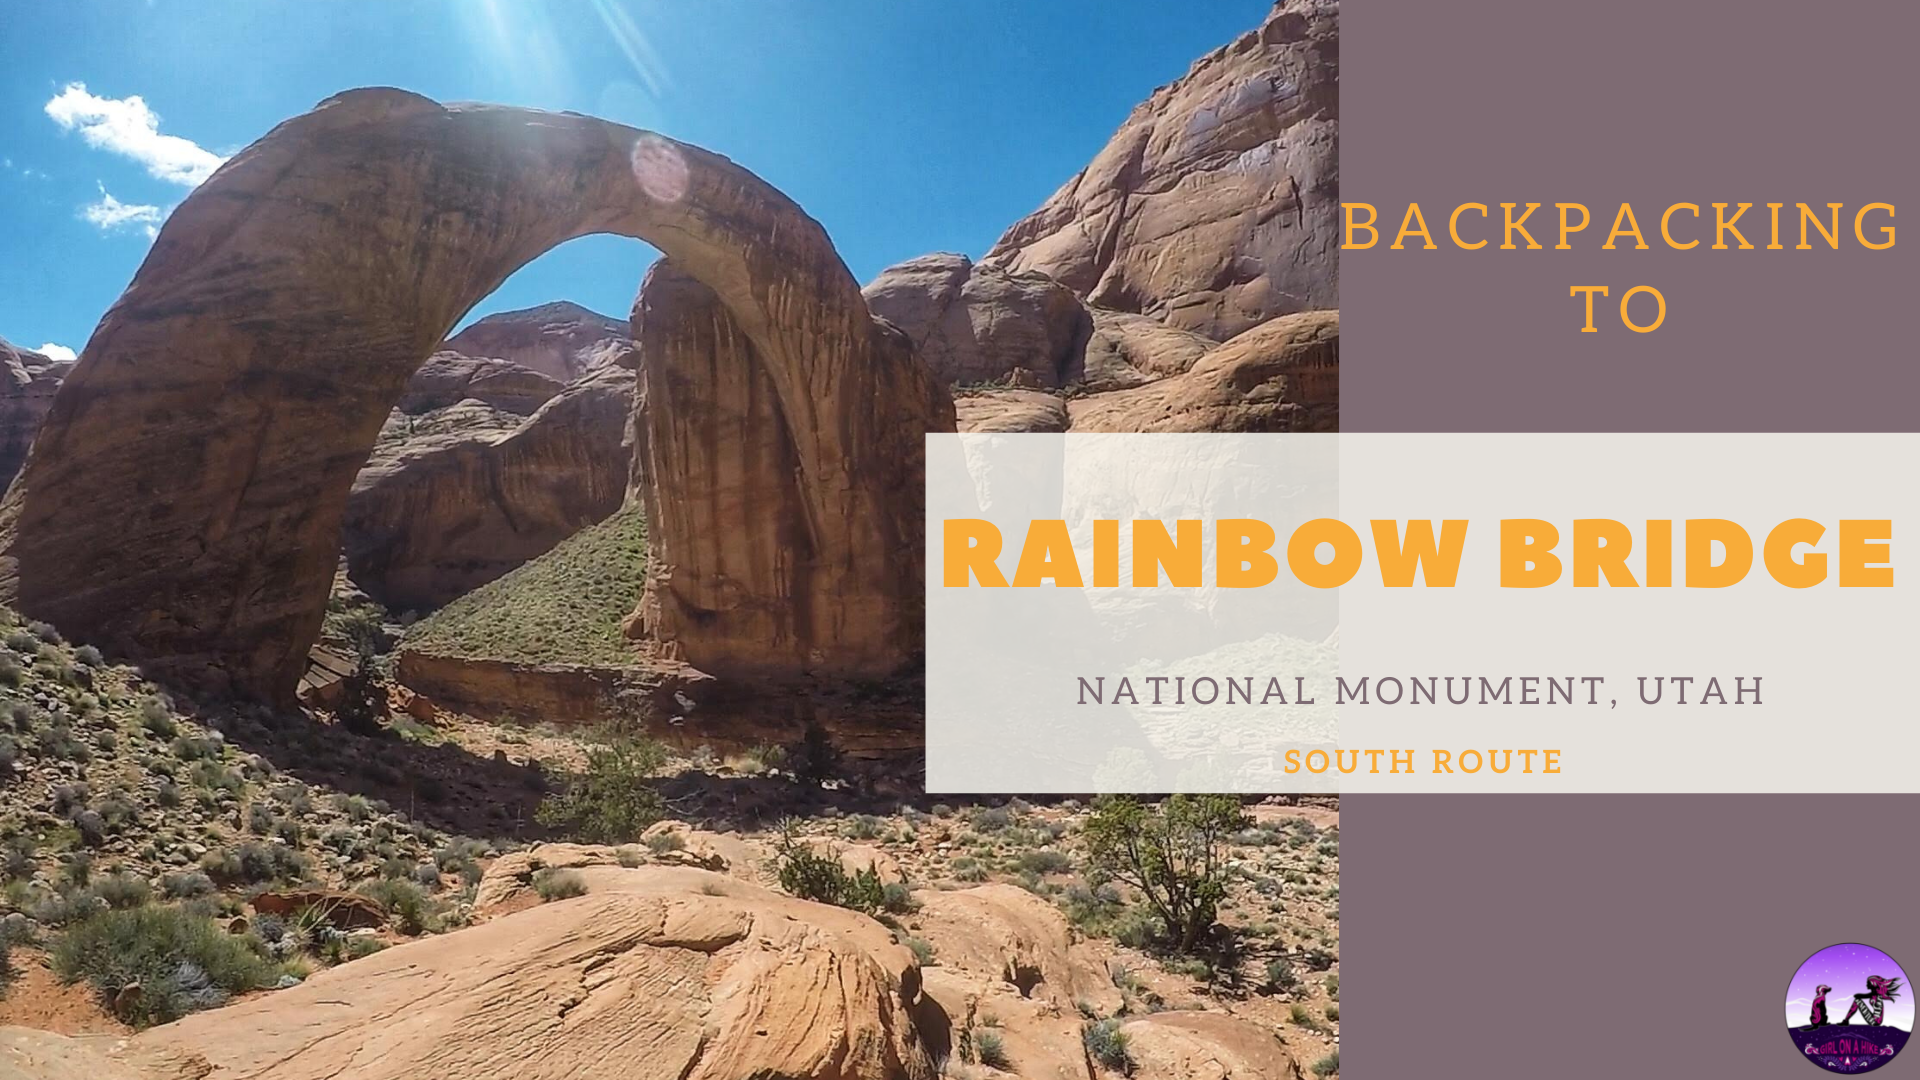
Rainbow Bridge National Monument sits within Lake Powell on the Utah side, and although is one of the largest natural bridges in the world, this national monument is one of the smallest managed by the National Park Service. Rainbow Bridge itself stands 290 ft tall from the base to the top of the arch, and is 275 ft across, making it nearly as tall as the Statue of Liberty.
About
The most popular way to access Rainbow Bridge is via boat on Lake Powell. You can take a boat tour to this area, then walk 1 mile to the bridge. This is a very expensive option, but again, the most popular. However, as of 2022 boat tours have stopped due to low lake levels. The last time that water was under Rainbow Bridge was in 1999 when Lake Powell rose to 3,696 ft, pushing 42 ft of standing water under the rock channel.
There are two trails that lead to Rainbow Bridge, the North and South route. We took the South Route this time, since we hiked the North Route last time in 2019.
To hike either the North or South route you need to get a permit months in advance from the Navajo Nation, since you will be parking on and accessing their land. Keep reading below for permit instructions. The best time of year to visit is Spring when the temperatures are cool and water is running. Backpacking to Rainbow Bridge is well worth the effect, and you’re likely to see few people hiking here. Over 2.5 days we saw a total of 6 other backpackers!
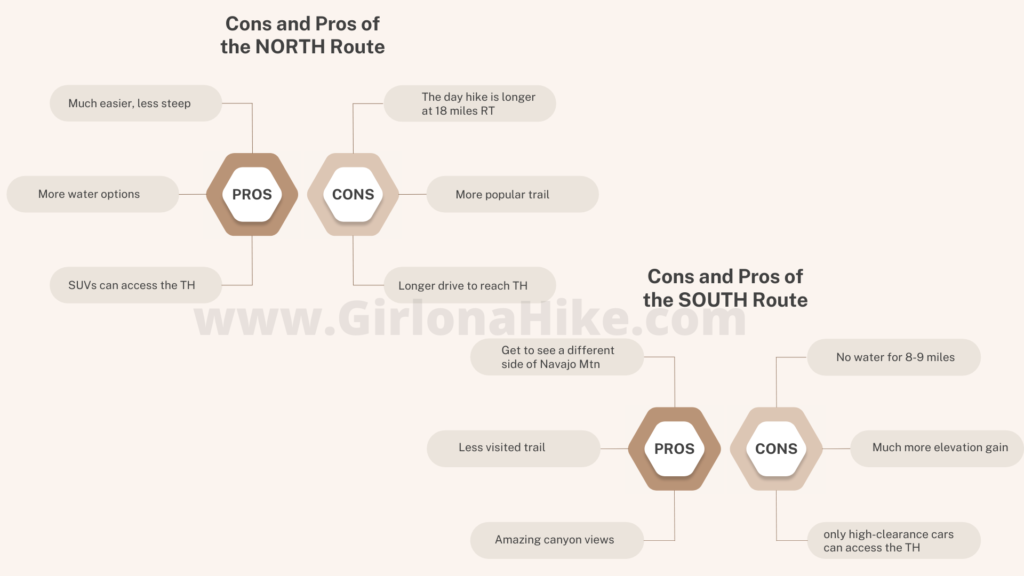
There are pros and cons to each route:
Directions
Here is a driving map from Page to the turnoff for the dirt road. Past this, Google Maps doesn’t understand how to correctly get to the Rainbow Bridge South Trailhead. Use these written directions to get there:
From Page, AZ drive 52 miles to the Sinclair, and turn left. Drive another 31 miles. When you see the cattle guard and dirt road turn left, reset your odometer. Drive 5.4 miles, and take the first right after Haystack Rock. If you have a small car or SUV, drive another 0.2 miles and park at the brick water spout structure. If you have 4WD, keep going another 1.2 miles up a very rocky road. Only trucks, jeeps or 4Runners can make the drive. SUVs like a CRV or Pathfinder will need to park at the first pull out mentioned here. You can view the driving map at the bottom of this post.
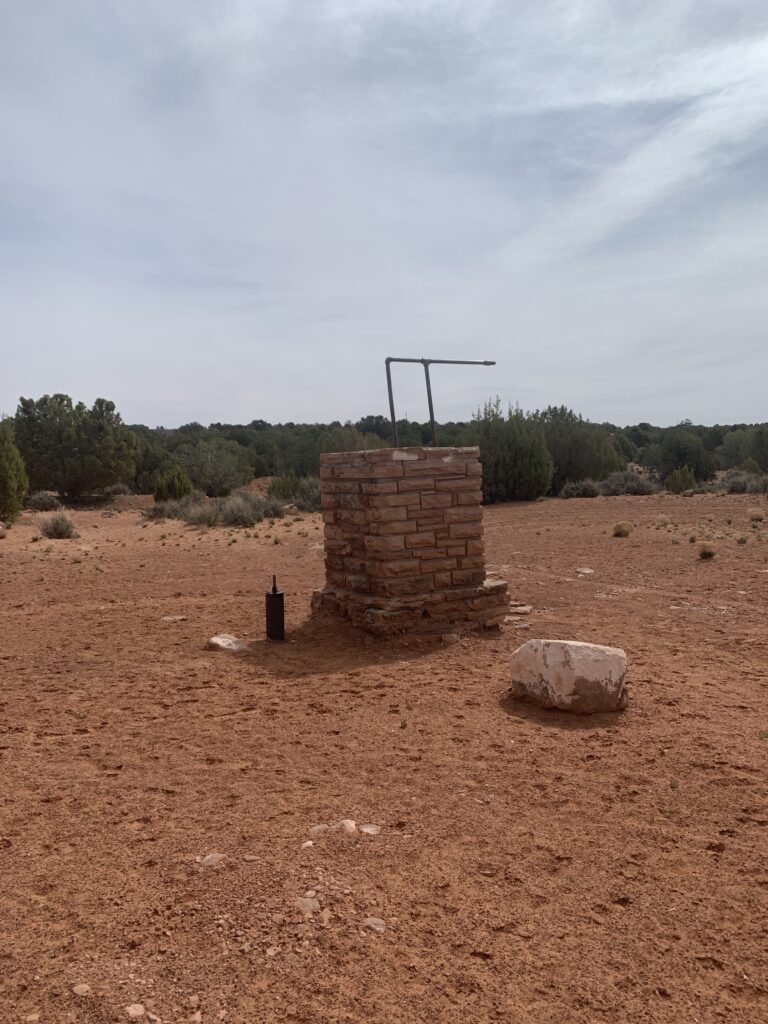
When you see this water structure, you’ll know to park for non-4×4 cars.
Trail Info
Distance: 30 miles RT
Elevation gain: Roughly 4,200 ft total
Time: 2 nights, 3 days
Dog friendly? Yes
Kid friendly? No
Fees/Permits? Yes, both.
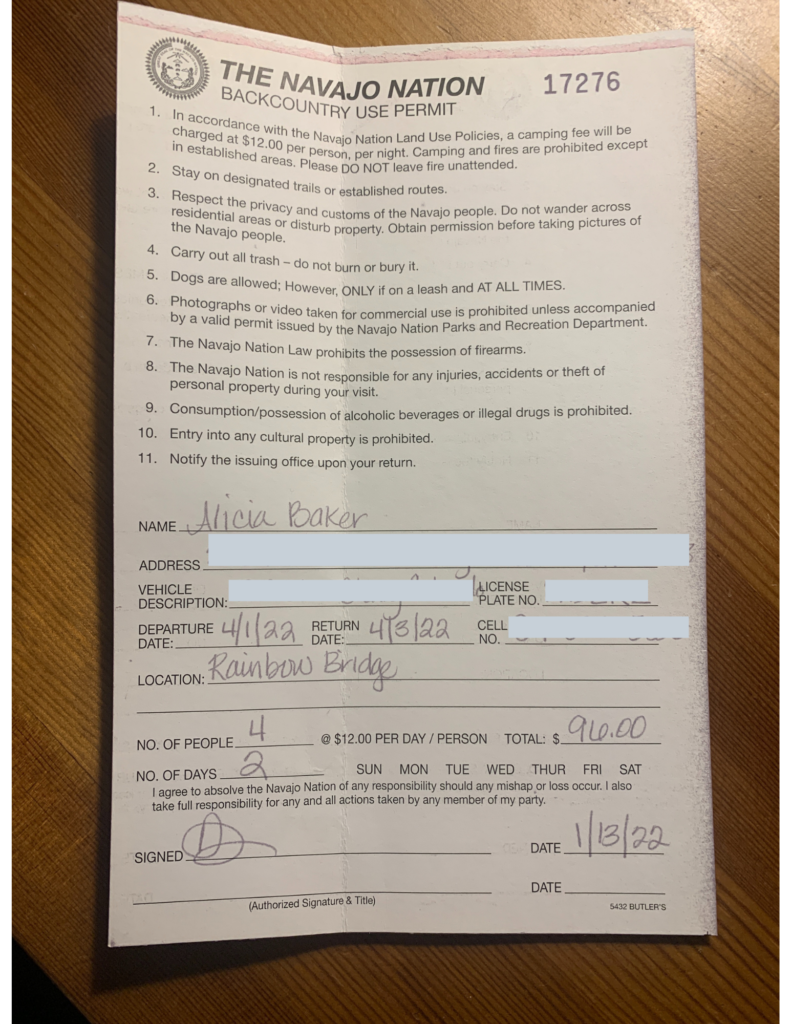
You need to get a permit from the Navajo Nation – use this site to send in your request at least 4-6 weeks prior to your trip. I applied about 4 months in advance and received my permit about 2 weeks later. When paying for your permit, you can only send in a money order or cashiers check payable to Navajo Nation. Currently the tribe does not have a way to apply for a permit online, fax, or by calling. You have to mail in your request. Make sure you fully read the Navajo Nation Hiking & Camping Rules page.
This is what your permit will look like, and what you need to carry with you on your trip.
FAQs
The National Park Service has a great review of FAQ’s. Here are some additional FAQs.
Can I bring my dog?
Yes, dogs are allowed. Dogs should be able to hike for long distances and over rocky terrain. Dog poop is not required to be packed out. Note that there is plenty of little critters and deer here, and food storage regulations apply for backcountry users, including dog food. Bear cans aren’t required, but probably a good idea. Don’t forget to pack at least 3-4 liters of water just for your dog. I recommend this dog pack.
Is this a good trail for kids?
Not for younger kids, but those who have backpacking experience and can carry their own weight & water should be fine.
Is there a water source along the trail?
The South Trail (our route) has limited water sources, and may be dry depending on snow pack and how late in the year you go. The first water hole is around mile 8.3, where an intermittent spring begins, and ends around mile 9. From there, after you cross Red Bud Pass, you will have more intermittent springs until you reach the confluence with the North Route. These springs tend to dry up after April, and don’t return until the following Winter after snow begins to melt again.
Where can I camp?
The campsites are located at miles 3.5, 4.5, 7.0, 7.5 (all of which are dry camps, and can fit a max of two small tents) and the first water campsites are at mile 8.8 and 9.0.
Camping is not allowed at any other dispersed locations.
When is the best time to backpack to Rainbow Bridge?
March & early April seem to be the best months – the temperatures aren’t too hot, and water is still running in the creeks. Summer months are extremely hot and try, along with monsoon season; winter is cold along with high winds. Due to the quick changes in weather, be aware of flash flood danger.
How hard is the trail?
This depends on your experience, fitness level, pack weight and weather. There are no technical areas of the route, but climbing over rocky passes and slickrock are required. You should have a few backpacking trips under your belt, and be comfortable carrying up to 20-40 lbs for hours on end. As always, the lighter your pack, the easier your hike will be. More weight = harder hike. The South Route is much harder compared to the North Route due to rockiness and steepness.
How many days/nights should I plan on backpacking here?
Backpacking to Rainbow Bridge could be done in as quick as one night, but I recommend staying at least two nights to really enjoy your stay. We set up camp at Campsite Mile 9 for the first night, day-hiked to Rainbow Bridge the next day, and THEN backpacked another 4 miles back up the climb to knock that out and have a shorter last day. For the day hike, we used our ultralight small day packs.
What guidebook or map do you recommend?
The Navajo Nation doesn’t provide a map of the South Route, so I used my Gaia GPS app (see photos below). I was able to create a route using way points. It’s really easy, here’s a guide on how to do that with the app. Make sure you create the route, download the map all the way out to the dirt road, and save before heading out for your trip. You can also message me on my Instagram or Facebook page and I will provide my routes (.gpx or .kmz) to you for $5; please provide your email in the message.
Day 1
Miles: 8.8, Elevation: Descent of 3,100 ft
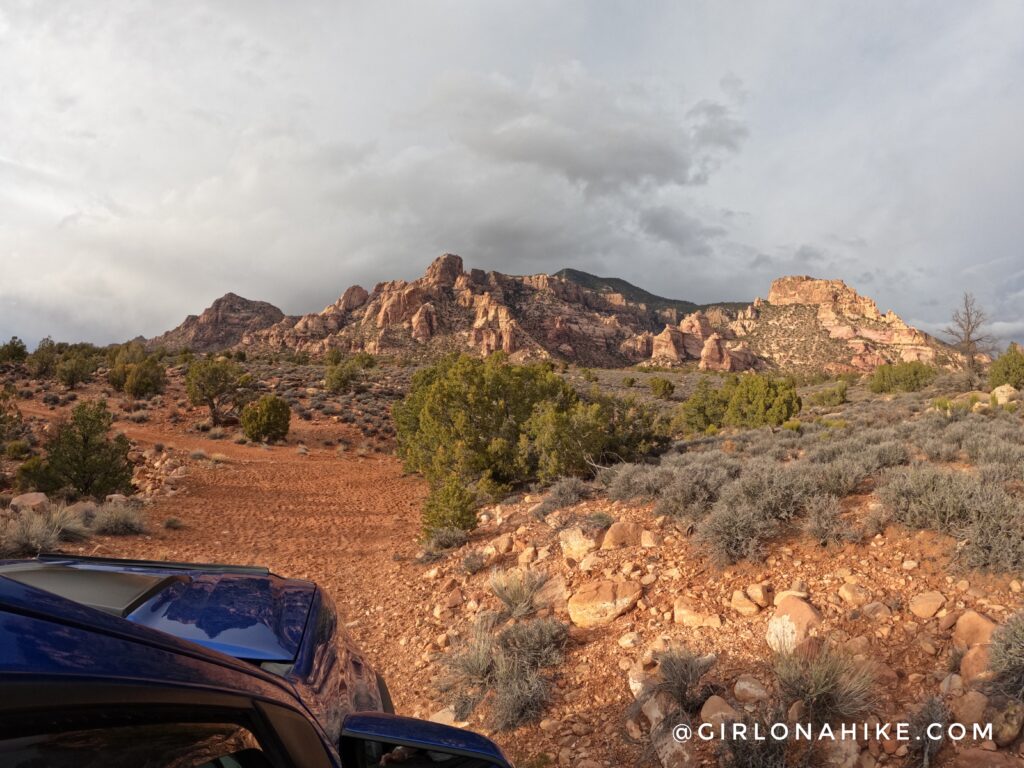
The road doesn’t look bad here, but it gets really rough with boulders. You’ll want at least 9-10 inches of ground clearance for your car to make it. We drove a Chevy Colorado and mostly had it in low-4WD. It did great but was still quite bumpy.
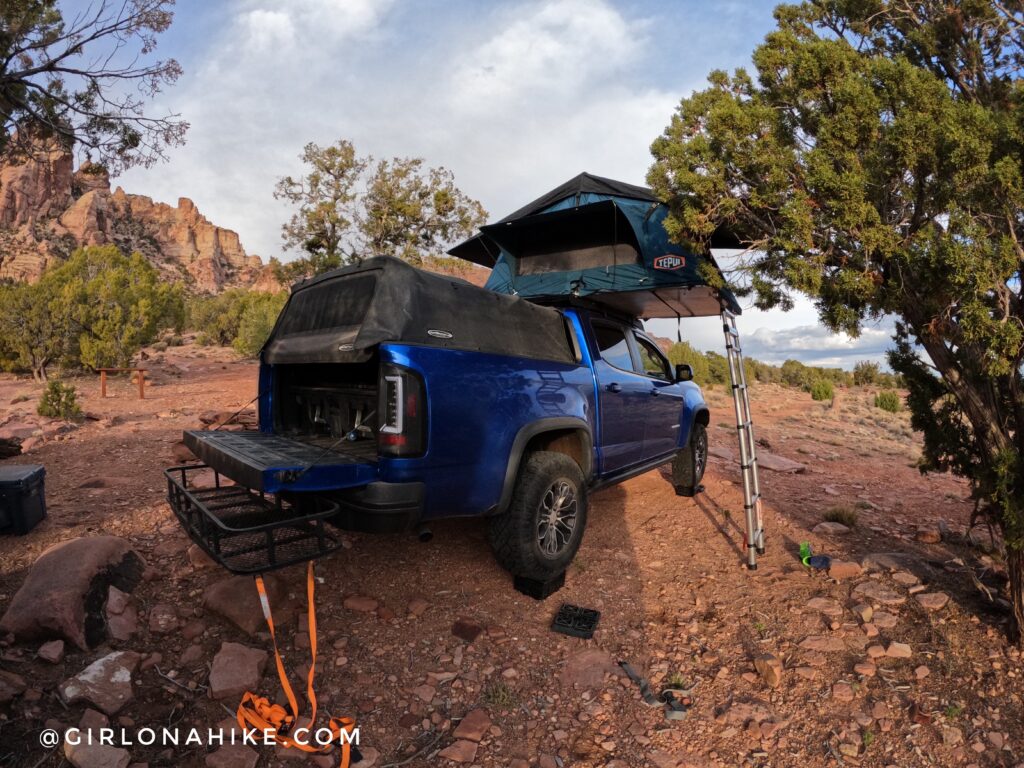
We made it all the way to the official TH, and parked in between some trees to camp the night before we began hiking. It was my first time camping in a roof top tent and it was SO fun! It also rained on and off about five times that night so I was really glad not to be in my backpacking tent. Notice that we used several leveling blocks – this whole area is very slanted.
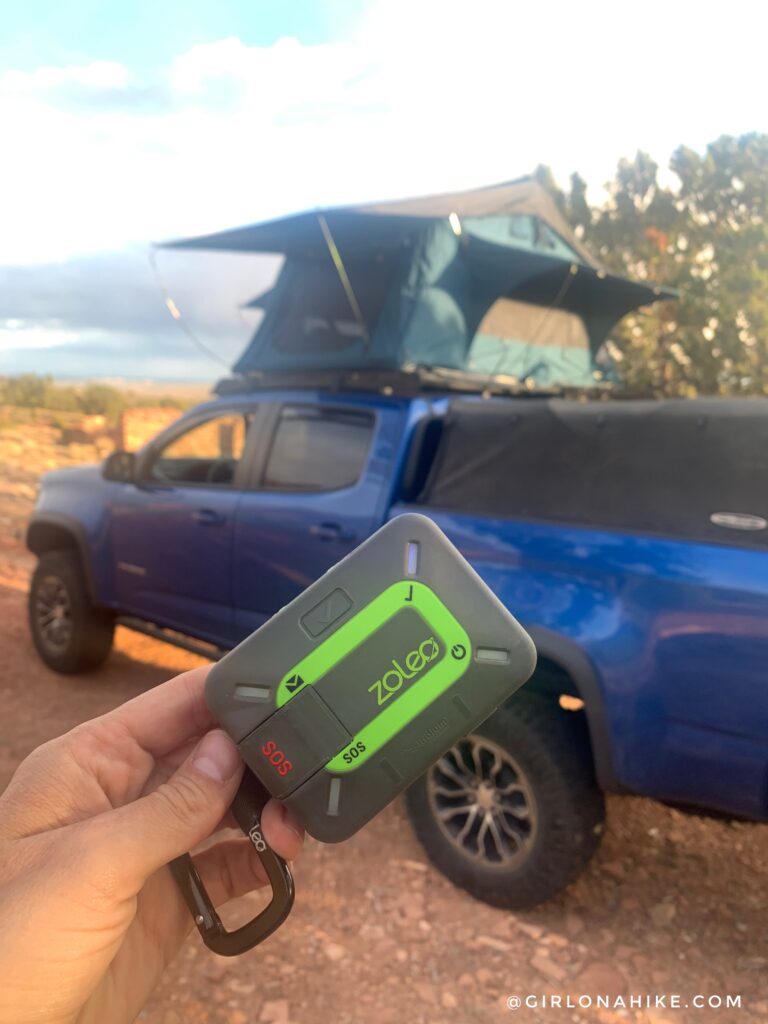
There is zero cell signal, so make sure you have a satellite communicator like the ZOLEO! I was able to check in with my partner the entire trip to let him know we made it to each campsite or destination. It also has an SOS feature in case of emergency. You can read my full review here.
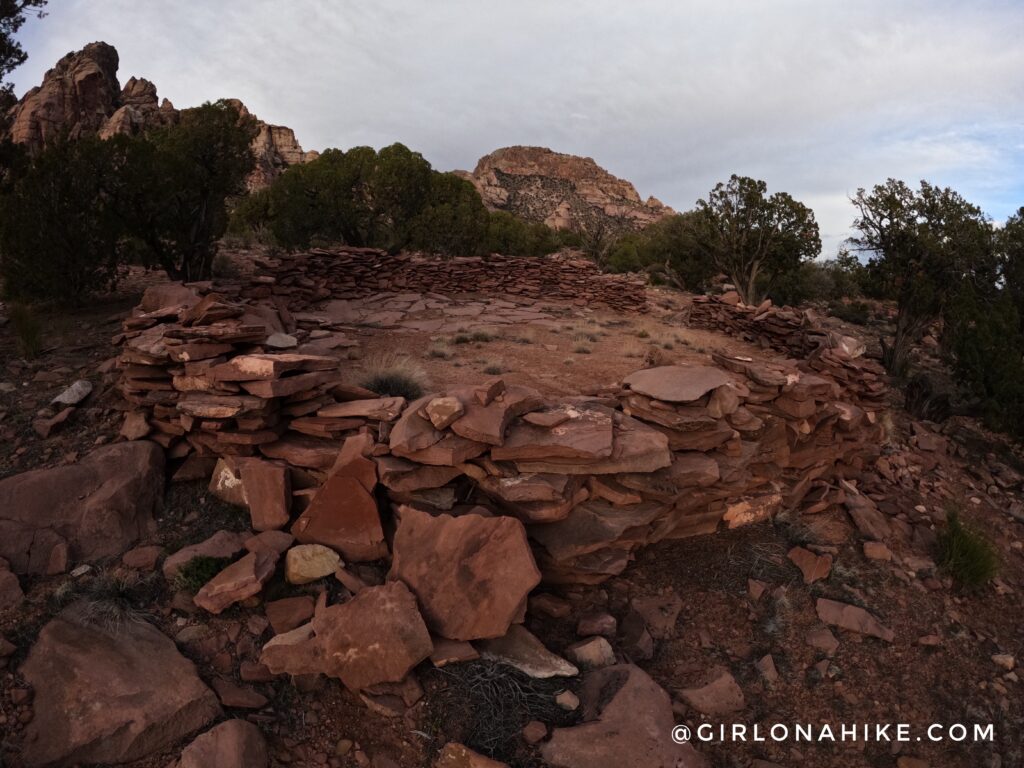
Right at the Rainbow Bridge trailhead are several ruins left over from the “Rainbow Lodge” site.
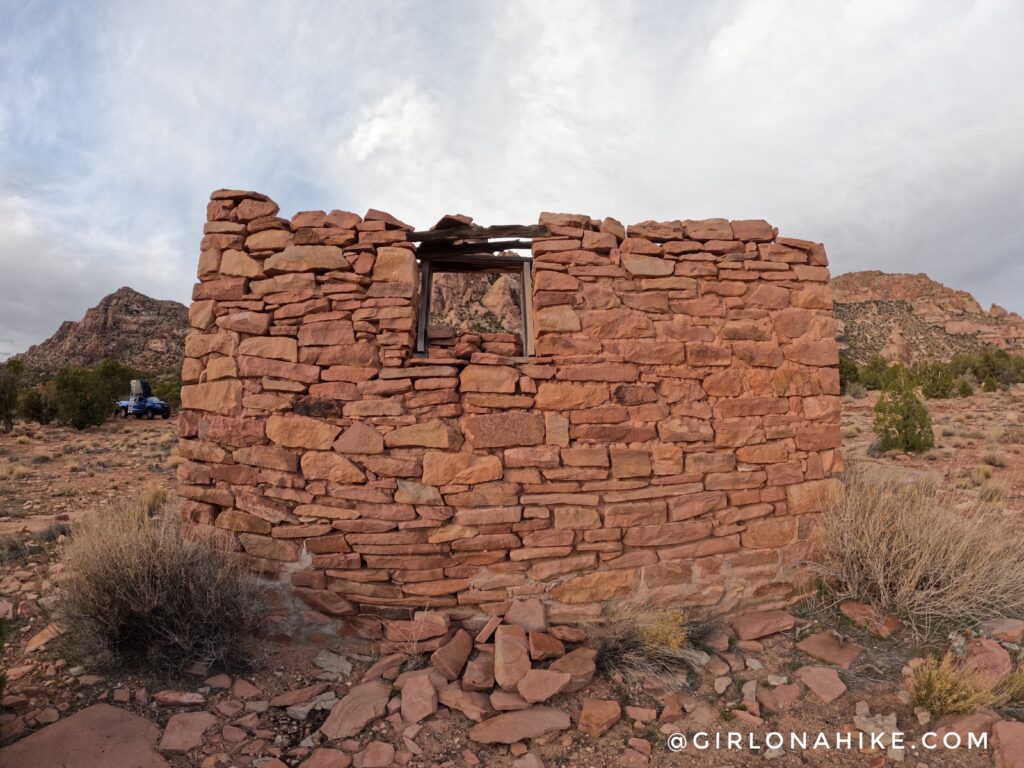
What a cool spot the Natives had.
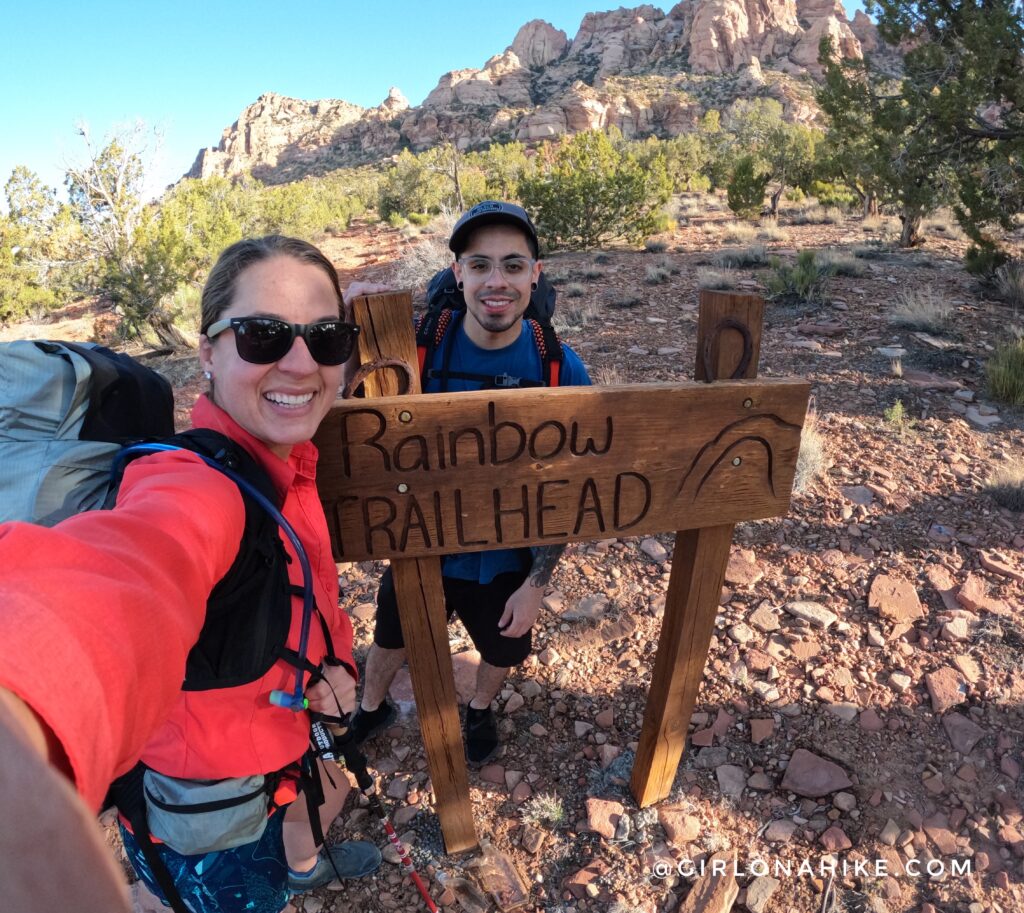
The next morning we were packed up and ready to hike by 9am! I was really glad my friend Will & his dogs joined me again on this trip – he also was with me when we backpacked the Rainbow Bridge North Route in 2019!
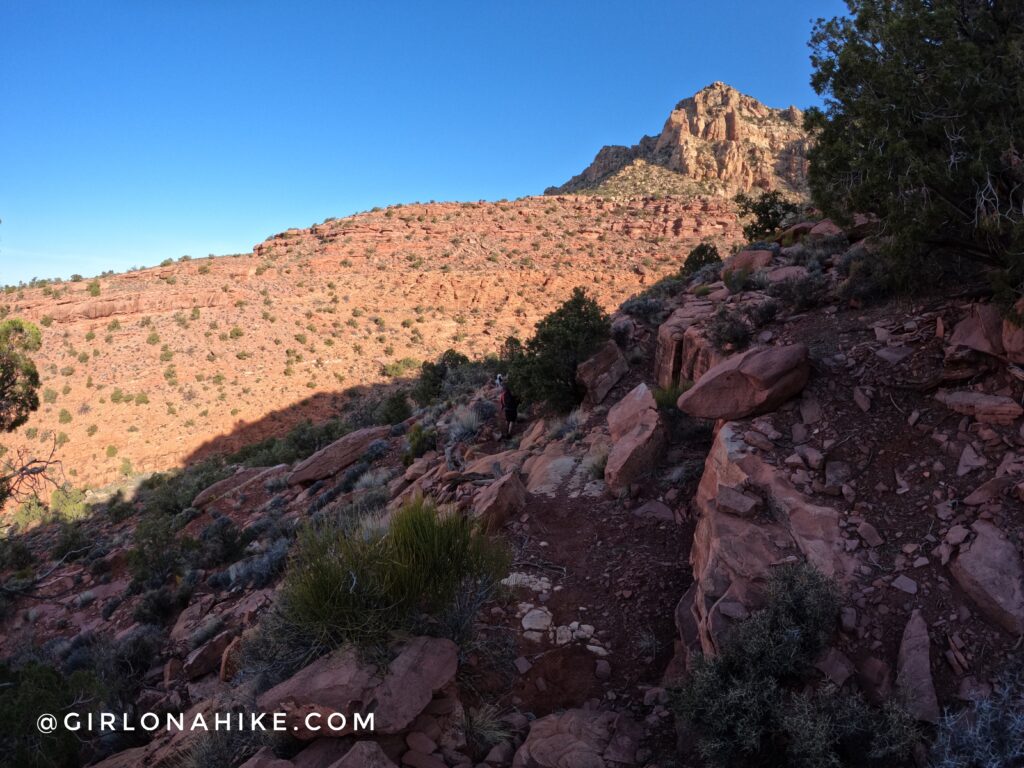
The trail is level for the first 1/2 mile, then drops into First Canyon. Let the elevation change begin! From here to Mile 9 camp, its constantly up and down.
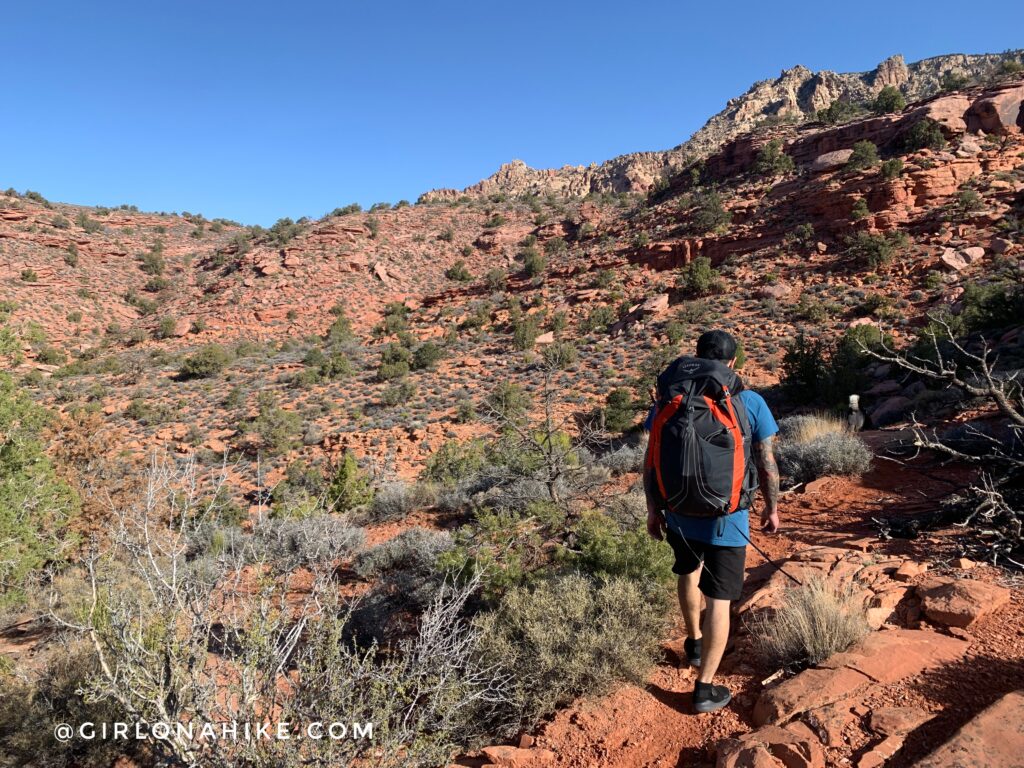
Nearing the first small pass.
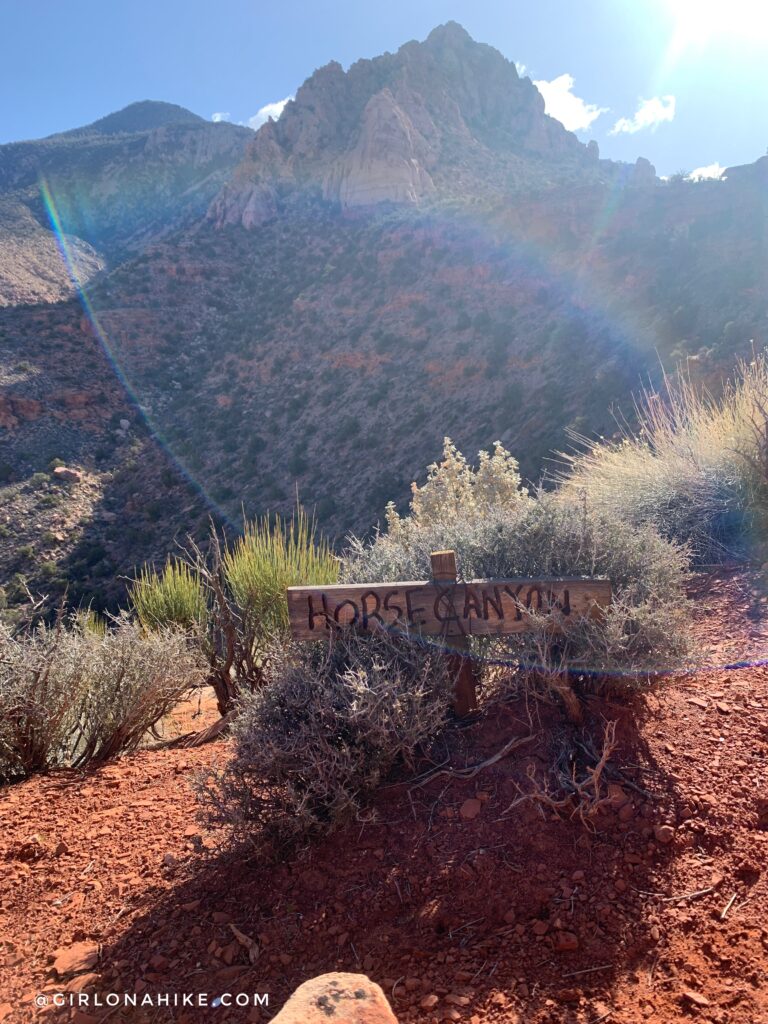
At 2.0 miles you will see the sign for Horse Canyon. It looks like trails go both East and West, but head right (East). The trail will go up slightly.
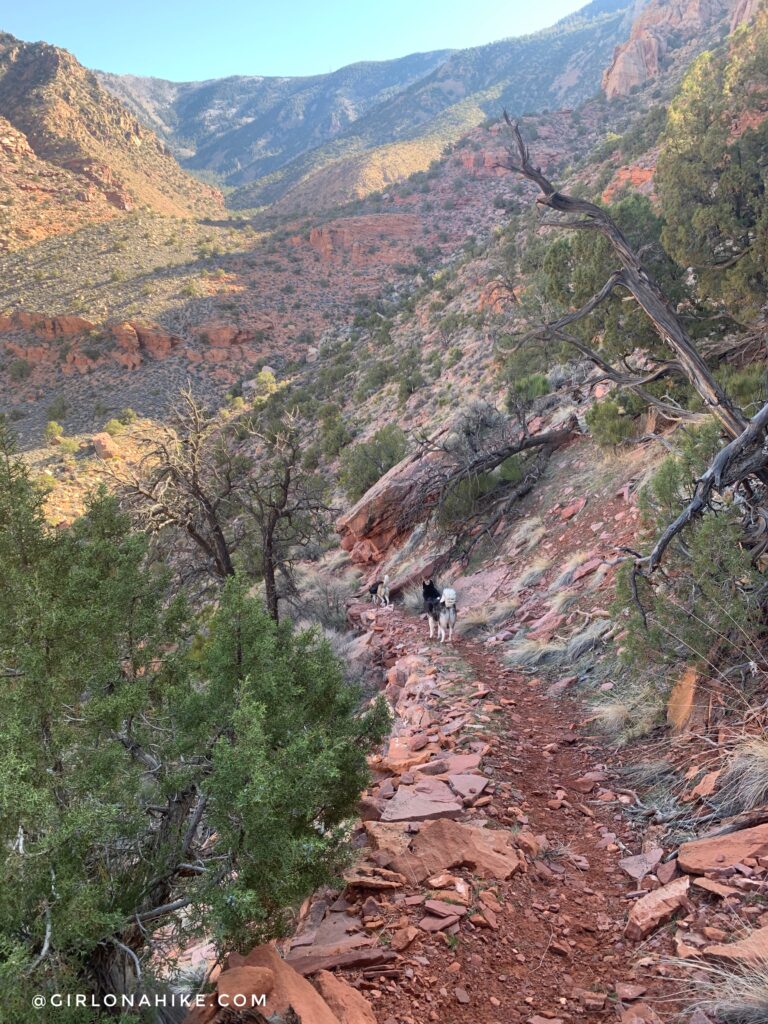
Then it takes a steep dive down to the bottom of Horse Canyon.
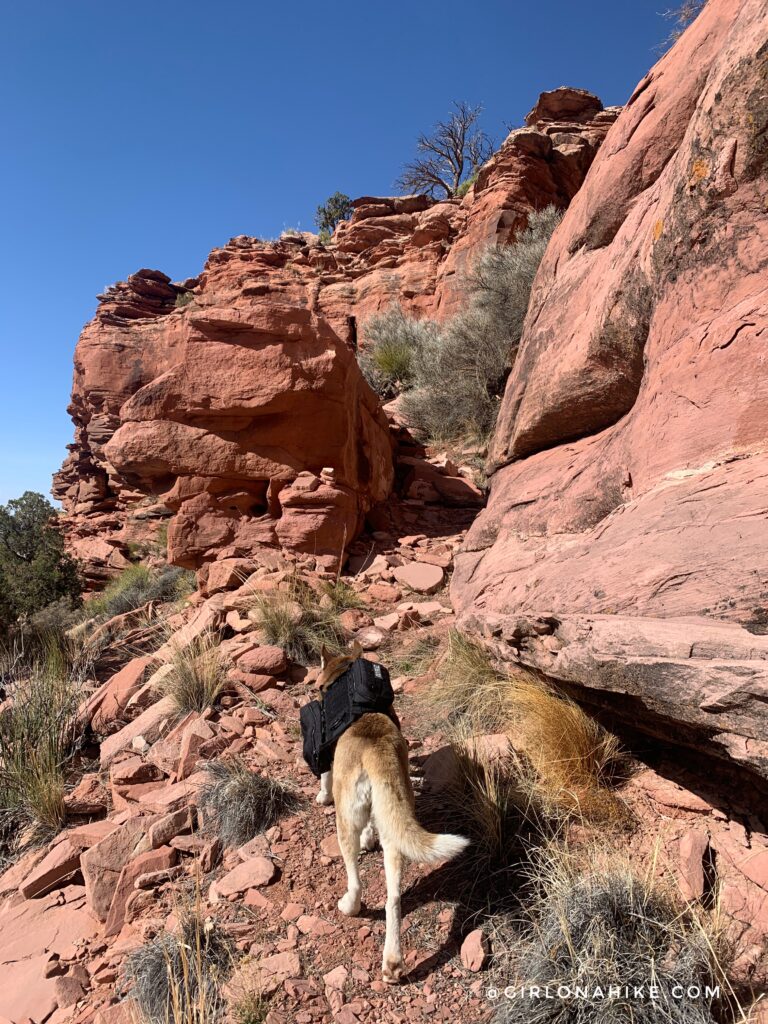
Again, back up to another small pass. The dogs did great jumping, hiking, and carrying their own packs. I didn’t bring Charlie with me because he is too old to be hiking big days like these young pups, so he stayed home with his dad.
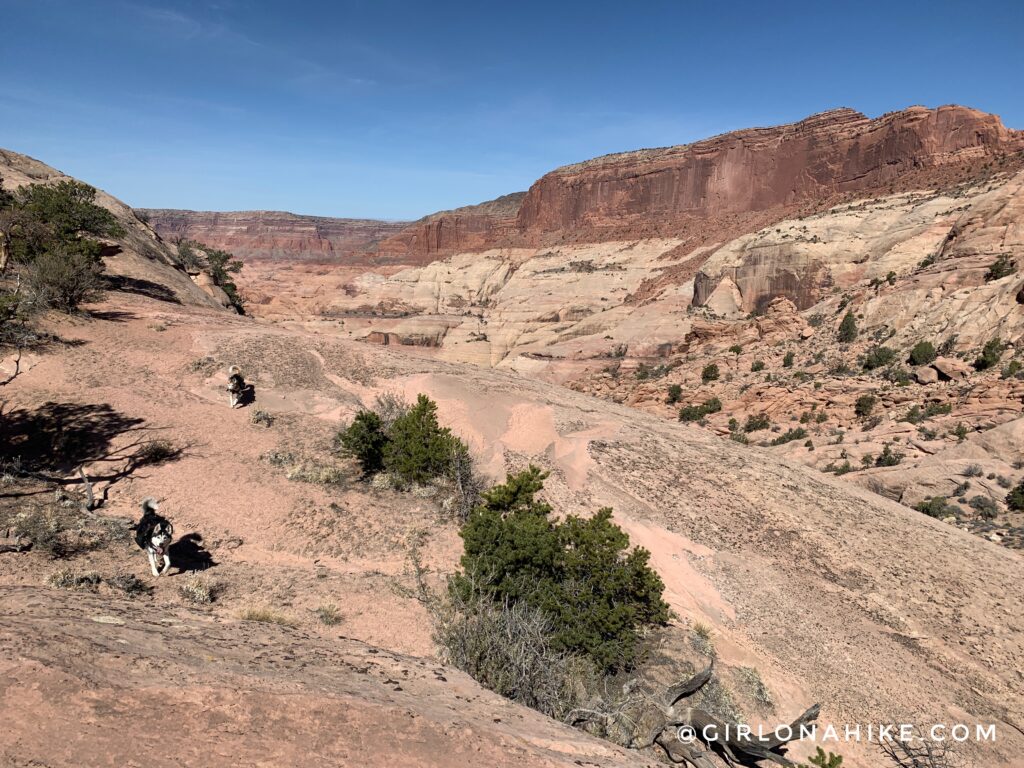
Looking down into Dome Canyon to the West (left).
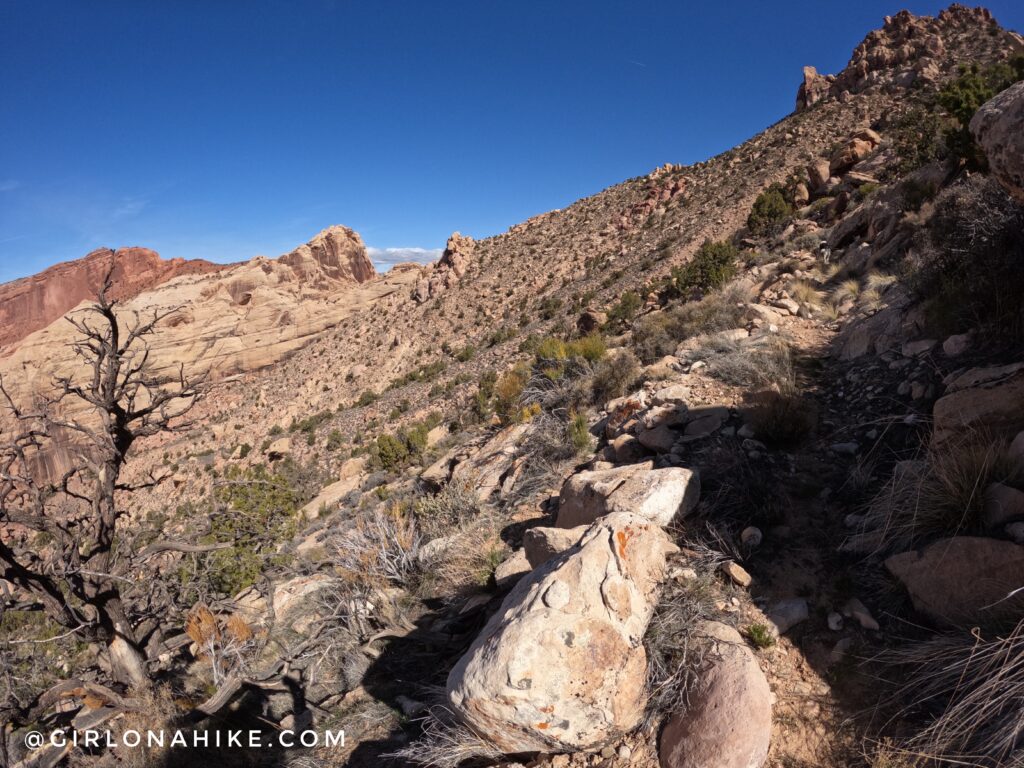
A few times on the trail I felt like we weren’t on the right one because we kept gaining elevation. But keep going, the trail just keeps wrapping around Navajo Mountain.
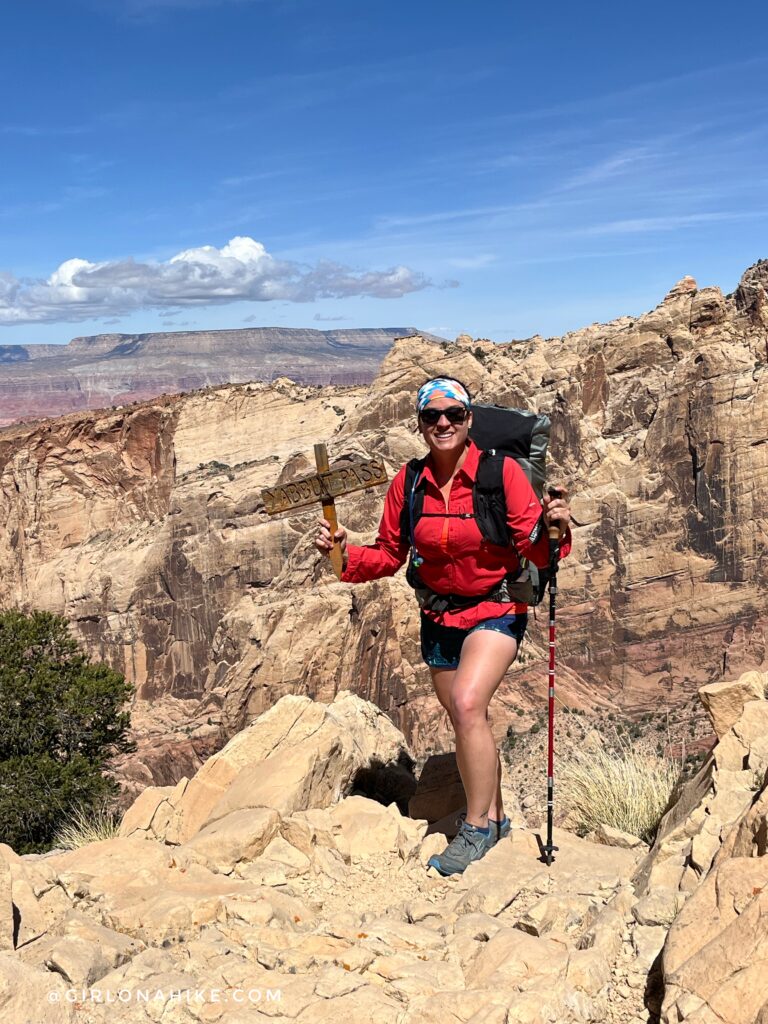
Finally we were at Yabbut Pass (aka Sunset Pass). Think your legs are tired now? Just wait until the descent past this.
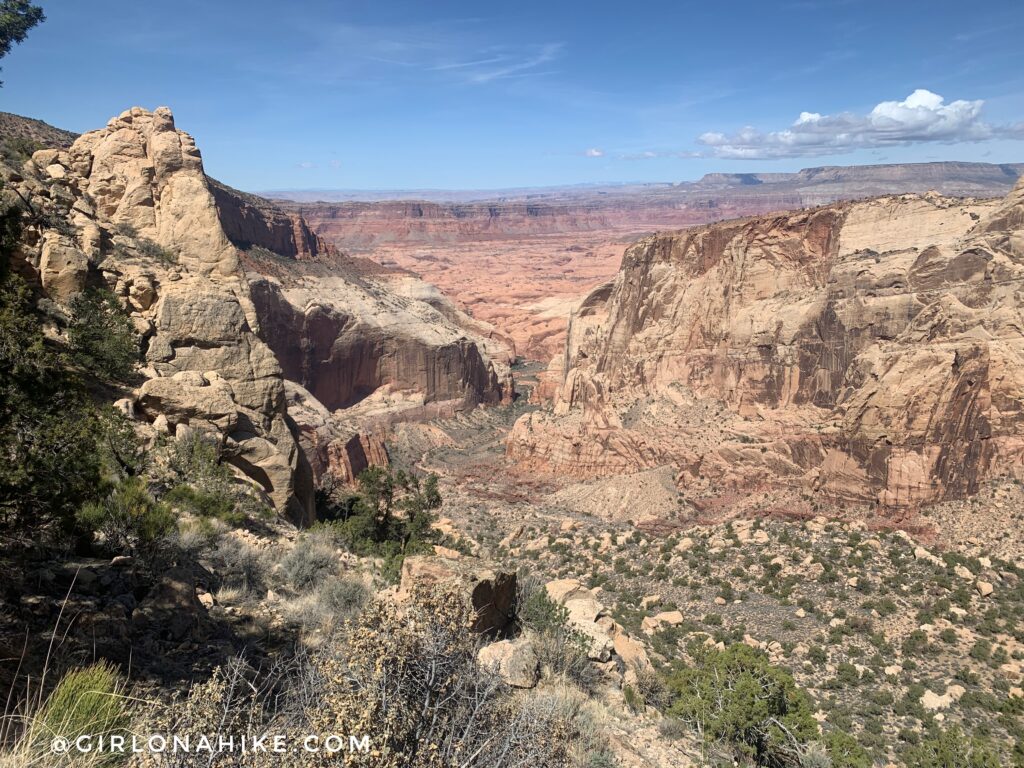
From Yabbut Pass the trail drops 2300 ft over the next 3.5 miles! It’s hard to tell in this picture, but you can see the trail going all the way down this canyon in the distance. After we finished descending my legs were super jelly!
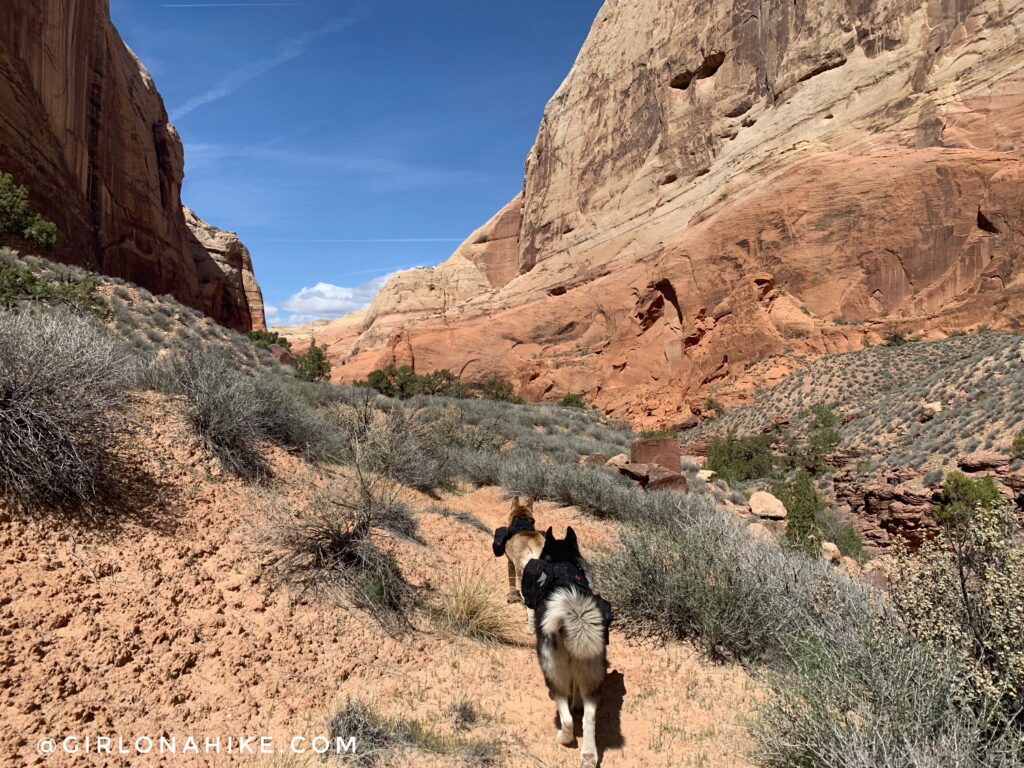
Finally at the base of the canyon once again. Now we were in search of water and a good campsite.
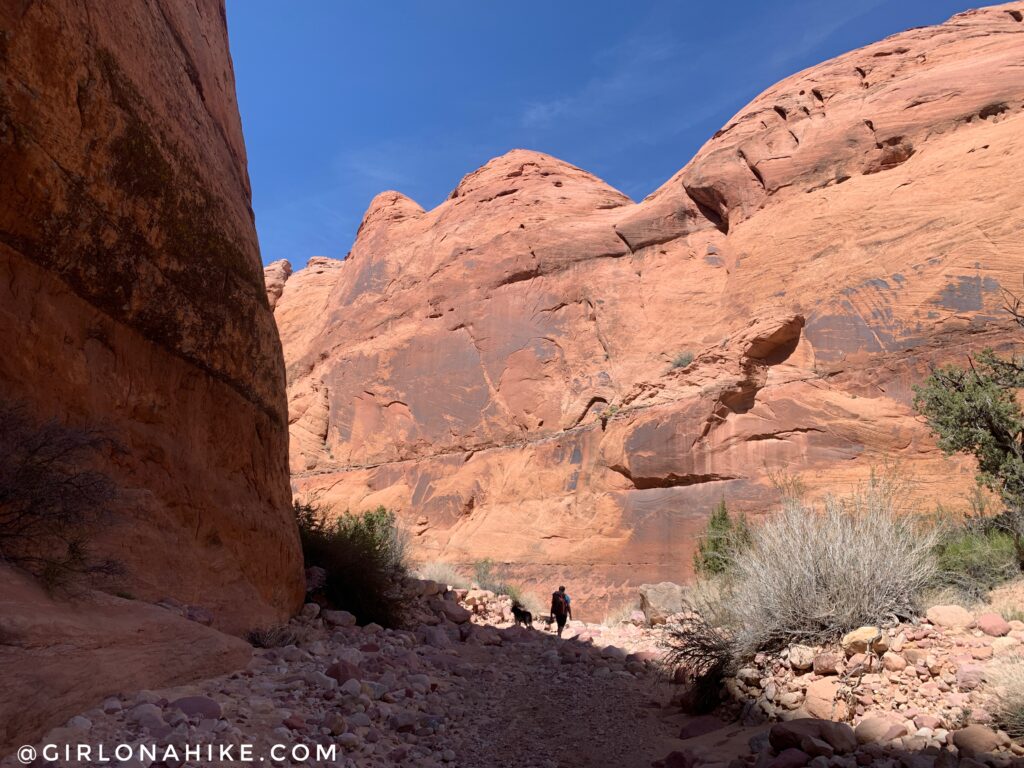
Every turn we wished for water – the dogs were really hot and thirsty. I was afraid we would run out of our own water to share with them.
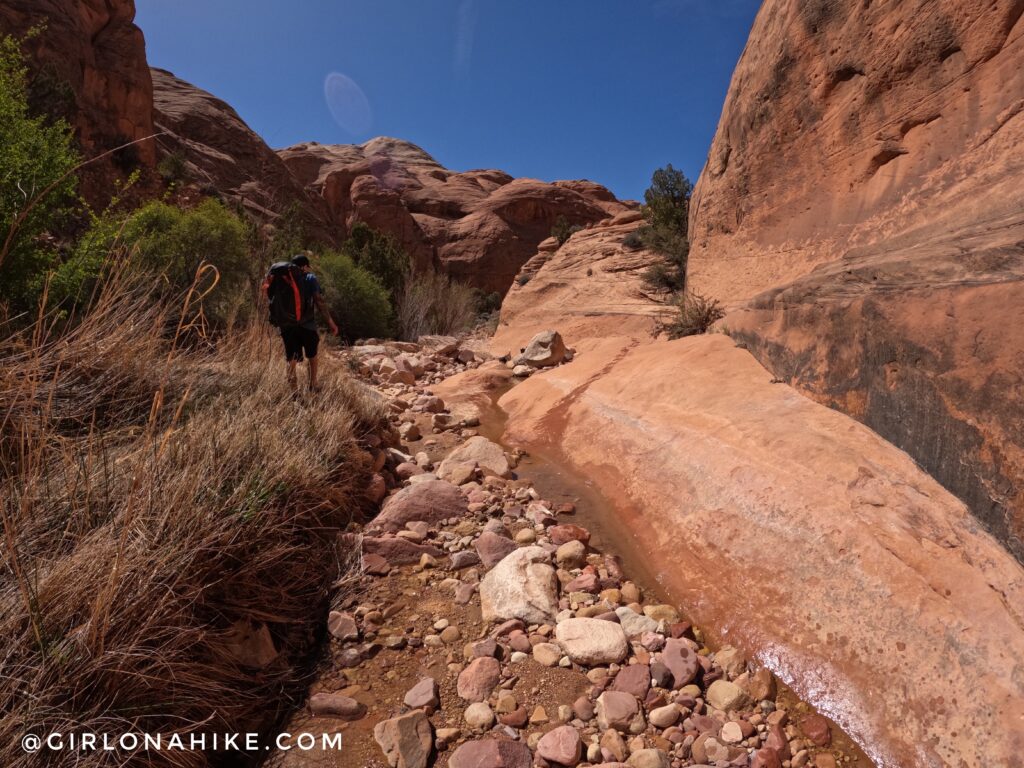
But we were in luck! Around mile 8.3 the intermittent spring started. It’s hard to see in the water pic, but we were so happy to find it! We were very relieved, as were the dogs.
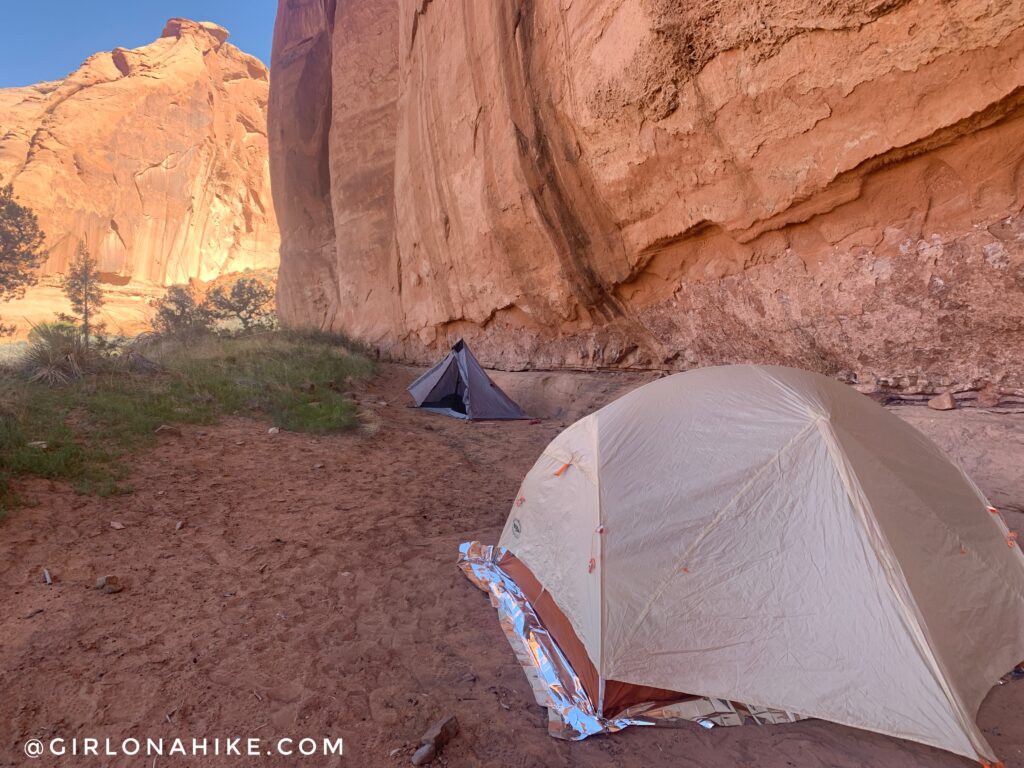
We found a nice campsite in the shade along a wall around mile 8.8. There’s two more campsites just around the bend, which I have marked on my map at the end of this post.
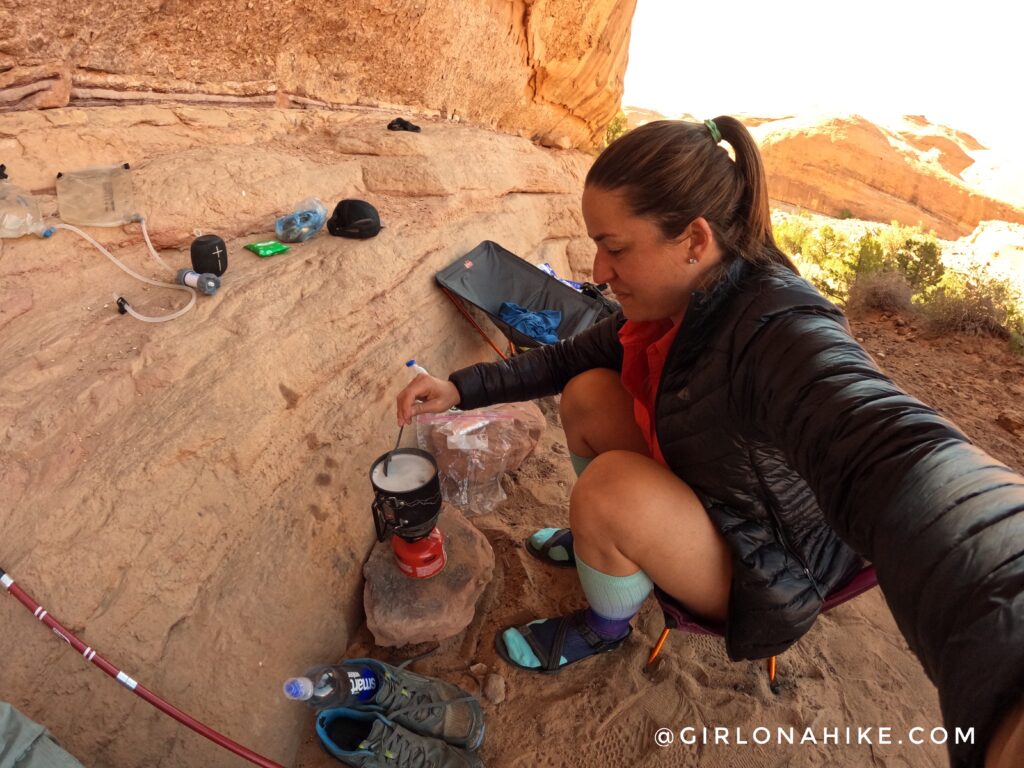
For dinner I made one of my favorites that I never eat at home – boxed mac & cheese! You know, the $2 kind haha! I boiled my noodles, and then when they were done cooking I put it in the plastic ziplock bag along with the cheese packet and mixed it that way so I didn’t have to do any dishes. I then turned that into my trash bag for the trip. It works every time!
We hung out at camp and just rested and went to bed around sunset since we were both tired from a hard first day.
Day 2
Miles: 15.0, Elevation Gain: 1,000 ft on the way back to our 1st camp, and another 2300 ft to our 2nd high camp
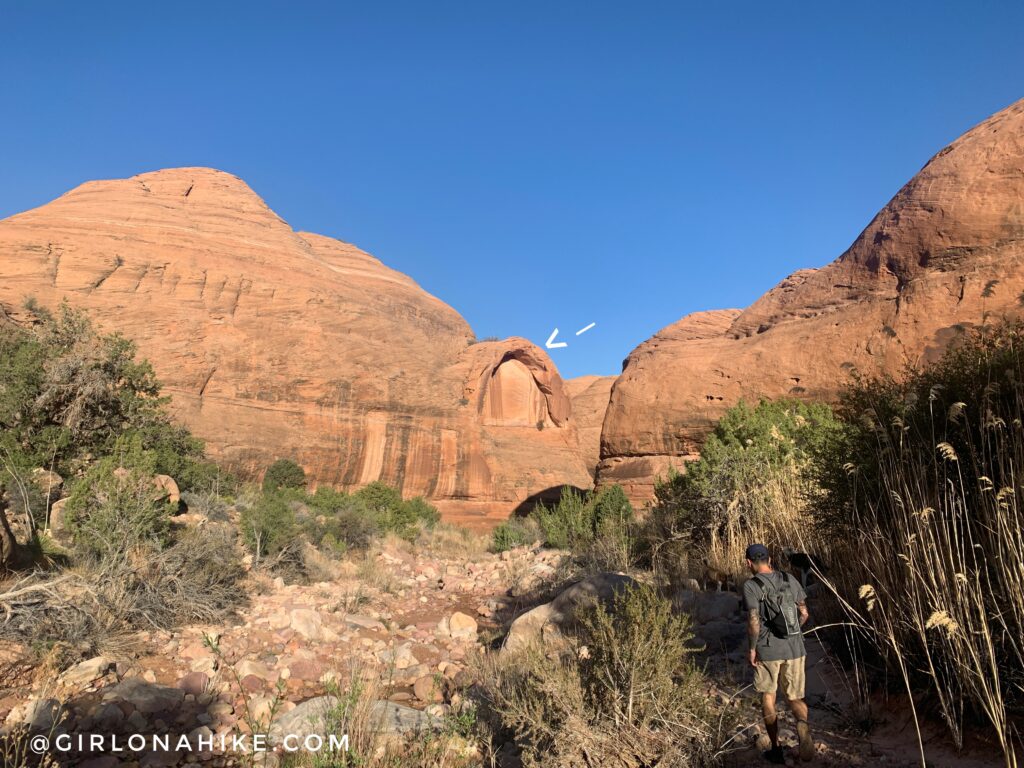
On the second day, we put on our ultralight day packs and started to make our way down to Rainbow Bridge. Around mile 9, you will see this alcove high on the left side of the canyon. This is where you will turn right for Redbud Pass.
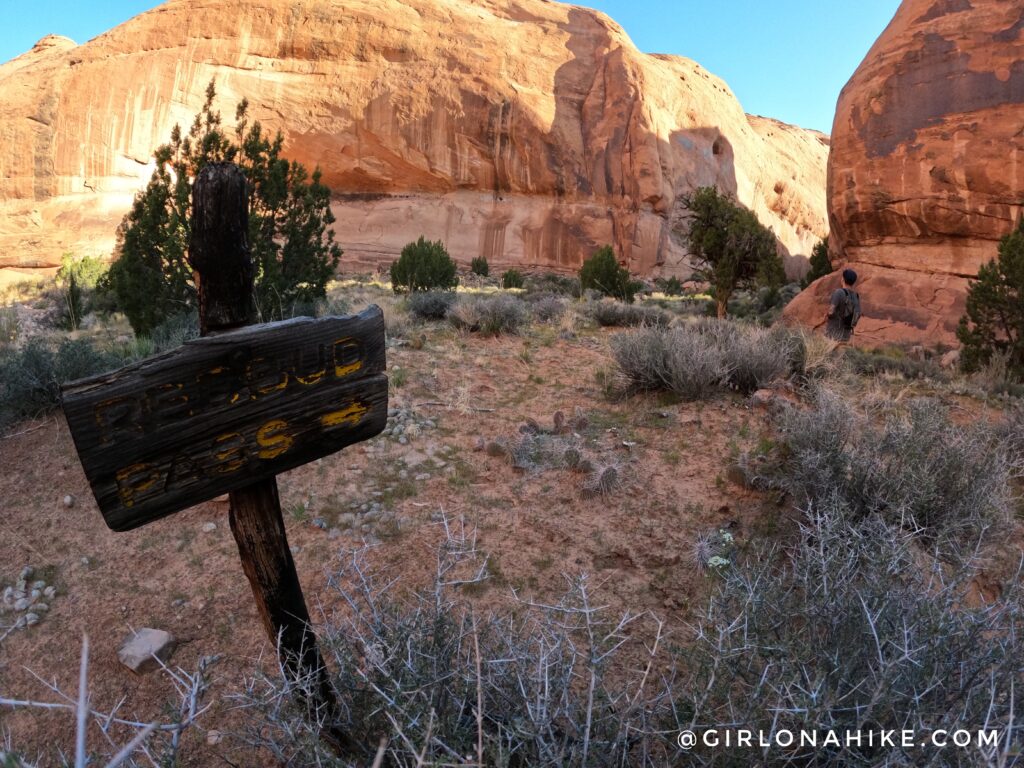
Turn right and you will see a very old, faint sign.
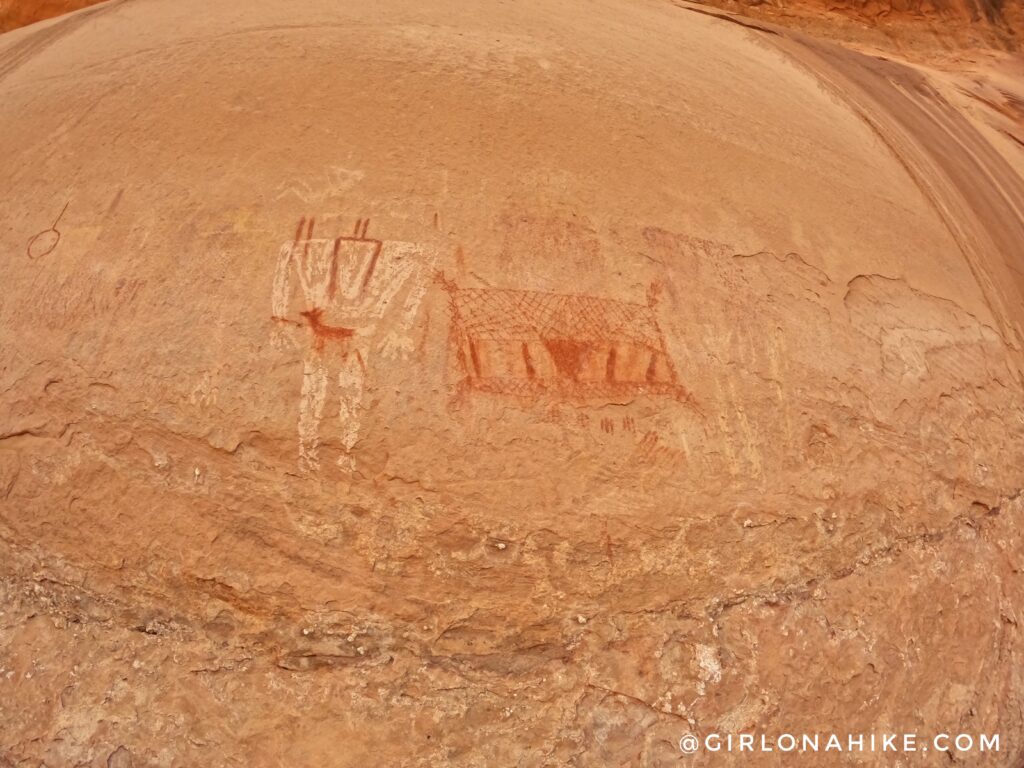
As you turn the corner there is another great campsite, and petroglyphs on the wall.
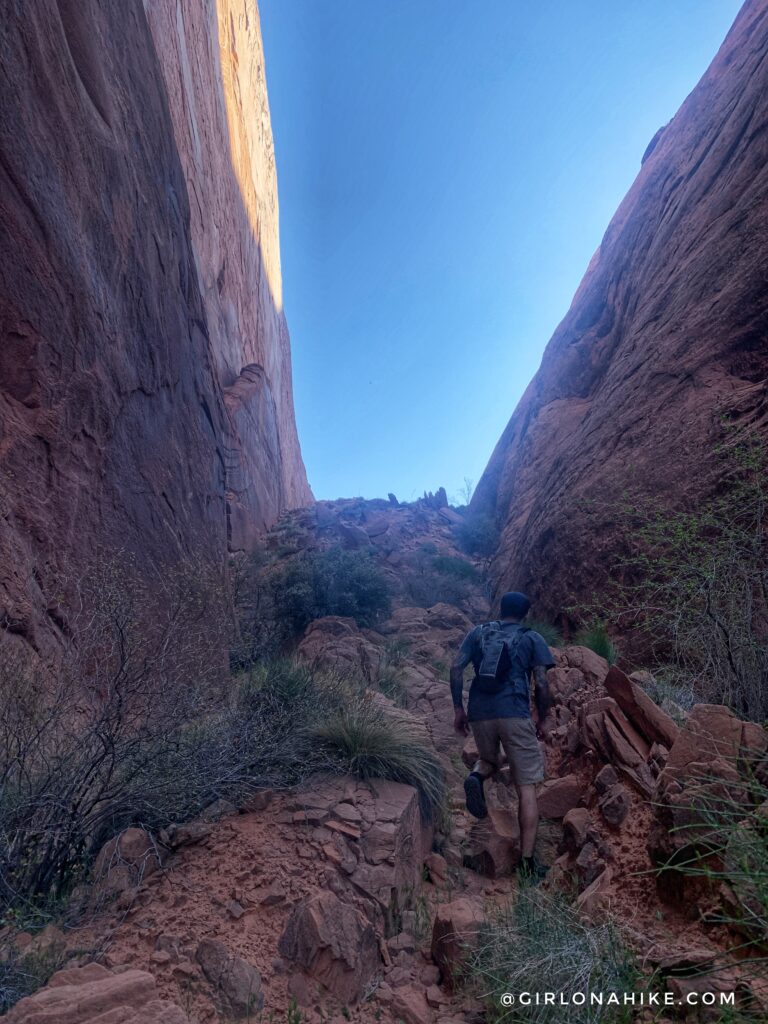
Time for more elevation gain as we summited Redbud Pass.
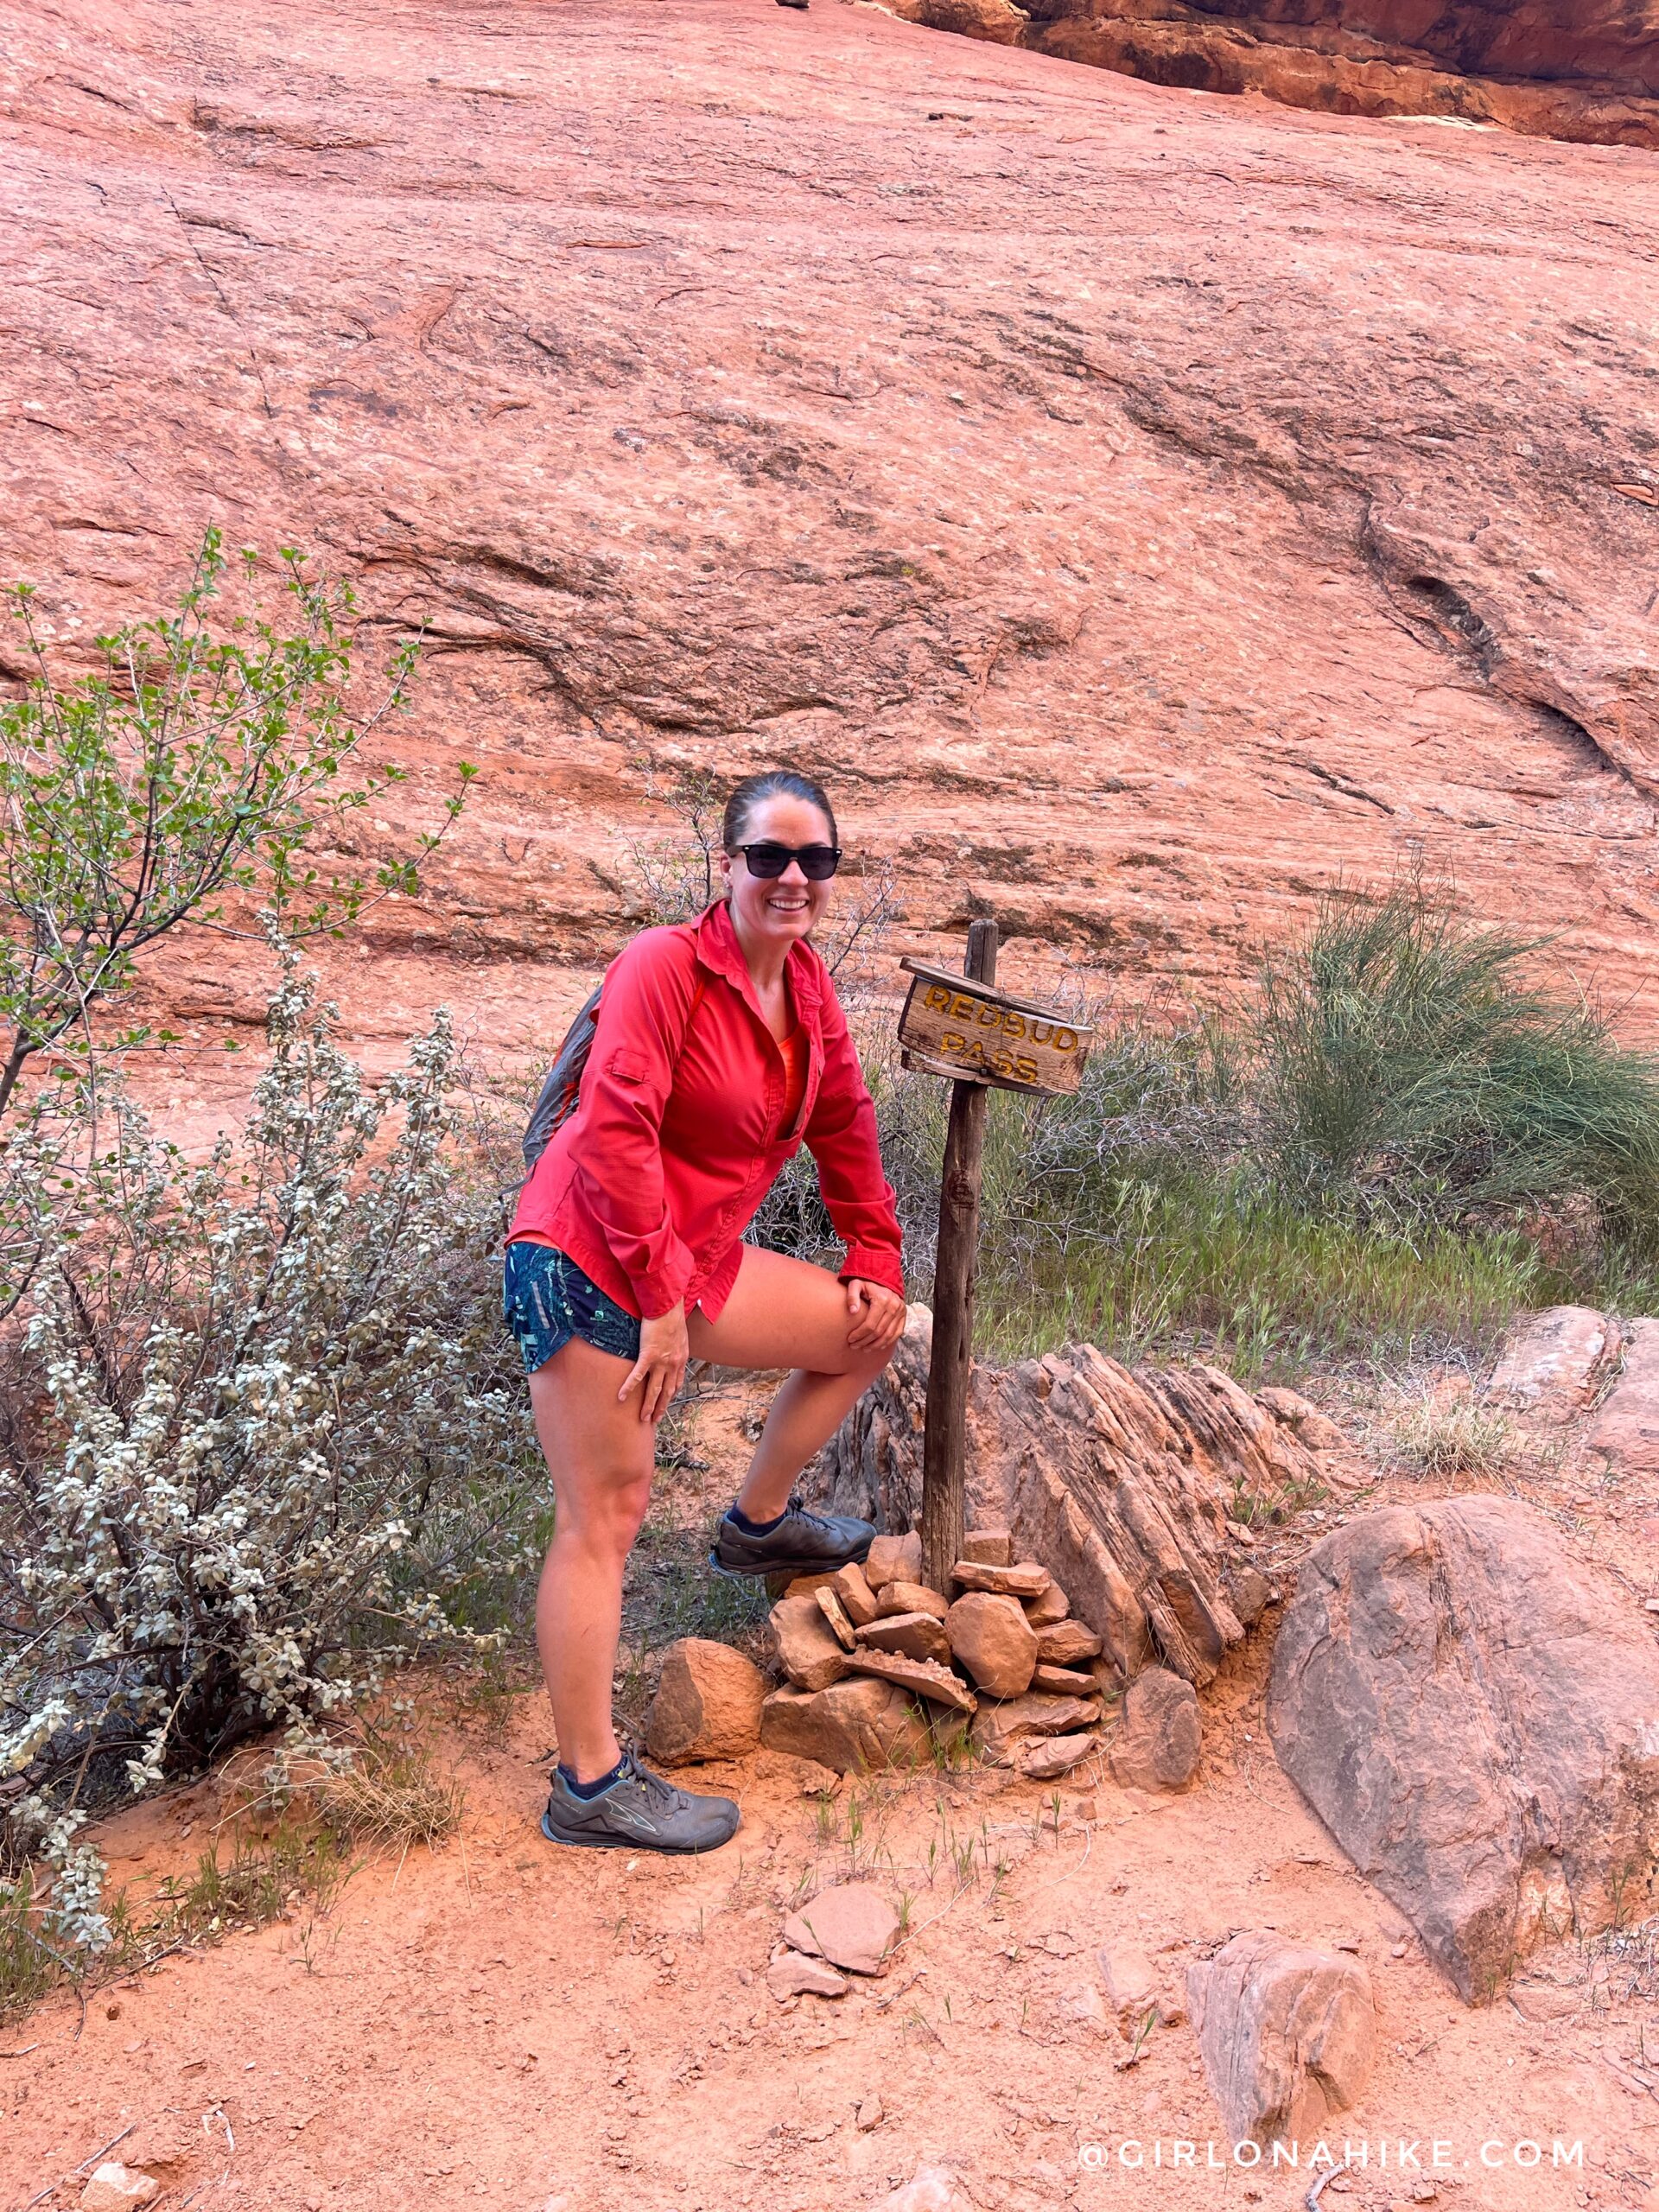
Yay, another sign! I like sign pictures haha! It felt so good to wear a small day pack.
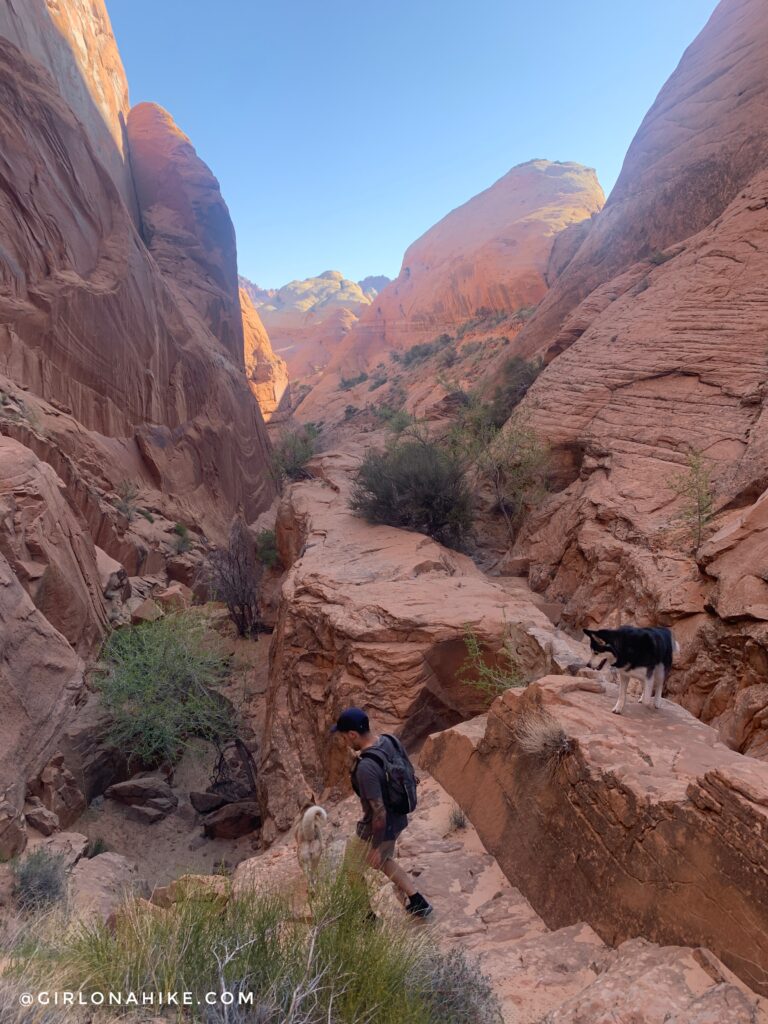
When you descend Redbud Pass it becomes very rocky, and you will have to use your hands in a few spots to down climb. The dogs had zero issues in this section. Once you get down to the wide open area of the canyon, an intermittent springs picks up again.
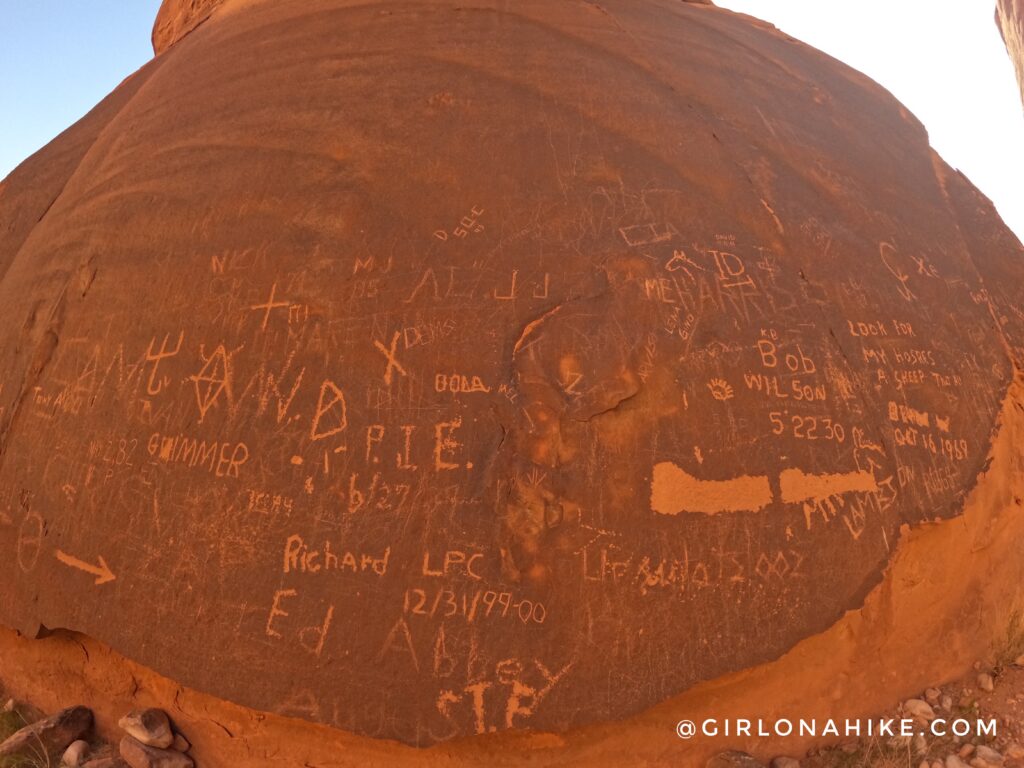
As you get close to the confluence with the North Route, you will pass a large rock with writing on the wall. DO NOT write on it!
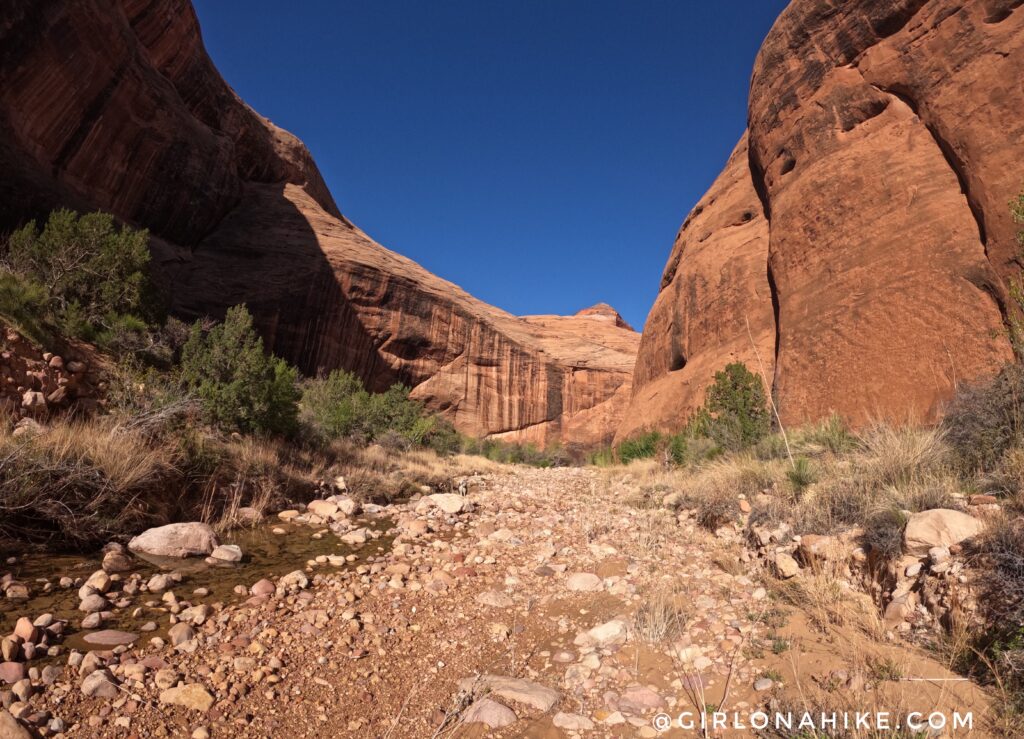 Hooray, the confluence! Now the stream runs steadily all the way until Rainbow Bridge. Make sure you carry a small water filter with you on the day hike. We refilled once. This is the filter I use for day hikes, and this is what I use at camp.
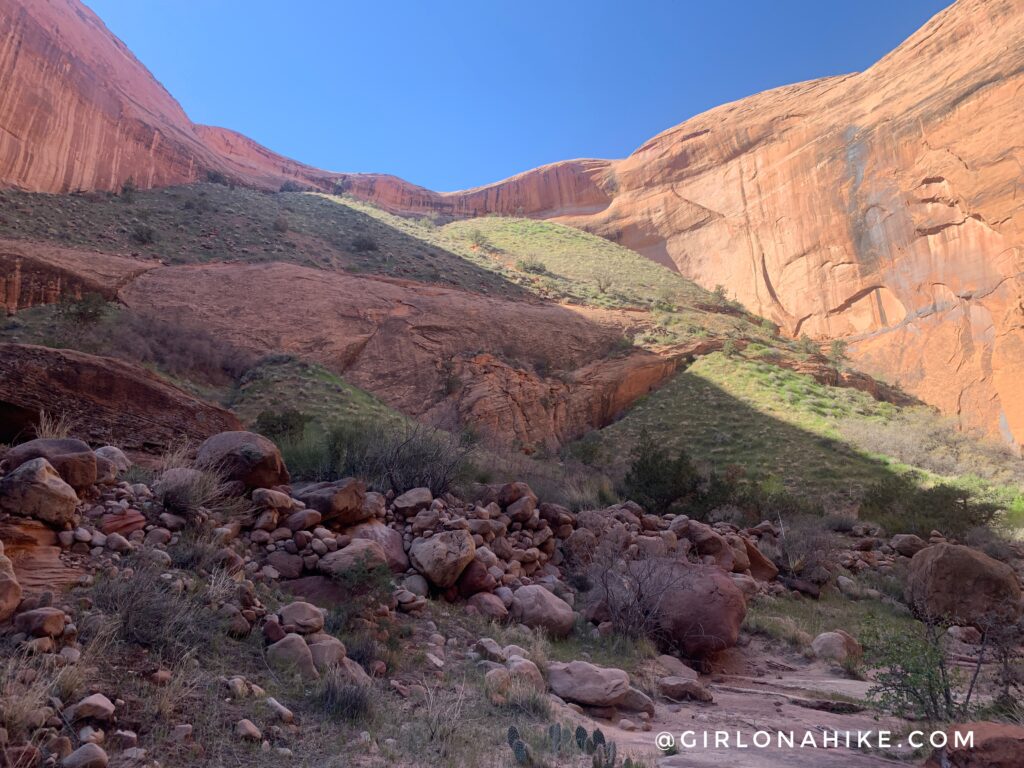
When you see the one and only green hill on your left, you are only 1.5 miles away from Rainbow Bridge!
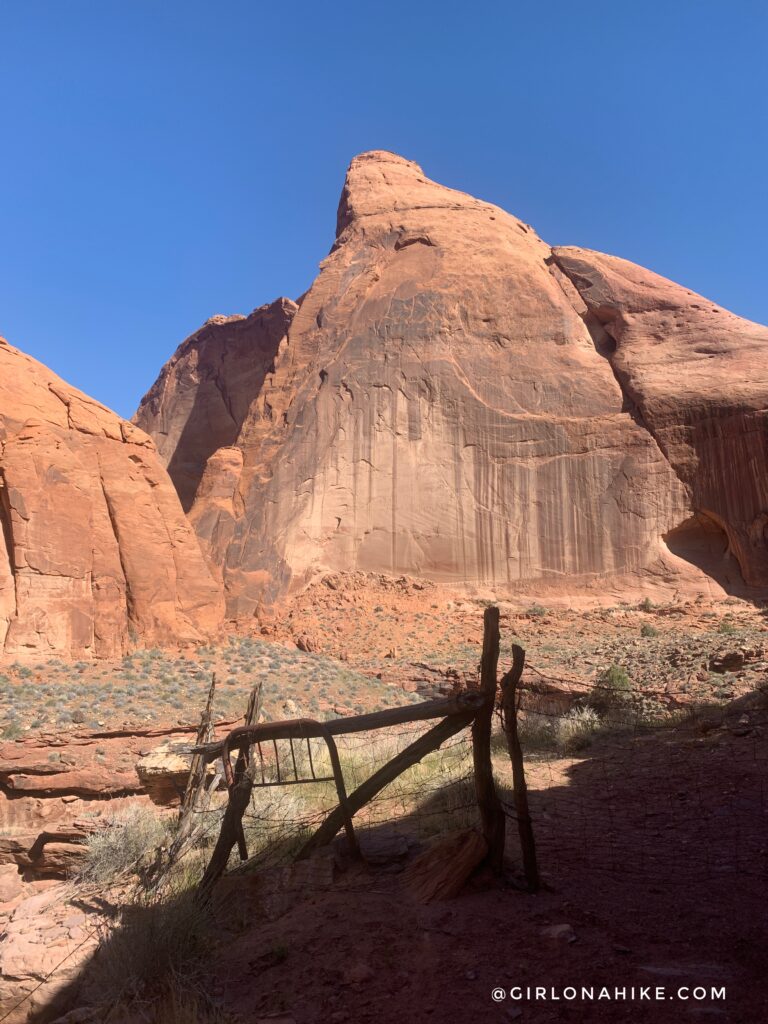
Go through the gate. And just around the corner you will see it!
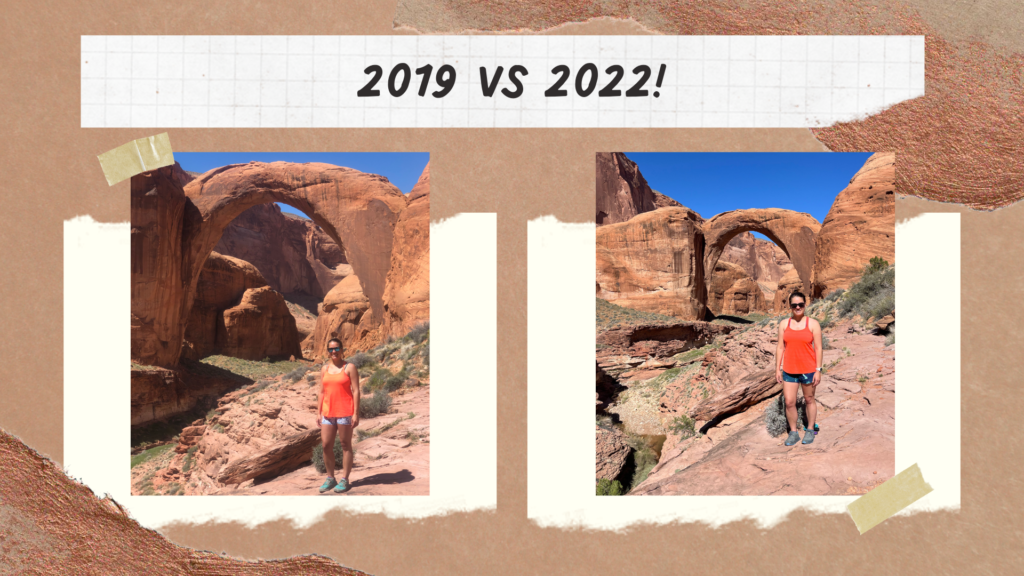
Whoohoo! Back at Rainbow Bridge! I rarely go back to the same destination twice, but in this case since there are two routes, I had to do both! I had to wear the same tank top and get a comparison photo!
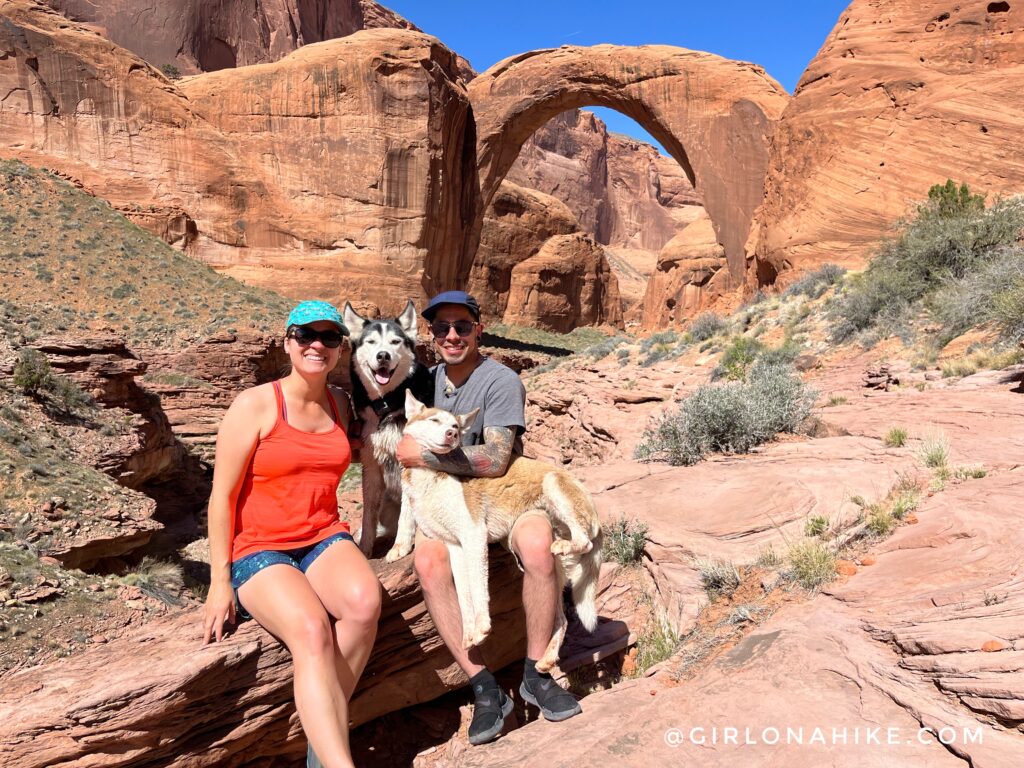
Photo with Will and his pups, Max (black), and Misty (brown/white). They are Husky siblings but are 1 year apart. They did such a good job, and played in the water whenever they could!
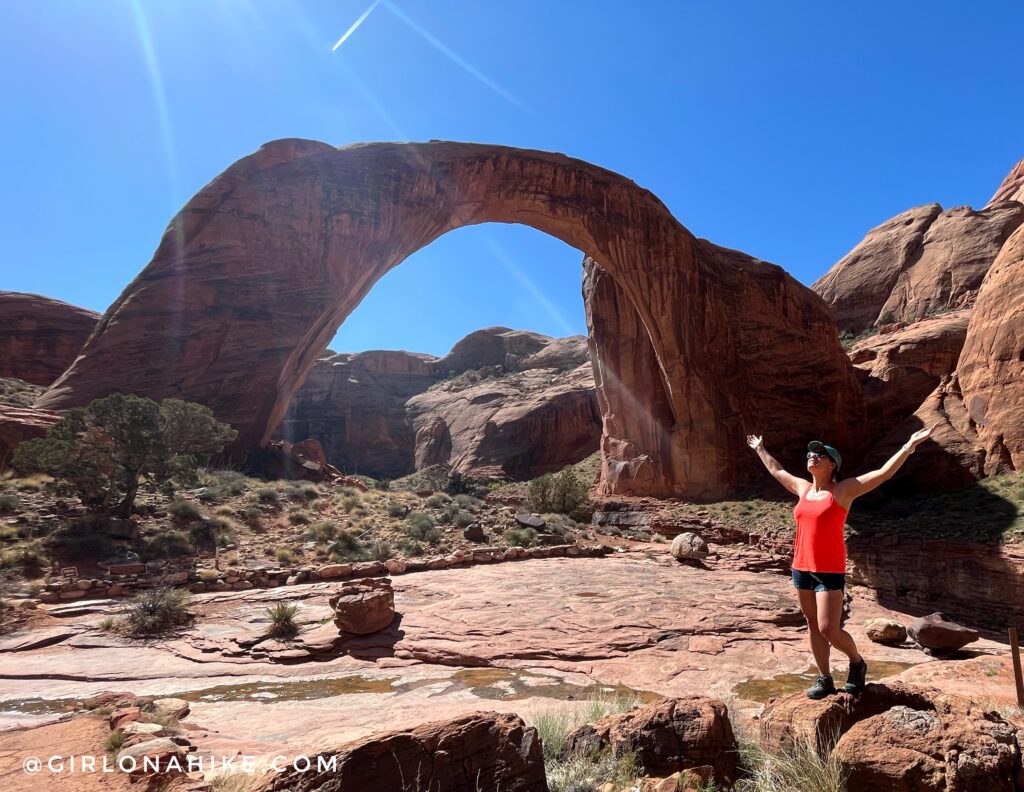
What a great day! But we still had a long ways to go.
After we got back to our camp, we packed up and moved camp. The reason for this was because if we didn’t, we would have had to hike up the big hill, plus get back to the car, and make the 9 hour drive home. We thought it would be best if we could at least make it past the hill and stay at the first camp we came to.
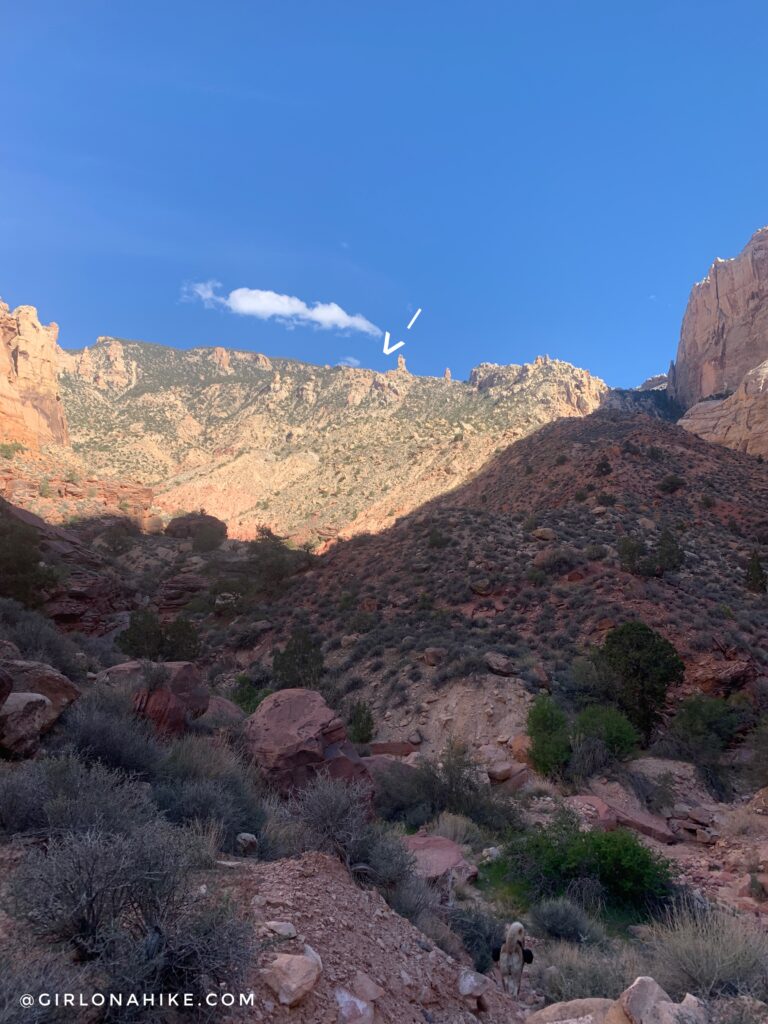
We filled up on as much water as we could carry (10 liters between the two of us), then it was time to climb. And wow, this was super hard to get back up to Yabbut Pass. Yes, it sucked big time carrying a full pack, in the heat of the day, but we knocked it out.
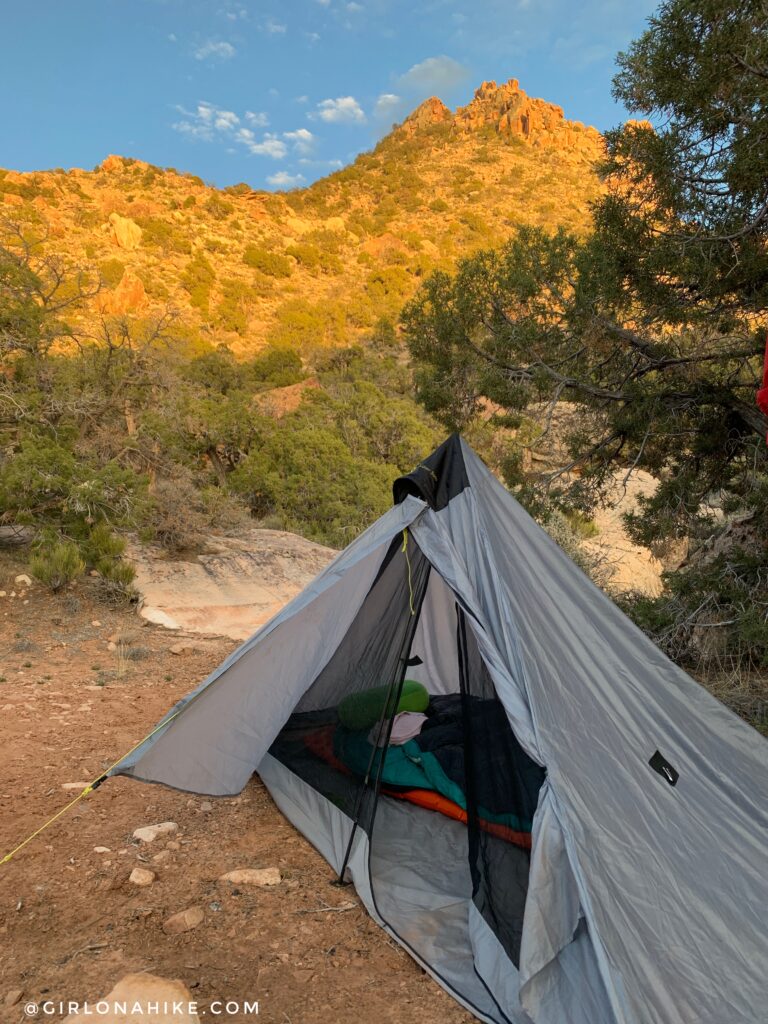
As planned, we set up camp at the first one we saw, about 5 miles from the car. All we had time to do was eat, set up camp, and go right to bed. I’ve never been more exhausted from backpacking before. That hill is no joke – be prepared mentally and physically for a tough day. In total, we hiked 15 miles and gained 3300 ft in one day. Wow. Thankfully the day hike itself was only 11 miles RT so we carried out light packs for a bulk of the day.
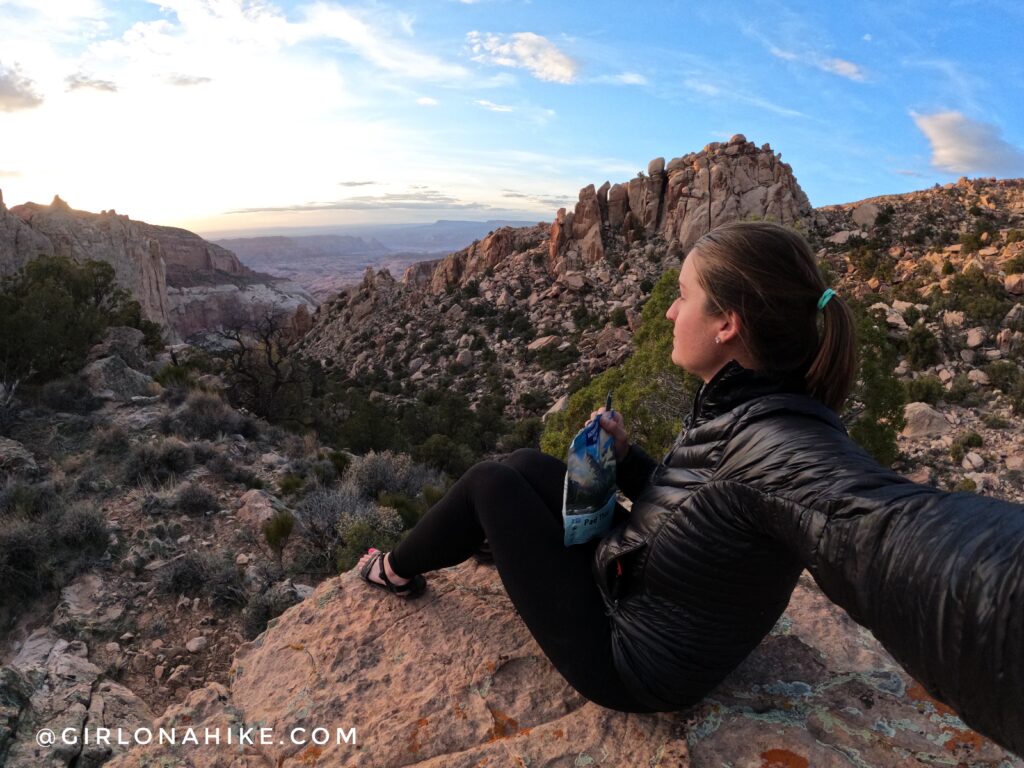
I ended up having the best view to eat my dinner though! This time I made one of my favorite dehydrated meals – Pad Thai from Backpackers Pantry.
Day 3
Miles: 5.0, Elevation: Descent of 896 ft, and ascent of 837 ft
On the last day we only had to hike 5 miles back to the car, plus had our long drive home. Even though day 2 was really hard, it was worth it to move camp to have a shorter last day!
Would I do the South Route again?
Simple answer is no. It was MUCH harder compared to the North Route, with a rockier and steeper trail. There was also less water. Both trails are 30 miles RT, but you get better views of Navajo Mountain from the North Side, plus more water options. On the downside, if you do the North route you will have an 18 mile day hike.
Check out my video!
Trail Map
My track via Gaia GPS – the best tracking app! Get your app here for a discount.
Nearby Hike
Backpacking to Rainbow Bridge National Monument – NORTH Route

Save me on Pinterest!
